Form Driven Flows
Form driven flows are a series of steps that guide users through a process to accomplish a specific objective, such as filling out a loan application or onboarding digitally. These flows are designed to simplify complex tasks by breaking them down into manageable steps. For intricate scenarios, multiple form driven flows can be combined to create Digital Journeys, enabling a seamless and efficient user experience.
Prerequisite
Before creating a form driven flow, you must have a clearly defined data model for the flow (an entity and its attributes). A form driven flow is specifically linked to a primary business entity (the main entity). If you intend to incorporate extra attribute fields within your flow, you must Extend the Data Model of the main entity by adding the relevant data extensions.
Create a form driven flow
- From the menu, go to Digital Experience > Customer Journeys > Form Driven Flows.
- Click Create.
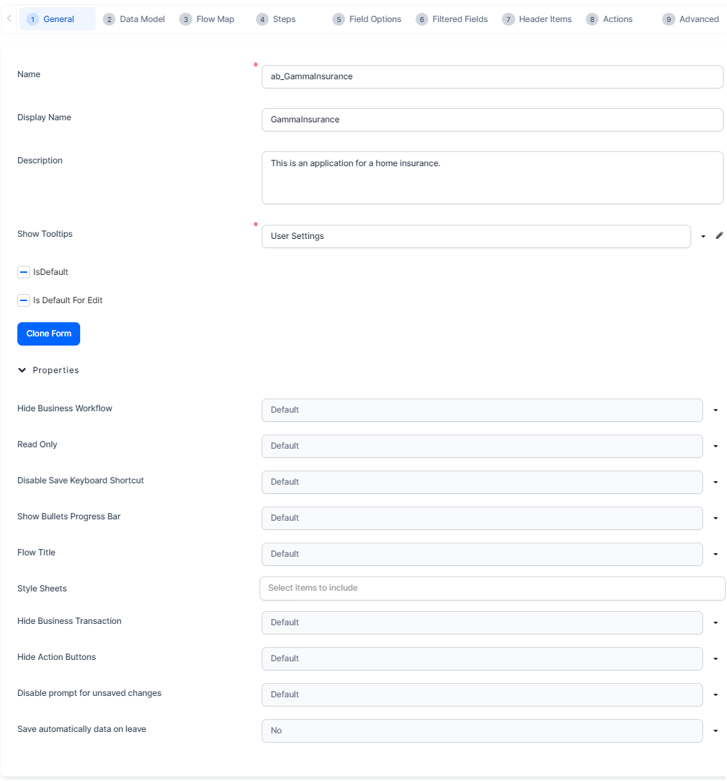
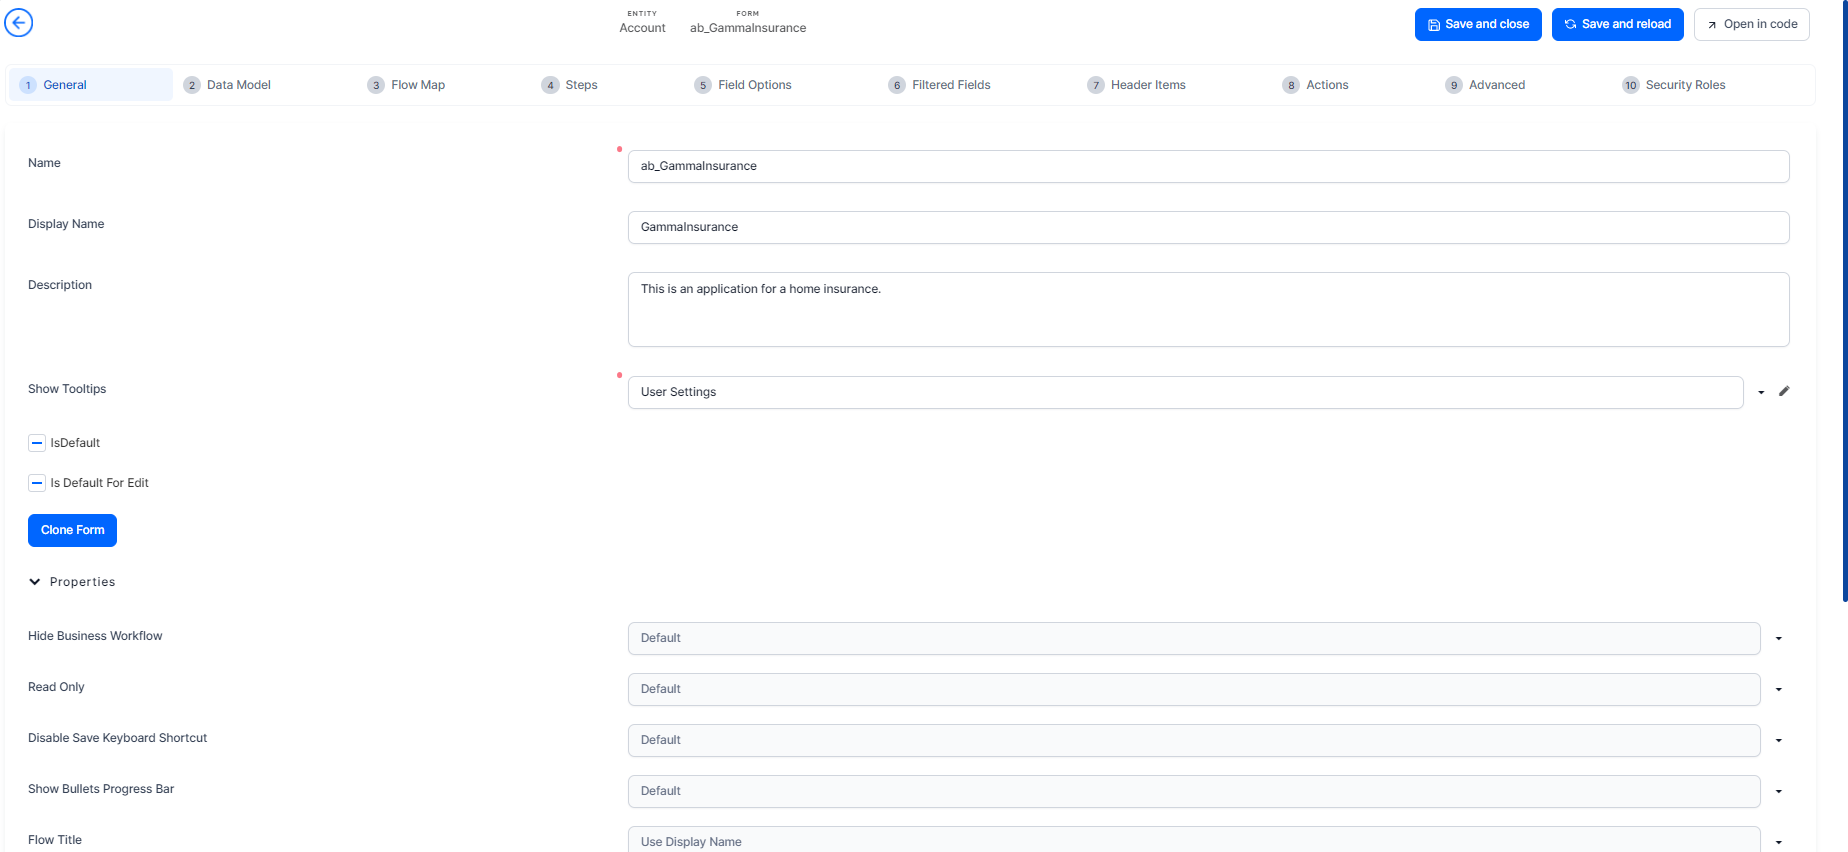
- In the General section, provide the form driven flow's general information:
Field Description Name The name of the form driven flow used internally by the system. This field is mandatory. NOTE
A naming convention is an important part in a well-built data model. We recommend you to use PascalCaseNames (upper camel). The Name starts with an uppercase letter, as do all additional words. For example: FTOS_CMB_BaseAccount.Display Name This is the name displayed in the user interface. Choose a suggestive name. Description Optional description of the form driven flow. Show Tooltips Select how you want the tooltips to be shown for specific attributes on journeys in the user interface. The following values are available: - User Settings (default value). Give users the possibility to show tooltips by toggling on / off the Tooltips button displayed at the top-right corner of the screen.
- YES. Always show tooltips in the FintechOS Portal UI when users hover their mouse over attribute fields which have tooltips. The users cannot toggle the tooltips off.
- No. Never show tooltips in the FintechOS Portal UI.
Is Default Sets the form driven flow as the default method for adding records to the flow's main business entity (see Prerequisite). Is Default For Edit Sets the form driven flow as the default method for editing records of the flow's main business entity (see Prerequisite). Hide Business Workflow Hides the entity record's state and state transition options in the end-user interface. For more information about business workflows, see Business Workflows. Read Only Prevents end-users from making changes to the displayed form fields. Disable Save Keyboard Shortcut Prevents users from saving and reloading the form by pressing the Ctrl+S keyboard shortcut. Flow Title Selects the title displayed on each step (see Add and Configure Steps): - use display name - displays both the flow name and the step name
- show only step display name - displays only the step's name
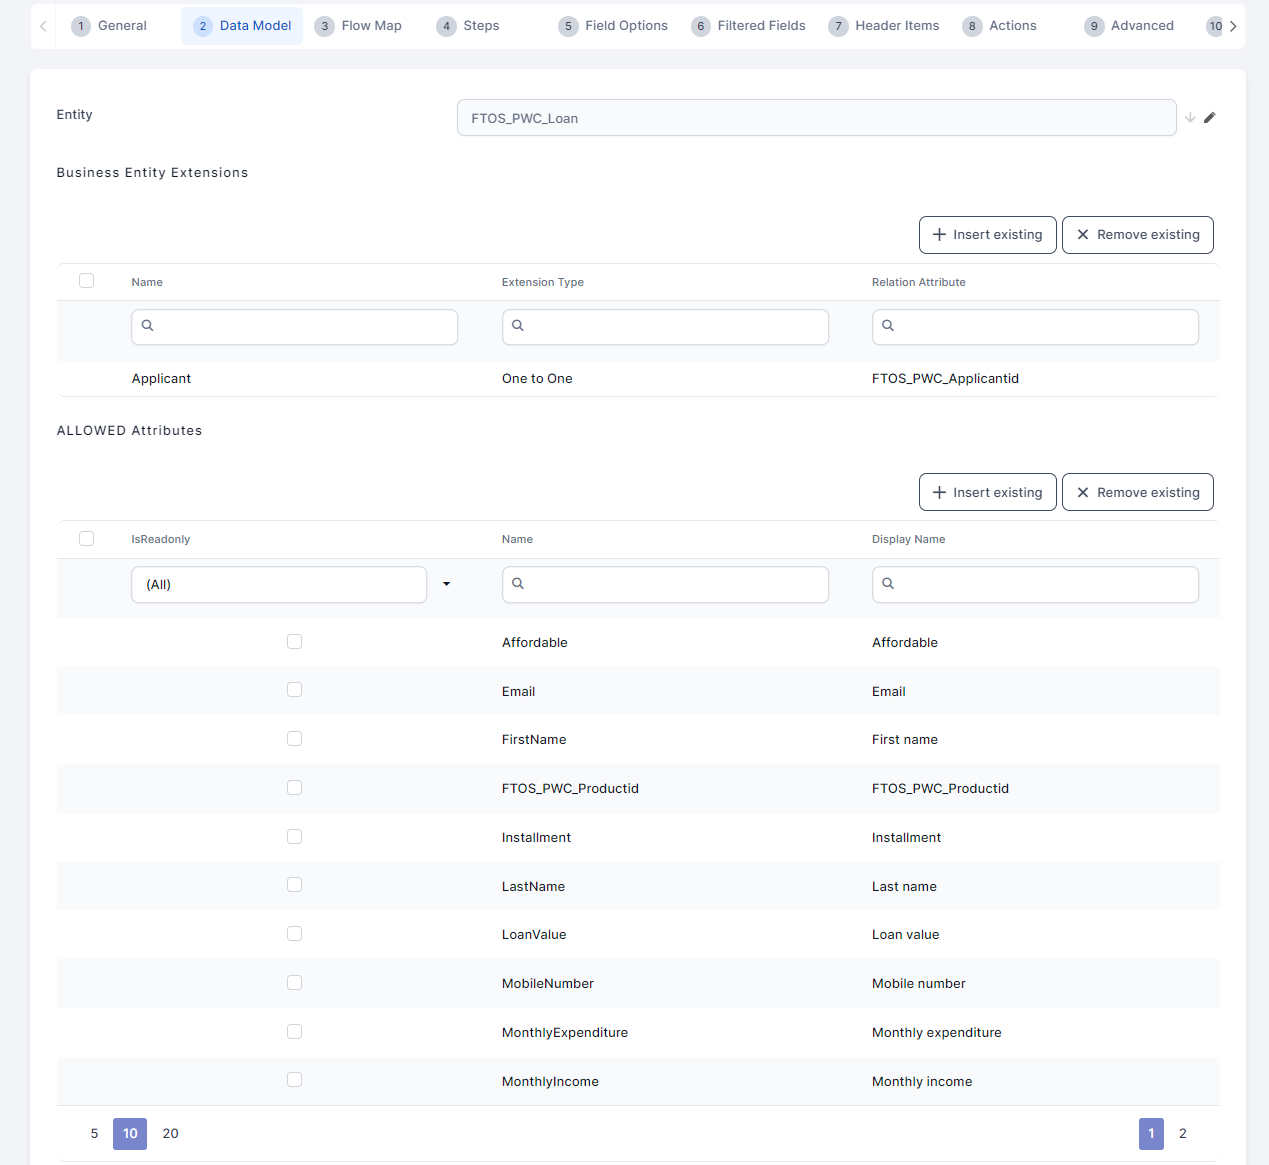
Style sheets Select the style sheet(s) you wish to use. If you add multiple style sheets, the order in which you select them matches the order in which they are applied. For details, see Style Sheets. Hide Business Transaction Hides the Business Transactions button at the top right corner of the screen, which displays the business workflow transitions of the record. For more information, see Business Workflows. Hide Action Buttons Hides the Actions button at the top right corner of the screen, which allows you to open action groups or reports associated with the form driven flow (for details, see Defining Action Groups and Add Power BI Reports to Digital Journeys). Disable prompt for unsaved changes When navigating away from the form driven flow, for instance by clicking the Back button, if the form contains unsaved data, the user will not be prompted to save the changes. Save automatically data on leave When navigating away from the form driven flow, for instance by clicking the Back button, any unsaved data in the flow will be automatically saved. - Click the Data Model tab and from the Entity field, select the entity whose data model you wish to use (main entity).
- Click Save and reload .
- Add any required Business Entity Extensions to the data model (see Prerequisite).
- If you wish to restrict the flow's access to specific attributes in the data model, insert the corresponding values in the Allowed Attributes and Allowed Virtual Attributes sections. By default, all attributes in the data model are available in the form's context. Once you start populating the allowed attributes sections, the form will be restricted from accessing any attributes that were not explicitly defined in these sections.
3 Design the flow UI
Click the UI tab and use the UI Designer to define the form's layout.
For form driven flows created in FintechOS Platform versions prior to v.24, the UI tab displays the legacy template designer which, in addition to the UI designer, provides an HTML editor that allows you to configure the form's HTML elements.
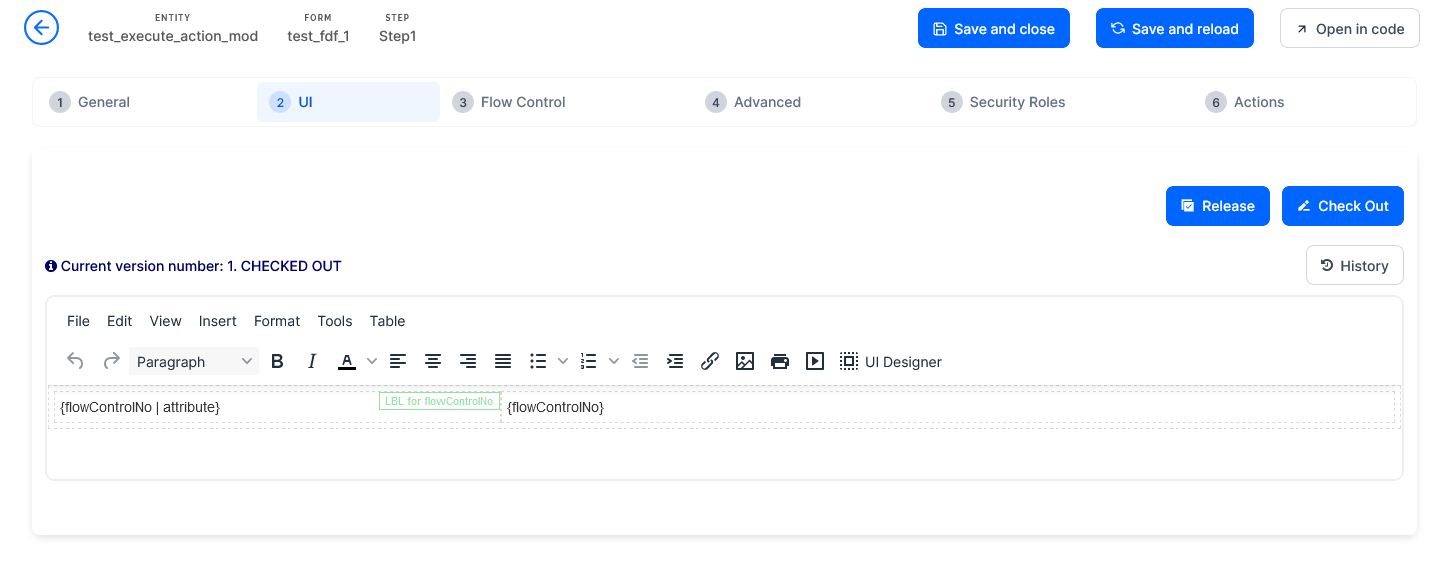
Legacy form driven flows also allow you to use the Advanced Code Editor (deprecated) or the Code Editor respectively to edit their HTML code directly.
The form's UI template supports the following tokens:
| Token | Description |
|---|---|
| {AttributeName} | Displays the corresponding field in the UI. NOTE The attribute name must be included between curly brackets; otherwise, a simple text will be displayed on the page instead of the actual field. |
| {#RelationshipName, view: viewName#} | Generates a view provided by relationship and by view. The viewName is optional and specifies which view to generate. If viewName is not provided, the default view will be displayed on the data form. |
| {#RelationshipName, view: viewName, editmode:cell#} | Generates a view provided by relationship and by view. This view allows inline editing, meaning that you can edit cells one by one directly in the grid, without opening specific records. NOTE In order to activate inline editing for a specific cell, you must tick the Allow Editing checkbox displayed on the entity view column (View > View columns). |
| {#MKT_CampaignResponse_MKT_Campaign,nodelete,noinsert#} | Generates a view provided by relationship and by view, without the Delete and Insert buttons. You can apply the same logic (similar tokens) for the Export (noexport) or Refresh (norefresh) if you no longer need them on the view. |
| {$ChartName$} | Generates a chart based on the provided chart name. |
| {? entityName, view: viewName ?} | Allows you to display a view from another entity. For information on how to use it, see Display View from Another Entity. |
In the HTML template, you can link HTML elements (labels) to attributes. For information on how to do it, see Link Labels to Attributes (deprecated).
4 Divide the flow in steps
Breaking down a complex flow into manageable steps can improve user experience. You can group flow information into steps based on specific criteria, such as business or operational considerations. To add a step, navigate to the Steps tab and add as many steps as needed based on your criteria.
If you only have one entry in the Steps section, it will not be marked as a step when displayed in the FintechOS Portal.
For information on how to add and configure steps, see Add and Configure Steps.
The default execution order of a digital journey which is comprised of steps is given by the OrderIndex of the steps, as set in the Steps tab. You can change the default flow of a digital journey by using the Flow Control feature.
Define access to the flow
To restrict access to the form driven flow to designated Security Roles, click the Security Roles tab and add the security roles who should have access. If no security roles are added here, all FintechOS Portal users will be able to access the flow.
Add Code to the Flow
For advanced scenarios that require elaborate customizations, the Advanced tab allows you to attach client-side or server-side JavaScript code to your flow. For details, see Code Execution Sequence.
Clone a form driven flow
To duplicate a form driven flow with all of its configurations, in the General tab, click Clone Form.
Insert a name for it and click Clone. The new form driven flow opens immediately for editing.
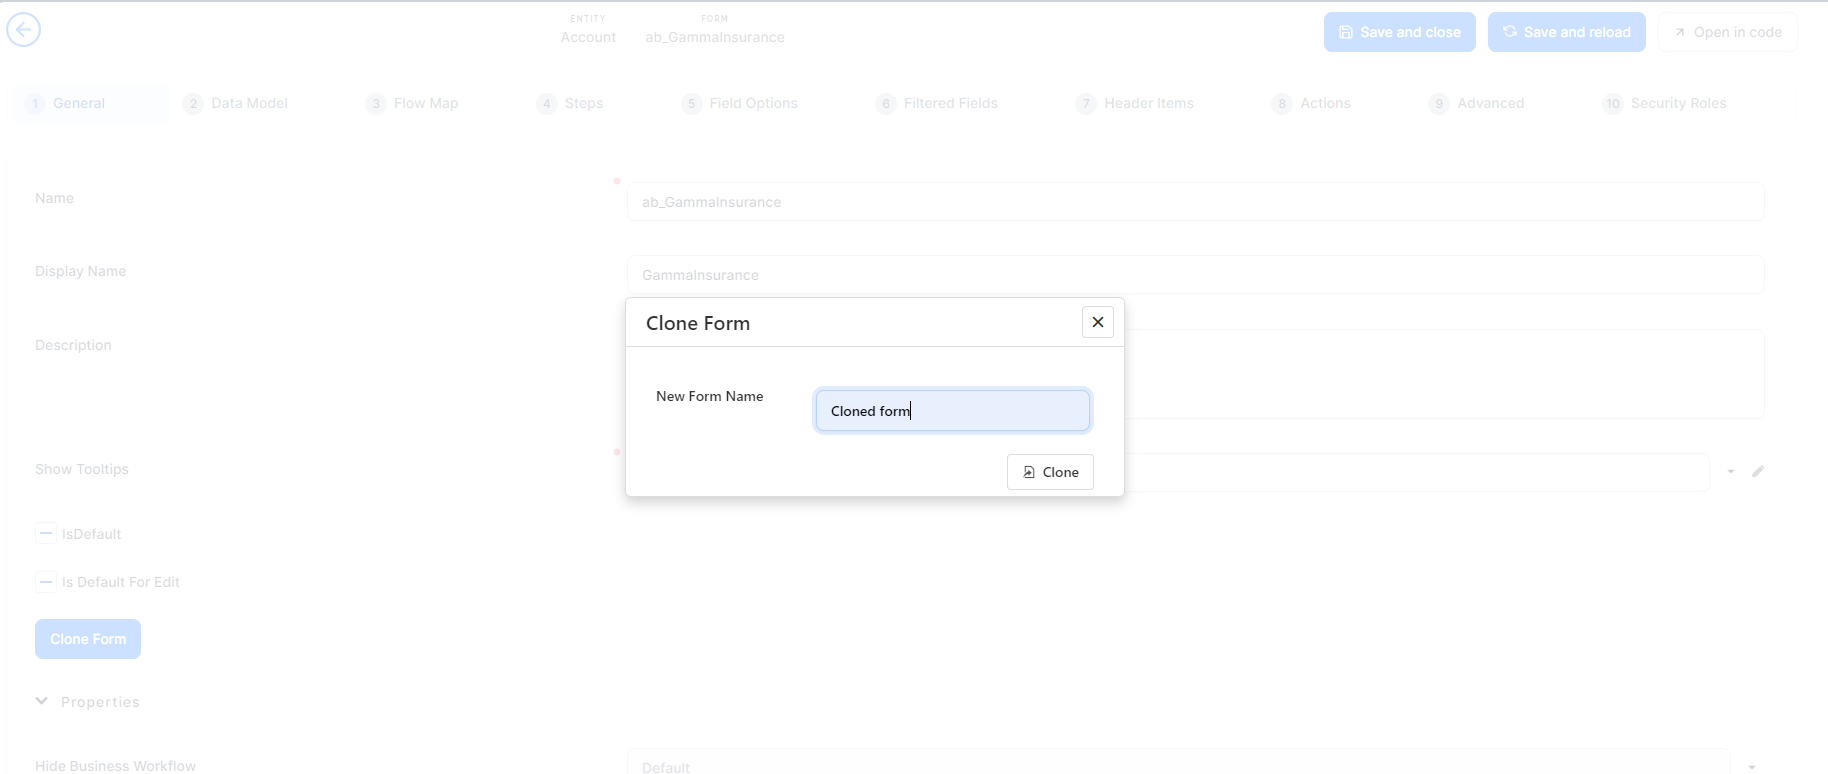
The data set behind it is not cloned, just the flow and its settings.
The Is Default and Is Default For Edit settings are not replicated in the cloned form driven flow, since you can have only one default form driven flow per entity.
Additional flow settings are covered in the following topics: