Custom Processor Steps
This feature allows you to add an automation processor such as Computer Vision, eSign, Video Streaming Processor, or Face Recognition to a step without writing code. This way you can rapidly build a fully automated digital journey with multiple steps, easily call processors from the flow, and simplify step-by-step navigation. To do so:
- From the main menu, select Digital Experience > Customer Journeys > Form Driven Flows.
- Select the Form Driven Flow you wish to edit by adding a processor to one of its steps.
- After opening the form driven flow, click 4. Steps to add a new step. For more information, see Add and Configure Steps.
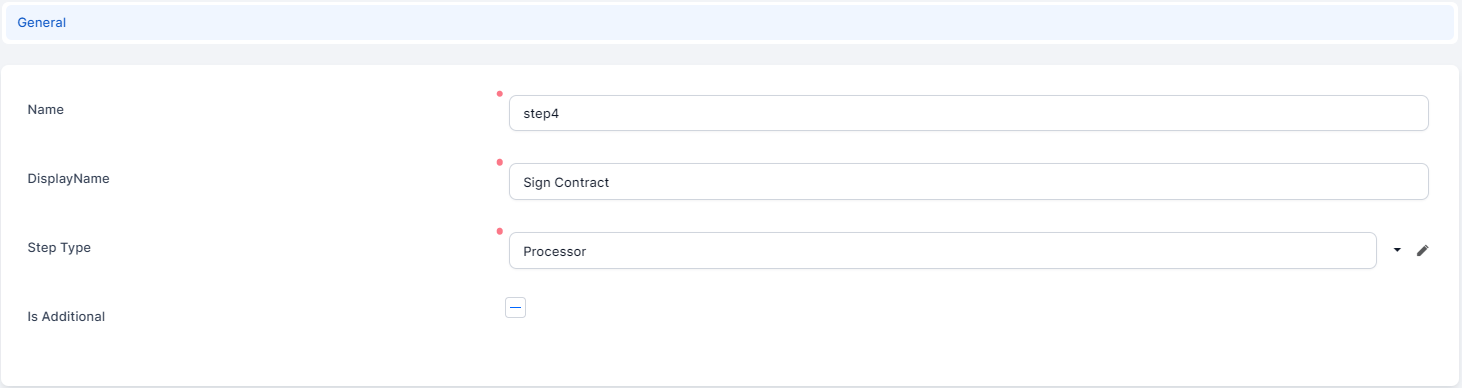
- Click Insert and fill in the name of the step, display name and for Type from the Option set select the Processor.
- Click Save and reload. The general page opens.
- Fill in the fields:
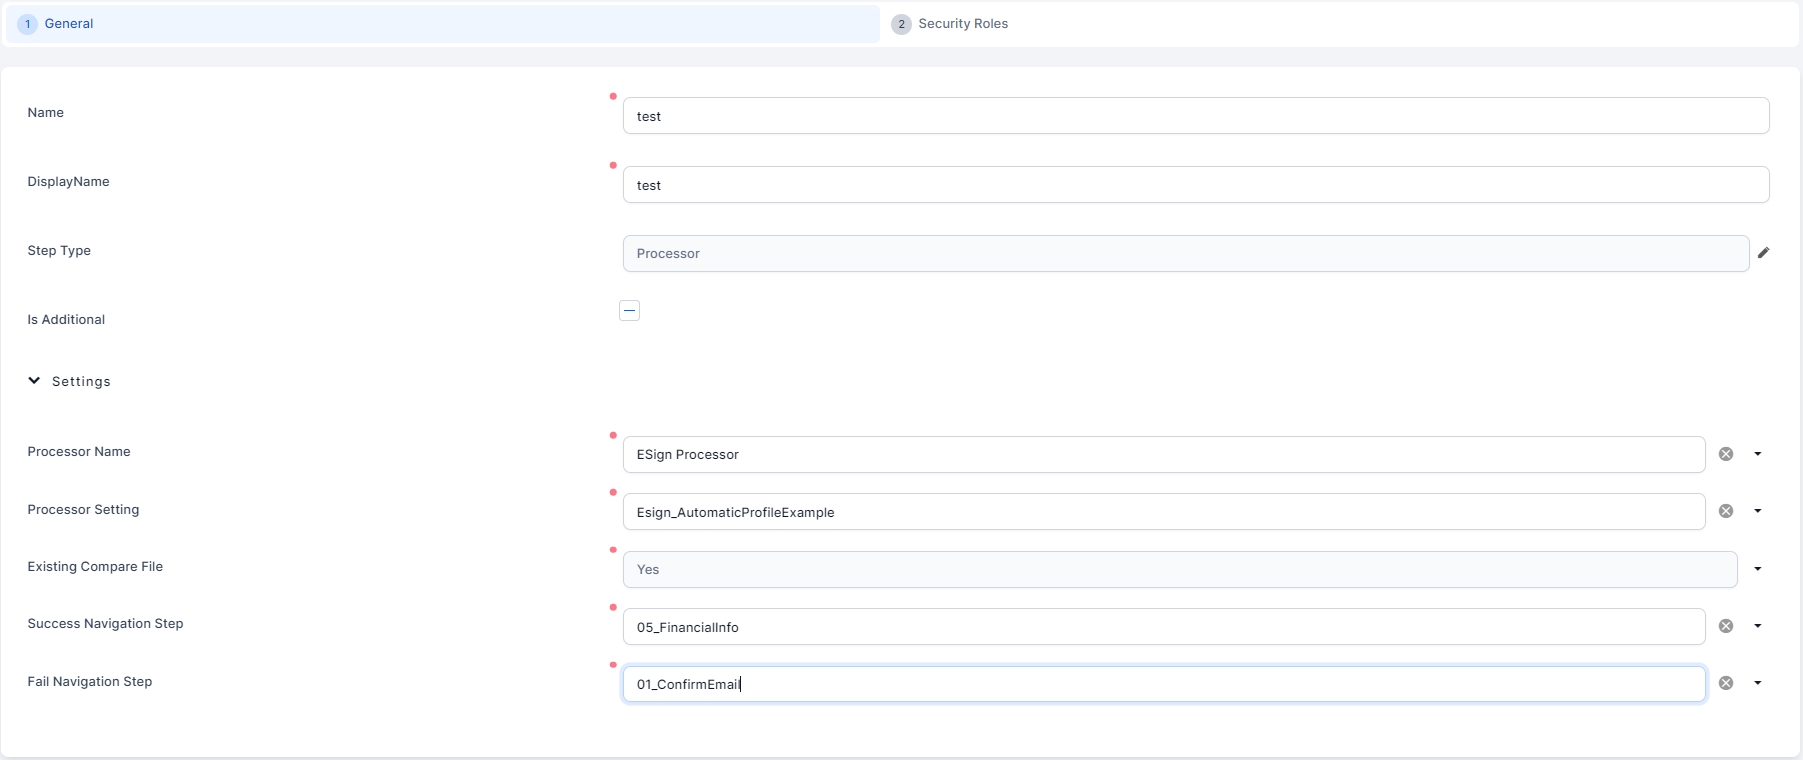
Fields Description Name It is automatically filled. It is the name of the step. Display name It is automatically filled. It is the name of the step. Step Type It is automatically filled. It is the name of the step. Processor name Select the name of the processor. Processor settings Select the settings you configured earlier for the processor. Existing Compare file When using the Face recognition or Face recognition with Liveness, this field enables the system to compare the selfie with the photo for an ID. Success navigation step Select the step you wish to be next if the processor step is a success. Fail navigation step Select the step you wish to be next if the processor step is a failure. - Click Save and reload.
- Add the proper security roles for this step by clicking Insert and choosing one of the security roles. For more details, see Security Roles. Click Save and close.
- Repeat for as many steps as needed.