Add attributes
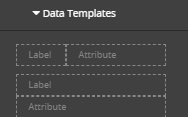
To add an attribute, in the UI designer, select one of the vertical or horizontal attribute templates and drag it to the white panel. It is possible to add attribute and their label vertically or horizontally.
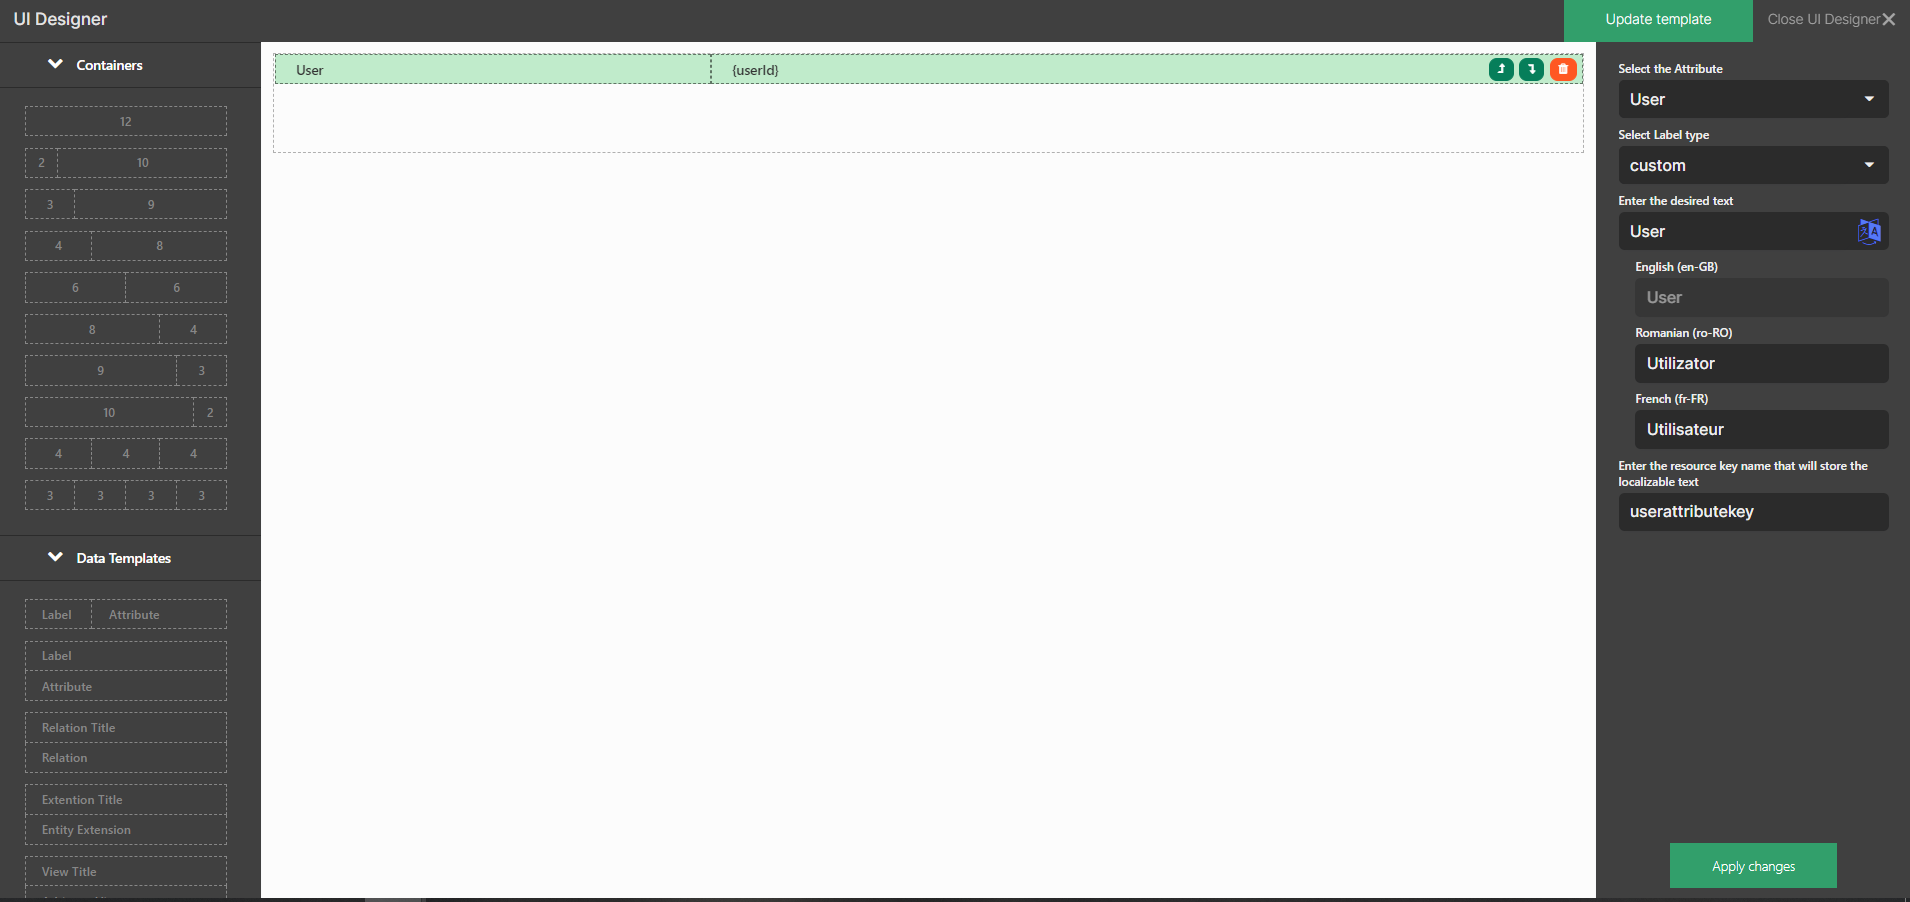
From the drop-down on the right side of the screen:
1. Select the desired attribute.
2. Select what text does the label display:
-
Default - leaves the label as the display name of the attribute.
-
Custom - allows you to manually enter the text for the label. There is also the option to manually add the text that is displayed for each language added in the platform, by clicking the toggle translation button placed in the Enter the desired text field. Choose a name for the resource key that will save this text in the Localization Resources page.
3. Click Apply changes to save your configuration.
4. Click Update template to save your changes and then click Save and reload.
Always after selecting the attribute to place in the container and its label, click Appy changes or the data will not be saved.
To change an attribute from a column, click the column. From the drop-down, select the new attribute and click Apply changes.
Do not use the same attribute twice, otherwise errors might occur.
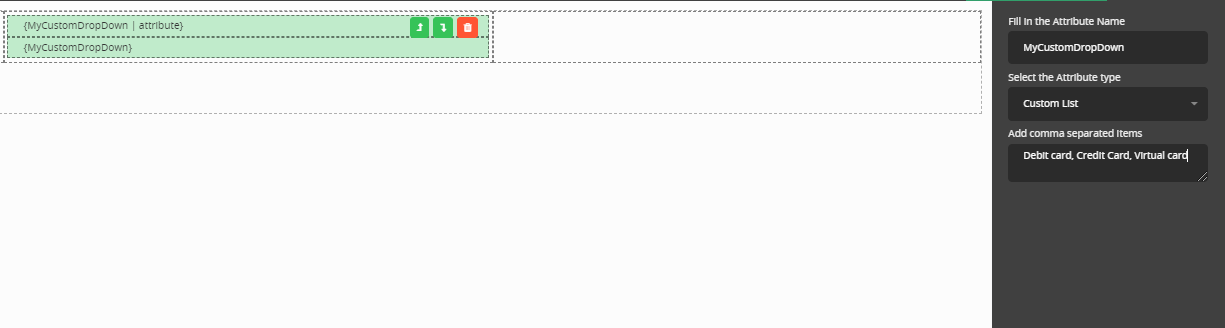
The UI Designer allows you to type in any attribute labels and values. Specific for mock-ups only, it is possible to add a custom list without creating an option set. Add the records from the list separated by a comma, otherwise it will not work.