Dashboards
Dashboards are customizable panels you can display in the Portal interface that aggregate entity views, reports, charts, shortcuts to frequently used forms, and other custom elements on the same page. These elements are displayed in a grid layout using widgets, which you can customize, position, and resize inside the dashboard at will.
To create a dashboard, follow these steps:
1 Create a Dashboard
- In FintechOS Studio, go to Main Menu > Digital Experience > Digital Frontends > Dashboards.
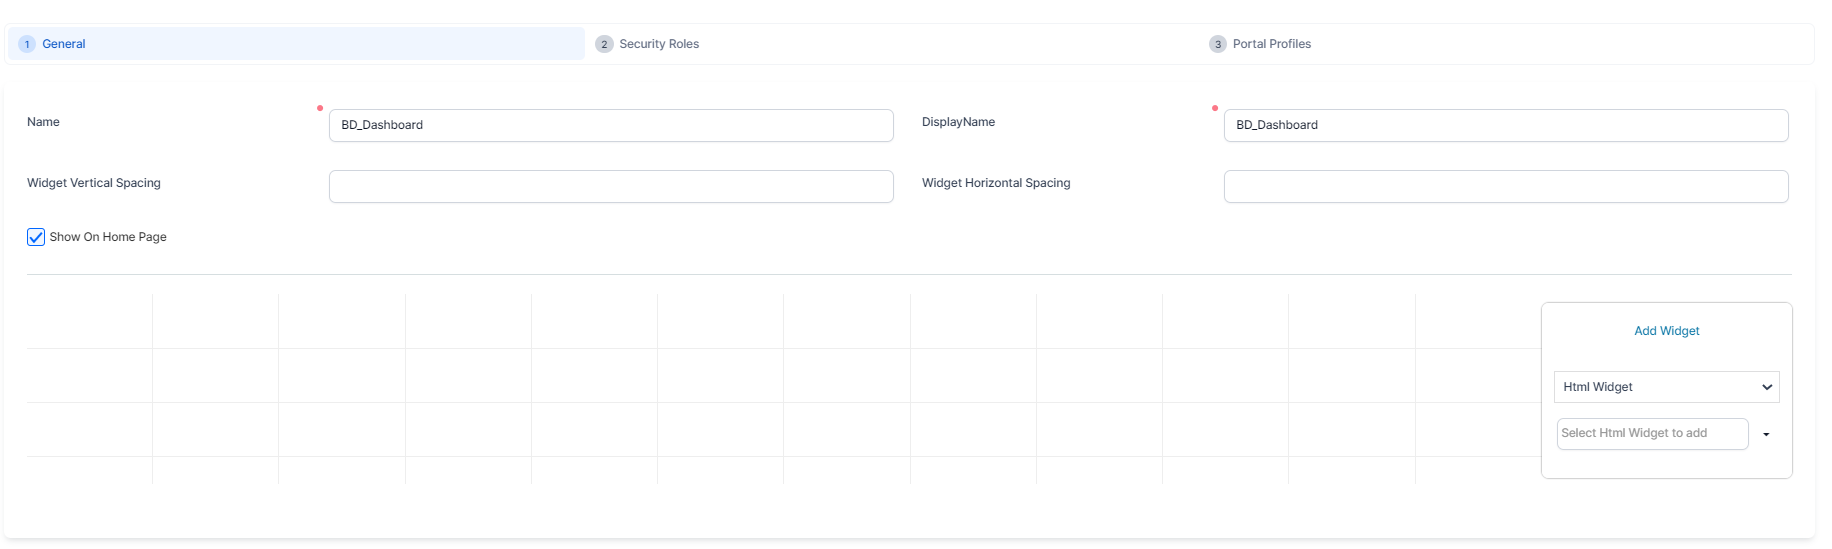
- Click Insert. The dashboard configuration page appears by default on the General tab.
- In the Name field, provide the name of the dashboard that will be used by the system.
- In the Display Name field, provide the name of the dashboard that will be displayed in the Digital Experience Portals.
- In the Widget Vertical Spacing field, provide the amount of vertical space to be added between the dashboard's elements. Default value is 20. The vertical spacer automatically adjusts with the screen size your page is viewed on.
- In the Widget Horizontal Spacing field, provide the amount of horizontal space to be added between the dashboard's elements. Default value is 20. The horizontal spacer automatically adjusts with the screen size your page is viewed on.
- Tick the Show On Home Page checkbox if you want the dashboard to be displayed on the Portal home page. If the checkbox is false, then the dashboard and everything placed in its layout will not be rendered in the Portal.
- Click Save and Reload. The page refreshes and the dashboard is displayed in the Dashboards List page.
You can add as many dashboards as you need. The Order Index column specifies the order in which dashboards appear in the Change Dashboard drop-down menu on the Portal home page. You can change the order index of a record by using drag and drop.
You can now add widgets to your dashboard.
2 Add Widgets to Dashboards
- In FintechOS Studio, go to Main Menu > Digital Experience > Digital Frontends > Dashboards.
- Double-click the desired dashboard from the list to open the dashboard configuration page.
- In the Add Widget area, from the widget type drop-down list, select the desired widget type.
- Select the widget to be added. You can choose from multiple types of widgets:
Widget Description PowerBI Report Widget based on PowerBI reports. For details, see Advanced Analytics . HTML Widget Fully customizable Widgets based on your own HTML and JavaScript code. Shortcut Button that allows you to open entity views, entity insert forms, or Custom Flows. Entity View Displays an entity view on the dashboard. Charts Allows you to display Charts. - Click Add. The selected widget is displayed on the left side of the page.
Customize Widgets
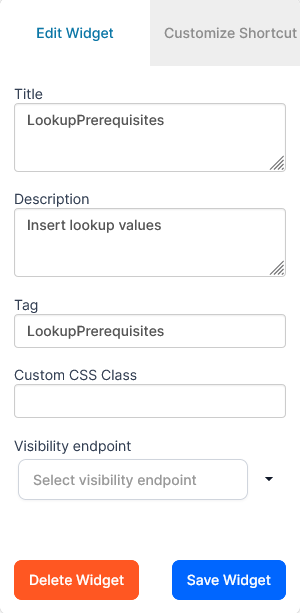
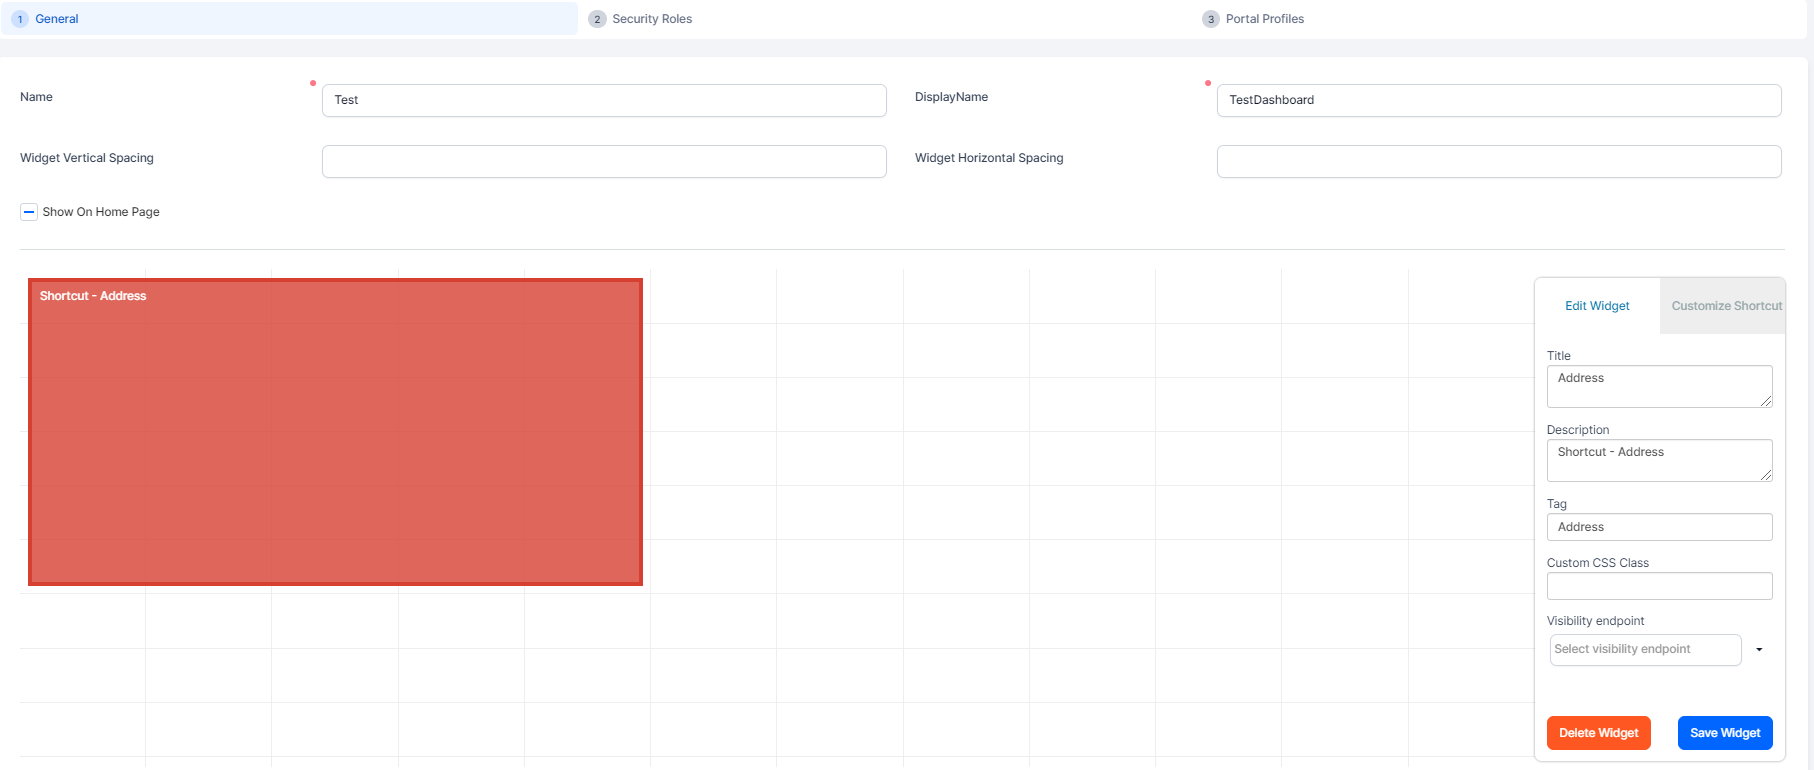
After the widget is added to the dashboard, you can further customize its appearance and behavior from the widget editor. To do so, click the widget rectangle and fill in the corresponding fields (depending on the type of widget, some fields may not be available):
| Field | Description |
|---|---|
| Title | Name of the widget as displayed on the dashboard. |
| Description | Explanation of what the widget does. |
| Tag | Small label displayed in the corner of the widget. You can use it to classify widgets into categories. |
| Custom CSS Class | CSS class used to apply styling for your widget. The custom style sheets that contain the class definitions must be imported in your widget's underlying component, depending on the widget type (see Apply Style Sheets Using Code). For instance, a shortcut widget that opens a custom flow, will need to have the style sheet imported in the After Generate Js section of the flow. |
| Visibility endpoint | Allows you to use on-demand server automation scripts with boolean output (see Create On-demand Server Automation Scripts) to dynamically enable or disable the visibility of the widget on the dashboard. If the script returns true, the widget will be visible, if the script returns false, the widget will be hidden. |
Shortcut widgets have an additional tab in the widget editor called Customize Shortcut which allows you to customize its appearance (icon, background color, form factor, and design).
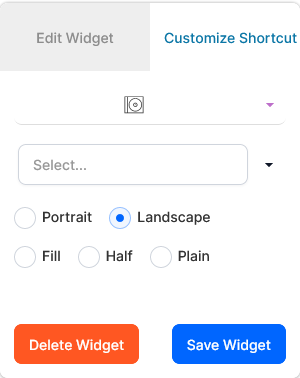
When done, click Save Widget.
Resize Widgets
You can resize dashboard widgets by placing the mouse cursor on the bottom-right corner of the widget that you want to resize and dragging the corner to adjust the size as preferred.
Move Widgets
You can arrange widgets on the dashboard by dragging it with the mouse to the desired position on the dashboard grid.
Delete Widgets
To remove a widget from a dashboard, in the widget editor, click the Delete Widget button.
3 Attach Security Roles to Dashboards
Your business case may require the dashboard to be available only to users with designated security roles within your organization. To configure this:
- In FintechOS Studio, go to Main Menu > Digital Experience > Digital Frontends > Dashboards.
- Double-click the desired dashboard from the list to open the dashboard configuration page.
- Open the Security Roles tab and add the security roles that should have access to the dashboard. If no security roles are added here, all users will be able to view the dashboard in the Digital Experience Portals.
- Click Save and reload.
4 Add Dashboards to Portal Profiles
To make a dashboard visible only on FintechOS Portal instances that use a specific portal profile:
- In FintechOS Studio, go to Main Menu > Digital Experience > Digital Frontends > Dashboards.
- Double-click the desired dashboard from the list to open the dashboard configuration page.
- Open the Portal Profiles tab.
- Click Insert at the top of the Dashboards on Portal Profiles section.
- Select the Portal Profile on which the current dashboard will be available.
- Click the Save and close icon. The Add Dashboard on Portal Profile page closes and the record is displayed in the Dashboards on Portal Profiles section.


You can repeat the process to associate the dashboard to additional portal profiles.
You can also assign dashboards to portal profiles from the Portal Profiles page. This is useful if you wish to assign multiple dashboards to the same portal profile.