Scheduled Jobs
Scheduled jobs allow you to run server automation scripts automatically.
Scheduled jobs can be enabled or disabled even outside of the context of a Digital App.
To schedule a server automation script, follow these steps:
1 Add a scheduled job
- From the FintechOS Studio main menu, click Automation Blocks > Scheduled Jobs. The Scheduled Jobs List page appears.
- Click Insert. The Add Scheduled Job page appears.
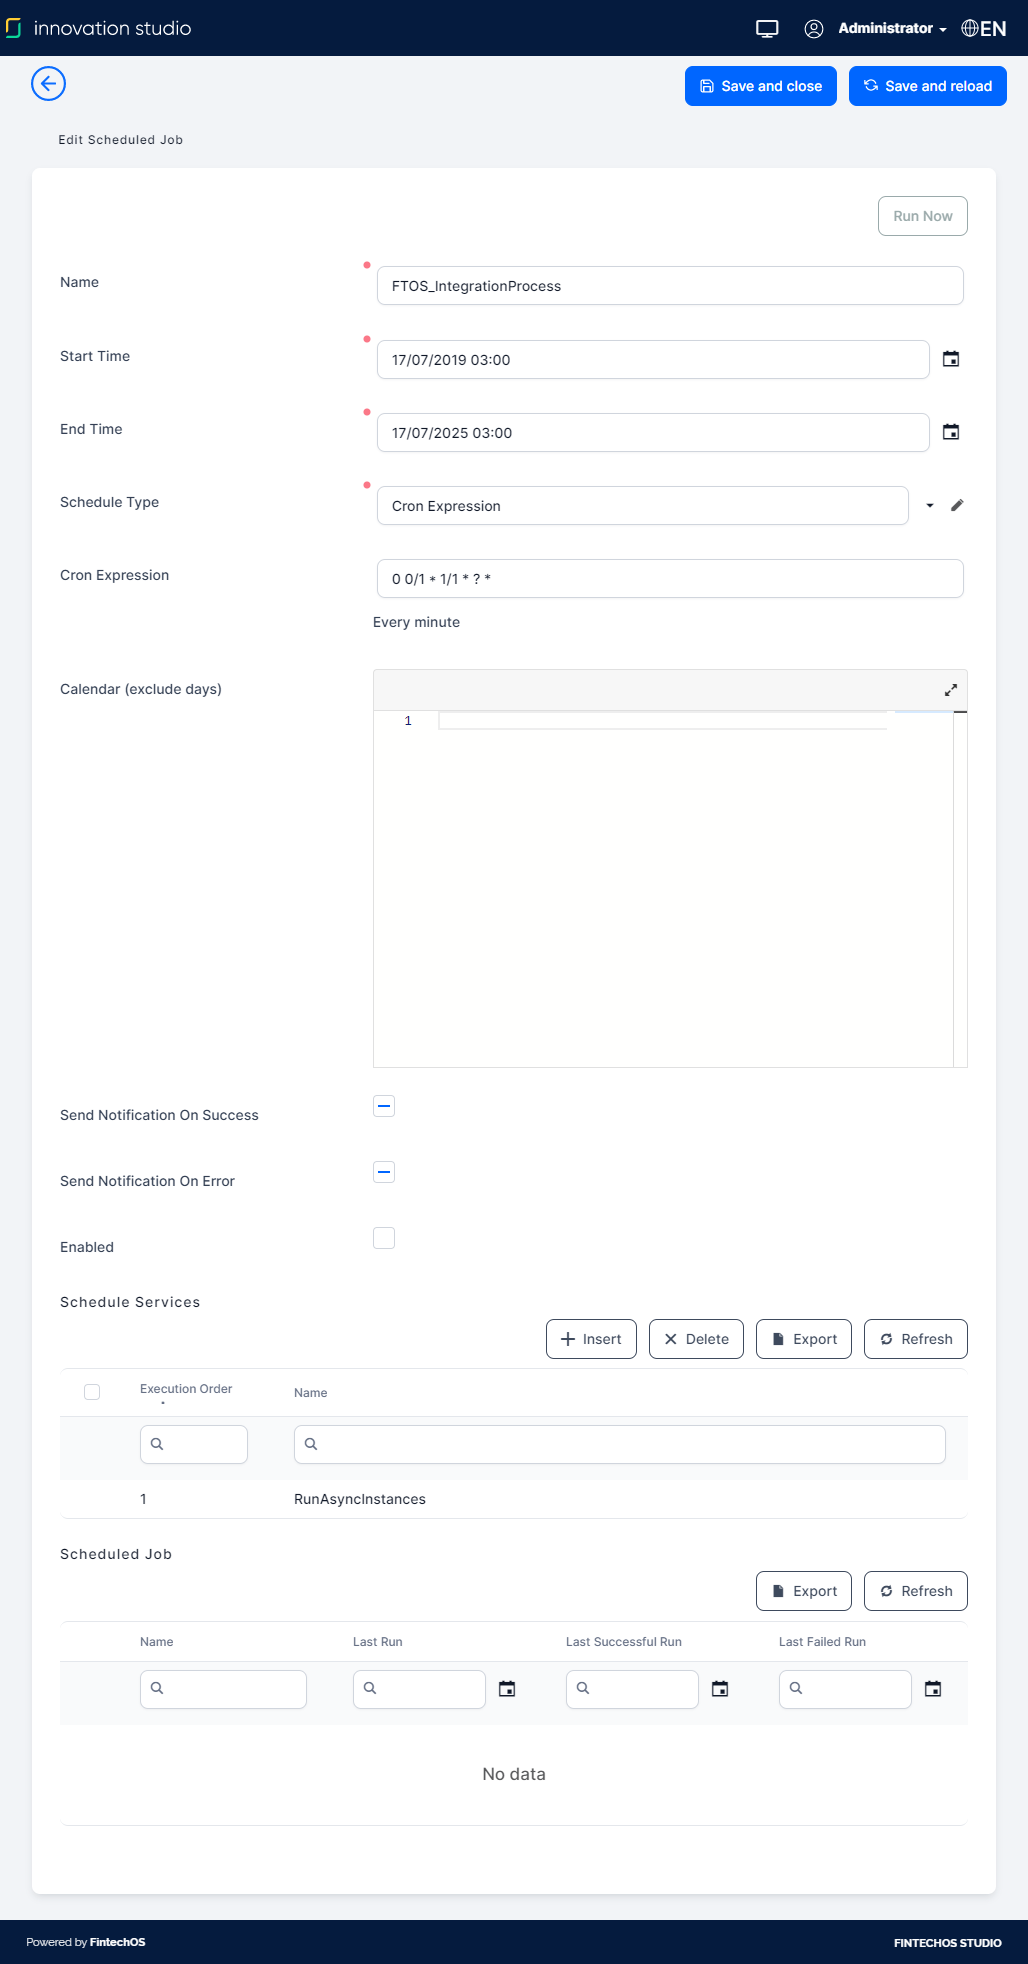
- Fill in the mandatory fields (marked with a red asterix).IMPORTANT!
The date/time fields refer to the timezone set up on the database (for Azure environments, this is usually UTC), not the date/time settings on your local system. - (Optionally) If you want to set up specific days when the job will not execute, in the Calendar (exclude days) field , provide the code to do so. The types of calendar exclusion can be: ANNUAL (dd.MM), MONTHLY (dd), WEEKLY (days in week: Monday, Tuesday, .etc), HOLIDAY (dd.MM.yyyy).
- Click Save and reload. The record is saved in the system and the Edit Scheduled Job page appears.
- Use the Send Notification On Success and Send Notification On Error checkboxes if you wish to send email notifications when a scheduled job succeeds or fails to a preset email address. For information on how to configure the SMTP server to sent notifications for operations, see the Administration Guide.
- Tick the Enabled checkbox to enable the scheduled job, otherwise it will not run.
Now you can add schedule services.
2 Add schedule services
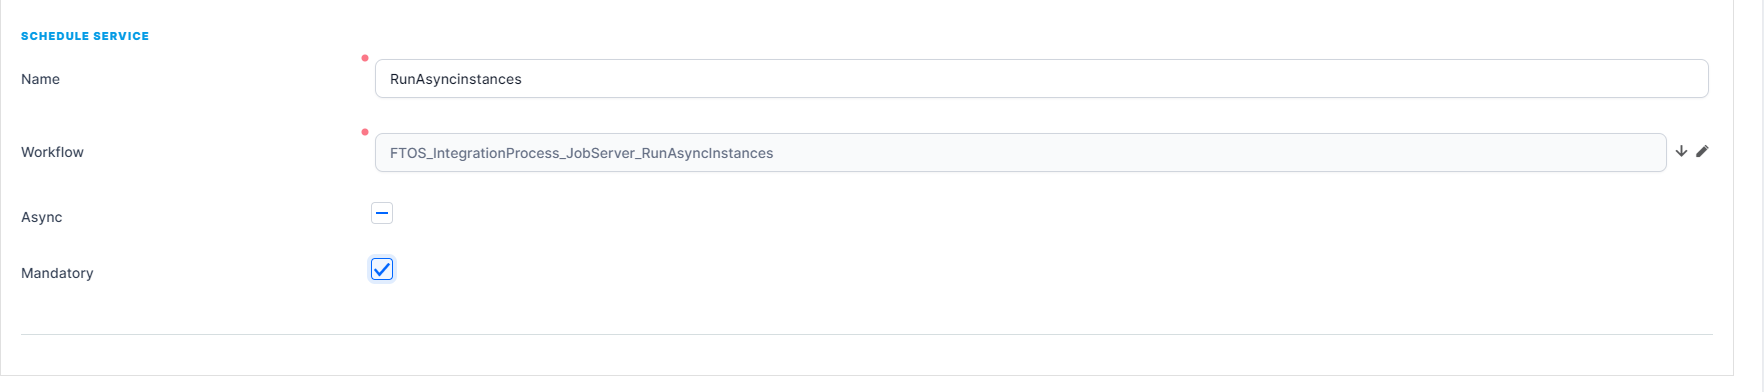
- In the Edit Scheduled Job page, scroll-down to the Schedule Services section and click the Insert button. The Add Schedule Service page appears.
- In the Name field, provide a name for the service.
- Click the down arrow next to the Workflow field. A pop-up appears listing all existing server automation scripts.
- Select the server automation script you want to schedule by double-clicking on it.
- Tick the Async checkbox if you want the service to run asynchronously.
- Tick the Mandatory checkbox if you wish to prevent any subsequent services of the scheduled job from running if this service fails.
- Click Save and close. Add as schedule services as automation scripts you want to schedule for execution.
If you have more than one scheduled service in the Schedule Services list, you can set their execution order.
3 Set the execution order
If you have several automation scripts scheduled and need them to be run in a specific order, drag and drop the records in the Schedule Services list in their execution order (where the first record in the section is the first one to be executed).
If you choose that one of the service is mandatory and it fails, all the following services (scripts) will no longer execute. Also, if you will choose to run script async (when adding /editing a schedule service by selecting the Async checkbox), the order of services will be disregarded and all automation scripts will run in parallel.
[{
        name:"calAnual",
        type:"ANNUAL",
        excludeDays:["03.11","17.01"]
      },
    {
        name:"calMonthly",
        type:"MONTHLY",
        excludeDays:["25","10"]
    },
    {
        name:"calWeekly",
        type:"WEEKLY",
        excludeDays:["Saturday","Sunday"]
    },
    {
        name:"calHoliday",
        type:"HOLIDAY",
        excludeDays:["25.12.2018","01.01.2019"]
    }
] In order for the cron jobs to trigger the automation script execution, the Job Server should be installed on deployment.
The Job Server is aware of jobs changes (time, cron expression, reorder of services).
For all failed jobs, a Run now button is displayed which allows running the jobs again. The job data model has includes a parent job id. When running a failed job (by clicking the Run now button), a copy of the job is created having the parentJobId = original Job and it will be scheduled to run only once in 1 minute.