Configure Cards
In this section,you can configure the cards that are displayed in the interface, in an insurance Quote&Bind digital application, after the customer answers the DNT questionnaire. These are added to specific insurance persona, which is configured in the Q&B Configurator > Insurance Persona section.
-
Log in to Innovation Studio.
-
Navigate to Product Factory > Proposal Configurator > Cards.
-
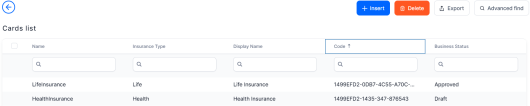
The Card List screen is displayed.
-
Click the Insert
 button on the top right to insert a new card.
 -
In the Card tab, fill out the following fields.
Field Description Effective Date
The date when the specific card version is available in the system. You can choose a date which is greater or equal to the current date. The date cannot be greater than the end date of the insurance product.
Name The name set for the configured card. Insurance Type Choose the type of insurance from the option set. The insurance type needs to be pre-configured as per the steps detailed in the Insurance Product Factory guide. Card Type
Drop down to choose the card type. The possible values are Single Product and Multi Product.
Product
Drop down to choose the product for the card.
Display Name The card name to be displayed in the user interface, in the Quote&Bind offer cards. Code Assign a code for the card in order to make it easily recognizable. Technical Description Specific area for the technical description. Description Free text field to input a description for the created card. This is displayed in the Quote&Bind offer cards. 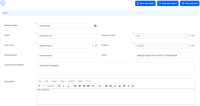
-
Click the Save and Reload
 button on the top right corner.
 -
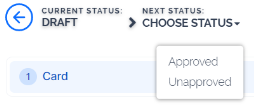
The record is saved, and now the card is in Draft status, as shown in the top left corner. After the card is configured, the next status can be manually chosen as Approved or Unapproved.
-
To create a new version for the card, after the card is set in the Approved status, click the New Version
 button on the top right corner.
 -
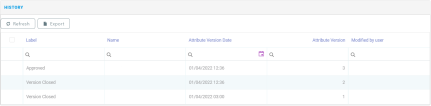
View the versioning history of the card by accessing the History tab.

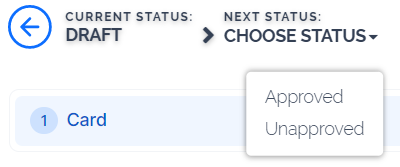
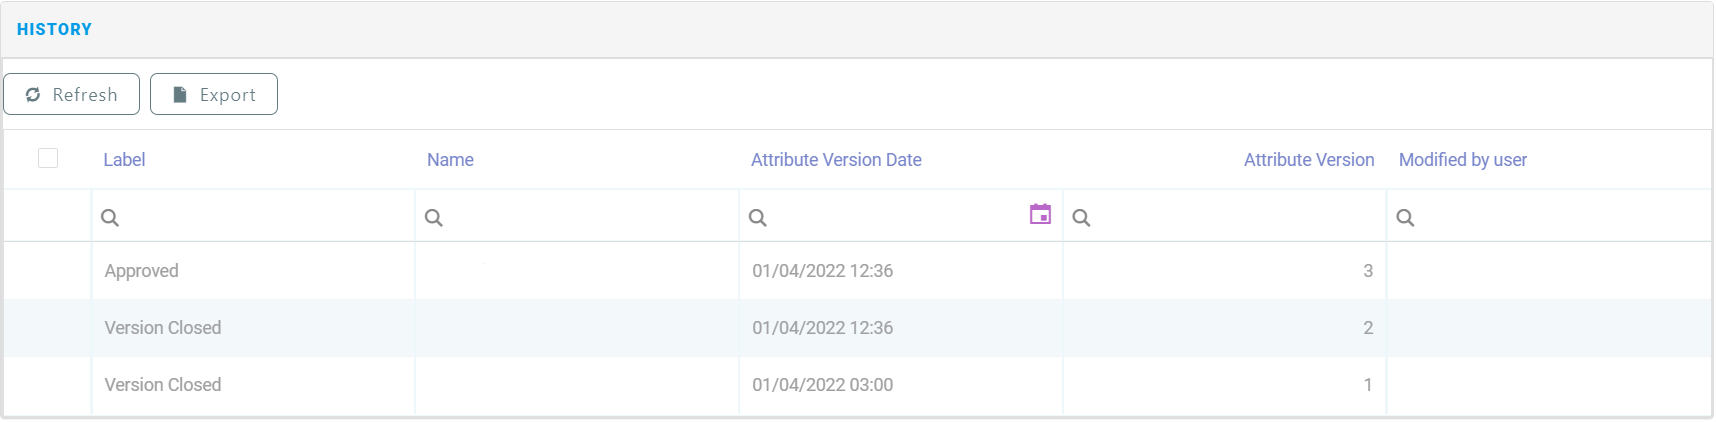
If the Effective Date is further than the current date, the card passes to the Pending status, and becomes Approved when reaching the Effective Date.
If the Effective Date is equal to the current date, then the version of the card automatically passes to the Approved status.
The FTOS_IP_Approve_PendingCards job is used to approve the cards based on the Effective Date. Read more by accessing the Scheduled Jobs page.
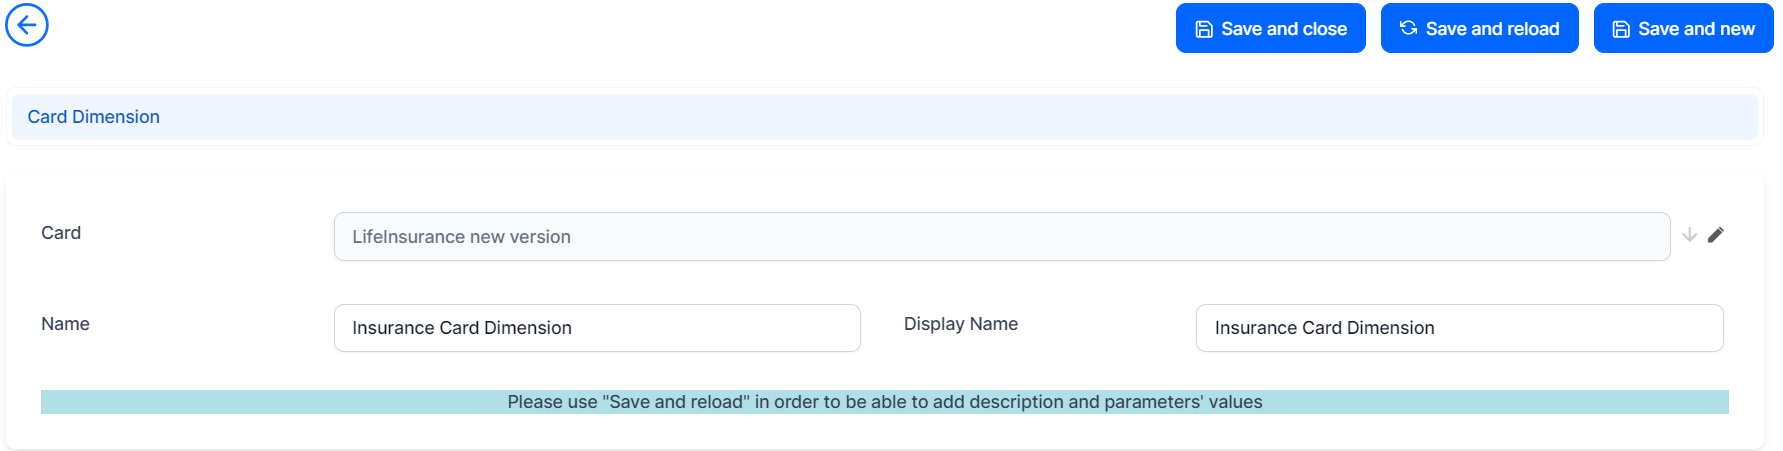
After you have saved the version of the card, in the Card section, the Card Dimensions, Insurance Persona Cards and Card Item Config sections are unfolded.
You can define a dimension for the card, for Single Product cards with Tariff = Per Product. You can use some default values for the inputs of the premium calculation formula. To add a card dimension, follow the steps below:
-
In the Card Dimensions section, click the Insert
 button.
 -
Fill out the Name and Display Name fields.

-
Click Save and Reload.
-
You can now fill out the Description and Description HTML fields, and they keys from the formula attached on product level are also displayed. You can manually add a Value for every key, and choose the Key Type and Key Sub-type, as per below.

-
Click Save and Close.
-
The configured card dimension is now displayed in the Card Dimension section.


In this section, you can insert the persona to be displayed on the card. Each insurance persona is correlated with different cards. The offer cards are displayed according to the insurance persona resulting from the customer's selection of options.
For each insurance persona there can be added as many cards as necessary in a desired order and having an offer card as a highlighted offer, the most suitable offer for the customer’s needs.
-
In the Insurance Persona Cards section, click Insert
to add a new card. -
Fill out the following fields.
Field Description Card The correlated card for the created insurance persona. Insurance Persona Insurance persona which needs to be previously configured in the system. Highlighted If the field is ticked, then in the Quote&Bind application when displaying the Offer Cards, one or more Cards with this setting is highlighted as the most suitable option for the customer’s needs. Name Name for the insurance persona card. Order The order in which the cards are displayed in the Quote&Bind application’s interface. -
Click Save and Close.
-
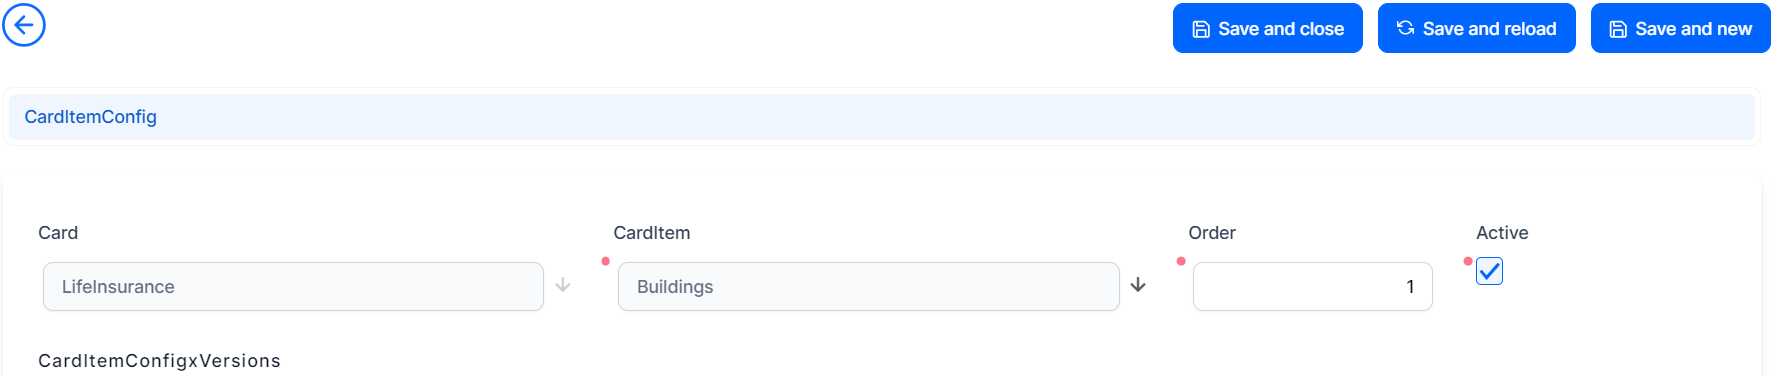
In the Card Item Config section, click the Insert
button . -
Fill out the following fields.
Field Description Card By adding card items on a card, the card name is filled in the interface by default. Card Item The name of the card item chosen from the already created card items in order to correlate it with the card. Order The order in which the item appears displayed on the card. Active Active = the card item is included as a covered item in that offer card, meaning that it is taken into consideration for premium amount calculation.
Not Active = the card item is grayed-out in the offer card, not included in the offer for premium calculations, showing the customer what the offer is like without that item.

-
Click Save and Reload.
-
The Card Item Config X Versions section is unfolded. Each card item can have multiple versions. To create a new version, click the Insert
 button.
 -
Fill out the following fields.
Field Description CardItemConfig Auto-populated field with the card item name. CardItemVersion Option set field to choose the card item version, after the versions are previously configured. Default If ticked, this version appears as the default. 
-
Click Save and Close. The created version is now listed in the Card Item Config X Versions section of the Card Item Config screen.

-
Click Save and Close. The created card item is displayed in the Card Item Config section of the Card screen.

-
Click the Test Calculation tab and input the formula in the Calculation Values section. To learn more about configuring Business Formulas, check the Innovation Studio guide.
-
Click Save and Close. The card is now listed in the Cards List screen.


You can delete any of the cards by selecting one or more records and clicking the Delete  button on the top right corner. In addition, the cards data can be exported into an .xsls file by selecting one or more records, and clicking the Export
  button on the top right corner.