Code Editor Development Guide
The Code Editor is your own workspace, leveraging the native capabilities of Visual Studio Code. It empowers you to collaborate on Digital Solutions and embrace a superior development approach.
The Code Editor is designed for developers and requires some familiarity with Visual Studio Code, GitHub, Sonar, Jira, and other tools.
Follow the steps in the Code Editor documentation page to enable the editor on your FintechOS environment.
Initial Preparation
You need to complete a number of actions to prepare the workspace before you actually start working.
| Step | Action | FintechOS Studio | Code Editor | GitHub |
|---|---|---|---|---|
|
1. |
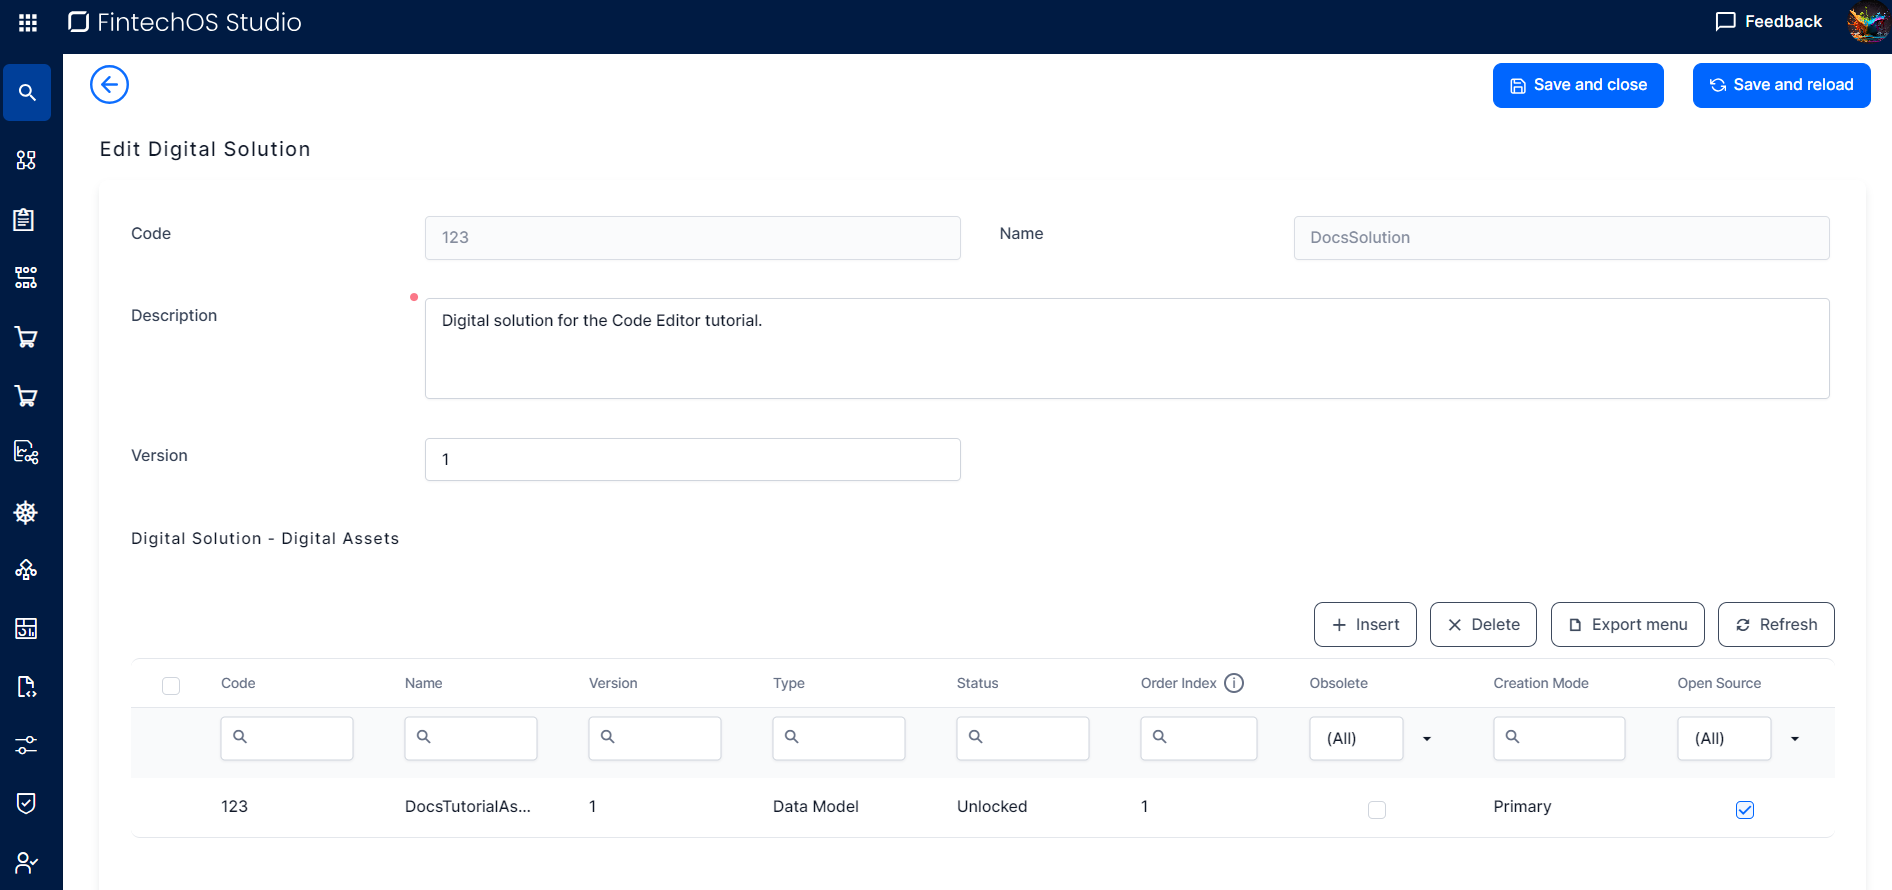
Create a project structure including digital asset/s and digital solution. |
Follow the steps in the Configuration Management page.
Digital Solution details page |
||
|
2. |
Create a new remote code repository using the FintechOS template, containing the solution build and other critical workflows. Template details and why it’s needed can be found in the repository. NOTE
Follow the steps in the following guide to connect to the FintechOS - GIT organization. You can skip this step if you already have a GitHub repo. |
Create a new repo | ||
|
3. |
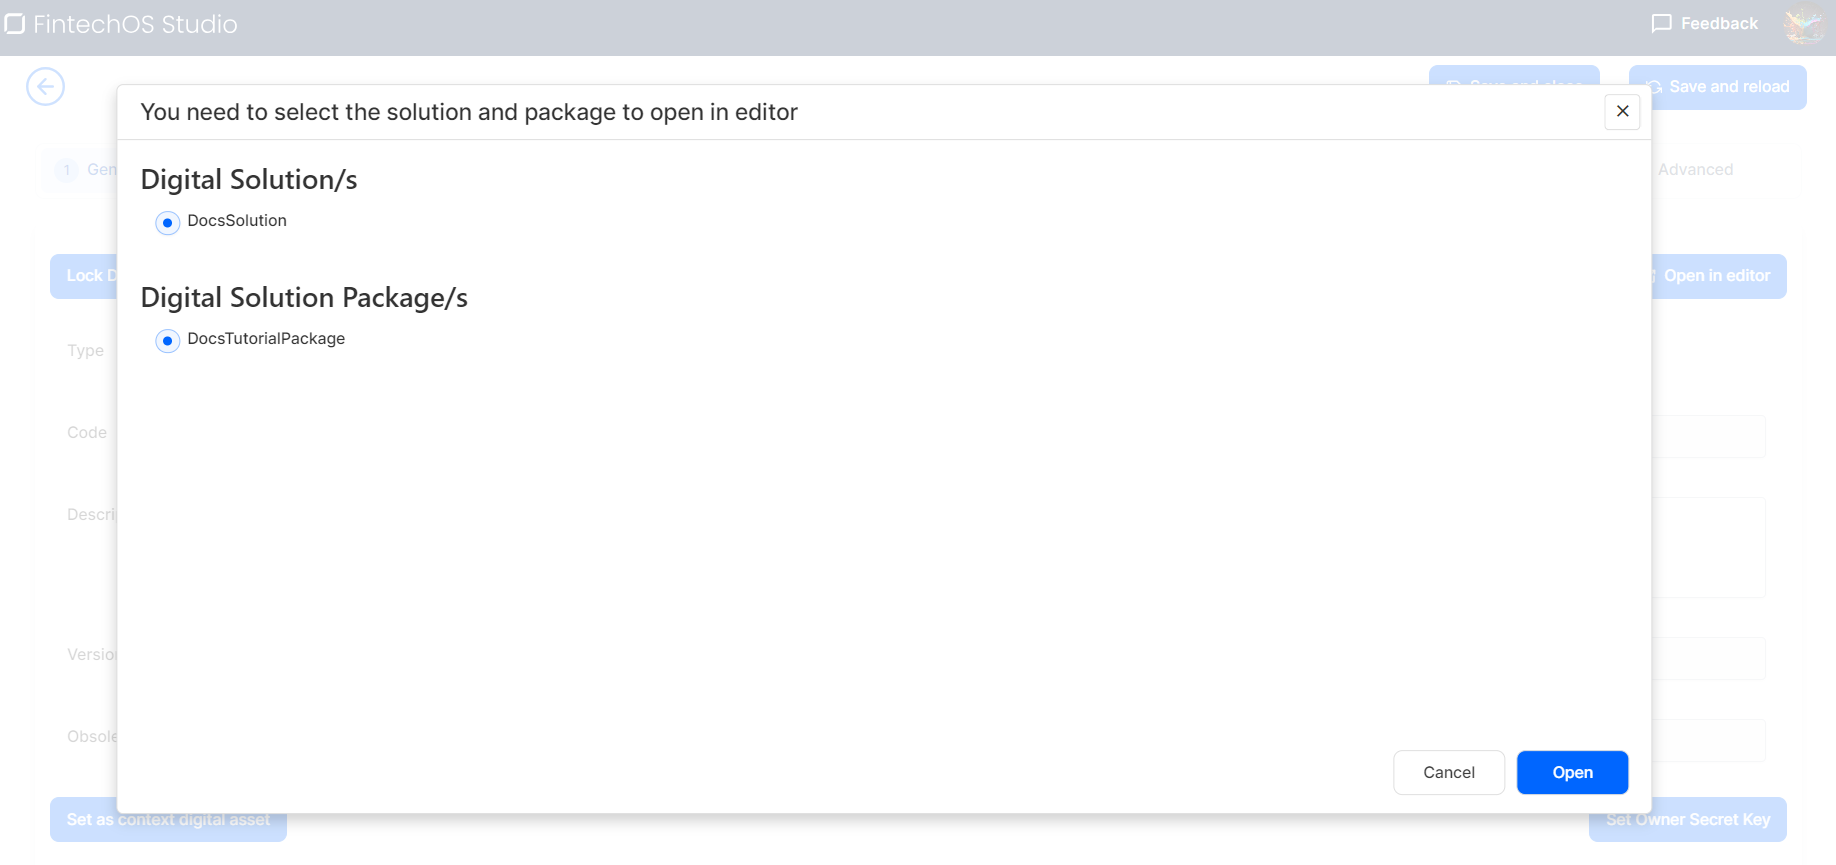
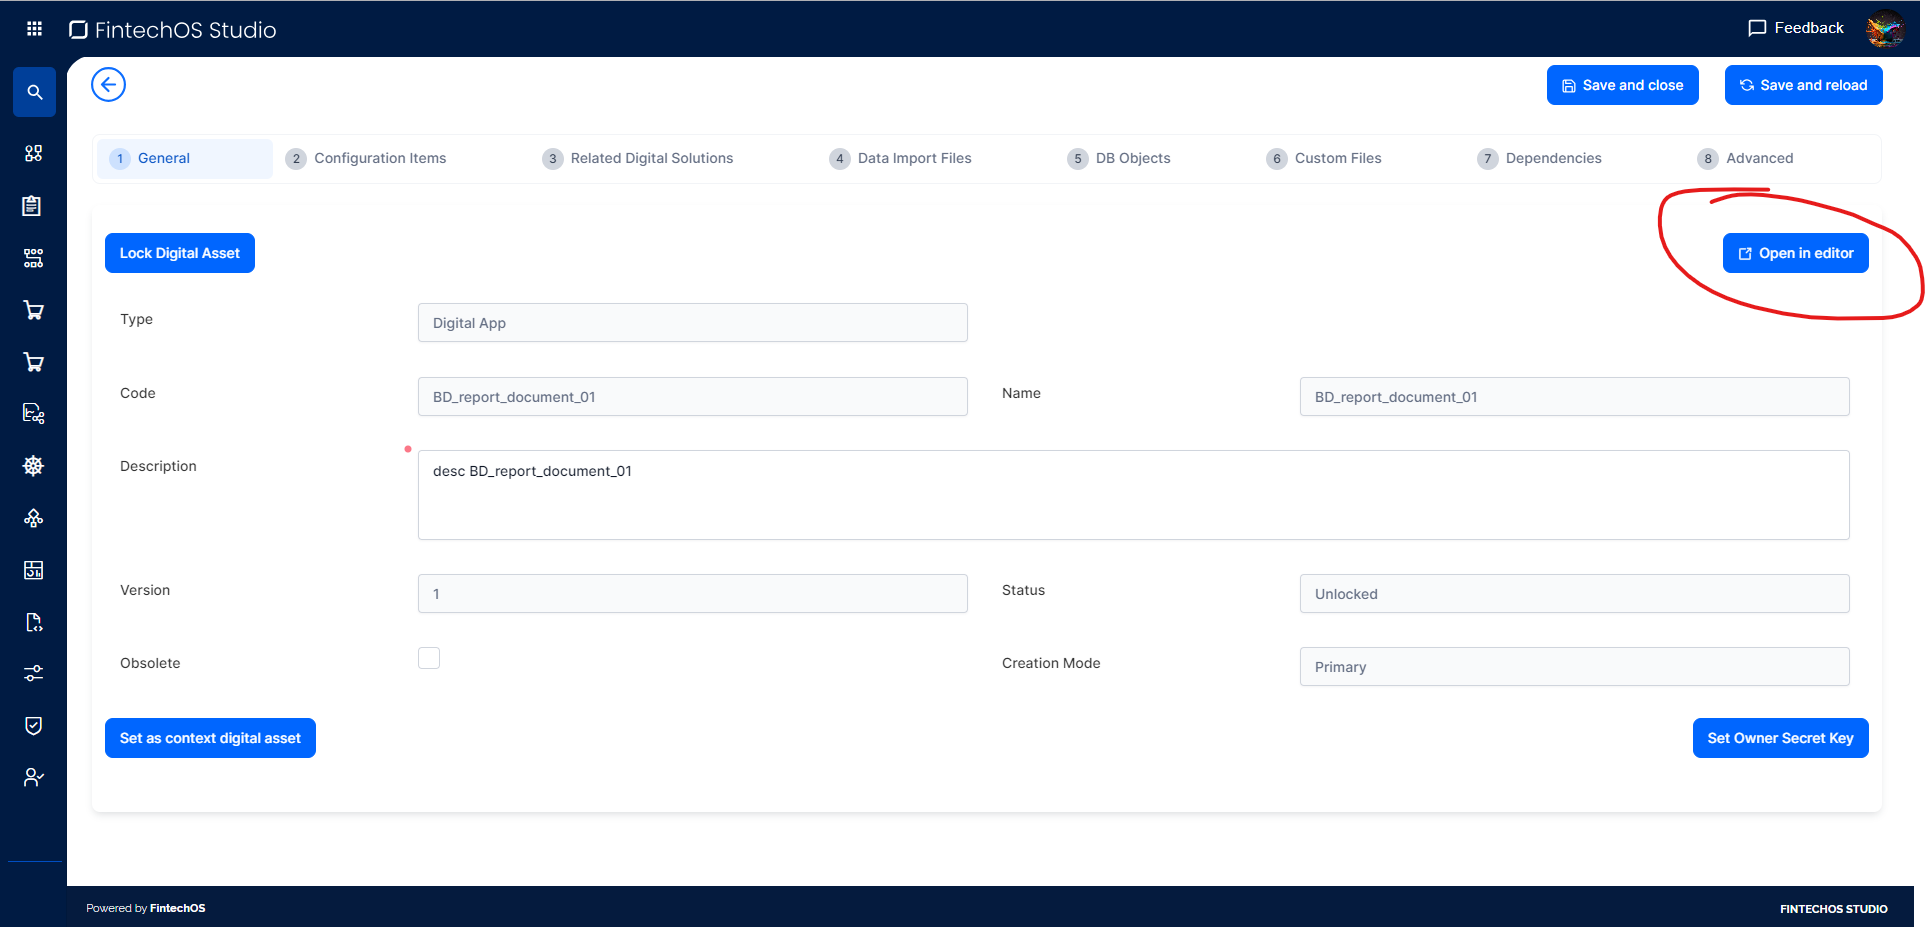
Perform an initial synchronization of your digital solution from FintechOS Studio into the Code Editor local workspace. Synchronization is based on package download, so you could be prompted to choose the package you are interested in. |
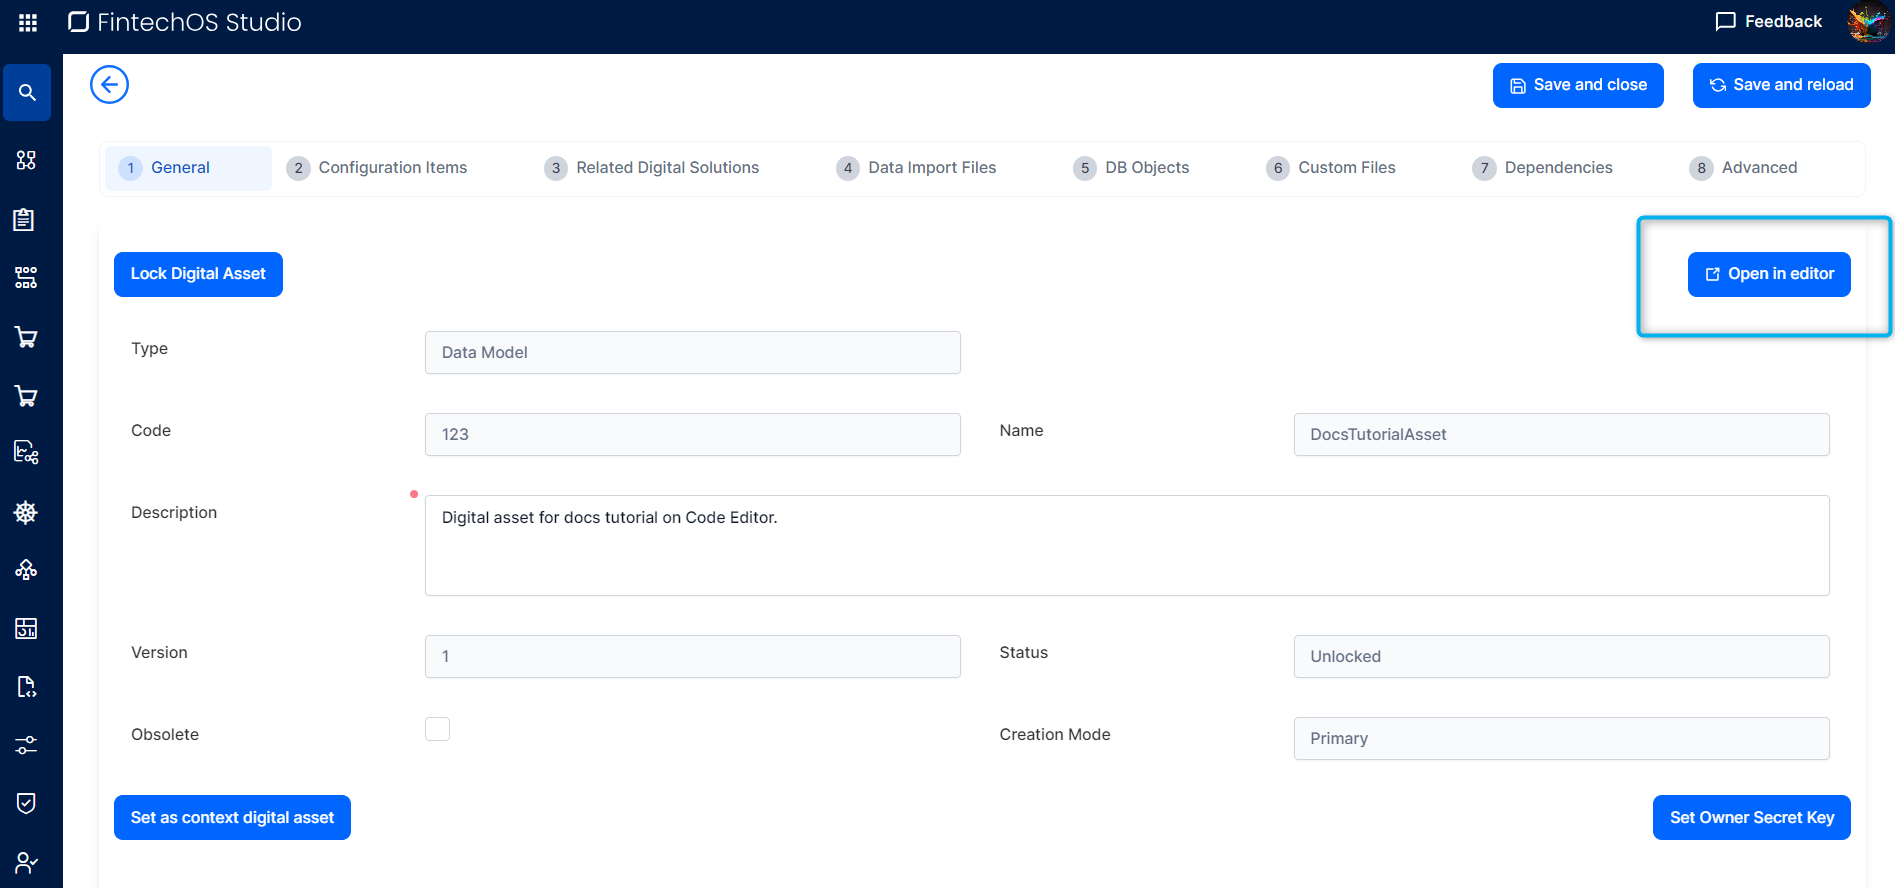
Open Digital Asset in Code Editor
Choose an existing solution and/or package |
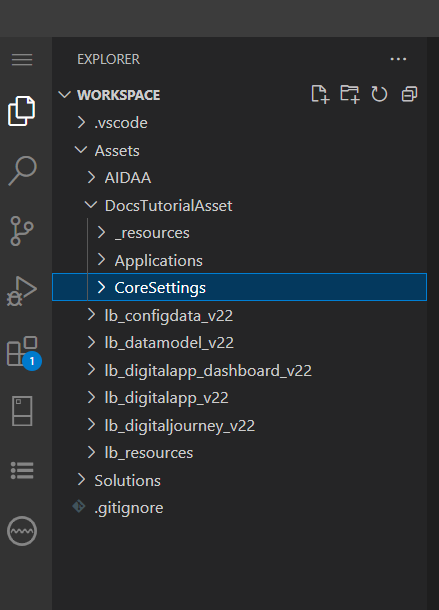
Digital Solution structure displayed in editor |
|
|
4. |
If additional Digital Solutions are necessary in your context, you can sync using the FintechOS Explorer extension. |

Sync Digital Solution from VS Code |
||
|
5. |
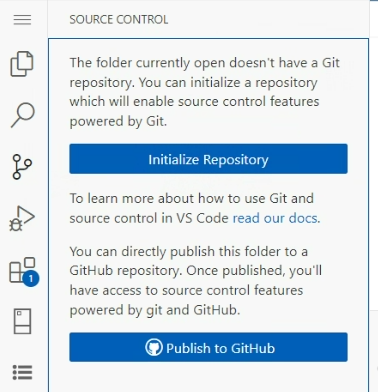
Run Git commands to initialize local repo. |
Run |
||
|
6. |
Connect local repo to remote repo in Github. |
Run git |
||
|
7. |
Pull the workflows from remote repo to local repo. |
Run |
||
|
8. |
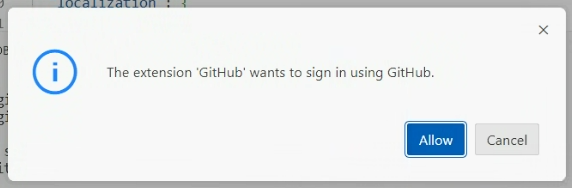
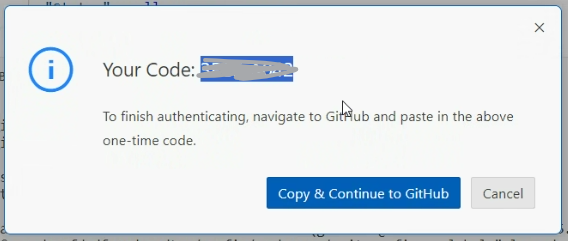
Sign in to Github and authorize the Code Editor. |
|
||
|
9. |
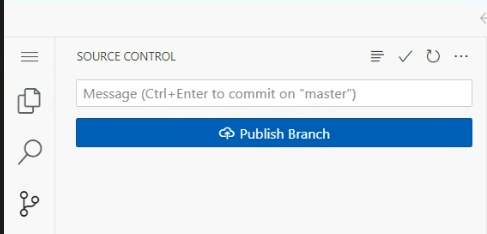
Perform an initial commit on local and publish to remote repo. |
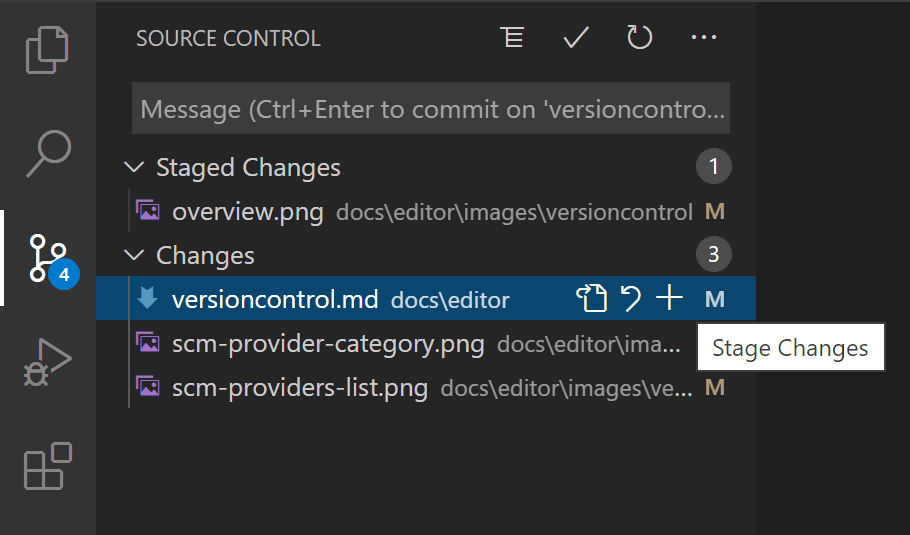
Staging (
You can type a commit message above the changes and press
|
||
|
10. |
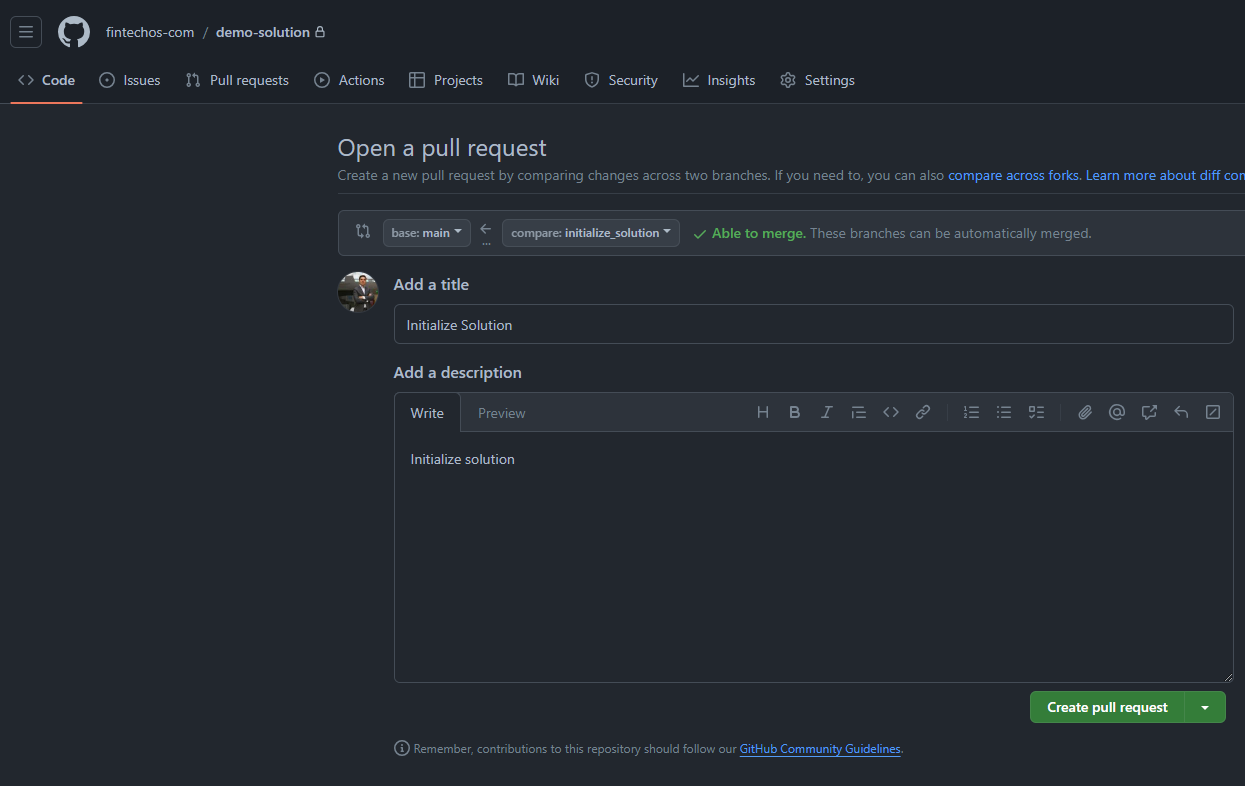
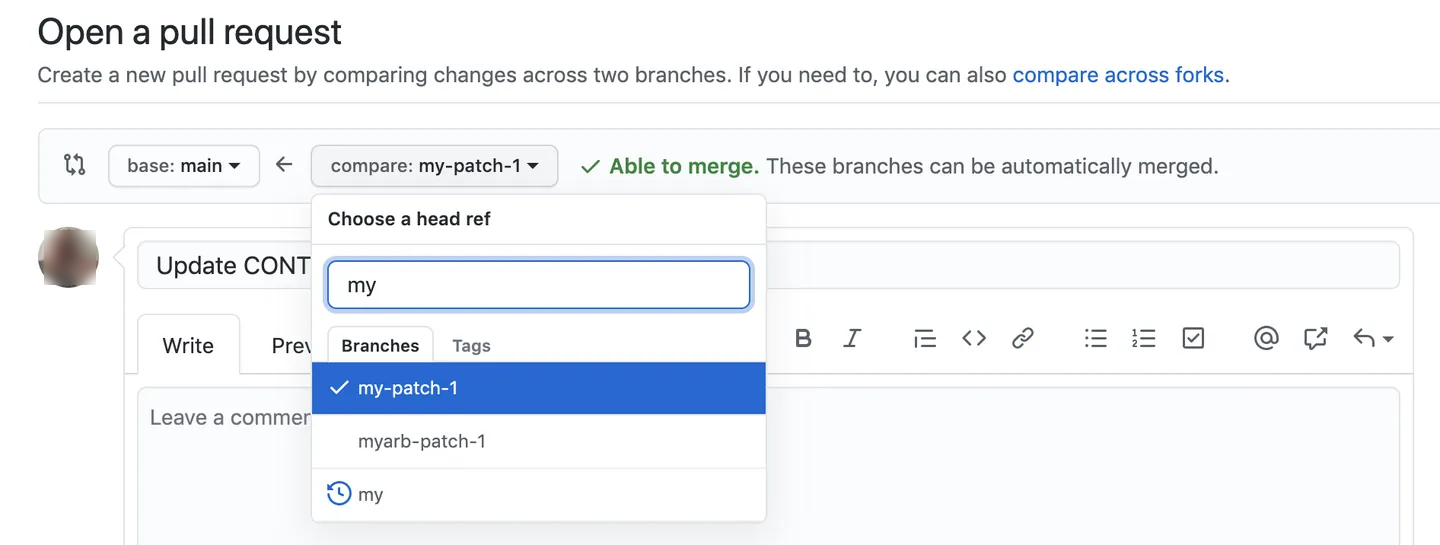
Create a new pull request |
|
||
|
11. |
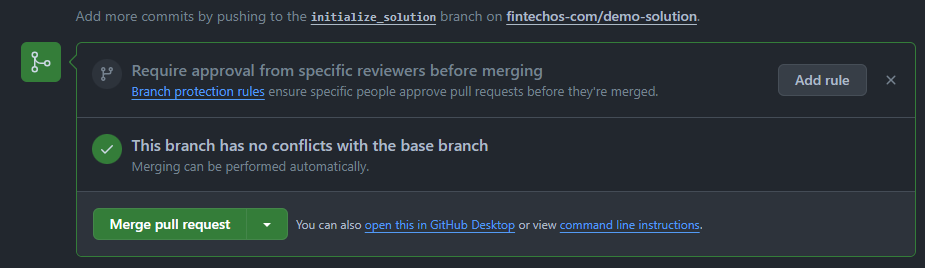
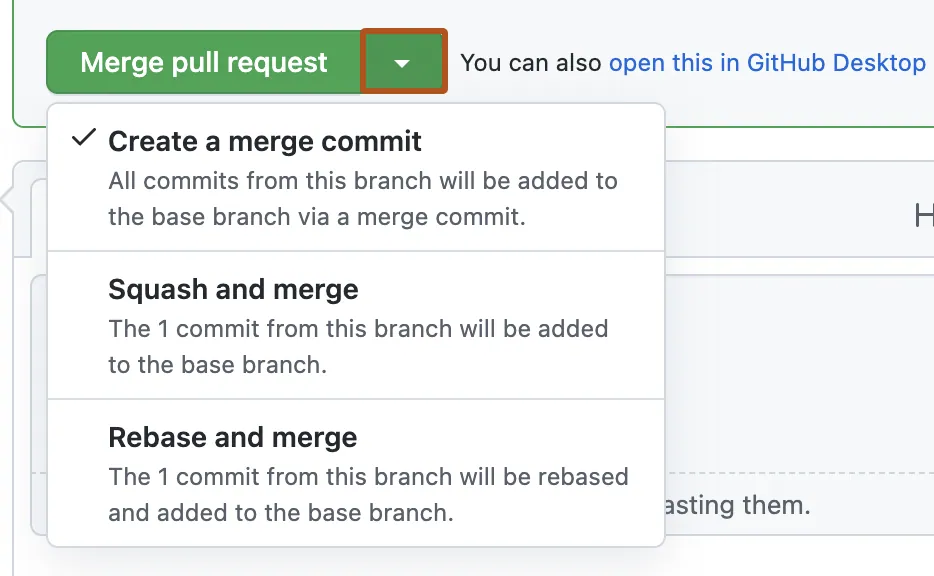
Merge changes |
|

Add a Change
After completing the steps above, you can start writing code for a FintechOS solution. To do so, follow the steps below:
| Step | Action | FintechOS Studio | Code Editor | GitHub |
|---|---|---|---|---|
|
1. |
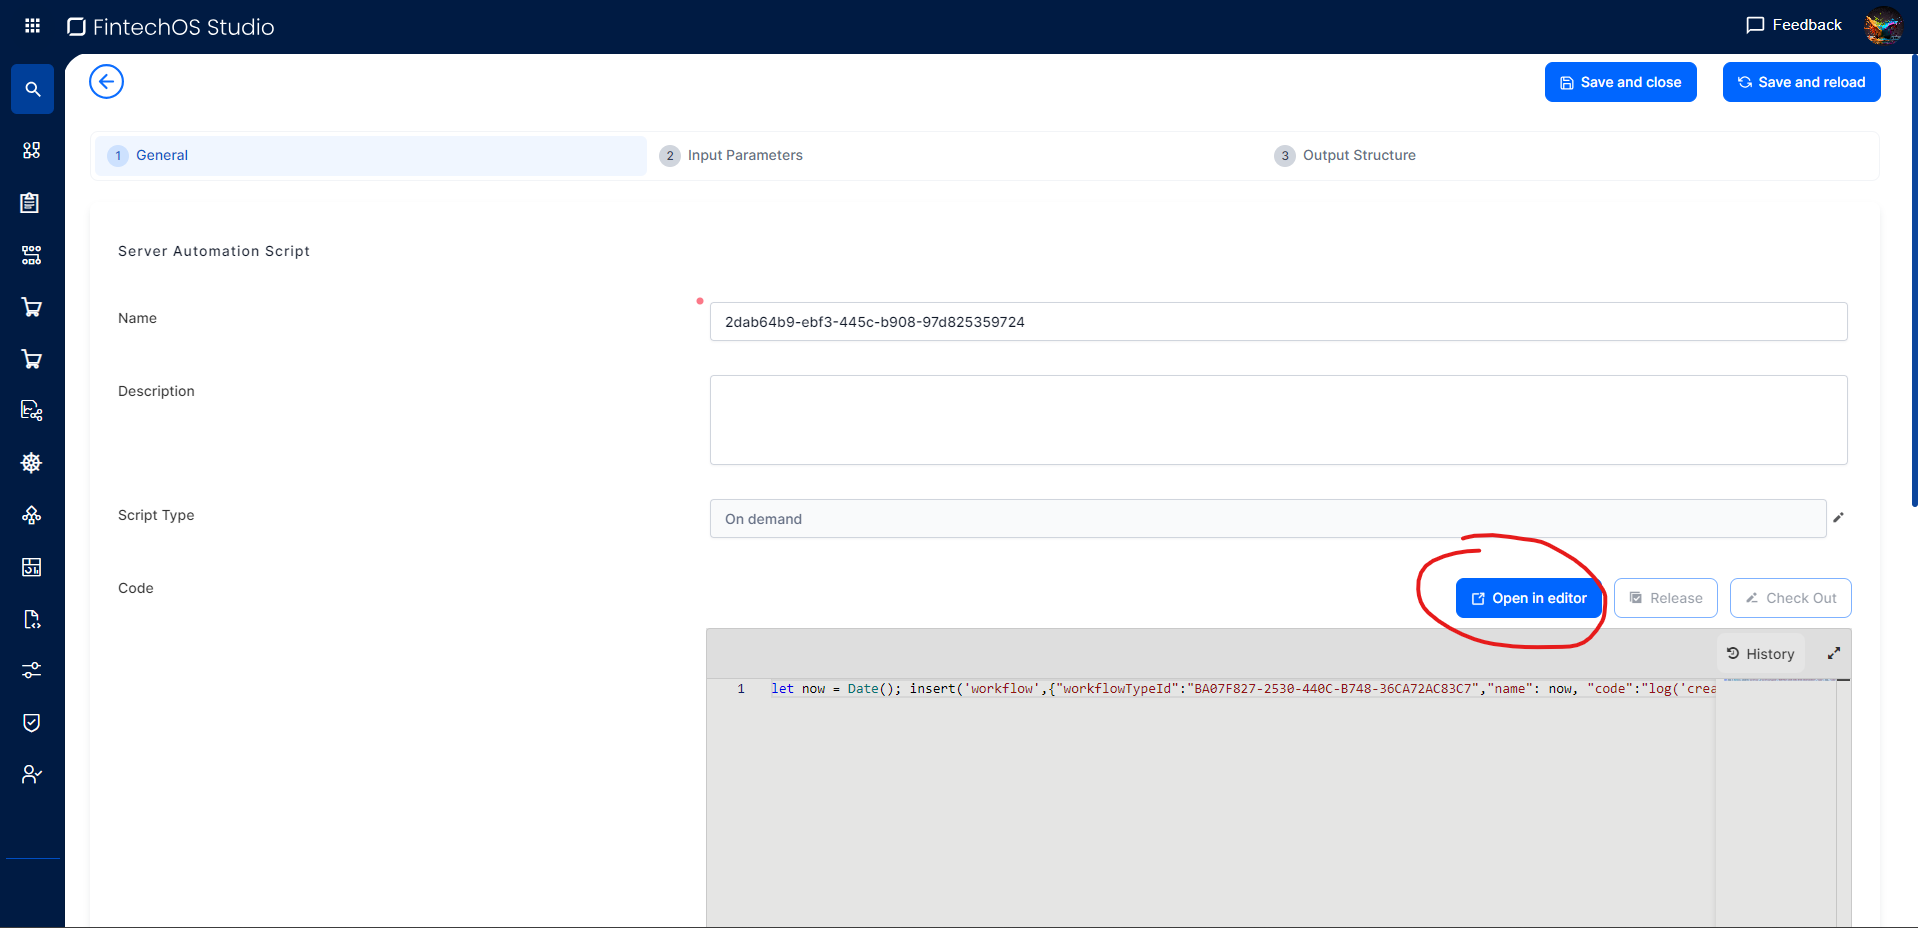
Create the no-code configuration (server-side automation script, etc.) |
|
||
|
2. |
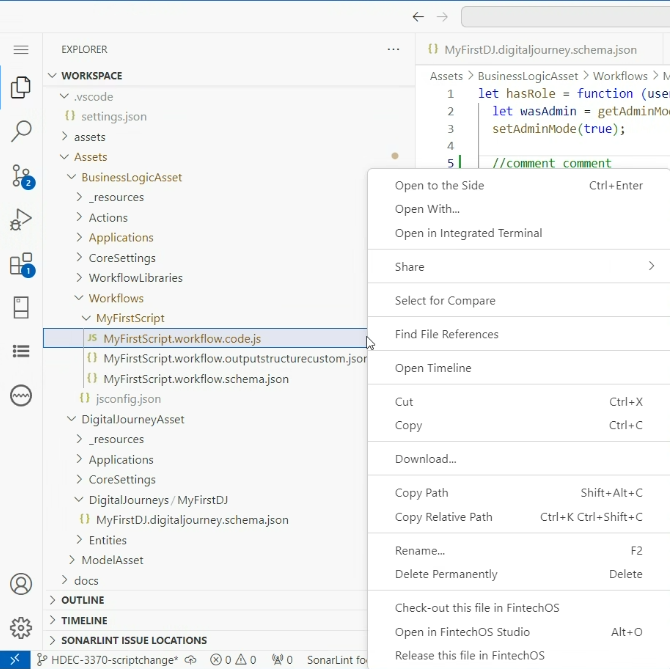
Launch the Code Editor |
Digital Asset
Automation Script |
||
|
3. |
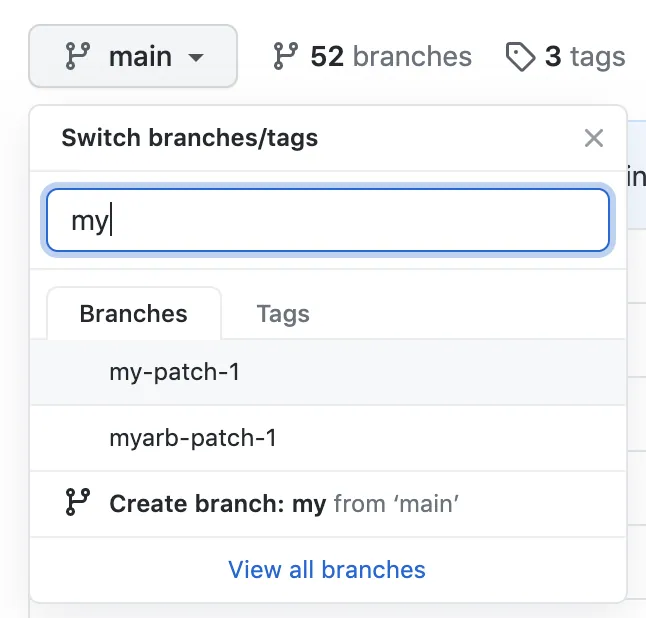
Create a new feature branch for your planned modifications. We advise you reference the ticket you are working on so development information is fed back into Jira. |
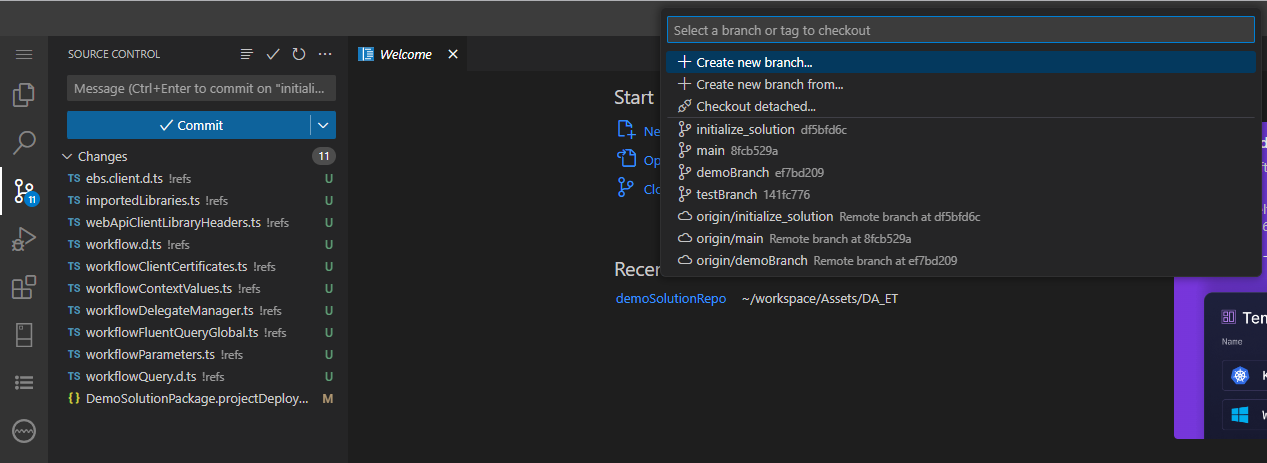
Create new branch In Terminal, run |
||
|
4. |
Edit the desired item (script, stylesheets or HTML templates) and others. Changes are saved both locally and in the FintechOS database. IMPORTANT! Be advised you may need to use the Check out and Release functions which restrict other users from adding changes to the item you are working on.
Release and Check out |
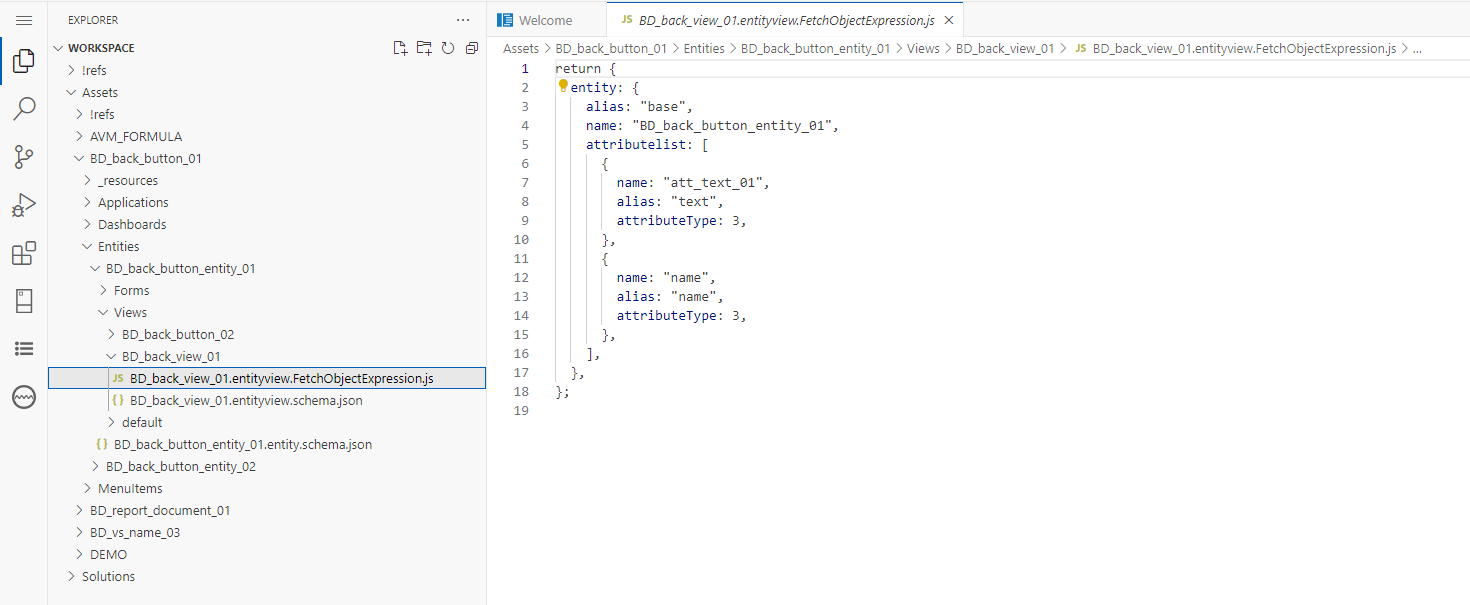
Fetch Expression in editor |
||
|
5. |
Test and debug changes. |
Run the solution using FintechOS Portal or OpenAPI. |
||
|
6. |
Sync Code Editor with FintechOS Studio to ensure no impact from other modifications added by others. |

|
||
|
7. |
Run local code quality checks (Sonar) |
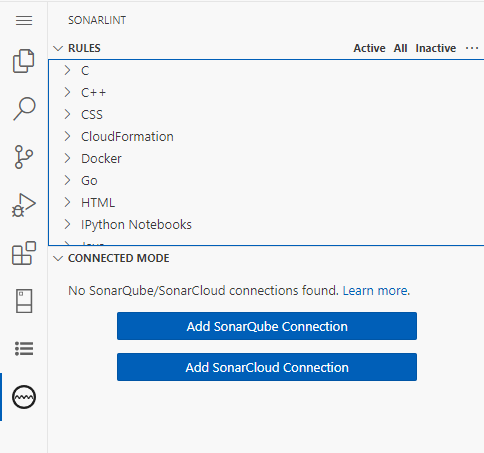
Connect to your team’s Sonar server |
||
|
8. |
If requirements are met, commit changes to local branch. |
Prepare the commit by choosing the only the files you are interested in changes. More details here.
You can type a commit message above the changes and press NOTE The commit action should include the Jira ID for cross-reference between Jira task and Git changes:
git commit -m "JRA-123 <summary of commit>" |
||
|
9. |
If everything is OK push your changes to the remote feature branch. |
There is a Synchronize Changes action in the Status Bar, next to the branch indicator, when the current checked out branch has an upstream branch configured.
Synchronize Changes pulls remote changes down to your local repository and then push local commits to the upstream branch.
If there is no upstream branch configured and the Git repository has remotes set up, the Publish action is enabled. This will let you publish the current branch to a remote. |


Integrate changes
These are the generic steps for merging your changes into the codebase of a FintechOS solution.
| Step | Action | FintechOS Studio | Code Editor | GitHub |
|---|---|---|---|---|
|
1. |
Create Pull Request and add a reviewer to your changes. The review must be done by another team member. NOTE
If the review or quality analysis reveals that changes are required, the flow will revert a to previous step of code changing until all reviews and quality checks are passed. |
|
||
|
2. |
Merge PR in main branch once everything is ok and create a new build.
|

|
Build and deploy
Follow the steps below to use Git actions on your repo, then build and deploy the code to an environment.
| Step | Action | FintechOS Studio | GitHub | Code Editor |
|---|---|---|---|---|
|
1. |
The repo template includes the Git actions needed to create the build and (if properly configured) also promote to your desired environment. IMPORTANT!
To mitigate potential inconsistencies, GitHub should be viewed as single source of truth for generating and deploying packages. |
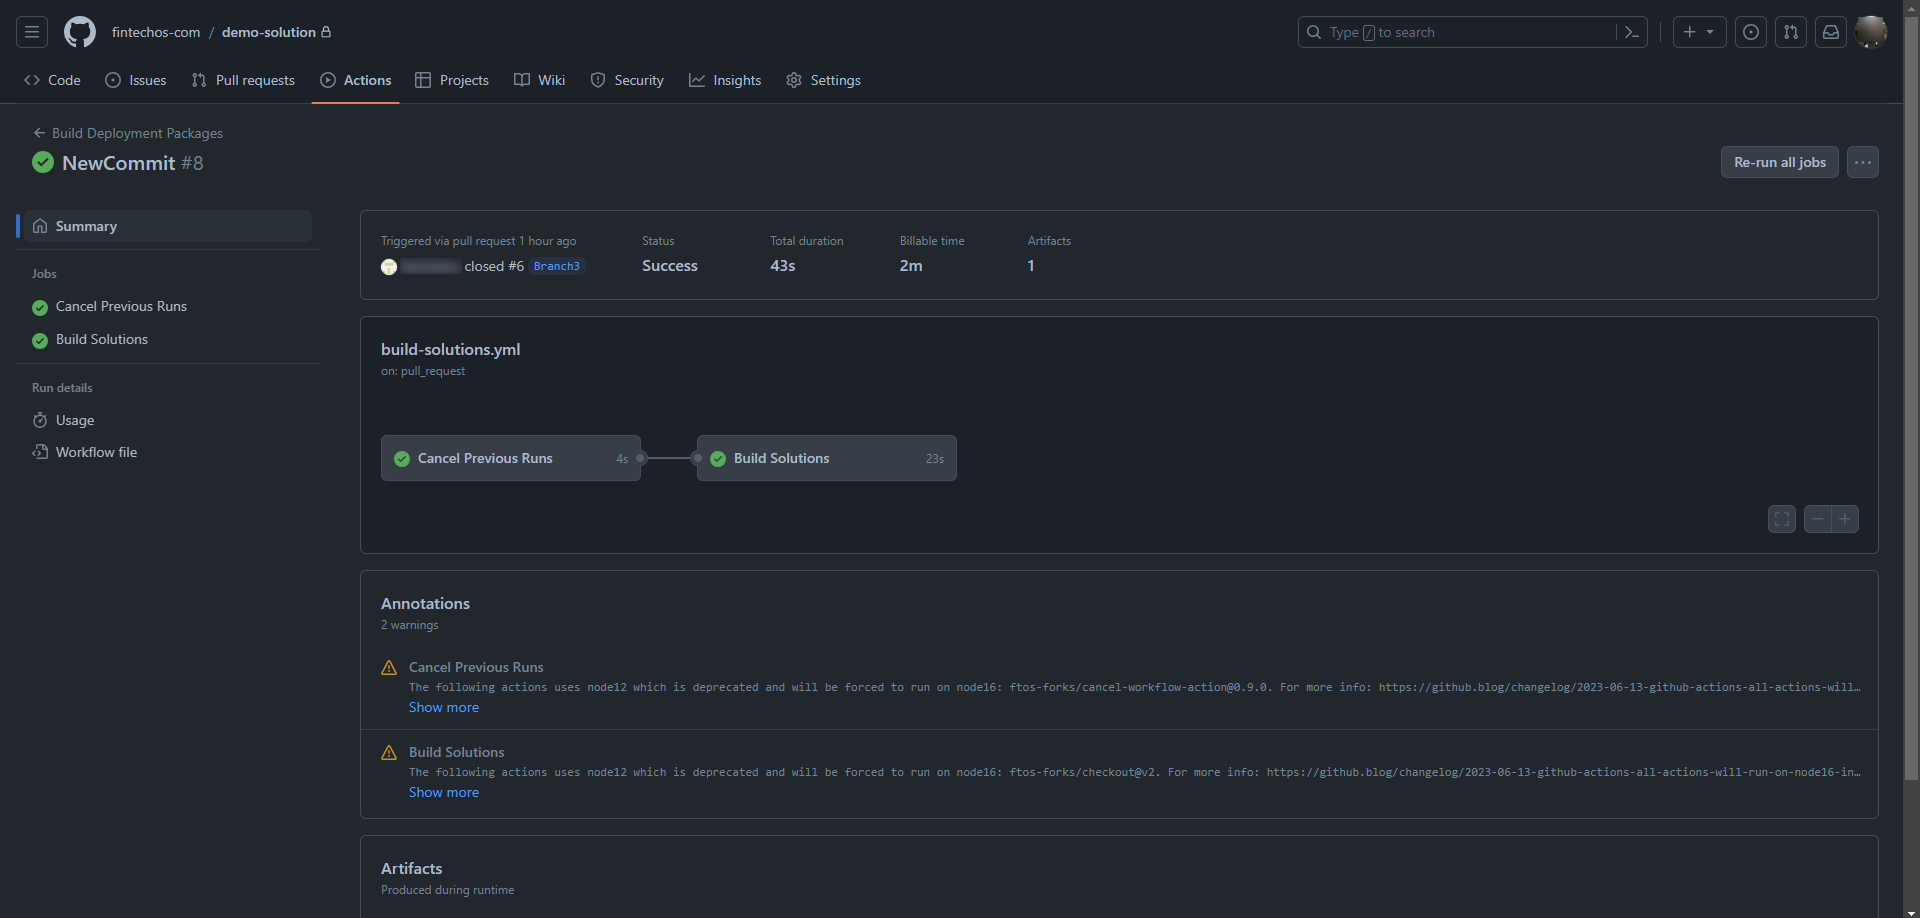
Build process
Build artifact |
||
|
2. |
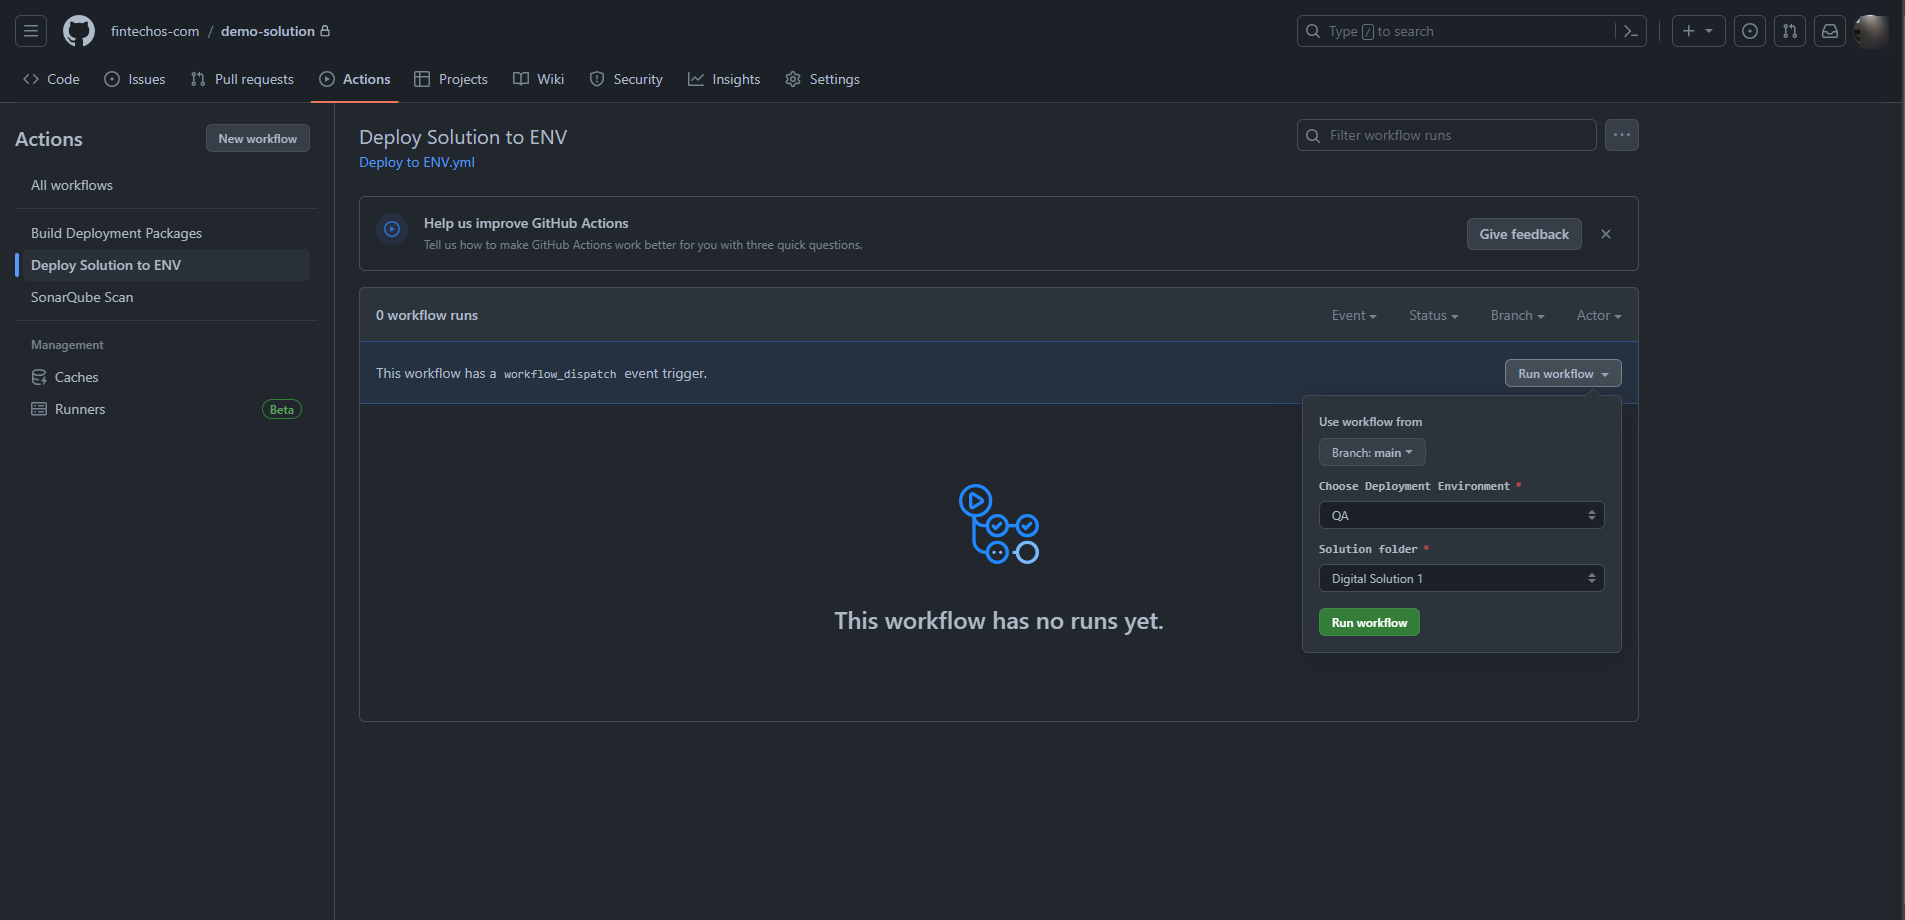
Run deploy workflow |
Go to actions and choose Deploy to ENV
|