System Users
One or more security roles can be associated at user level, enabling a simple process for promoting or revoking rights. You can grant access to the platform to both users within your organization, and to persons outside your organization who use company data to make decisions (external users). Users have access to the platform functionality based on the security role assignment. By default, all users are able to view and manage their account data in the My Account section.
Only users with elevated privileges (admin account) can manage users.
In FintechOS, user type is a grouping for the users based on platform high level access (to not be confused with system roles).
The platform distinguishes three user types:
-
Back Office - The user type that all users have when created. It does not have a special access scope, it is just a category.
-
Guest - It is just a category, it does not have any special platform access meaning. It has only a validation, there can’t be two users with this type.
-
DNN Portal - Used in implementation if there is a DNN Portal created that gets data data from FintechOS.
Add System Users
- From the menu, click Security > System Users. The System Users List page appears.
- Click Insert. The Add System User page appears.
- In the appropriate fields, provide the user credentials the user uses to log into the platform (Username, Password, Confirm Password).
- From the Business Unit drop-down, select the business unit to which the user belongs to.
- Select the System User Type by selecting from existing user types or insert new ones based on your needs.
- If you want the user to have full access privileges within the platform (Admin user), tick the Is Administrator checkbox.
- Activate the user by ticking the Is Authorized checkbox.
- Click Save and reload. The Edit System User page appears.
- From the Security Roles Role section, define the role assignment by clicking Insert existing and selecting the desired security role. A user can have multiple role assignments. The user has the access privileges and the level of access as defined by the security items within the selected security roles.
- Click Save and close to save the user updates.
Root is an important business unit that comes by default with FintechOS. A user configured under the root business unit can see all the records of the entities based on granted access rights.
You can now pass the credentials to users and recommend them to change the password at first login.
Edit System Users
You can edit users by changing their details, by adding new security roles, editing existing ones or removing security roles.
To edit a user, from the from the menu, click Security > System Users. The System Users List page appears. Double-click the user whose details you want to edit. The Edit System User page opens. Make the desired changes and click Save and close.
Unlock user account
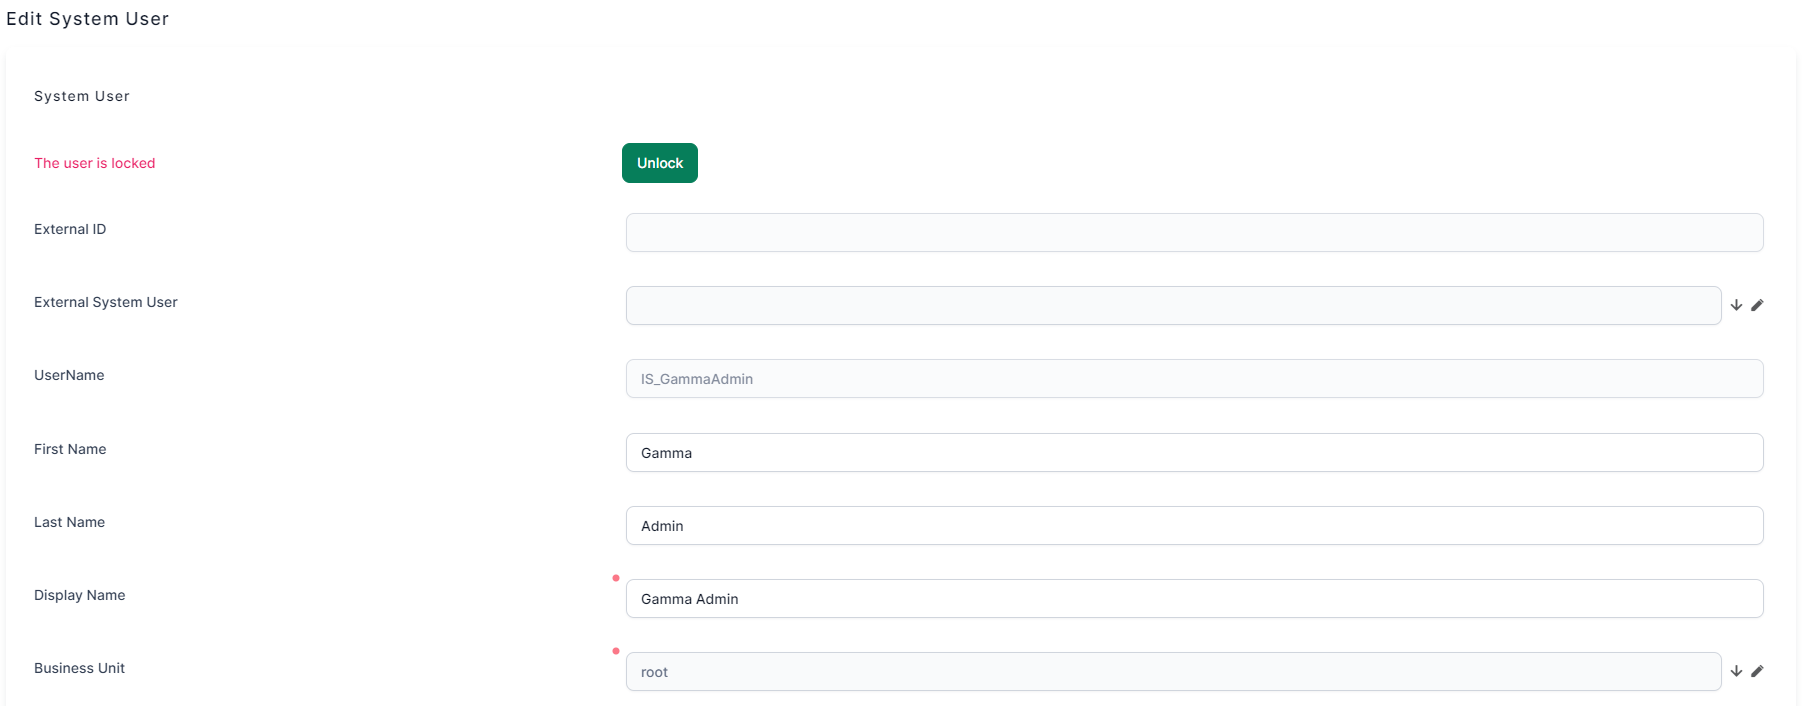
If users have locked their account by entering a wrong password many times, reaching the maximum number of password retries, users with elevated privileges (admin account) can unlock their account from the system user's configuration page, by clicking Unlock.