Data Import Template
To import a package or data with its metadata from another system source follow these steps:
HINT
Prior importing data in bulk in FintechOS, go to the legacy system and export the data in an Excel file.
Do not include the source primary keys in the data exports. Primary keys are generated automatically by the system.
Make sure to include in the source export any attributes that are required in the destination entity, otherwise the import will fail.
- Open the Innovation Studio and select the Evolutive Data Core.
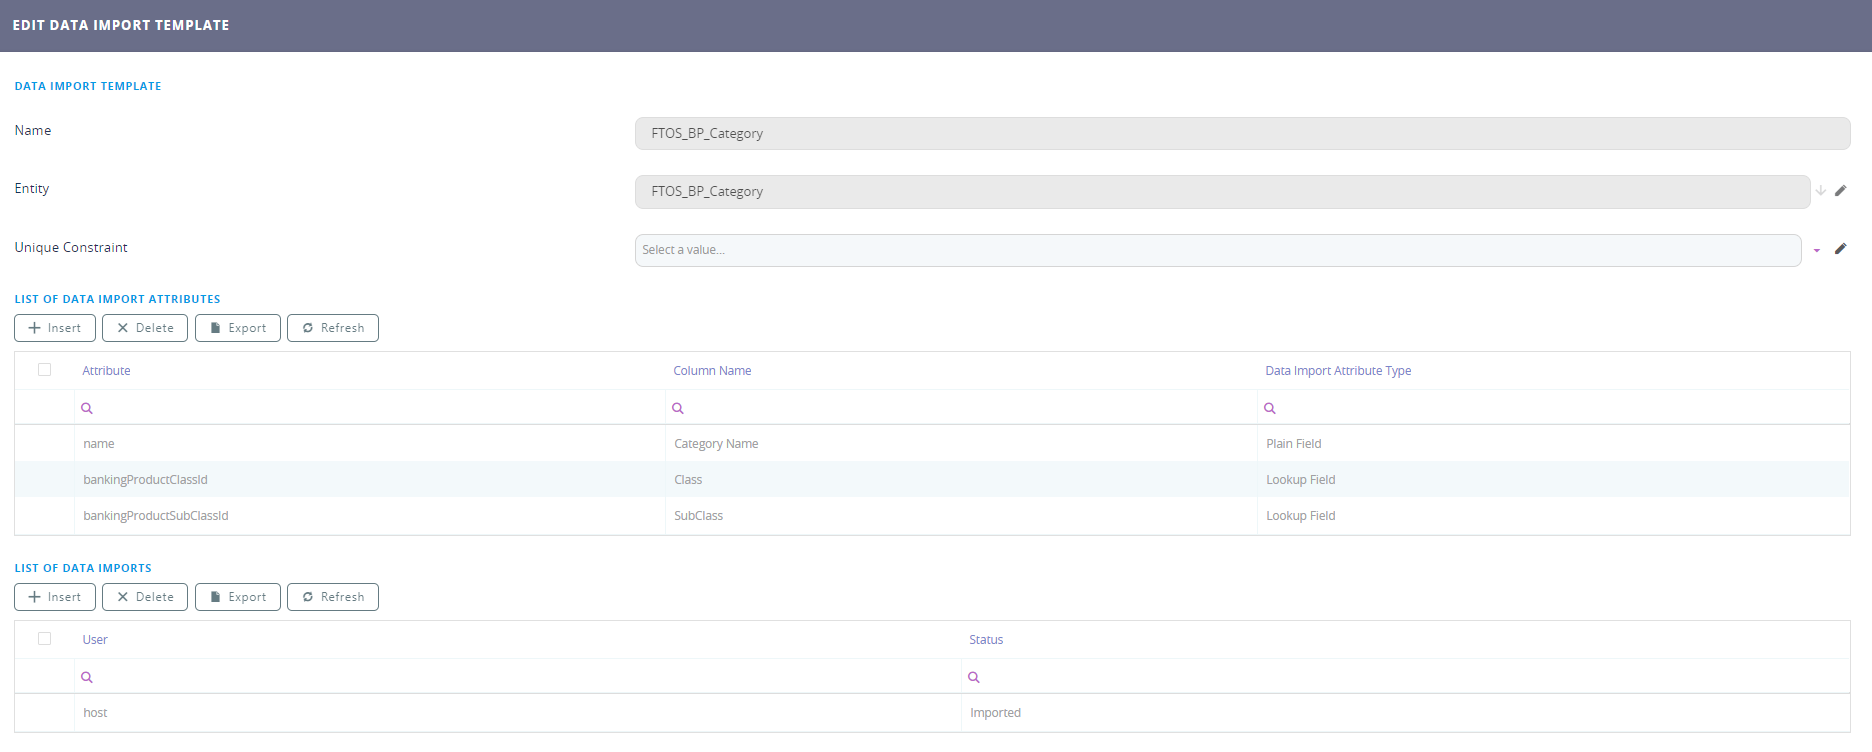
- Click on the Data Import Template menu item. To open an existing template search in the list for the desired one. To create a new one click on ''Insert''. To erase a template, click on the ''Delete'' button on the right side of the screen.
- Fill in the following:
Field Data Type Description Name Text Insert a name for the package. Entity Option set Choose the entity you wish to have the import done on. Unique constraint Option set Select the constraint. For more information, see Entity Unique Constraints. For each entity record, there will be unique values. - Click the ''save and reload'' button. Two grids will show up: LIST OF DATA IMPORT ATTRIBUTES and LIST OF DATA IMPORTS.
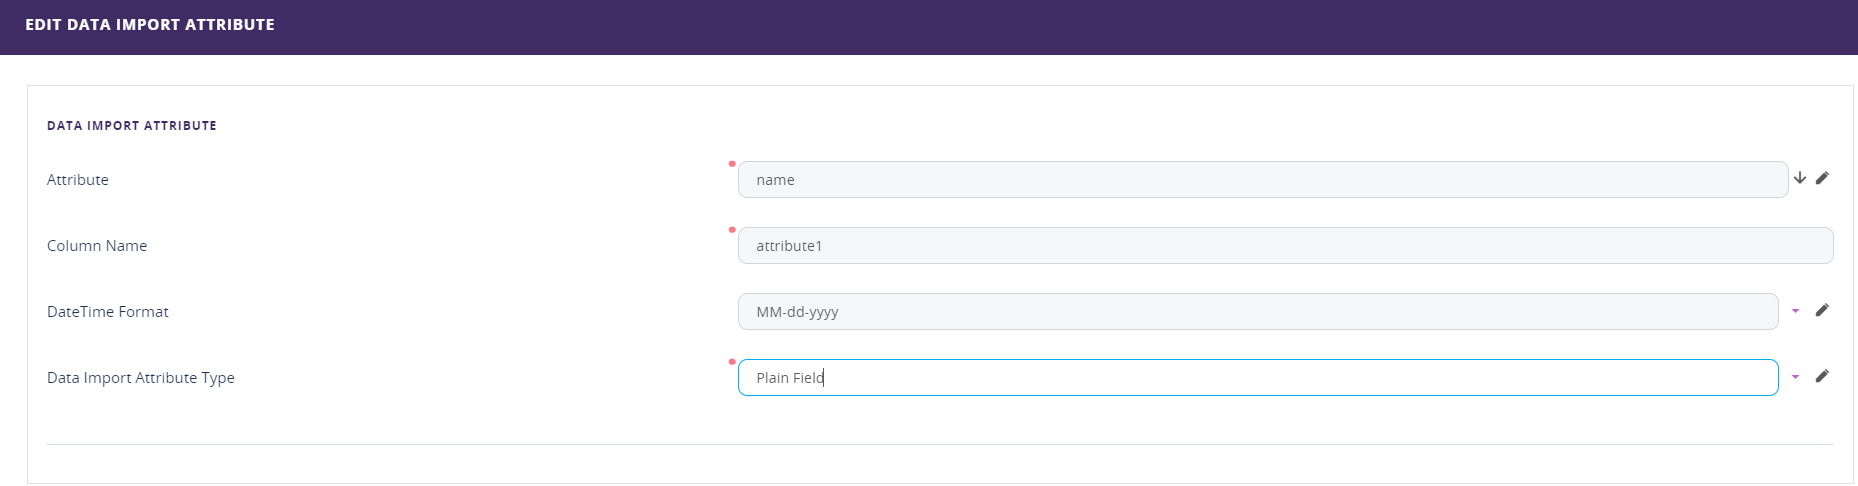
- In the list of data import attributes, click the ''insert'' button to insert an attribute by filling in the following fields:
Field Data Type Description Attribute Option set Select the attribute you wish to include. Be sure to include the attribute which has the unique constraint. Column name Text Insert a name for the column.
IMPORTANT!
The name must be the same as the name of the column in the Excel file.Date time format Option set Select the way in which to write the date, if the attribute is a date type: - none
- dd/MM/yyyy
- MM/dd/yyyy
- dd-MM-yyyy
- MM-dd-yyyy.
Data Import Attribute Type Option set Select the type: - Plain Field
- Lookup Field
- Optionset Field.

- Click the ''Save and close'' button.
- Repeat for as many attributes as needed. It is possible to delete an attribute by clicking the ''Delete'' button next to the ''Insert'' button.
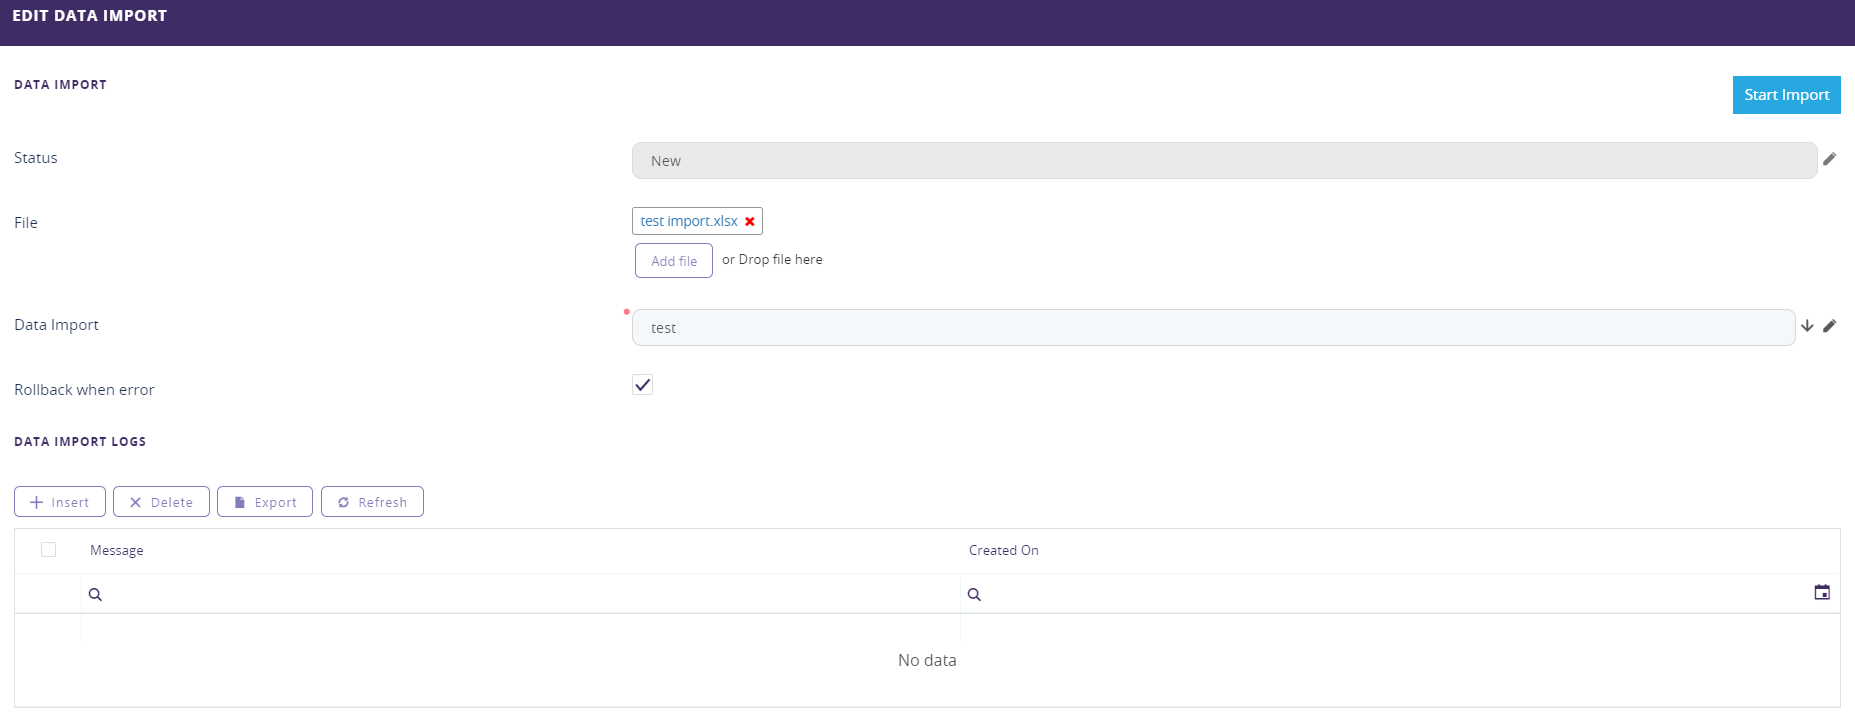
- In the list data imports, click the ''Insert'' button.
- Fill in the following:
Field Data Types Description Status Option set This is auto-filled. The options are:
- new (this is the initial status of an import before the ''Start import'' button has been clicked)
- imported (this is the confirmation if the import was successful)
- error (this is the status if the import failed).
File File Add the Excel file here. Data Import Option set Name of the template. Rollback when error Bool This checkbox will enable the process of coming back to the initial state of the data base when the import fails. - Click the ''Start Import'' button. In the DATA IMPORT LOGS grid, the history of the process will be recorded. If the is an error the messages will be shown here.
- Click the ''Save and close'' button. Repeat as many times as needed.