Create a Claim
You can configure Claims Management anytime after the FNOL is initiated. Follow the steps below to create a claim for the registered FNOL:
-
In FintechOS Portal, go to Main Menu > Claim > First Notification of Loss. The list of all FNOL records is displayed.
-
Open the desired FNOL record, and go to the Event tab.
-
Click View Claim to create a new claim record.
-
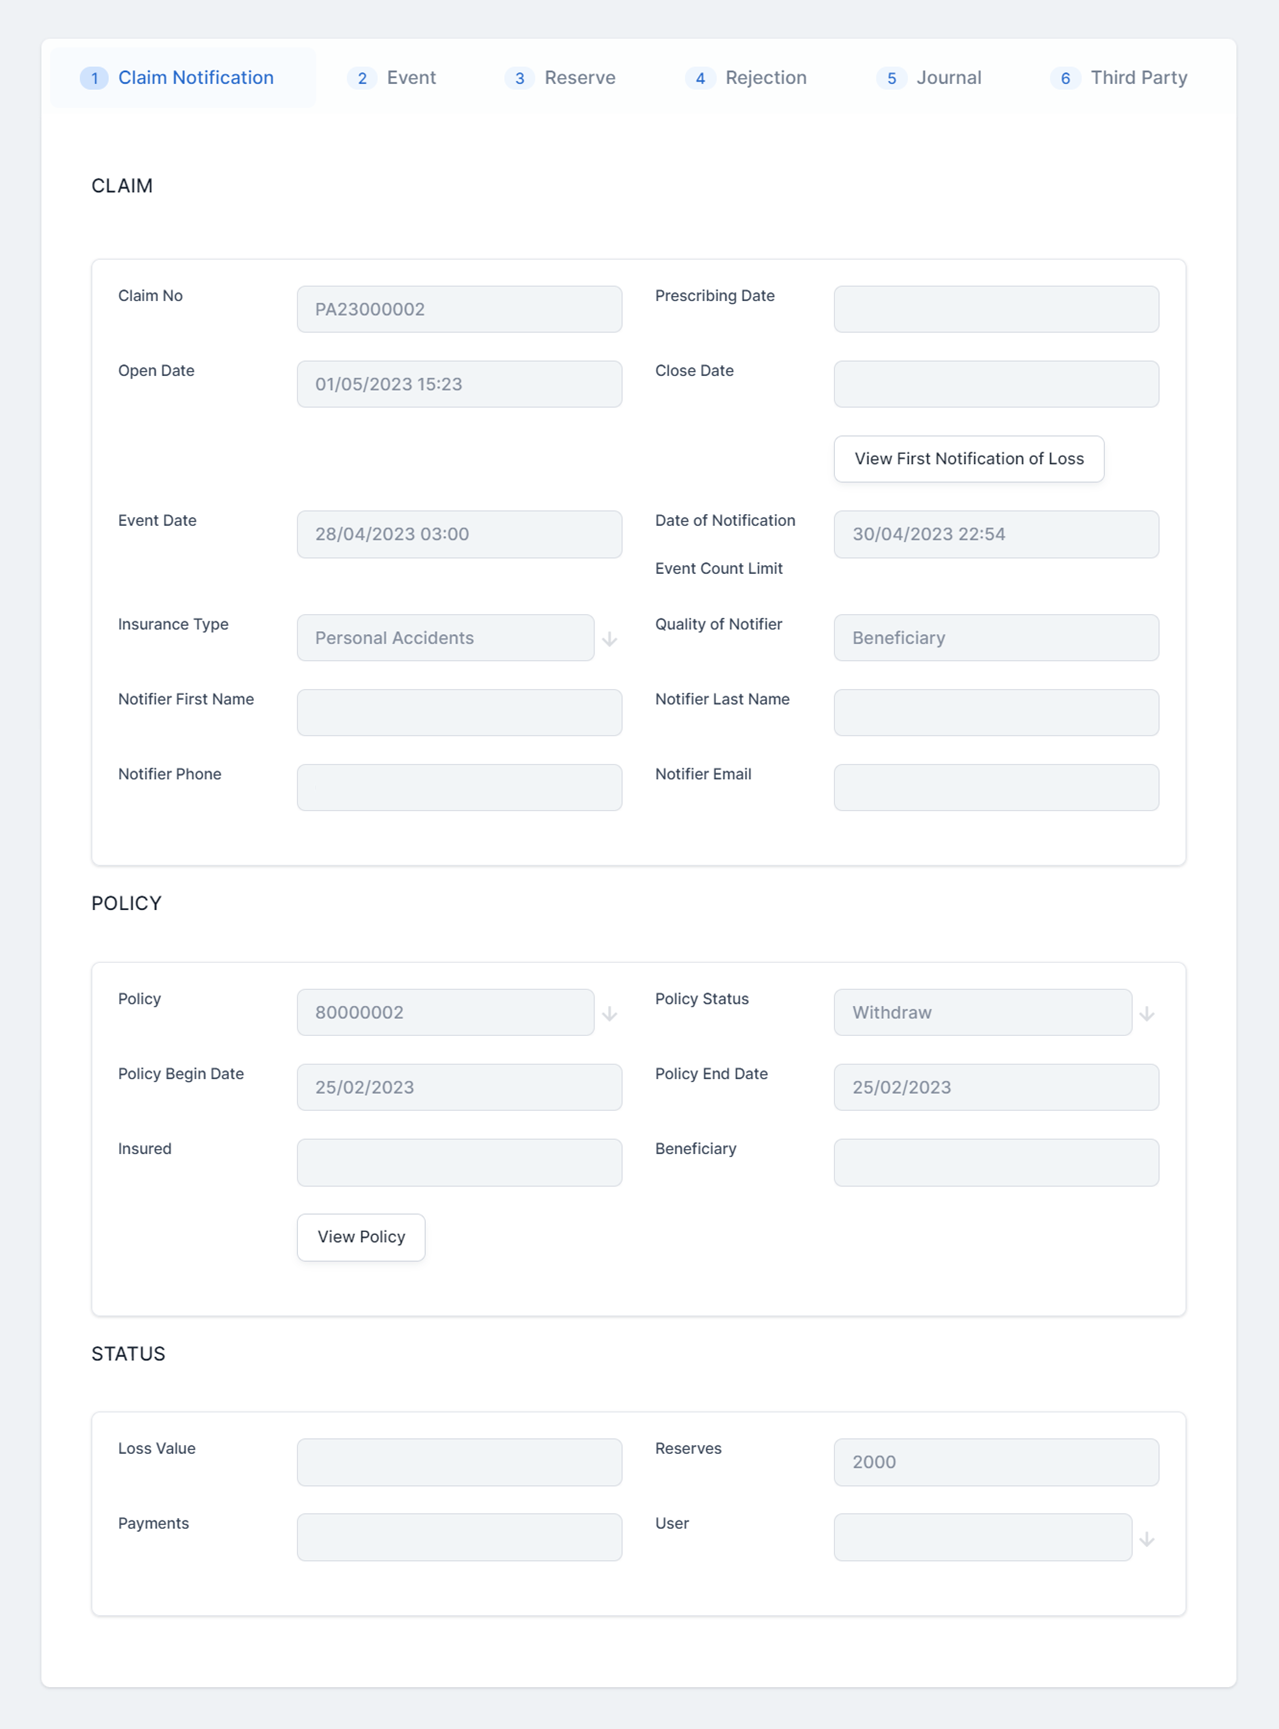
View the Claim Notification tab, check if there are any empty fields, and fill them in. This tab displays data about the claim, the policy it belongs to, and the status of the claim. You can click View First Notification of Loss to open and view the FNOL record for this claim.
-
Click Save and Reload.
-
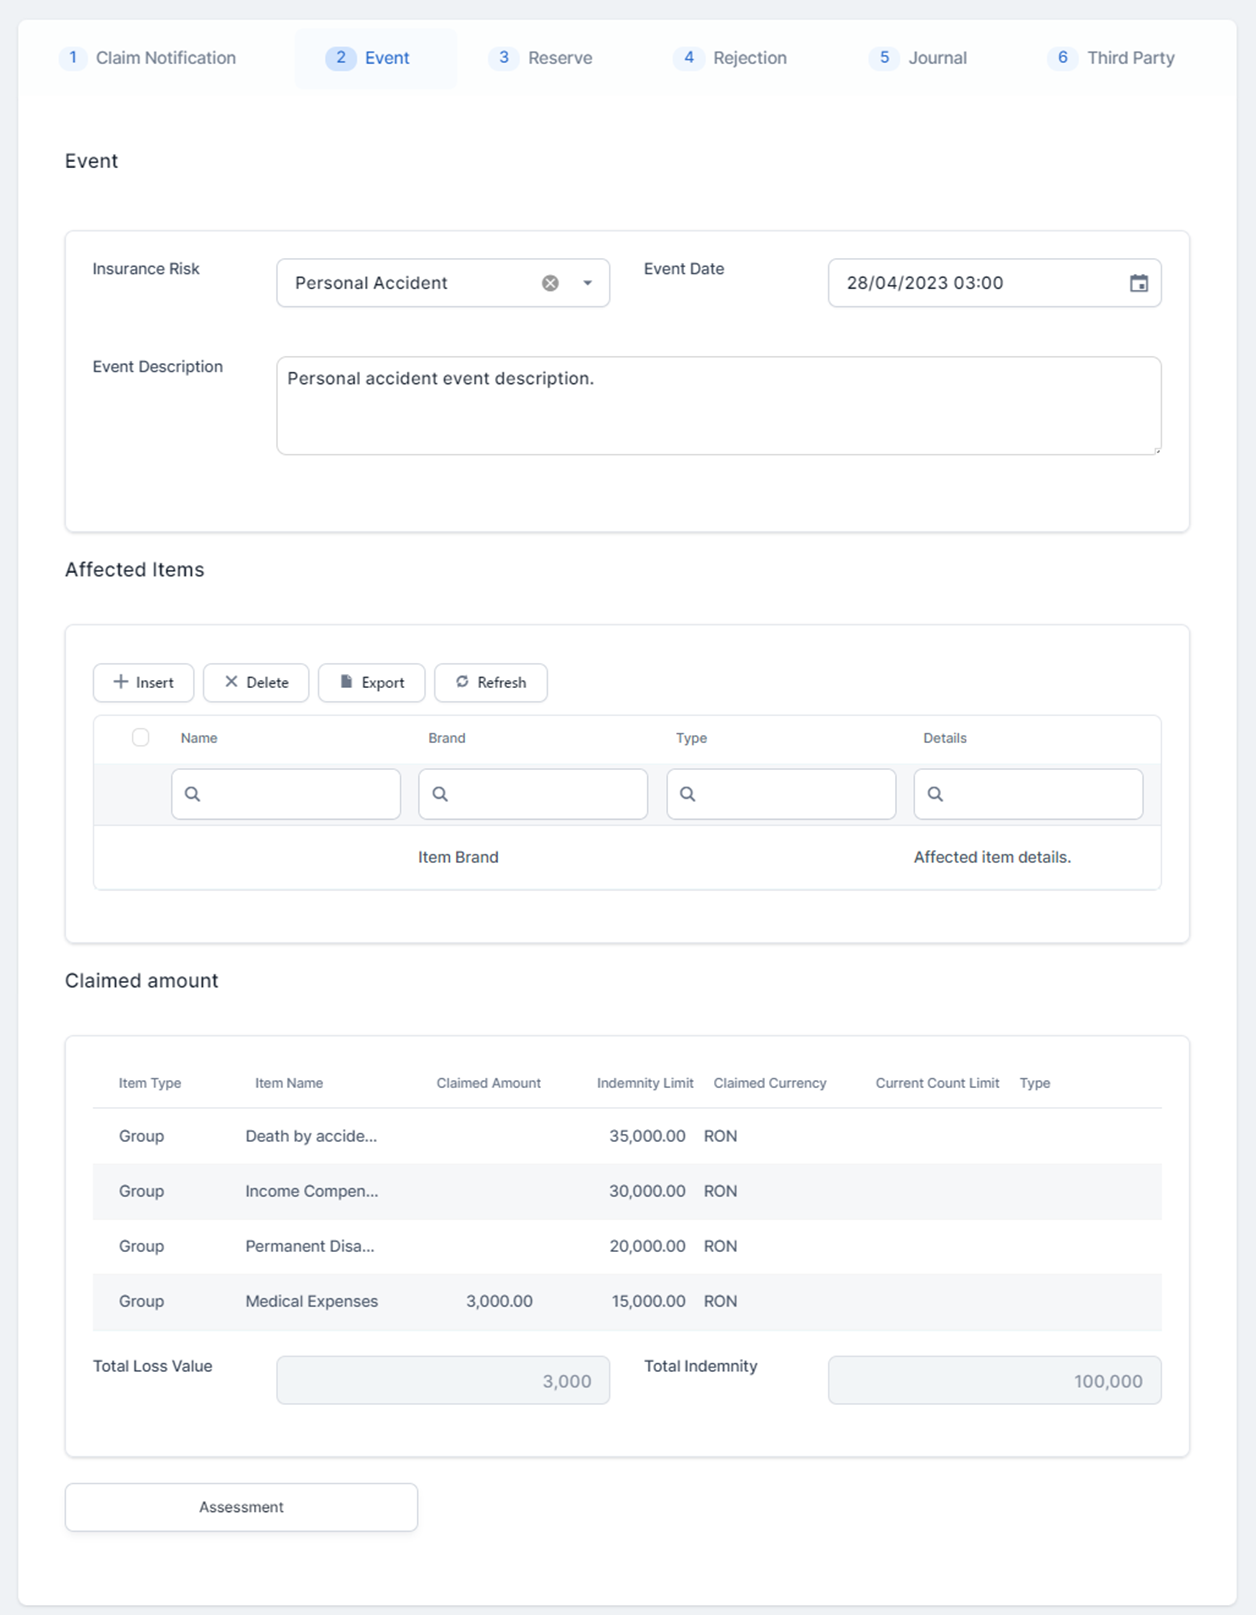
Go to the second tab, Event. Here is where you find the details about the event, the affected items and the claimed amount that you have input in the FNOL form. These sections are editable and you can make any changes to them.
-
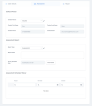
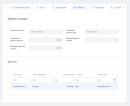
Click Assessment and click Allocate Assessment, to schedule the assessment date.
-
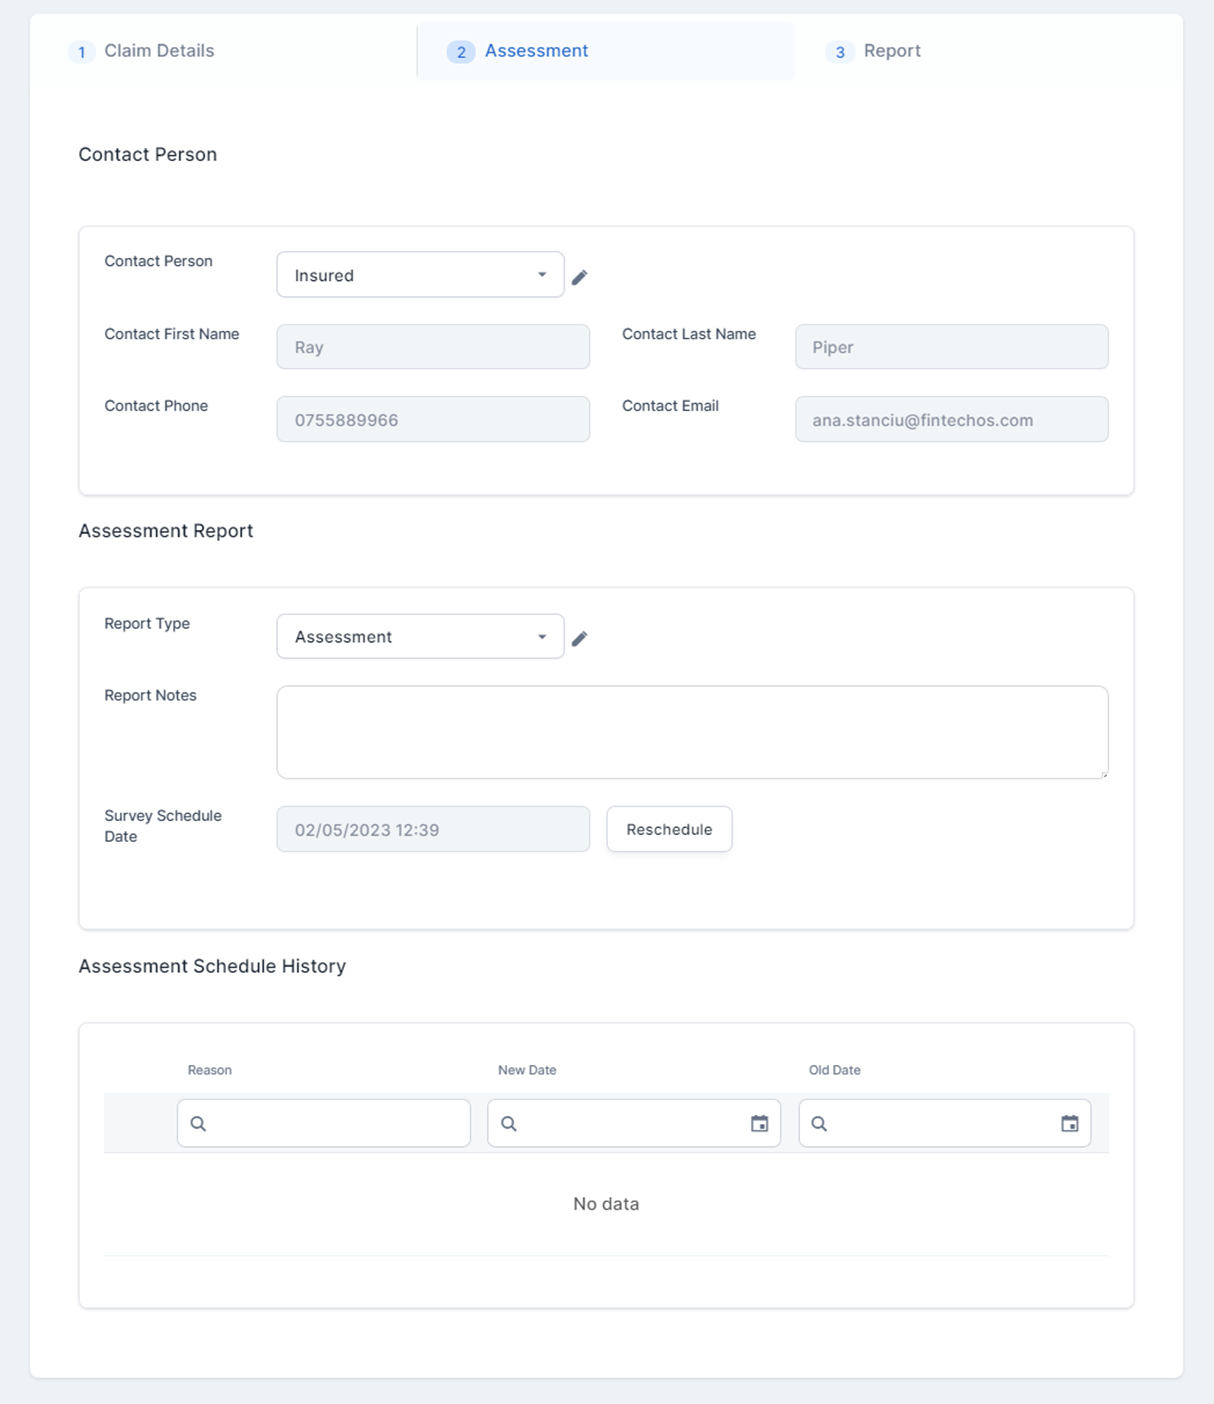
In the Assessment Report grid, choose the report type from the drop-down, and set a Survey Schedule Date.
-
Click Save Appointment. The claim record is now in Scheduled status.
-
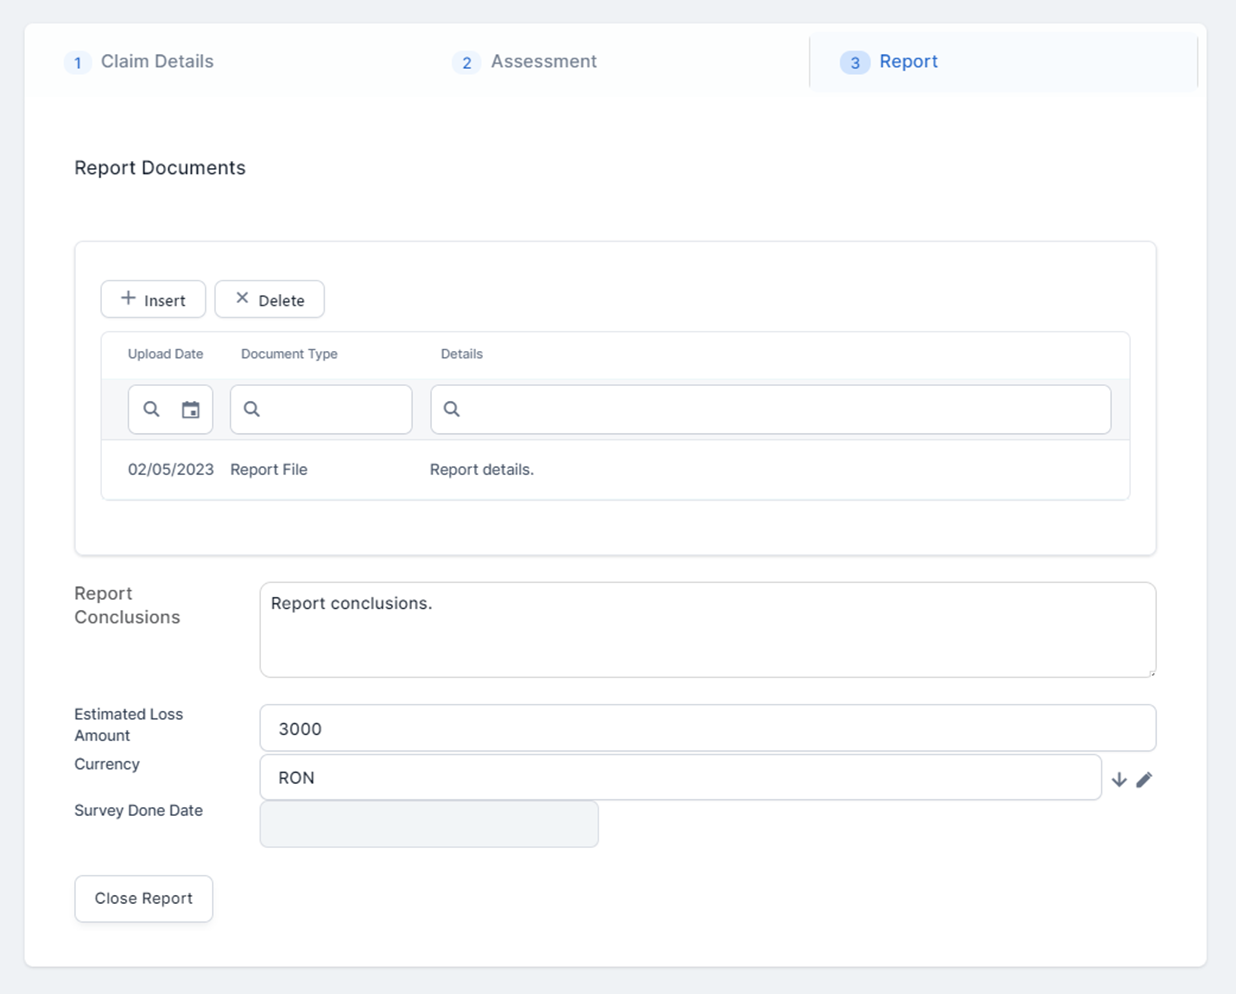
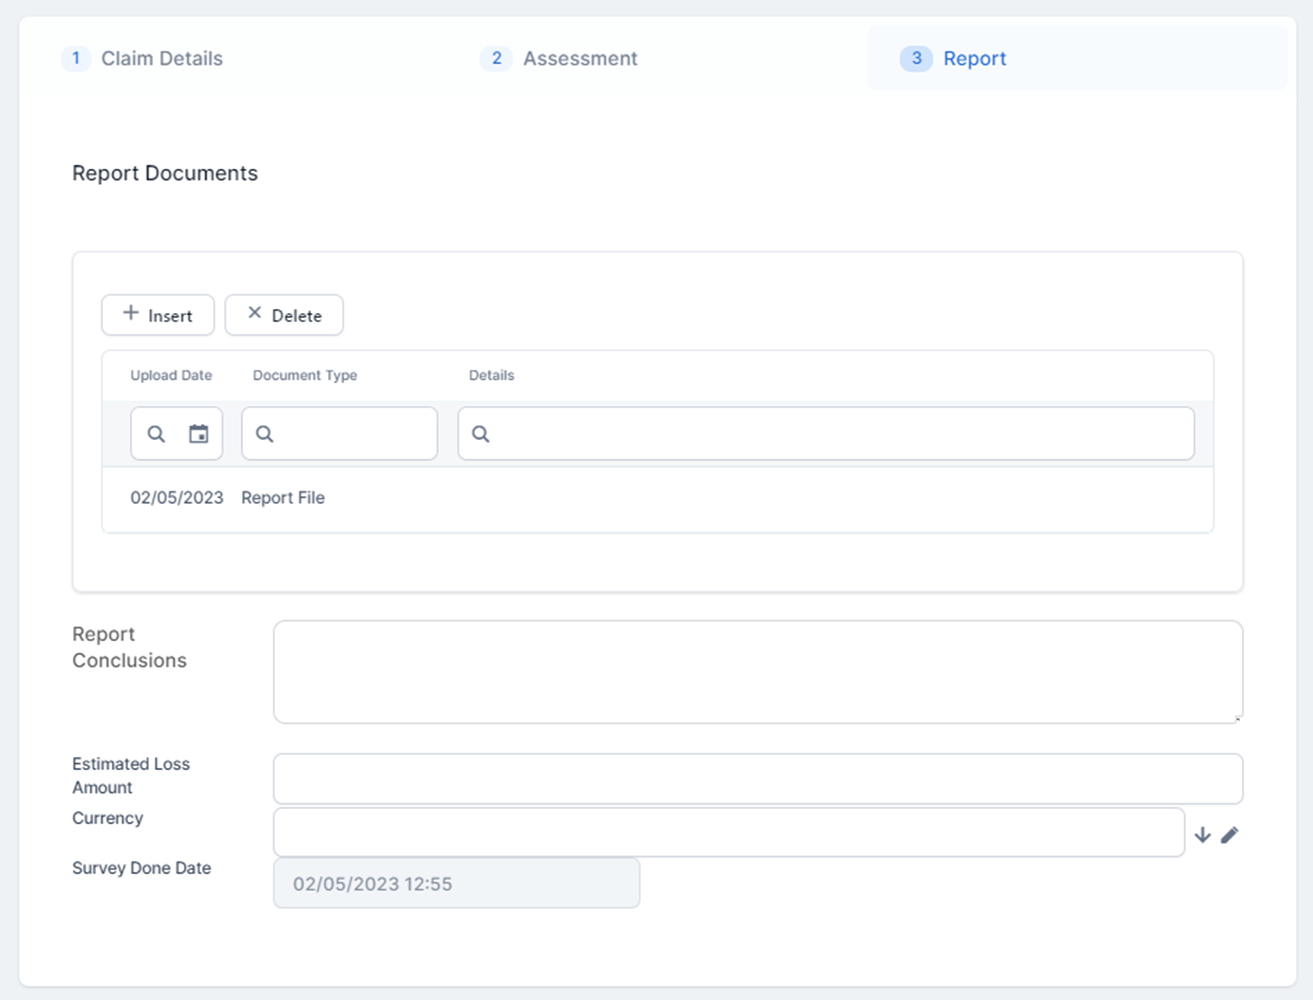
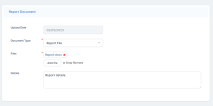
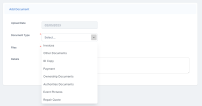
Go to the Report tab, and click Insert to upload the report document.
-
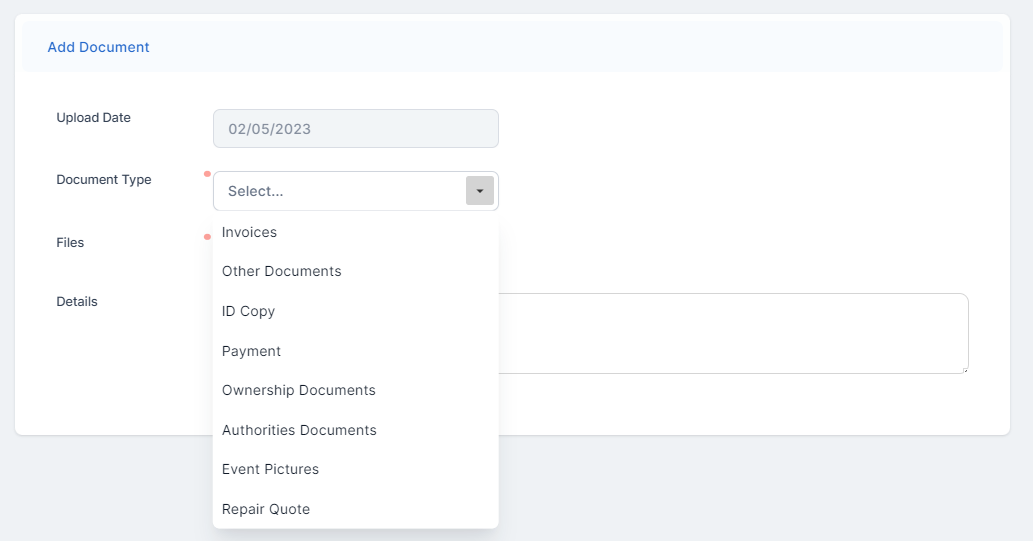
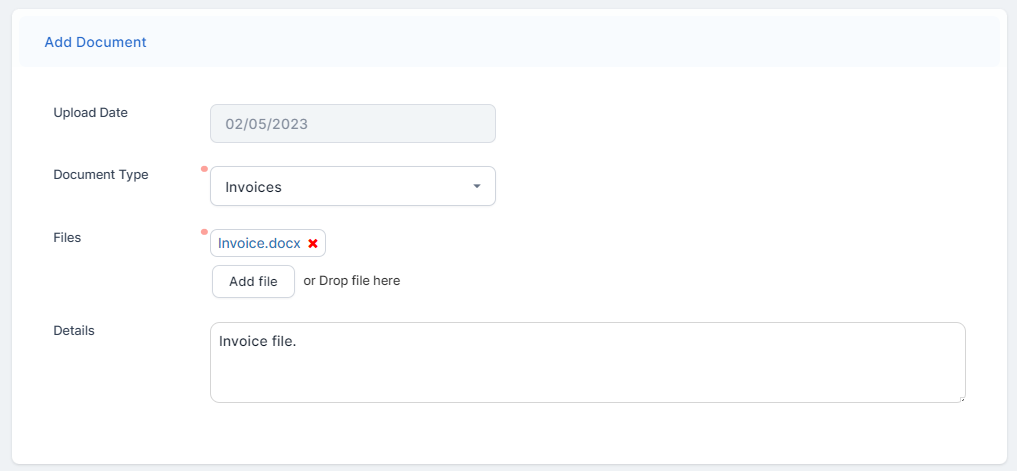
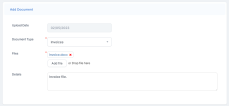
Select the Document Type from the drop-down, and click Add file to upload the report file.
-
Click Save and Close. The record is now registered in the documents grid.
-
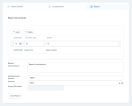
Input the Report Conclusions, the Estimated Loss Amount and the Currency.
-
Click Close Report.
-
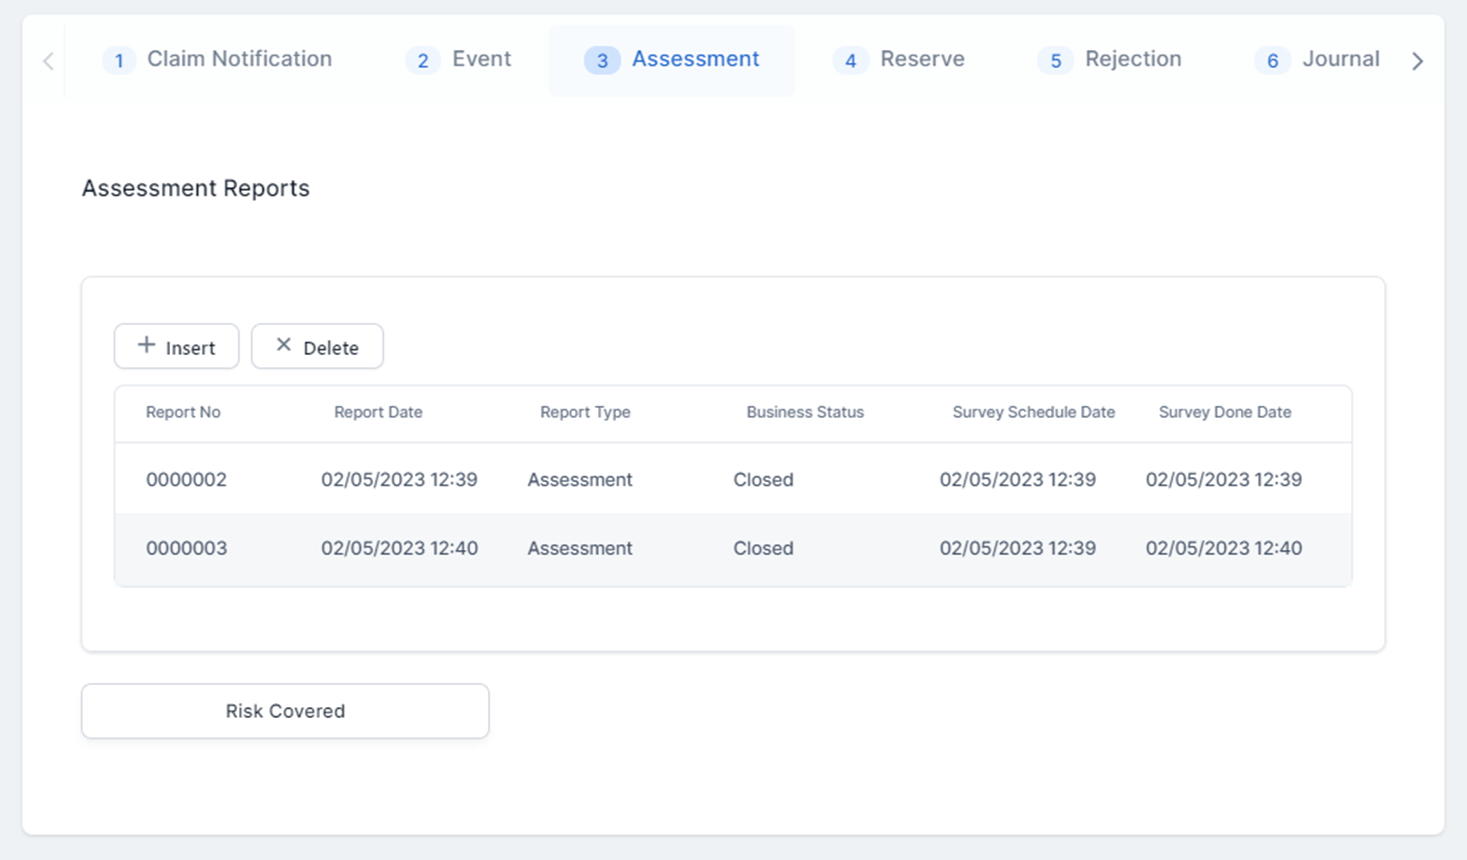
Click Save and Close, and you are taken back to the Assessment tab of the claim record.
-
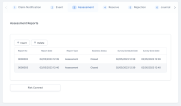
In the Assessment tab, the Assessment Reports grid is updated with the uploaded report records.
-
Click Risk Covered. The Settlement tab becomes available.
-
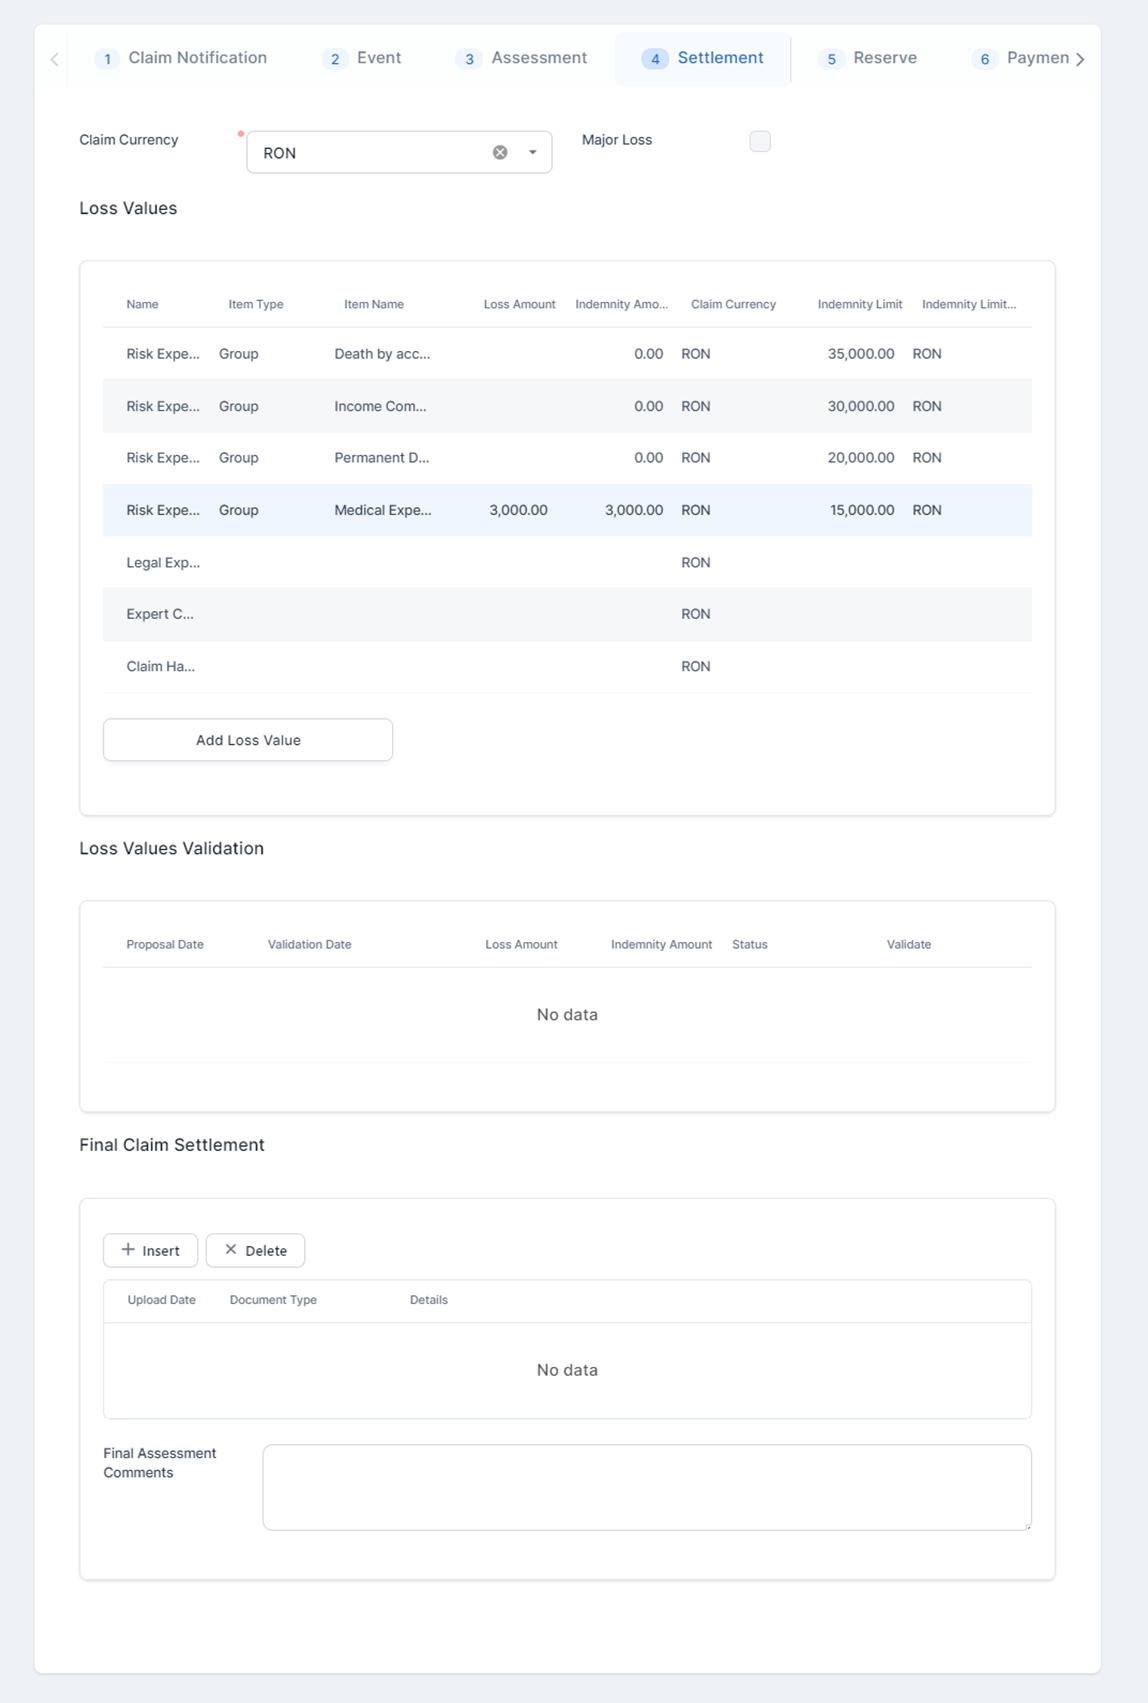
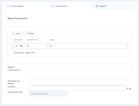
Go to the Settlement tab and choose the Claim Currency. In the Loss Values grid, input a Loss Amount for a risk.
-
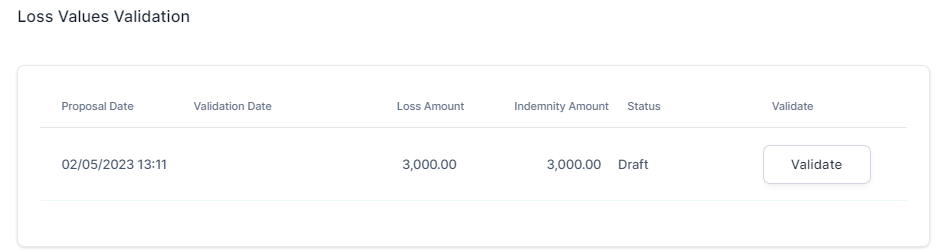
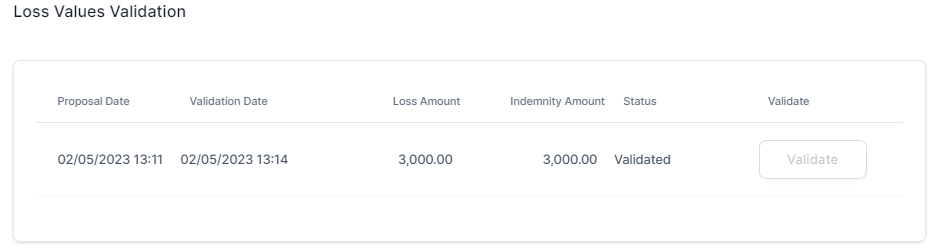
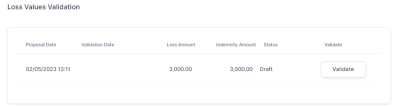
Click Add Loss Value. The Loss Values Validation grid is updated with the loss amount the you have input above. The loss values validation is now in Draft status.
-
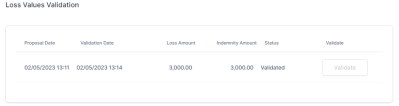
Click Validate. The status is now changed to Validated.
-
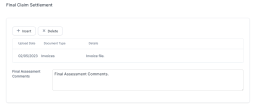
In the Final Claim Settlement grid, click Insert to upload the file for the settlement.
-
Choose the Document Type, click Add file to insert the document, and write any details, if necessary.
-
Click Save and Close. The Final Caim Settlement grid is now updated with the document record. Write any Final Assessment Comments, if needed.
-
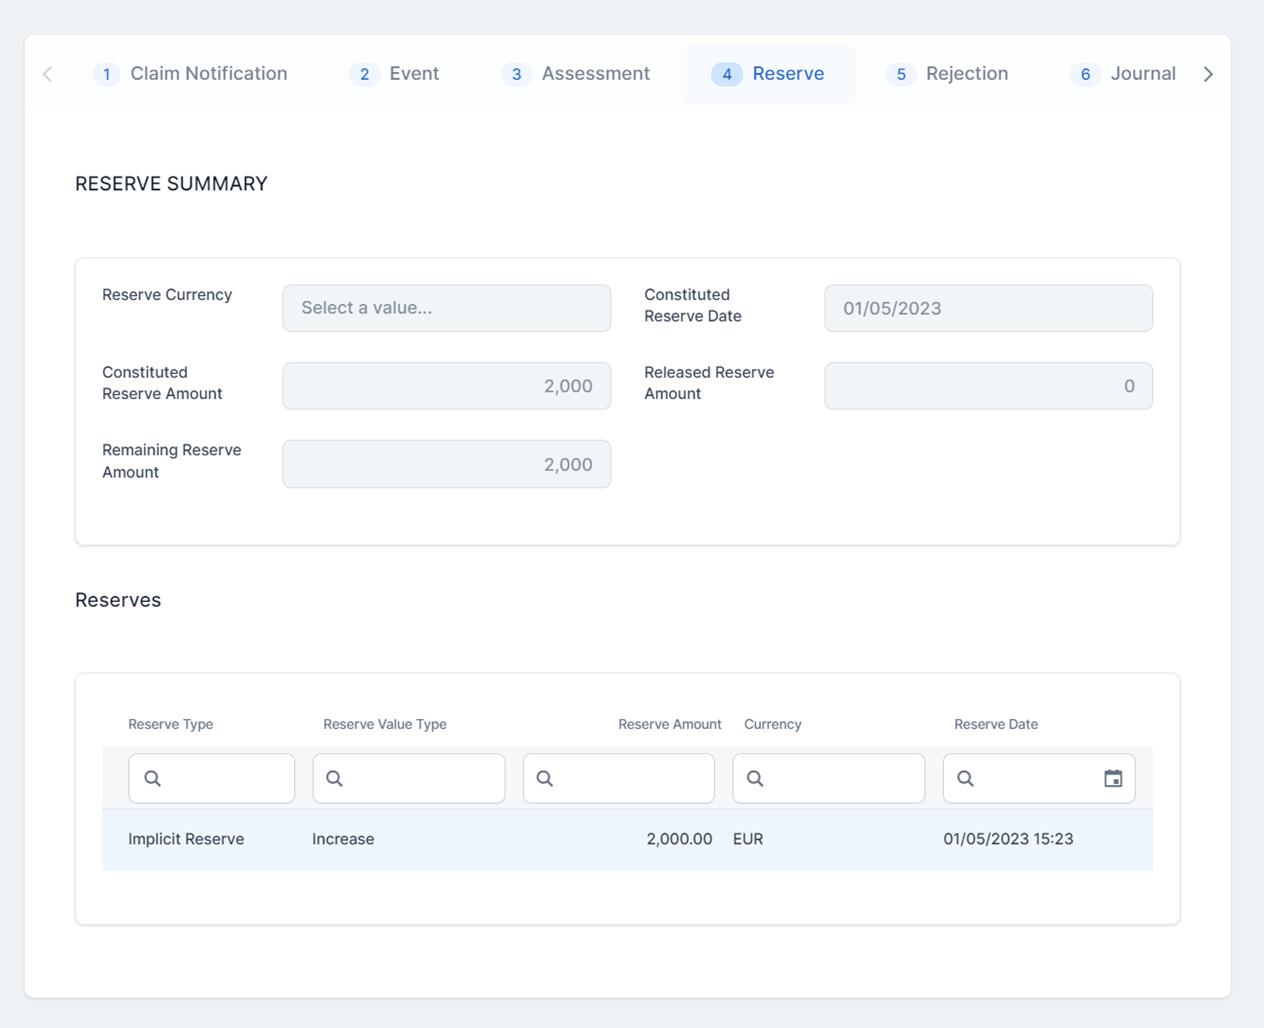
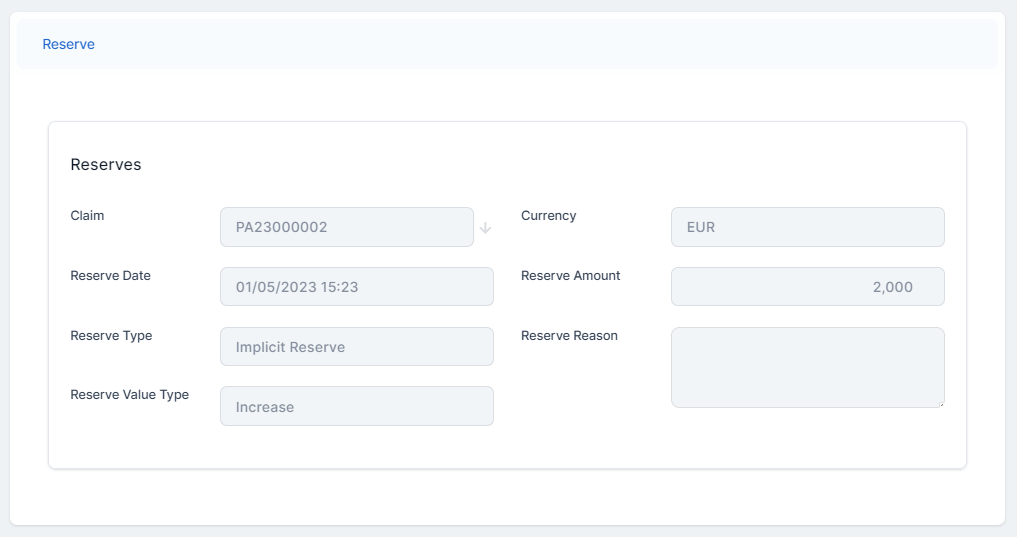
Go to the fourth tab, Reserve. Here is where you find details about the reserve date and amount. In the Reserves grid, you can view the record's details, including the claim currency, date, amount and the reserve type and value type.
-
Go to the Payments tab, to Create a Payment Proposal.