Working with Operator Dashboard
The Task Management comes by default with the Task Management Operator role. The Operator Dashboard is the main overview page for users with the associated role of Task Management Operator, allowing them to manage and track all their tasks in one place. Using filters, the Operators can view all unresolved tasks and quickly prioritize what matters most.
This dashboard is designed to:
-
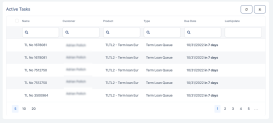
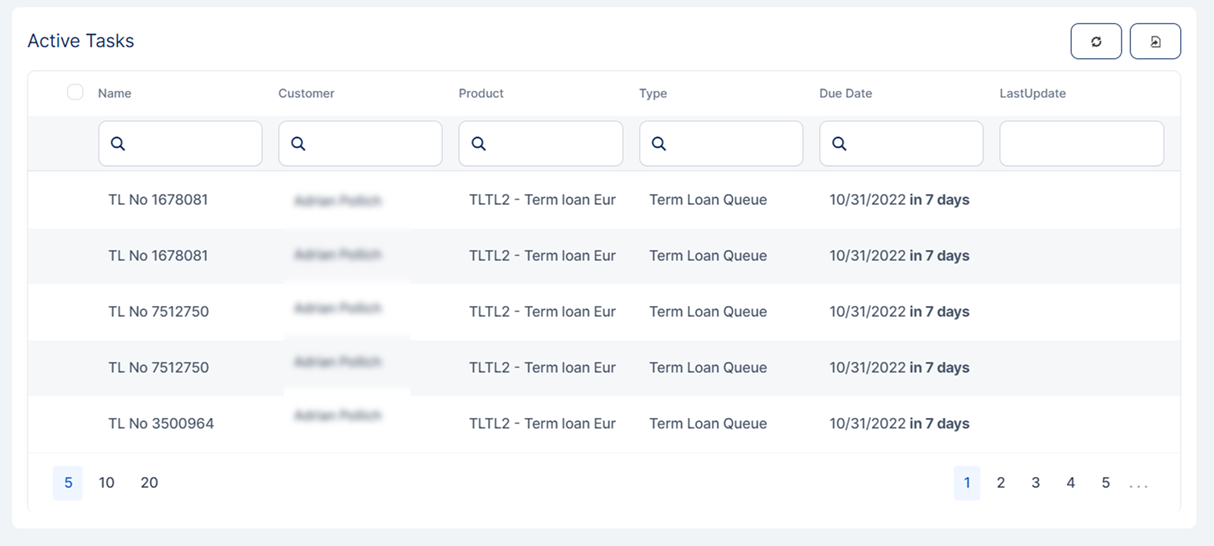
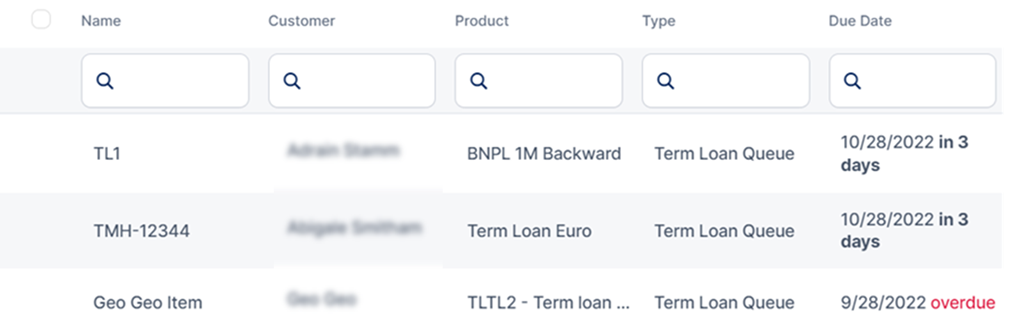
View all your tasks in the Active Tasks section with the following details: Name (the name of the queue item), Customer, Product, Type, Due Date, and Last Update.
-
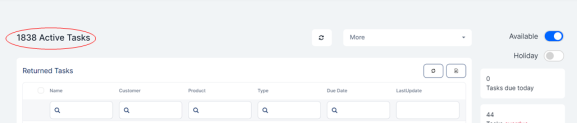
View the total number of your tasks.
-
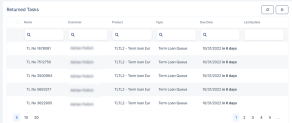
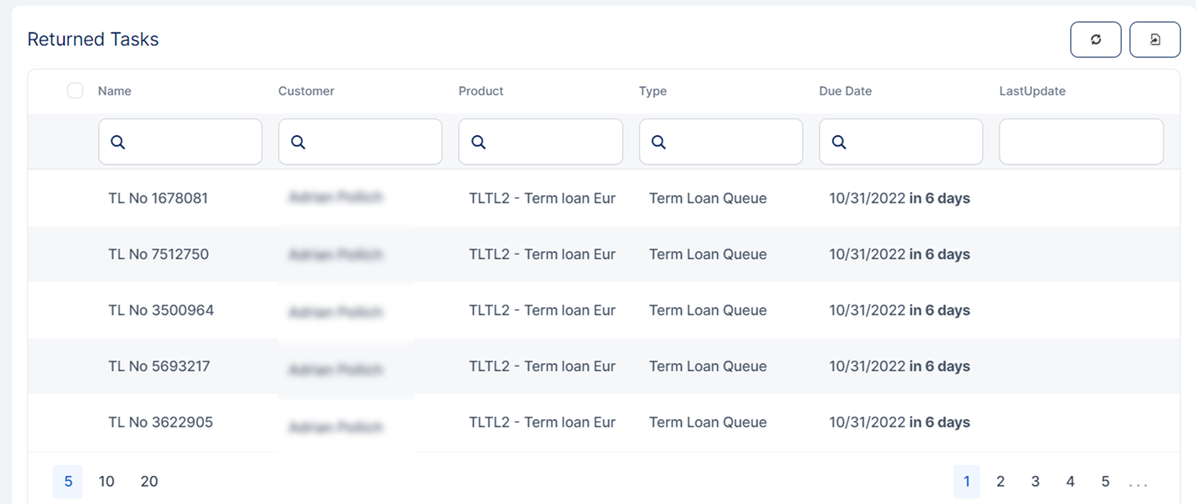
View all your previously processed tasks in the Returned Tasks section with the following details: Name, Customer, Product, Type, Due Date (the due date when the queue item must receive a resolution), and Last Update.
 NOTE
NOTECustomize the first three columns, in the example above, Name, Customer, and Product, by modifying the Display Info details from the Queue Type. Add any other attributes in the Display Info details, and then they are displayed on the Dashboard.
-
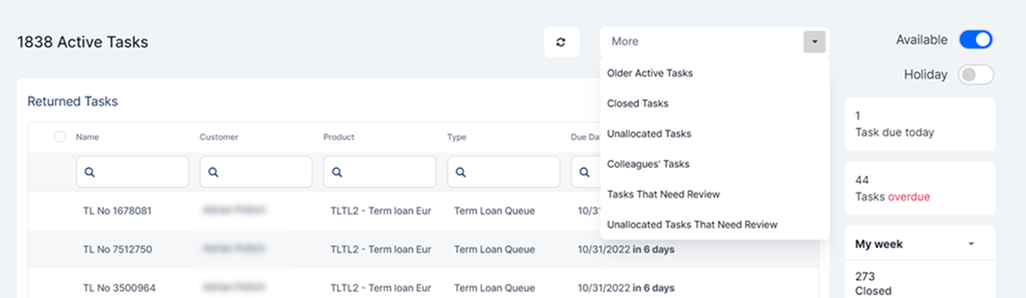
Select one of the following options to view the:
-
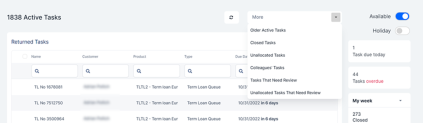
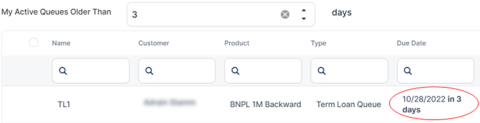
Older Active Tasks: If selected, displays older active tasks that can be filtered by date of allocation. The following details are displayed: Name (the name of the queue item), Customer, Product, Type, Due Date, and Last Update.
-
Closed Tasks: If selected, displays all your closed tasks. The following details are displayed: Name (the name of the queue item), Customer, Product, Type, Resolution Date, and Last Update.
-
Unallocated Tasks: If selected, displays the list of unallocated tasks. The following details are displayed: Name (the name of the queue item), Customer, Product, Type, Due Date, Pick Up and Last Update. You can use the Pick-up button to assign the task to yourself.
-
Colleagues Tasks: If selected, displays tasks allocated to colleagues who are on holiday. The status of these queue items is AllocatedButHoliday. You can use the Pick-up button to assign the task to yourself and the queue item status changes from Allocated to ClosedReallocated.
-
Tasks That Need Review: If selected, displays all allocated tasks that you need to review. They are ordered by queue allocation and based on the set queue priority.
-
Unallocated Tasks That Need Review: If selected, displays the list of unallocated tasks that need review. You can use the Pick-up button to assign the task to yourself.
-
-
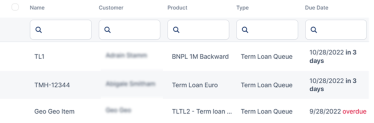
If a certain queue item is close to or surpassed its deadline, you are informed that:
-
the task due date has passed:
-
the task is due today.
-
the due date is in X days, where X = the number of days from today to the due date.
NOTE These tasks sections are displayed on the dashboard only if they were selected by the administrator in FintechOS Portal > main menu > Task Management > Queue > Visible tabs. -
-
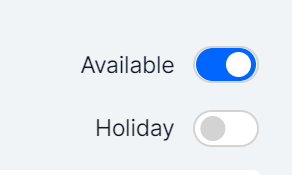
Change your status by clicking one of the 2 buttons below:
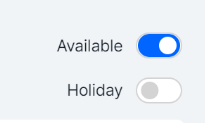
-
Available: Changes your status to Ready and all your tasks with the AllocatedButHoliday status will be updated to the Allocated status. In addition, if your status is Ready, then new tasks are automatically assigned.
-
Holiday: Changes your status to NotReadyHoliday and all your tasks with Allocated status will be updated to the AllocatedButHoliday status.
You can automatically receive tasks only if their status is Ready. The allocation process is done based on the operator. If an operator is available, a task is allocated to them based on their competency levels.
-


-
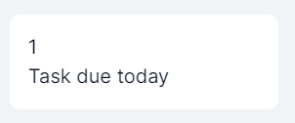
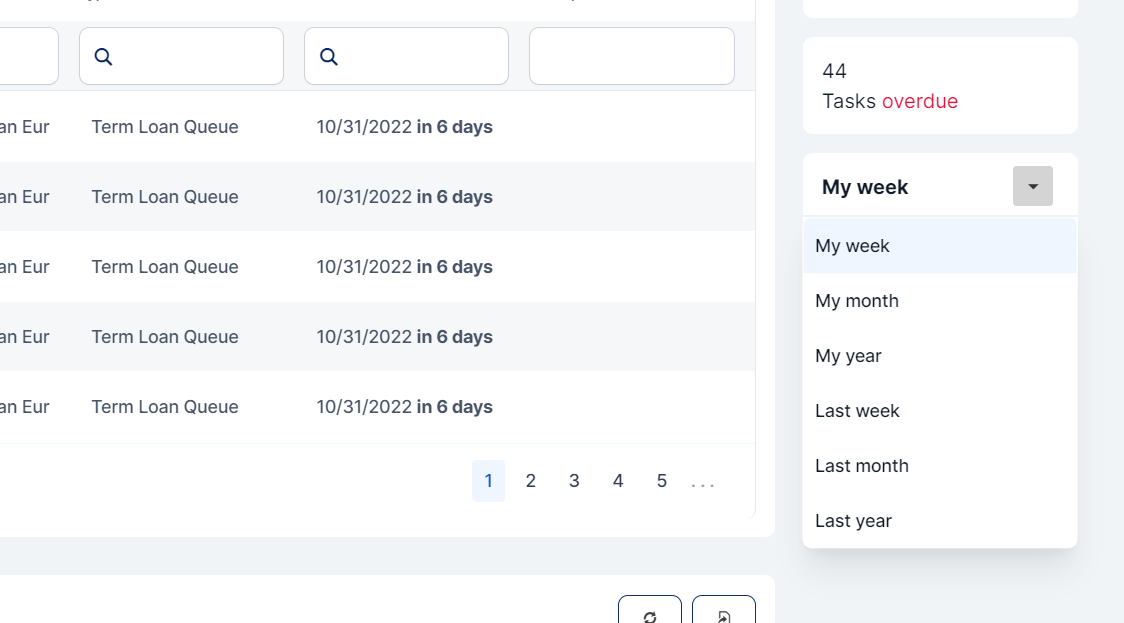
View the total number of tasks due today.
-
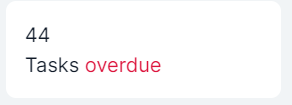
View the total number of tasks overdue (due date < today).
-
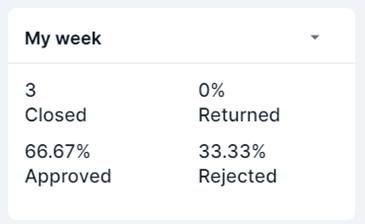
View the total number of your Closed Tasks and the analytics of your Returned, Approved, and Rejected Tasks from the current week.
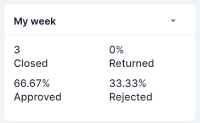
For each of the views (My Week, My Month, My Year, Last Week, Last Month, or Last Year), the percentages for Returned, Approved, and Rejected tasks are calculated as detailed below.
-
for the Returned Tasks: the queue items in the period (with ResolutionDate in the period) of the view that have
<QueueItem>Resolution=Additional Information, divided by the number of Queue Items that have<QueueItem>ResolutionDatein the period of the view. -
for the Approved Tasks: the queue items in the period of the view that have
<QueueItem>Resolution = Approved, divided by the number of Queue Items that have<QueueItem>ResolutionDatein the period of the view. -
for the Rejected Tasks: the queue items in the period of the view that have
<QueueItem>Resolution = Rejected, divided by the number of Queue Items that have<QueueItem>ResolutionDatein the period of the view.
To see only your Closed, Returned, Approved or Rejected Tasks, click the Closed, Returned, Approved or Rejected text and the dashboard displays only the desired tasks.
-
-
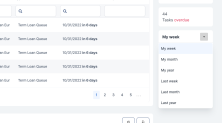
View the total number of your Closed Tasks and the analytics of your Returned, Approved, and Rejected Tasks in the current month, current year, previous week, previous month or previous year by selecting one of the following options: my week, my month, my year, last week, last month or last year.
 NOTE
NOTEThe analytics of the Returned, Approved and Rejected tasks are only available in the Task Management package version 4.1.
-
To export the tasks available on the dashboard, select the tasks you want to export and click the Export button. Only the selected queue items are exported in .xlsx format.

-
Use the Refresh button to manually refresh the task list.


View Task Details
-
Double-click on a task to display the queue item in view mode, together with the form used for generating that queue item.
If at the queue type level
Use MainEntity Context (Task Detail Page) = False, then the queue item is displayed in the context of theQueue Itementity. The Task Management-specific information is displayed in the same page, as separate fixed sections on the right side of the form.
If at the queue type level
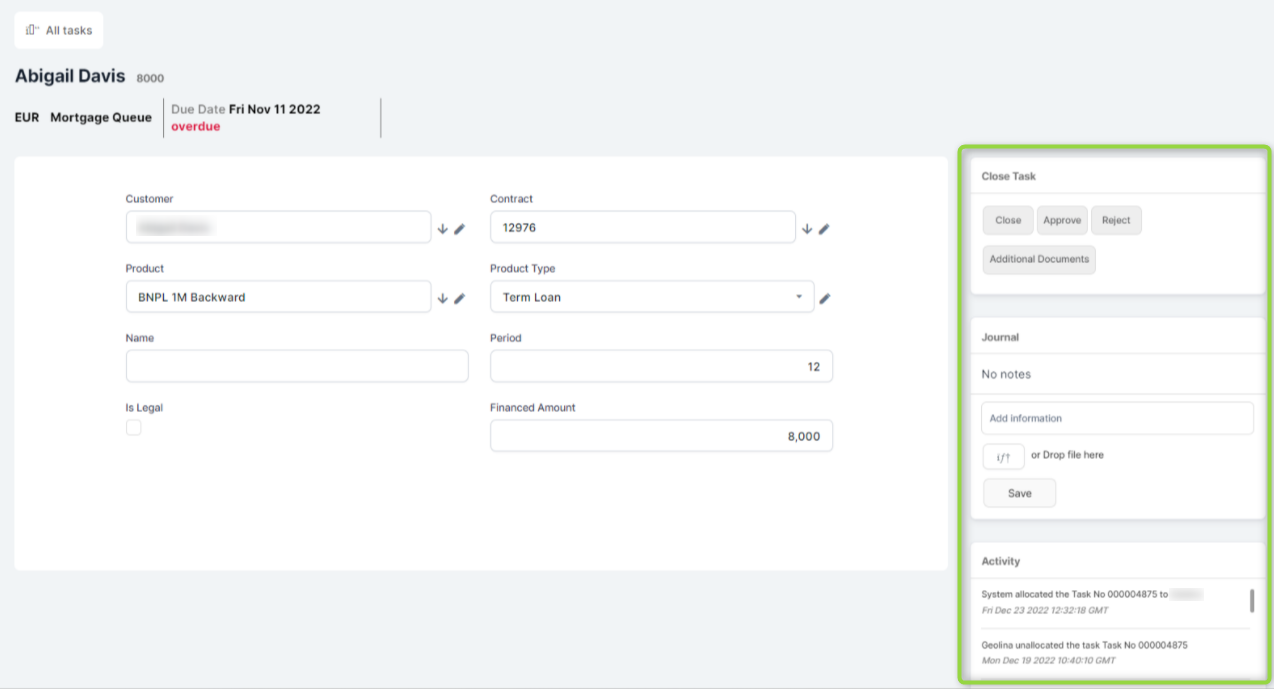
Use MainEntity Context (Task Detail Page) = True, then the queue item is displayed in the context of the Main Entity set at the used data form level. Task Management is displayed embedded in a side panel, on the right side of your pages, sliding in and out of the page as needed.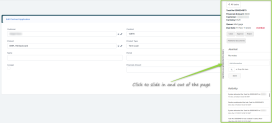 NOTE
NOTEThis view needs to be in connection to a digital journey so that details about applications can be displayed.
You can review the application and give a resolution by clicking one of the following buttons: Approve, Reject, Close to close the task without a resolution, or Additional Documents to close the task asking for additional informative documents.
If you click one of the above buttons, the business workflow status changes to
Closedand the resolution is displayed in the header section.You cannot give a resolution for a task that is not assigned to you. An error message is displayed informing that the Resolution can be done only by the Assignee.
IMPORTANT!
WhenUse MainEntity Context (Task Detail Page) = False, we recommend that you use the displayed information only for viewing and you don't perform any changes.
Set theUse MainEntity Context (Task Detail Page) = Trueif you wish to perform changes to the information, using the displayed Task Management side panel. -
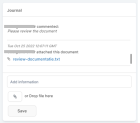
In the Journal section, you can add a note in the Add information box or attach a file, then click Save. A label with the time-stamp of the note and the operator who left the note is added in the Journal section.
-
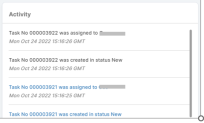
In the Activity section, view the activity history on the selected task. The ones marked in blue are for other queue items that have the same unique Id of the main entity, and the ones in black refer to the current queue item.