Authorizing a Payment
Once a payment has been initiated depending on the Signature Engine & Administrative Rules configurations, the flow may continue in different ways:
- For the Single signature, when one authorization is required, the user is presented with a confirmation page that payment has been submitted followed by the confirmation page with the response from the Core Banking (for the Instant local currency and SEPA Instant schemas).
When there is NO signature rule defined, then a single signature is used. Then, the system checks whether the user that initated can sign by checking the following things:
- the user has in Account/Transaction Selection the account with true values for the fields: Account Balance & Details
- the user must have the rights on the payment schema type for the payment they initaited
- the user must have the security profile set (temporary or not) and based on this profile to have the limit bigger than the amount of the payment.
- For the types Standard joint signature to Mixed signatures multiple limits, when multiple authorizations are required the information in the confirmation page the display message is adapted to mark the signing and status on the second or third pending signature(s).
When there are rules for signatures defined, but they do not match the payment parameters, then no one is allowed to sign, the system displays the message after the Review Payment Details page: No approvers could be identified. Please contact the bank!
The system determines which rule applies for a signature by checking:
- if the rule has rights on all account or just selected accounts
- if the rule covers the limit amount or not
- what lists apply for the rule and checks the value of the system parameter Parameterization
- if the payment amount is below the threshold
checks for each individual user from a rule:
- the user has in Back-Office Administration the account with
truevalues for the field Account Balance & Details - the user must have the rights on the payment schema type for the payment they initaited
- the user must have the security profile set (temporary or not) and based on this profile to have the limit bigger than the amount of the payment.
- the user has in Back-Office Administration the account with
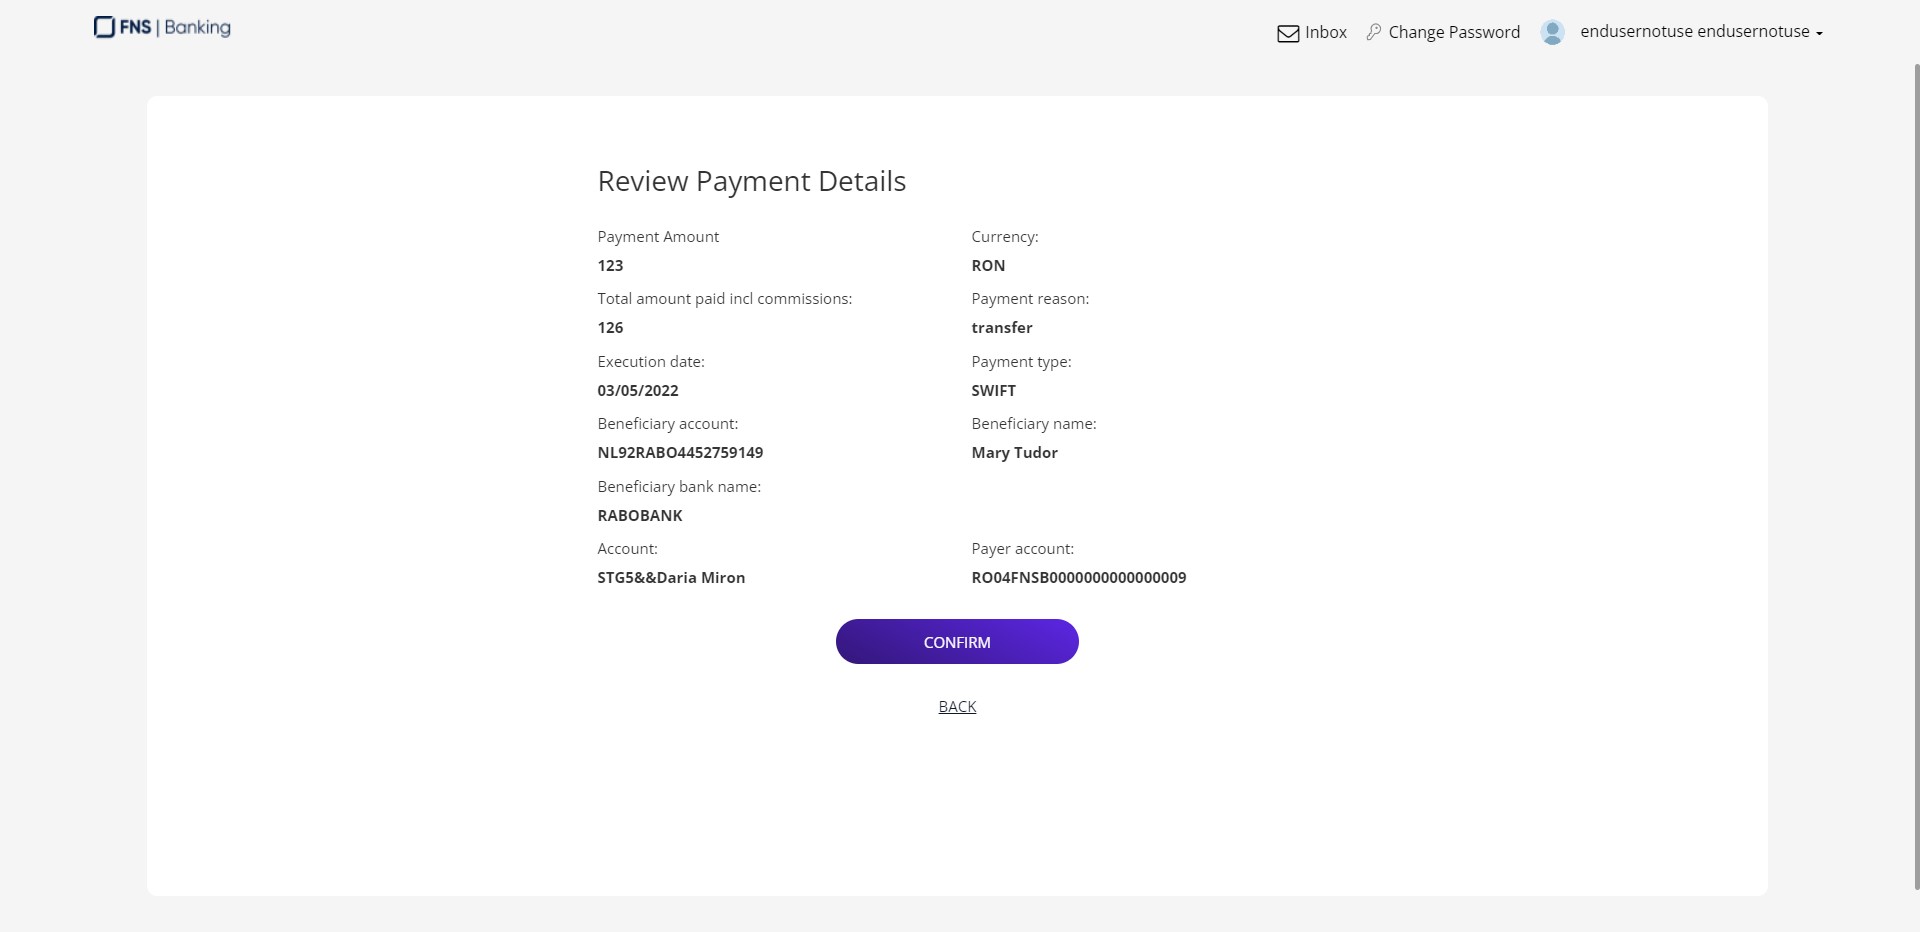
On the page Review Payment Details, when clicking on Confirm, the system triggers the process of finding the signature needed (single/joint), and checking for the authorization rules. If there is a signature rule that applies, the system locks it and the payment is executed when all teh necessary people have signed the payment.
The process is the following:
- To sign the payment, open FintechOS Portal. For details see Accessing Online and Mobile Banking (Authentication Method).
- Scroll down on the Homepage to the List of Orders and Multiple Authorizations of a Payment.
- Click List of Orders and Multiple Authorizations of a Payment.
- Select the payment you wish to authorize by clicking the Pay symbol.
-
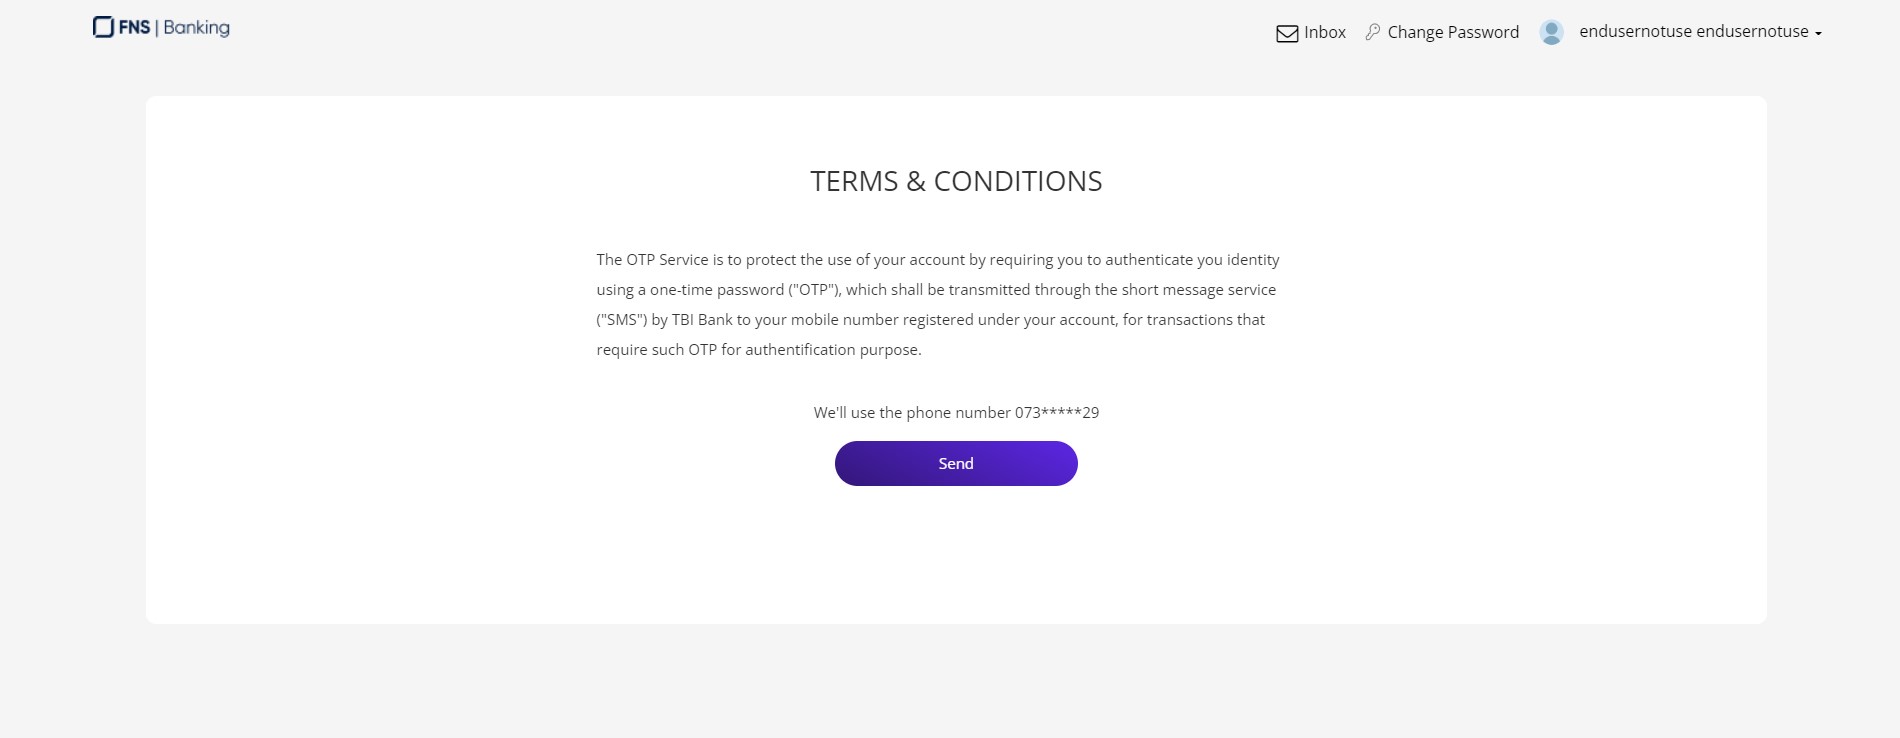
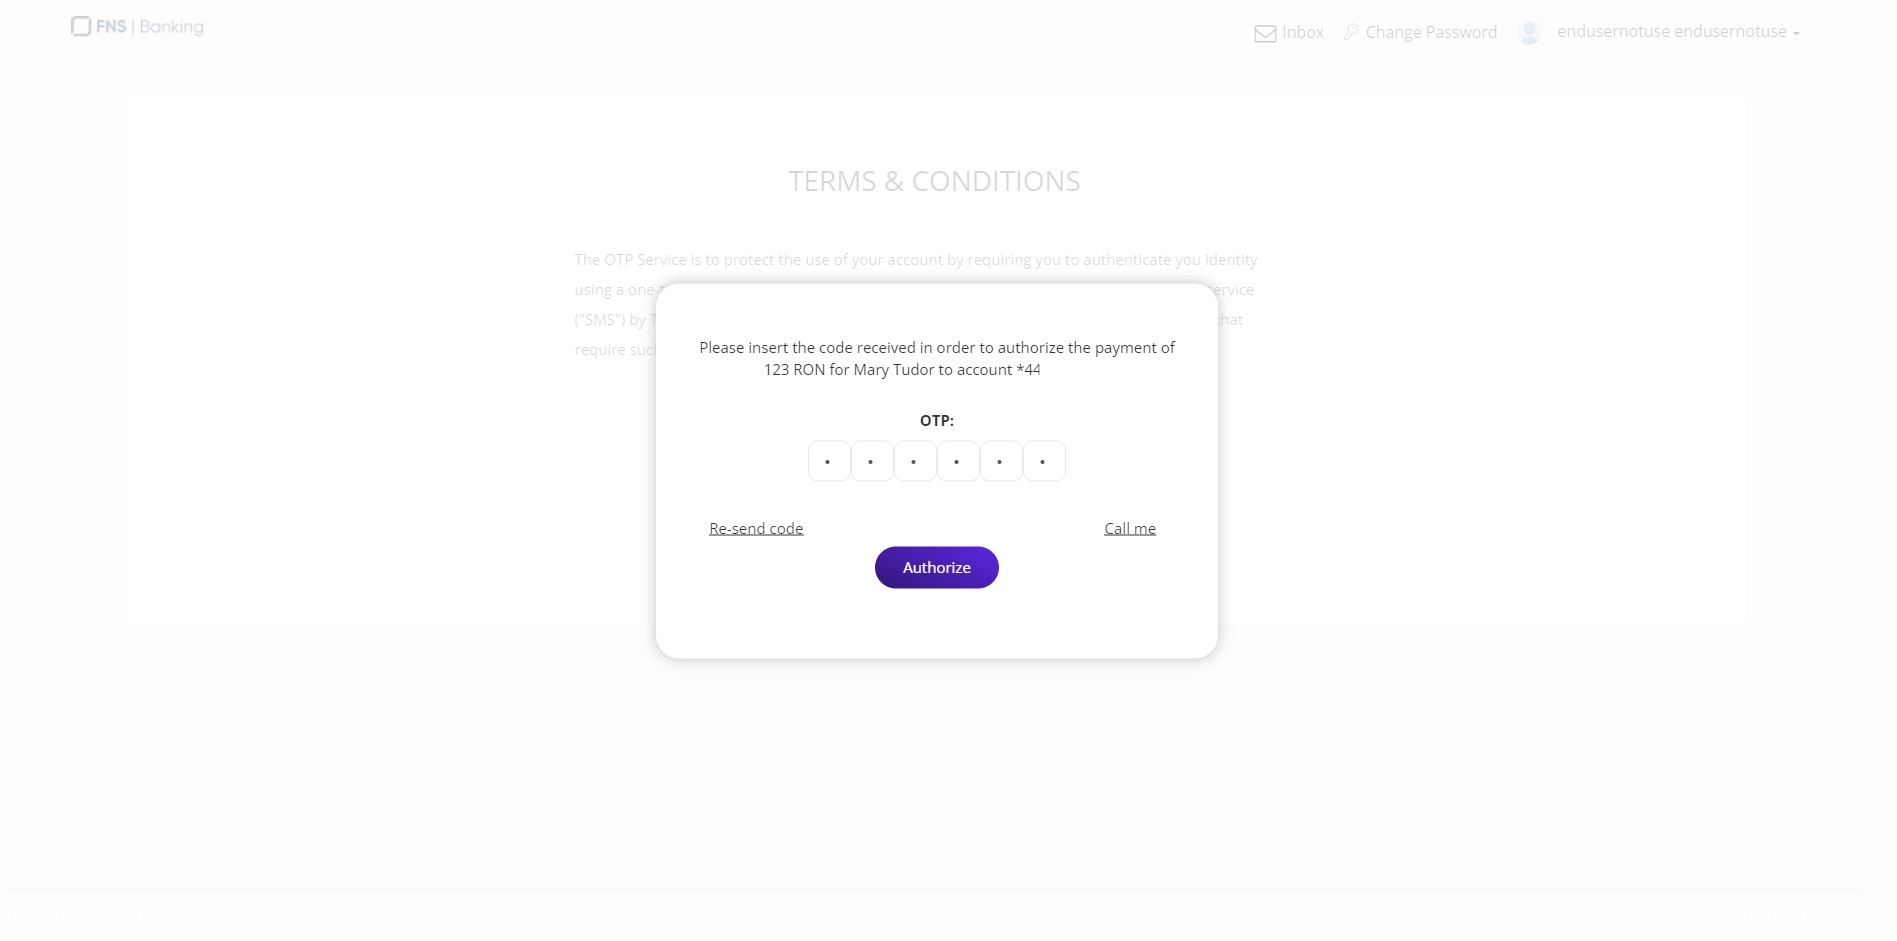
The page Terms & Conditions is displayed informing you that an SMS will be sent containing an OTP that must be inserted. Click Send to trigger the SMS. To sign the payment, an SMS is sent with the OTP.

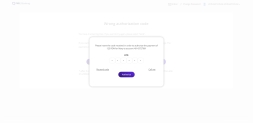
- A pop-up window is displayed informing you that to finalize the process, the system needs the OTP. The phone number is taken from the database. There are six boxes where to insert each letter of the
If you have trouble seeing the code, click Call me.
OTP One-Time-Password. It is a password generated by the system to validate a piece of information or sign a document..
 If the code was not sent, click Re-send code. The maximum number of retries is 5.
- To verify the OTP inserted, click Authorize.
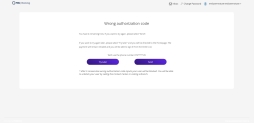
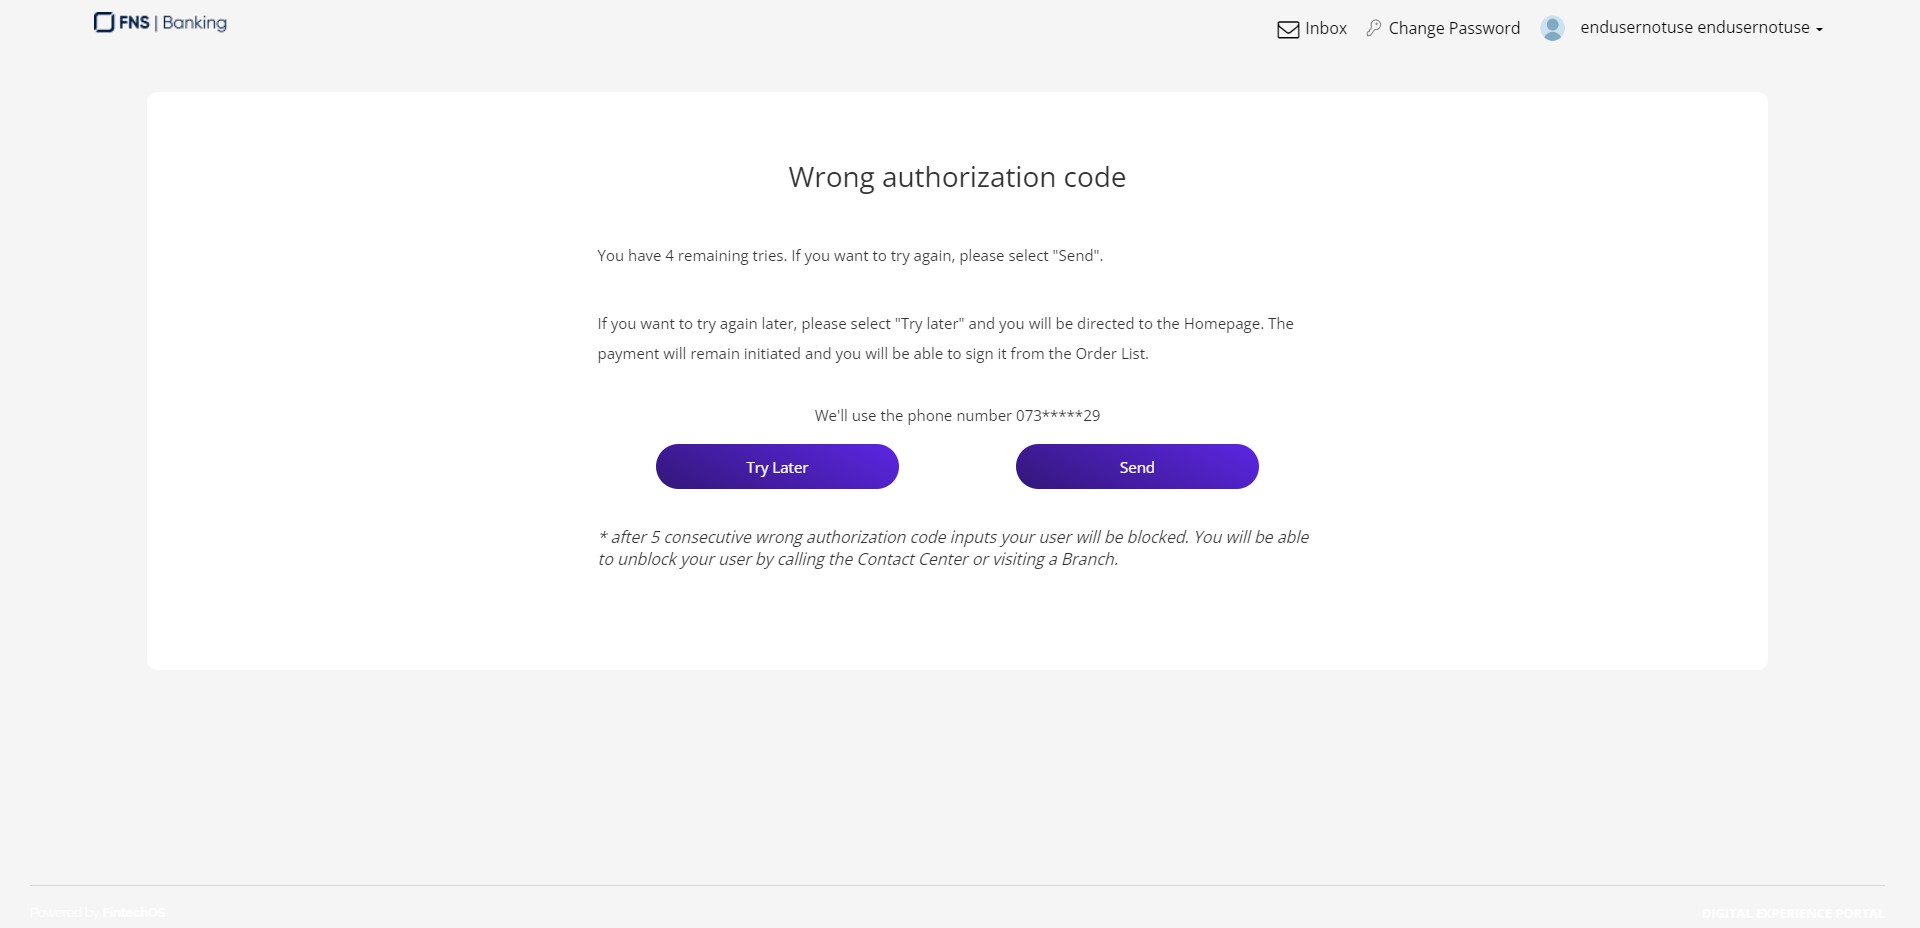
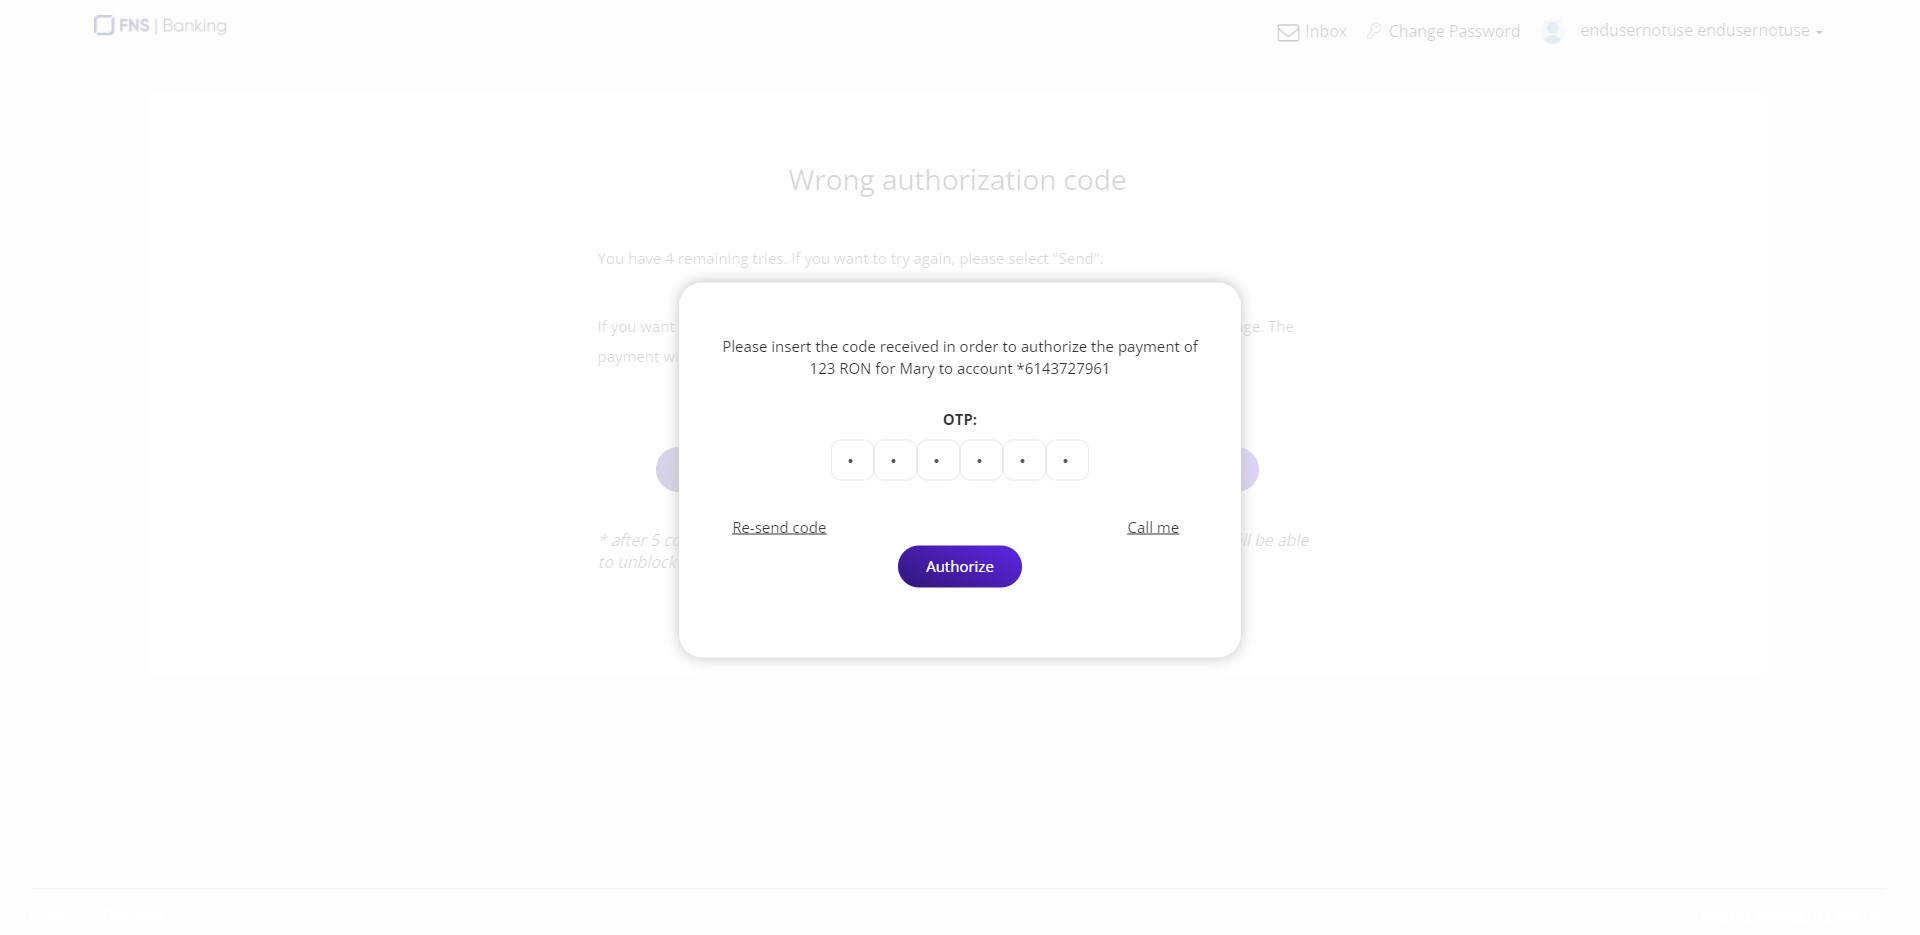
If the code inserted was wrong, then the user is directed to the page Wrong authorization code. You have 5 tries to insert the OTP code. When that limit is reached, the system displays a toast message informing you that the account has been blocked and that you need to contact a branch or Contact Center. After a few seconds later, the screen displays a Session has expired with a button Click to unlock. After this point, if you try to log in again, the account is blocked and you must visit a branch or call Contact Center.
- Click Send to reinitiate the signature process or click Try later to save the payment and re-initiate it from the List of Orders and Multiple Authorizations of a Payment. If you clicked Send, the pop-up is displayed. Insert the code.
- The confirmation page is displayed.
Authorized.If it is the case for a joint signature (a second or third signature is needed), the system informs you The payment has been posted in the Order List for the joint authorized Approver to sign.
If the account has insufficient funds, the system informs you.
Click Home to return to the Homepage.