Managing Limit Types
You can define new limit types that are based on roles associated to contract participants specific to your business, and use them throughout Loan Management with all the functionality of any other default limit type. To manage limit type records:
-
In FintechOS Portal, click the main menu icon and expand the Admin Configurations menu.
-
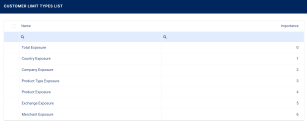
Click Customer Limit Type menu item to open the Customer Limit Types List page.
On the Customer Limit Types List page, you can add new limit type records or search, edit, and delete existing ones.
You can only edit or delete limit types that are not marked as
Is System. Limit types that come with the Loan Management packages are considered system limit types and they are applicable to the customer of a contract.Creating Limit Types
To create a new limit record for a customer, follow these steps:
-
Click Insert on the Customer Limit Types List page to open the Add Customer Limit Type page.
-
Fill in the following fields:
-
Name - Enter the name of the limit type.
-
Role - Select the role of the contract participant for which this limit type can be used.
-
Importance - Enter the order in which this limit is considered by the system. The lower the number, the higher the limit type's importance during the limit calculations.
-
Is Group - Select this checkbox if the limit type is applicable to groups.
-
Is System - This read-only field marks a record as system limit type, and only the limit types that come within the Loan Management packages are marked as system limit types and they are applicable to the customer of a contract. You can only edit or delete limit types that are not marked as
Is System.
-
-
Click the Save and Reload button.
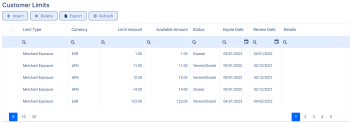
You can view the existing customer limits affected by this limit type in the Customer Limits section. Only customers with the same role selected on their customer record have their customer limit displayed here. 

