Endpoints
Endpoints specify the location where clients can access on-demand Server Automation Scripts.
You can create an endpoint, attach security roles, assign an automation script to it, then on digital journeys or data forms run Call Actions to it.
Create an endpoint
- In FintechOS Studio, go to Main Menu > Advanced > Endpoints.
- Click Insert.
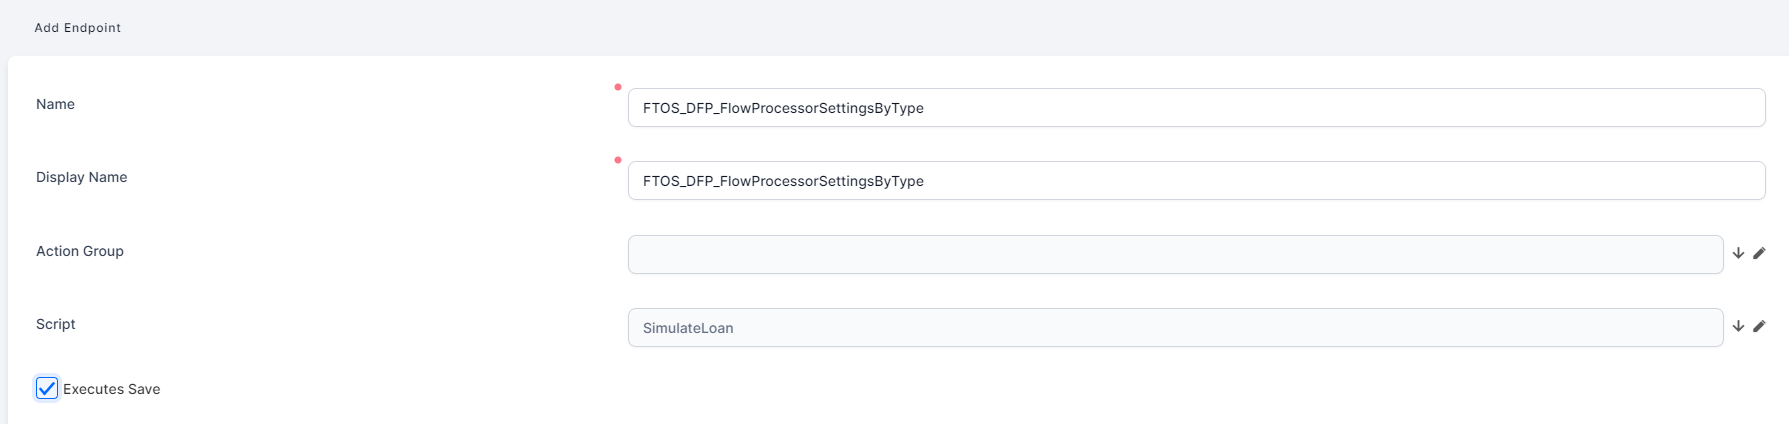
- In the Name field, type the name of the endpoint which will be used by the system.
- In the Display Name field, type the name of the endpoint which will be displayed in the user interface.
- (Optional) If you are working with actions groups, in the Action Group field, select the desired action group you have previously created. For more information on action groups, see Defining Action Groups.
- From the Script drop-down, select the on-demand automation script you previously created.
- If the endpoint is set on a form's action group, when the action group is triggered in the user interface, you can save the form's data before the action group is executed by ticking the Executes Save checkbox.
- Click Save and close to save the endpoint or Save and reload if you wish to Attach a security role to an endpoint.
You can now go to the digital journey or data form and run a call action to the server automation script.
Attach a security role to an endpoint
To enforce security, you can choose which Security Roles have the privileges to call actions on an endpoint.
When calling actions on endpoints which have no security roles attached, errors will occur and the actions will not be performed.
NOTE
For backwards compatibility, the security role “Registered Users“ is automatically added to all endpoints created in previous versions of FintechOS Studio.
For backwards compatibility, the security role “Registered Users“ is automatically added to all endpoints created in previous versions of FintechOS Studio.
IMPORTANT!
The security role “Registered Users“ that is automatically added to all endpoints created in previous versions of FintechOS Studio does not ensure the backwards compatibility for unauthenticated portals. In this case, you need to manually configure or import the security roles assignment.
The security role “Registered Users“ that is automatically added to all endpoints created in previous versions of FintechOS Studio does not ensure the backwards compatibility for unauthenticated portals. In this case, you need to manually configure or import the security roles assignment.
To attach a security role to an endpoint:
- Go to the endpoint configuration page (Edit Endpoint page), scroll down to the Security Roles section and click Insert existing. A window appears which lists all defined security roles.
- Select one from the list by double-clicking on it or add a new security role (click Insert and provide all details required to create a new security role). The selected security role appears in the Security Roles section.
- Click Save and close to save the endpoint.
