Premium Reimbursements
When an insurance policy or master policy is cancelled, a premium refund represents the return of any unused premium. If the refund amount is greater than zero during the cancellation process, a premium reimbursement request is generated: it is set to Draft status if the beneficiary information is incomplete, or Approved if all required data was provided during the cancellation request.
The Refund Approval Limits Insurance Parametersis used for defining how premium reimbursements are approved based on user roles and refund amounts. When useApprovalLimits is set to true, only users with specific roles can approve refunds, and the Approve button becomes active accordingly. Refunds up to 180 are auto-approved if all payment details are provided; otherwise, they remain in Draft status. Refunds above 180 always start as Draft and require manual approval by users whose role allows them to approve amounts exceeding the refund value. The roles and their approval limits are: Operations User (≤ 180), Operations Manager (≤ 2,000), and Operations SuperUser (up to 10 billion). If useApprovalLimits is false, any user with CRUD rights can approve without restriction.
To fill in payment details for the premium reimbursement, follow the steps below:
-
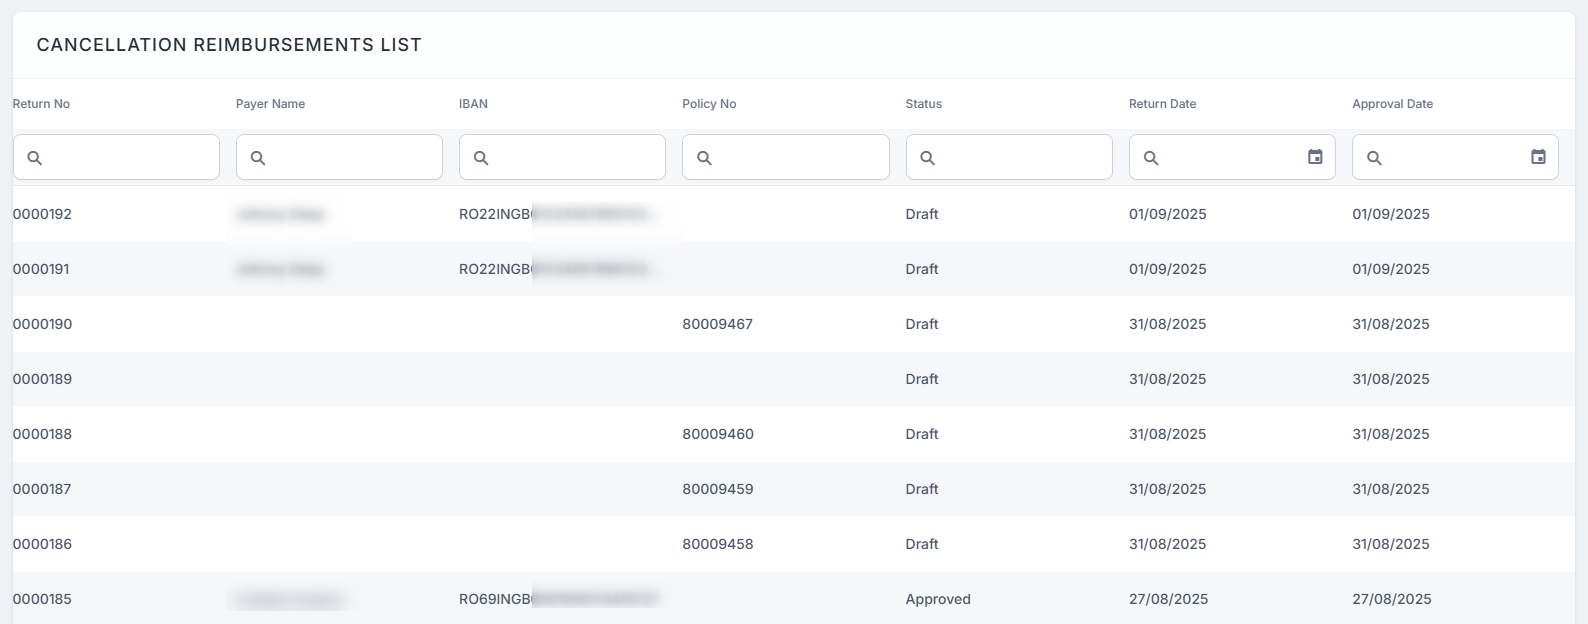
In FintechOS Portal, navigate to the main menu > Policy Admin > Premium Reimbursements. The Cancellation Reimbursements list is displayed.
-
Use the Policy No column or other filters to find the reimbursement request associated with your cancelled policy or master policy. Double click to open the reimbursement request.
-
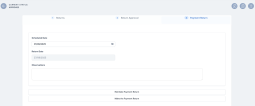
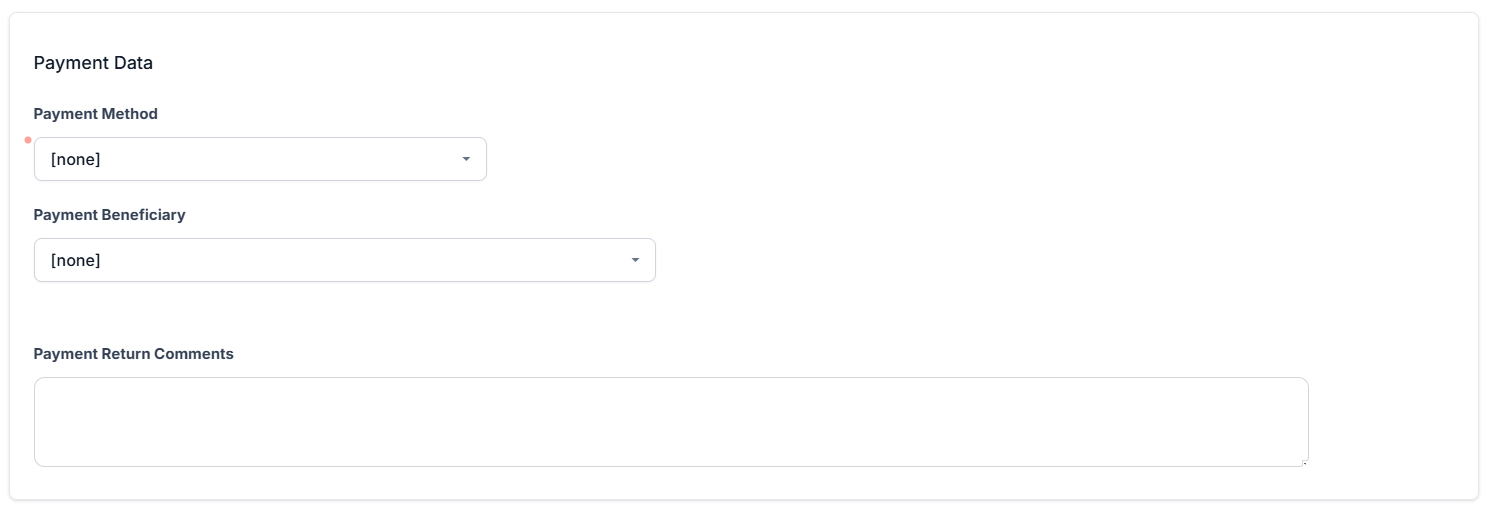
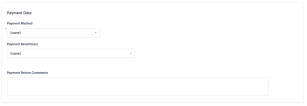
The Summary section displays non-editable details about the policy, while the Payment Data section holds the details on how the premium is to be returned.
Fill in the fields based on the type of payment:
 Bank Transfer
-
Payment Beneficiary: choose from Policy Beneficiary, Insured, Policy Holder, or Other Person. For the first three options, the data is automatically filled in. For the last option, you need to add:
-
Payment Beneficiary First Name;
-
Payment Beneficiary Last Name;
-
Payment Beneficiary PIN;
-
-
Bank: pick the bank from the list;
-
IBAN Account: type in the IBAN account.
Direct Debit UK
For Direct Debit UK, if the policy is paid with direct debit, then a valid mandate is in the system. Tick the checkbox Use current mandate to prefill the fields. Otherwise, fill the fields for Direct Debit UK:
-
Payment Beneficiary: choose between Contractant and Other person;
-
Account Holder: prepopulated with the First Name of the contractant;
-
Account Number;
-
Bank Sort Code.
Direct Debit SEPA
For Direct Debit SEPA, if the policy is paid with direct debit, then a valid mandate is in the system. Tick the checkbox Use current mandate to prefill the fields. Otherwise, fill the fields for Direct Debit SEPA:
-
Payment Beneficiary: choose between Contractant and Other person;
Payer first name: prepopulated with the First Name of the contractant;
-
Payer last name: prepopulated with the Last Name of the contractant;
-
Payer PIN/UTR: prepopulated with the PIN of the payment beneficiary;
-
IBAN;
-
Bank branch;
-
Amount type;
-
Amount;
-
Begin date;
-
End date.
Broker collection is not available, bank transfer or direct debit will be used for refunds.
-
-
Add a comment in the Payment Return Comments.
-
Click Propose Payment Request. The request transitions from the Draft status to Proposed.
-
The Return Approval tab opens with the Proposal Date, Approval Date, and Financial User fields pre-filled. Add an observation and select a Resolution reason from: Wrong account, closed account, or Other reasons.
-
Click Approve and the request transitions to Approved. Click Decline to cancel the request.
-
The Payment Return tab opens. Pick a Scheduled Date, check the Return Date and add an observation. Click Reinitiate Payment Return to restart the process and make changes, or click Make the Payment Return to initiate the payment and transition the status to Paid.