Initiating a General Payment
These are the step a user must take to initiate a payment regardless of the payment type or payment schema:
- Open the FintechOS Portal using the credentials given.
- Insert the SMS code you received on your phone.
- Choose the Business Unit, i.e. the customer for whom the transaction is made. This screen is available for those users who have access to multiple customers with only one set of credentials. HINT
A user can have access to multiple customers (which could be multiple companies' account(s), the user's own account(s), etc.) - Insert the OTP code sent via SMS.
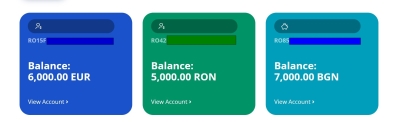
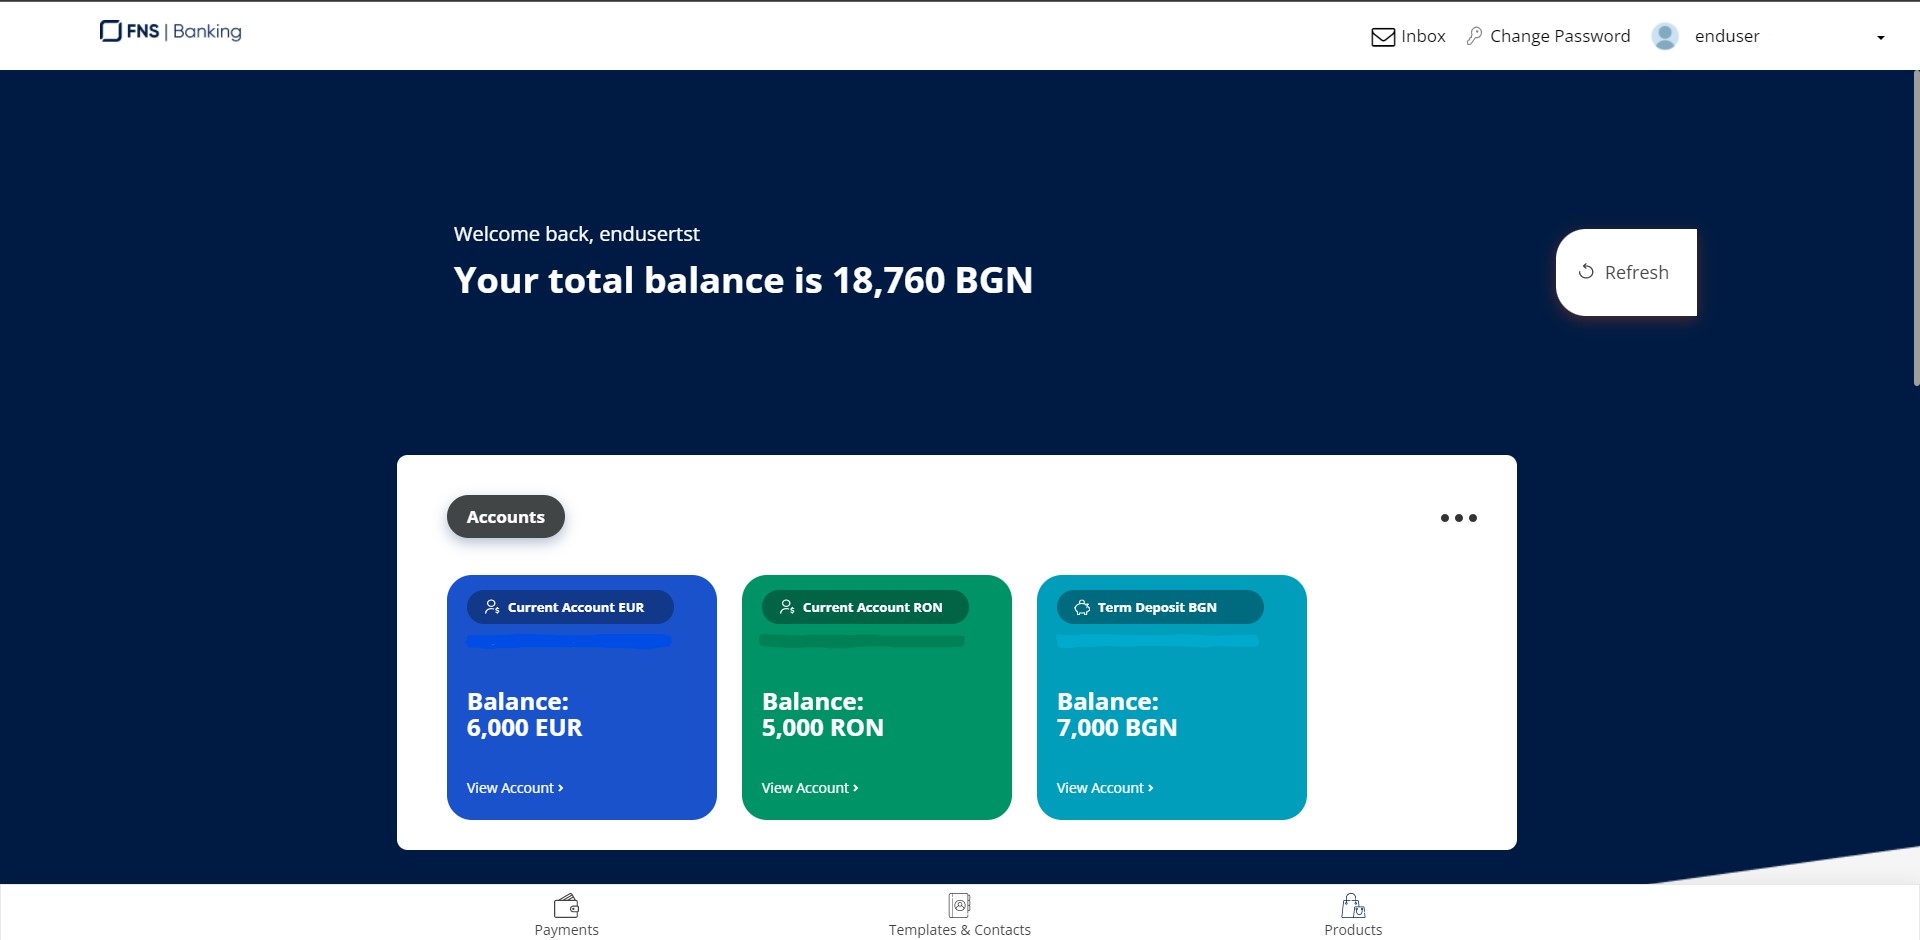
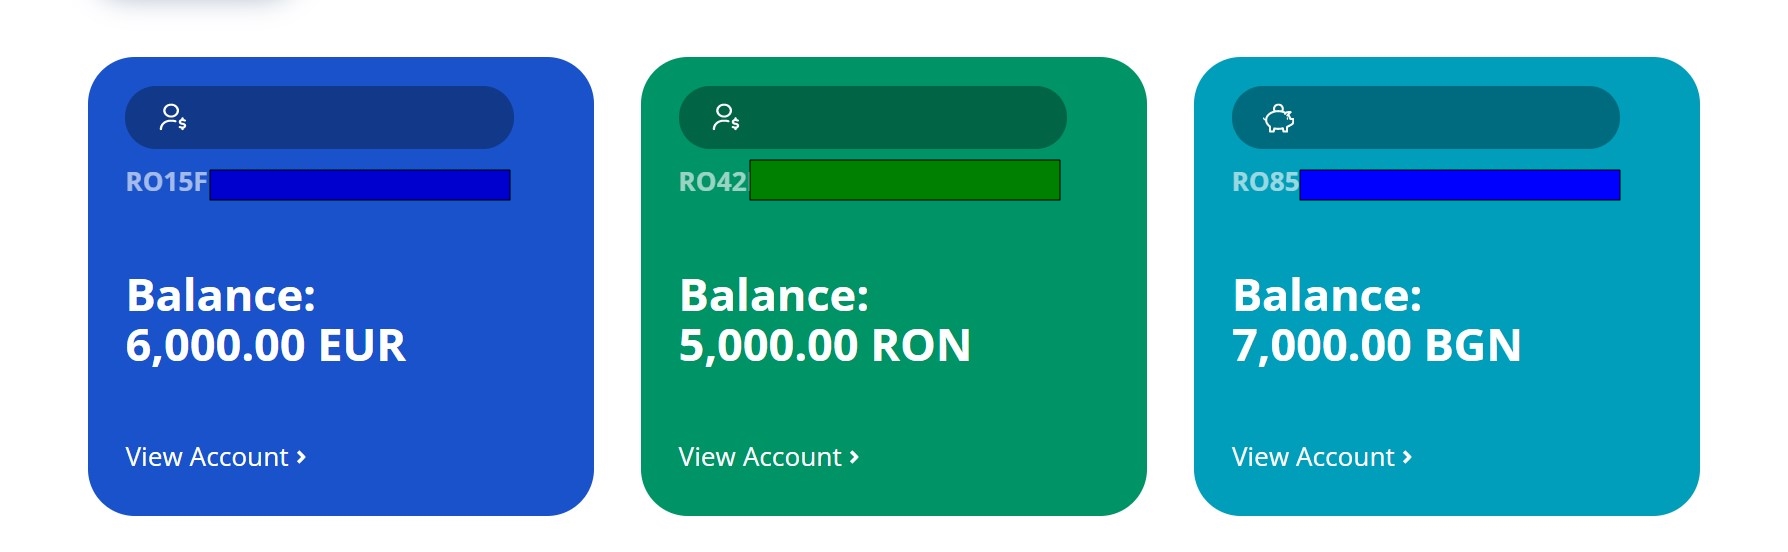
- From the homepage, click Payments on the footer

or select an account by clicking View Account, then click Payments.
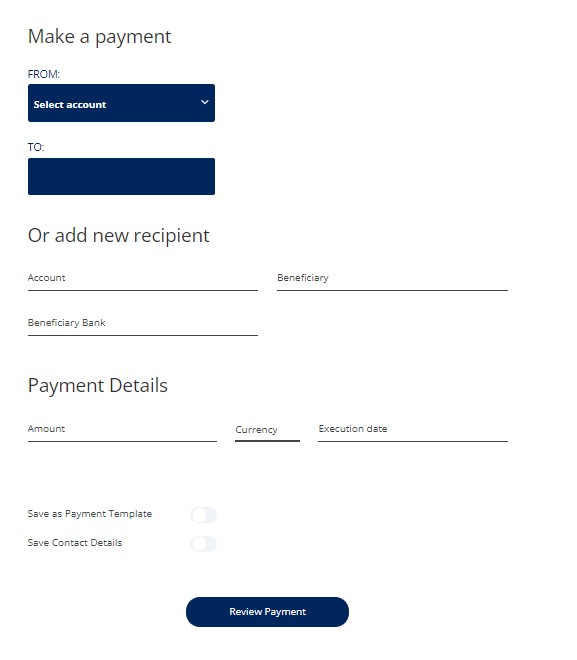
- The Make a Payment page is displayed. The title is dynamic, depending on the amount value, and it changes to display the payment schema type.
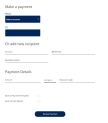
Fill in the following fields for a new payment:
NOTE
On this page, depending on the Beneficiary IBAN, Payer Account, Amount, Payment Currency and BIC/SWIFT, the system verifies the checks explained below and returns a list of payment schemas from which the user must choose from or one schema, which then is displayed as the title.Fields Type Description FROM Lookup Select the current account from where to send the amount by clicking on the drop-down arrow.
HINT
The accounts displayed are the accounts for which the user has at least the right for Account Balance & DetailsThis field is automatically filled with the account number only when the payment was initiated from the Account details page.
Available Balance Numeric This field is displayed once the FROM account has been chosen. It displays the amount available for the specifically chosen bank account. On behalf of (Ultimate Payer) Text This field is displayed in the case of small value domestic payments, with the exception of budget payments. TO Lookup The user can:
- search and select a saved payment template
or
- search and select a saved beneficiary.
Or add new recipient Beneficiary Text Insert the name of the recipient. Field valid for:
- SEPA Credit Transfers Payments (case I)
- SEPA EUR Instant (case H)
- TARGET2
- Small Value Payments
- Local Currency Instant Payments.
Insert the name of the actual beneficiary in the case of sending funds to a company.
Account Text Insert the destination bank account.
In the case of an IBAN:
- Depending on the structure of the IBAN, the types of payments are displayed.
- The system validates the format of the IBAN, if the system recognizes the IBAN, it automatically fills in the Beneficiary field and the Beneficiary Bank. After the values are displayed, they become read-only.
There is a default maximum length available for the Account.
In the case of an account number, there is no validation done on the format of the number.
When the account number is inserted, the type of payment is determined and the title of the page changes to display the name of the type of payment schema.
Beneficiary Bank Text This field is read-only. The bank is identified using the IBAN (B, C, D, E, F, G, H, I, J cases) or the BIC/SWIFT code for case A. Beneficiary Address Text Insert the address of the receiver. BIC or SWIFT Text Insert the code BIC or SWIFT. The identified BIC/SWIFT is made from:
- the IBAN inputted by the user
or
- manually inputted by the user for SWIFT (Initializing a Non-SEPA SWIFT Payment).
The system searches for 11 characters identified BIC/SWIFT, and if a value cannot be perfectly matched, it searches for the first 8 characters.
Beneficiary Bank Country Text Insert the country of the destination bank in the cases of
- Case A (SWIFT)
- Case H (SEPA Instant EUR)
- Case I (SEPA Credit Transfer Payments EUR)
- Case J (TARGET2).
Amount Numeric Insert the amount you wish to send to the person/company. Currency Lookup The currency of the amount being transferred. The list is authentically ordered.
For budget payments, the currency is by default the local currency.
Total amount paid in FROM account currency including commissions Numeric It is read-only. It is displayed in the currency of the account from which the sum is sent.
If the selected payment currency is different than the currency of the FROM account, then the Total amount is calculated with the exchange rates in place at the moment of payment and displayed in the currency of the FROM account.
Commissions Numeric The value of the commissions charged by the bank. FX Rate
Numeric
The value of the exchange rate.
Execution Date Date Time Schedule the payment by selecting a date. From the calendar only the first date available is the current day, followed by the day after and so on up until 90 days Details Text Insert a description for the payment such as an invoice number. Category Purpose Option set It is mandatory only for the Local currency Instant Payments.
It is displayed for:
- SEPA Credit Transfers Payments (case I)
- SEPA EUR Instant (case H)
- TARGET2
- Small Value Payments
- LCY Instant Payments.
Payment Type Boolean Select the type of payment. Details of Charges Option set It is displayed for:
- Non-SEPA Foreign Currency Payment (case A)
TARGET2 EUR payments (case J):
- if the beneficiary country is outside of the EU the customer should be able to choose from all three charges
- if the beneficiary country is in the EU, the default value is SHA
SEPA Instant (H) - SHA value pre-selected and it is not editable
SEPA Payments (I) - SHA value pre-selected and it is not editable.
Choose between:
- SHA
 The user pays the bank's outgoing transfer charge. The beneficiary bank receives the payment minus the correspondent (intermediary) bank charges.
 - OUR The user pays all transfer charges.
- BEN The user does not pay any charge. The beneficiary bank receives the payment minus all transfer charges. Available for SWIFT payments only..
If the country is in the EU, only SHA and OUR can be selected.
Settlement Date Option set It is displayed only for SWIFT payments. It is the date when the funds arrive in the account of the beneficiary:
- If the country is in European Union, only SHA and OUR are displayed and can be selected
- If the country is outside European Union all 3 values are displayed.
Choose between:
- SAME Same day transfer,
- TOM The transaction is sent to the beneficiary on the working day after the user has instructed the trade. (execution date +1, in the case the execution date is not holiday),
- SPOT This is usually the default payment type within foreign exchange. It means your payment is settled and sent to your recipient 2 days after the trade is instructed. (execution date +2, in the case the execution date is not holiday).
Save as Payment Template Boolean By ticking this field, the payment is saved and a new field is displayed Payment Template Name. Payment Template Name Text Insert the name of the payment template. Save Contact Details Boolean By ticking this field, the beneficiary is saved and a new field is displayed Beneficiary Template Name. Beneficiary Template Name Text Insert the name of the beneficiary template. Visible?
Boolean
Check this box to mark whether or not the other users can see this template.
Fields available for the saved recipient Amount Numeric Insert the amount you wish to send to the person/company. Payment Date Date The date when the payment is executed. Payment Details Text area Insert the details for the payment. Total amount to be debited is calculated based on the Equivalent amount in payer account currency + fee and displayed in the same area.
The payment has the status Initiated.
- search and select a saved payment template
- Click Review Payment. By clicking that button, if applicable, the payment template and the beneficiary template are saved. The page Review Payment Details is displayed. It contains the read-only data: Payment amount, Total amount paid including commissions, Execution date, Beneficiary account, Beneficiary bank name, Account, Currency, Payment reason, Payment type, Beneficiary name, Payer account.
After the status was changed in from the business workflow FTOS_IB_Payment_Flow to
Authorization required(Authorization required,Authorized,Pending Available Balance,Sent to corebanking,Executed,Rejected) the system does not allow to change of data from the fields in the entity FTOS_IB_Payment, except the execution date.To proceed, click Confirm. To cancel, click Back.
NOTE
If the user who initiated the payment has authorization rights as well, they are able to sign through Strong Customer Authentication. If not, the payment must be authorized by a user who can. That flow continues as described in Authorizing a Payment. -
The page Terms & Conditions is displayed with the message The OTP Service is to protect the use of your account by requiring you to authenticate your identity using a one-time password ("OTP"), which shall be transmitted through the short message service ("SMS") by Bank to your mobile number registered under your account, for transactions that require such OTP for authentification purpose. We'll use the phone number +40*******44. Click Send.
A pop-up window is displayed with the message: Please insert the code received in order to authorize the payment of value and currency for a to account the account number. To sign the payment, an email was sent with a code. To verify the identity of the user, the code must be inserted in the Online and Mobile Banking page. The email address is taken from the database. There are six boxes where to insert each letter of the OTP. To verify the OTP inserted, click Authorize.
If the code was not sent, click Re-send code.
If you have trouble seeing the code, click Call me.
If the code inserted was wrong, then the user is directed to the page Wrong authorization code with the following message: You have 4 remaining retries. If you want to try again, click Send. If you want to try again later, select Try again and you will be directed to the Homepage. The payment will remain initiated, and you will be able to sign it for the Order List.
Click Send to reinitiate the signature process.
Click the Try later button to save the payment and re-initiate it from the List of Orders and Multiple Authorizations.
-
A confirmation message is displayed for the single signature scenario. If it is the case to be a joint signature, there is the message The payment has been posted in the Order List for the joint authorized Approver to sign. Click Home to return to the Homepage.
AuthorizedNOTE
At every two minutes, the scheduled job named FTOS_IB_PaymentsQueue runs to send the payment to Core Banking after it has been authorized by all the persons needed and its status isAuthorized.Malicious Attack
If the payment failed due to the reason that the payer account inactivated or does not belong to the user the screen displays the following message: There was a problem processing your payment, please try again later.
Click Home to return to the Homepage.
Rejected.An email is sent to the bank to inform them that the payment might have been a malicious attack.
Transfers from a current account to a deposit or savings account are not a payment, and therefore it is not covered in this chapter.