Perform Policy Mid Term Adjustments
The Policy Mid-Term Adjustments (MTA) or Policy Alteration functionality allows changes to active policies based on customer requests. Through this feature, you can modify various aspects of a policy, such as coverage, payment type, payment frequency, and more. Each change generates a new version of the policy, ensuring that the information remains accurate and up to date according to customer requirements. MTAs can also impact the insurance premium, as changes to coverage may result in an increase or decrease in the premium.
When initiating an MTA, the process begins with the original policy. Any changes made generate a clone of the policy record, using policy comparison logic. Adjustments are made to this cloned version, while the original policy remains unchanged with its In Force status. The clone is not visible in the list of policies and is used only during the editing process.
The policy clone does not appear in the list of policies. Instead, it is used as a support in the editing process.
If a second alteration is planned after the first, the system generates a new clone of the first policy clone to facilitate the second modification. Premium calculations during the policy alteration process account for the type of pro-rata used in the calculations, which is configured in the prorata type insurance parameter. You can view premium calculations based on the pro-rata type on the Policy Admin Formulas page.
Additionally, the alteration process can be configured to meet specific needs. For more information, visit the Configure Alteration Types page.
The Premium calculations made in the Policy Alteration processes take into consideration the type of pro rata which is used in the calculations. The type of pro rata is configured in the prorata type insurance parameter. View the calculations for the premium amounts according to the prorata type Policy Admin Formulas page.
If you start an alteration (MTA) on a master policy and leave it in Draft status, then add or cancel a policy under that same master policy, the draft alteration will automatically move to Inactive. The system will display the message: “Inactivated by the system due to changes on master policy.” This is also applicable for a cancellation on a policy that has a draft alteration or for a cancellation on a master policy that has a draft alterations.
To avoid this, always check whether the policy or master policy has any draft alterations, and either register or cancel those alterations before adding or cancelling policies under the master policy.
Update Policies
The sections below describe the steps you need to follow to make a policy mid term adjustment.
There are two methods to start a new MTA flow in FintechOS Portal:
-
Though the main menu:
-
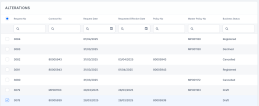
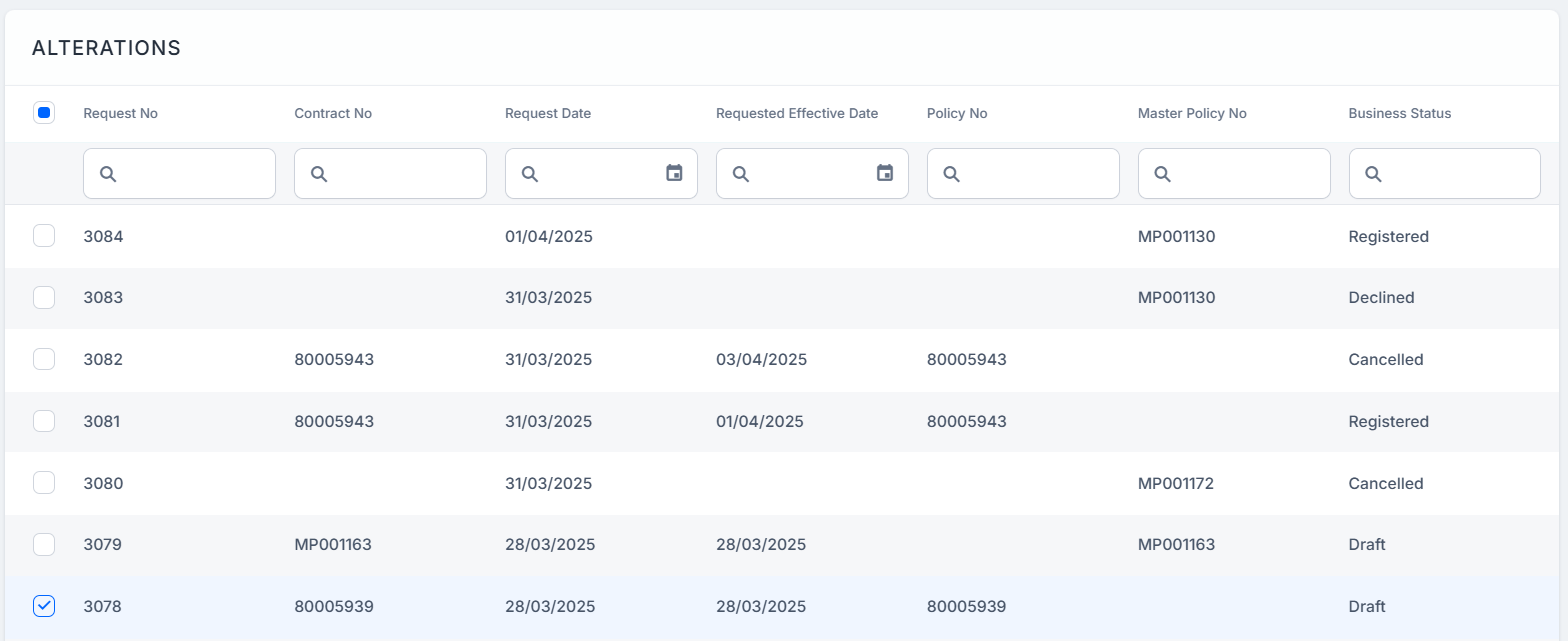
Go to Main Menu > Policy Admin > Alterations. The list of all MTA requests is displayed.
-
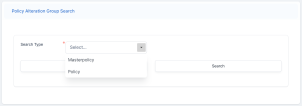
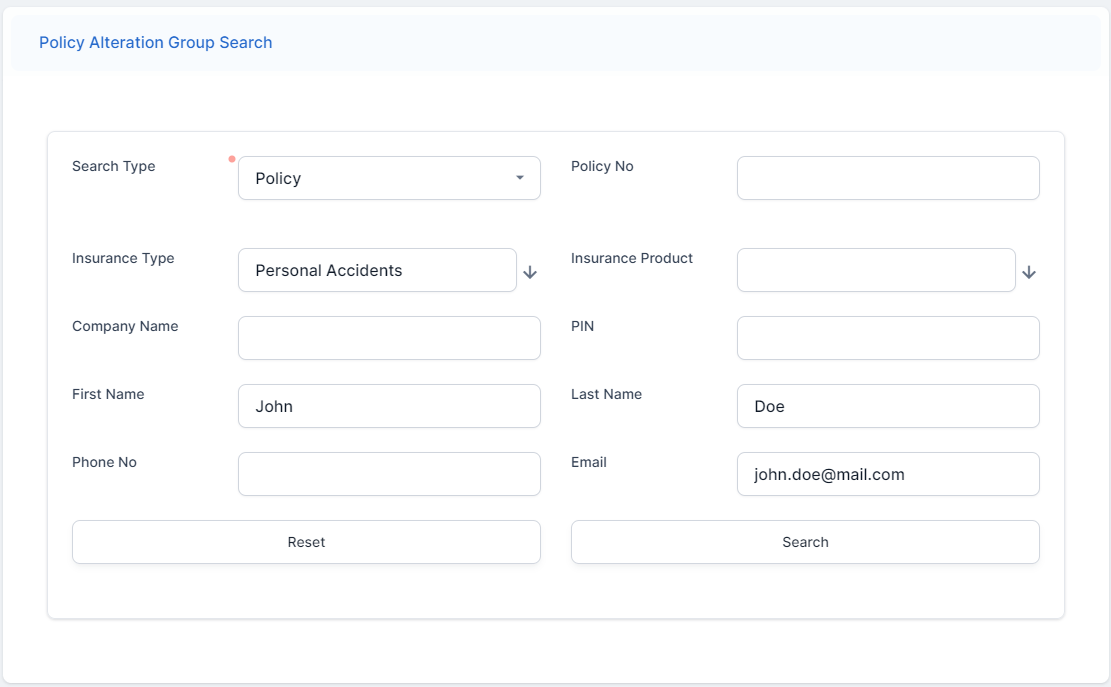
Click Insert. The Policy Alteration Group Search form is displayed.
-
Select Policy in the Search Type field.
-
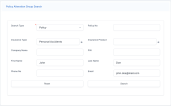
Fill in the fields with the details of the policy for which you wish to make an MTA.
-
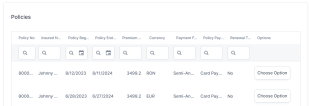
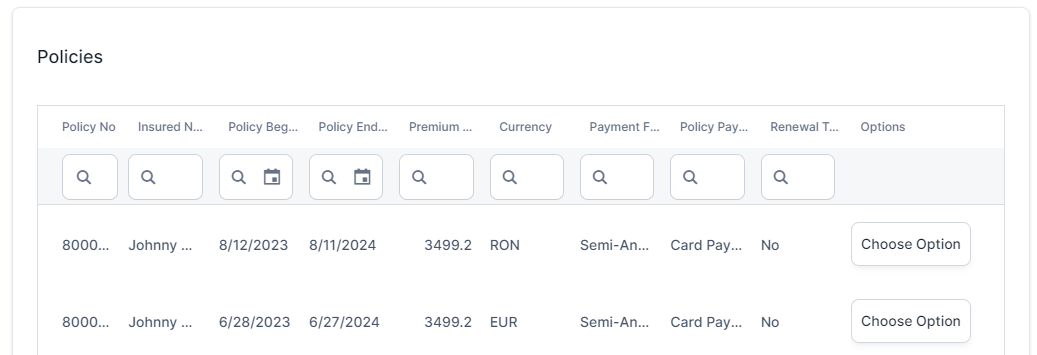
Click Search. The Policies grid is displayed, where your search results are listed.
-
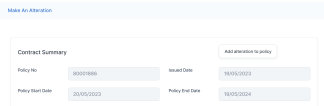
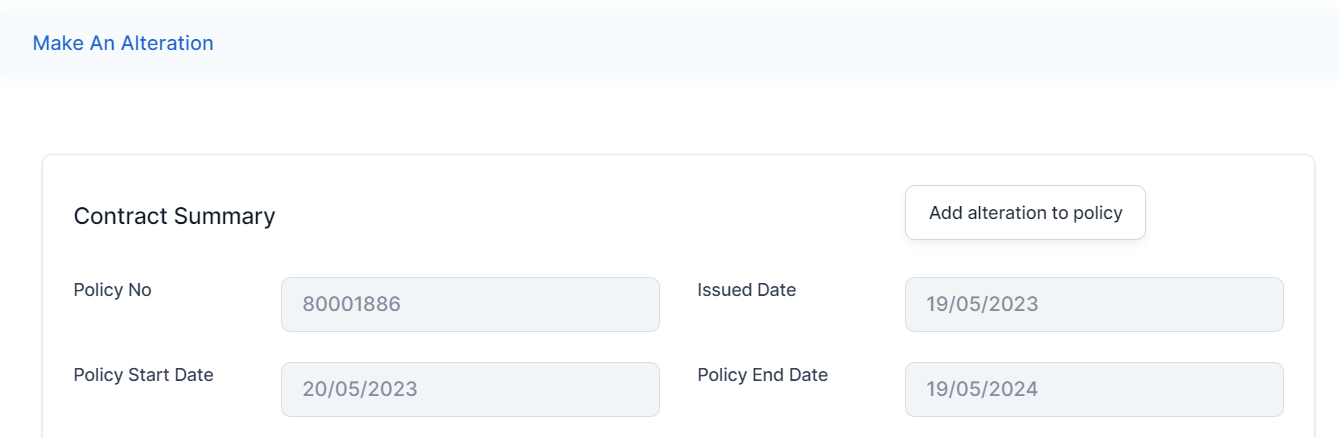
Identify the policy you want to adjust, and click Choose Option. The Make An Alteration form is displayed.
-
Click Add alteration to policy to start making adjustments.
-
-
Through the policy form:
-
Open a policy record that is in the In Force status.
-
At the end of the policy form, click Issue alteration. The Make An Alteration form is displayed, and you can start making the adjustments.
-
Click Add alteration to policy to start making adjustments.
-

Before starting any alteration, select a value for the Requested Effective Date. Without selecting a date, you cannot continue with the MTA flow.
You can choose from the following adjustments to make:
-
Change Start Date: Change the policy start date. It is used for future or backdating.
-
Update Coverage: Change the coverage amount for the risks covered by the policy, and/or change the card.
-
Update Due Date: Change the payment due date for the installments;
-
Update Insured Object: Make alterations to the covered object in the policy;
-
Change Payment Frequency: Change the payment frequency for the installments;
-
Change Payment Type: Choose another payment type from the available options;
-
Change Renewal Type: Change the renewal type for the policy from the available options;
-
Update Policy Party: Change the insured or payer.
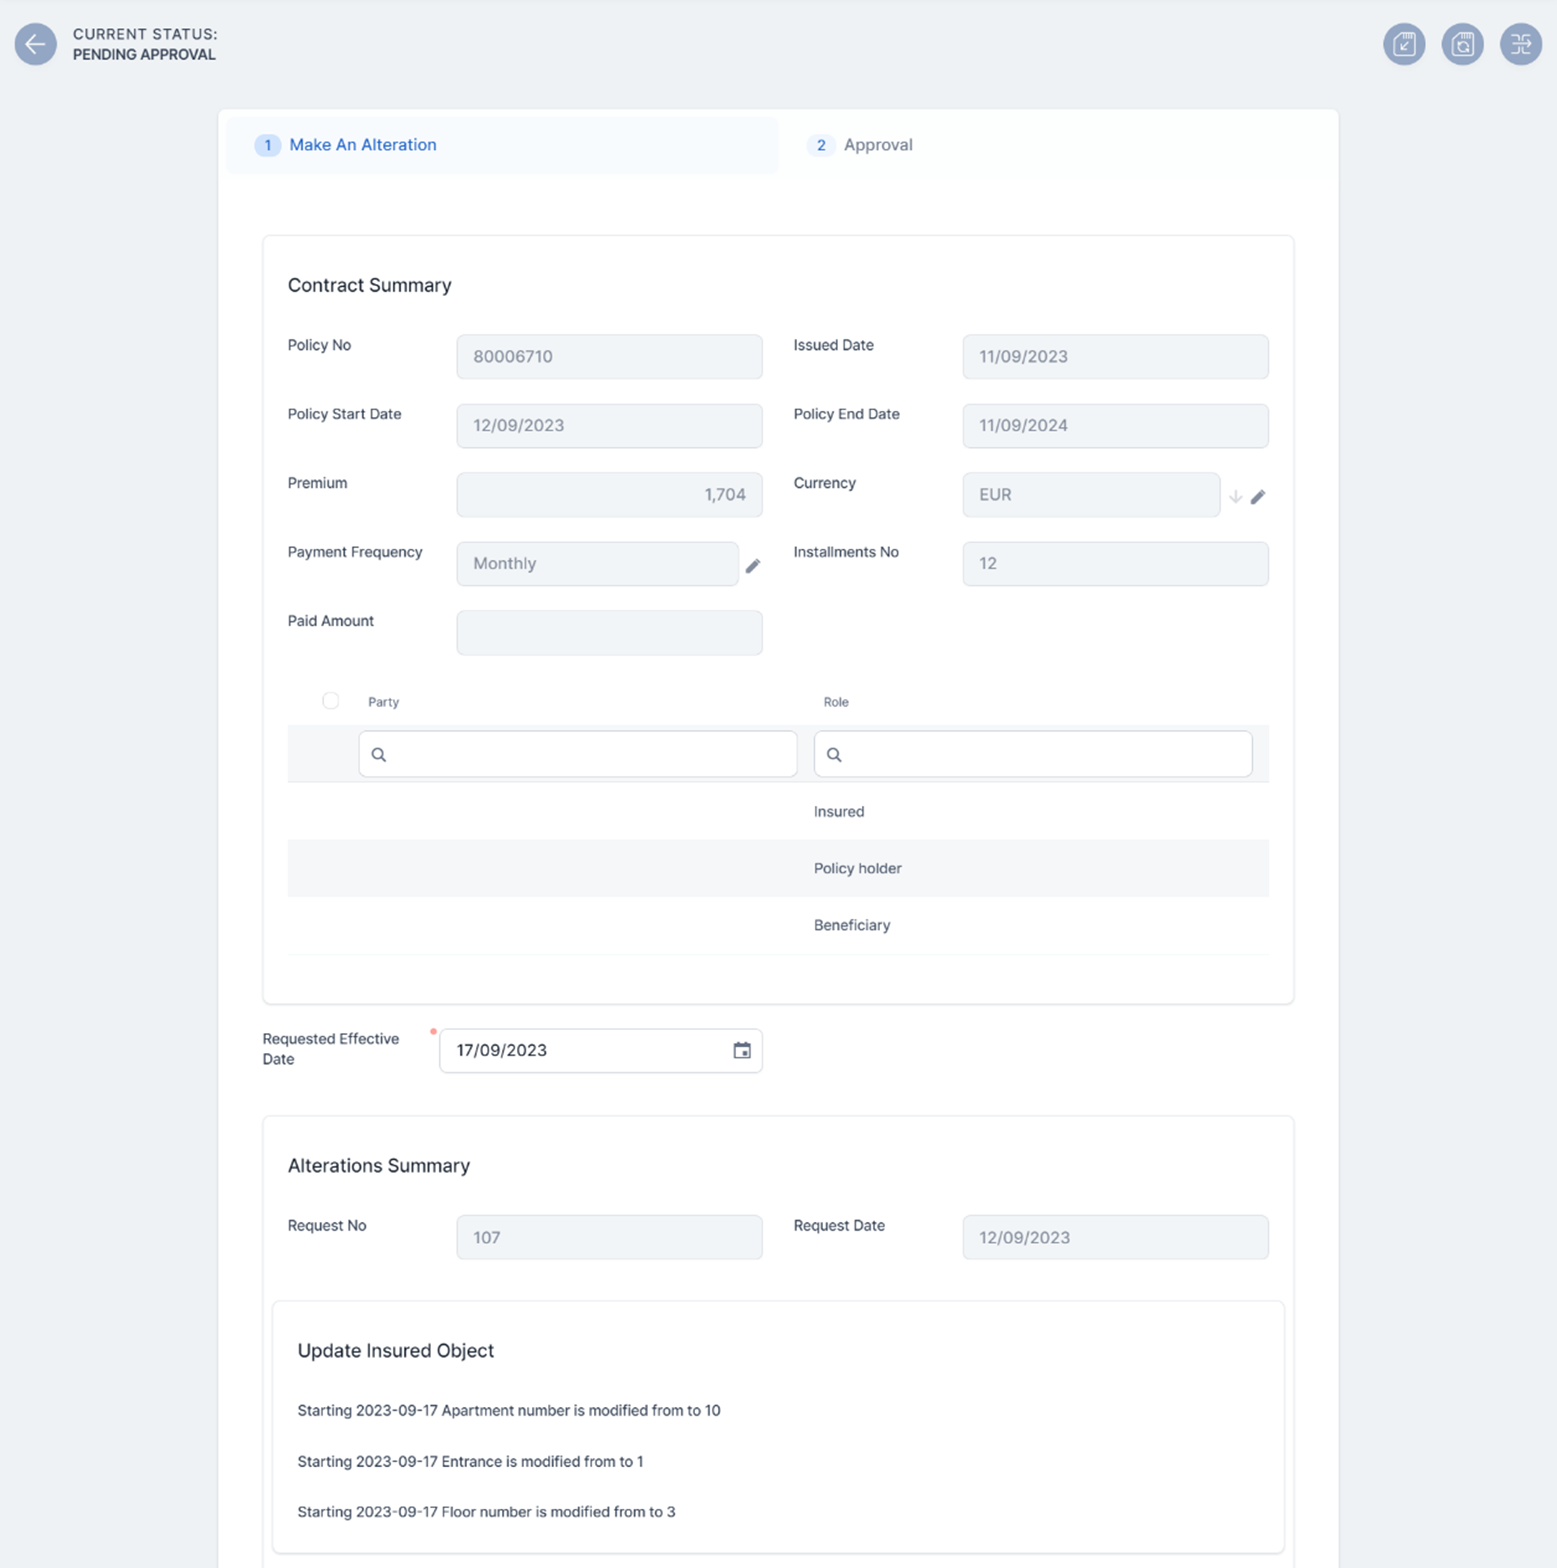
The Make An Alteration form contains the following sections:
-
Contract Summary: This section lists the main data of the policy to be altered, and the list of beneficiaries. This section cannot be edited;
-
Requested Effective Date: In this field, input the date you want your alteration to start being in effect. You can configure the available dates in this field. Read more by accessing the Alteration Types Configuration page.
-
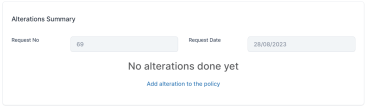
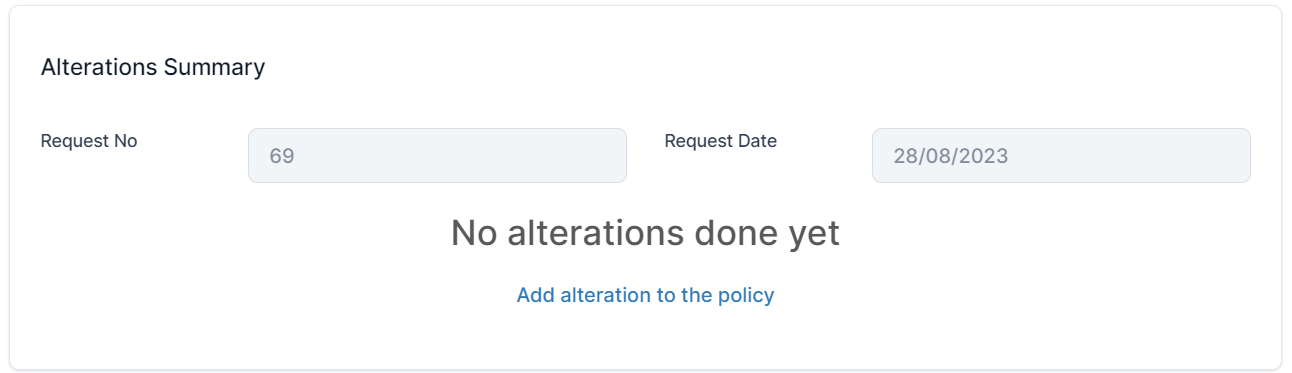
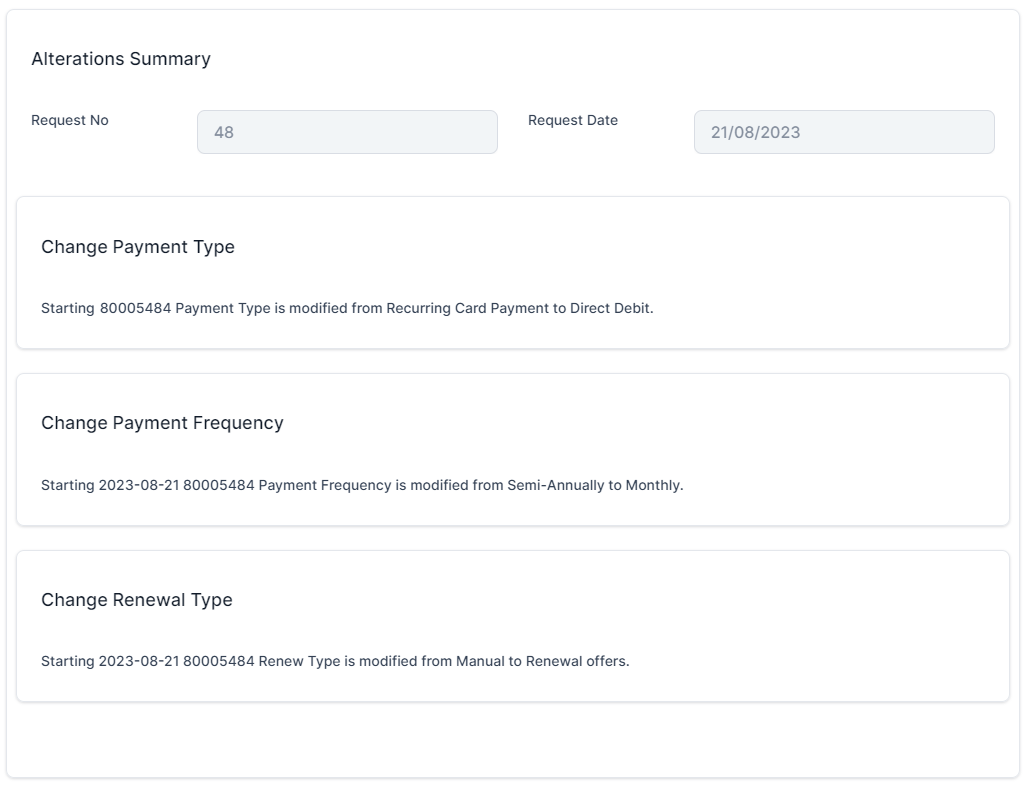
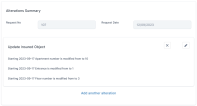
Alterations Summary: This section holds the request number and date for the alterations made for the policy. Whenever an alteration is registered, the details are displayed in this section. If you haven't made any alterations yet, you can click Add alterations to the policy and see the available alteration options. This directs you the button that initiates the MTA journey;
-
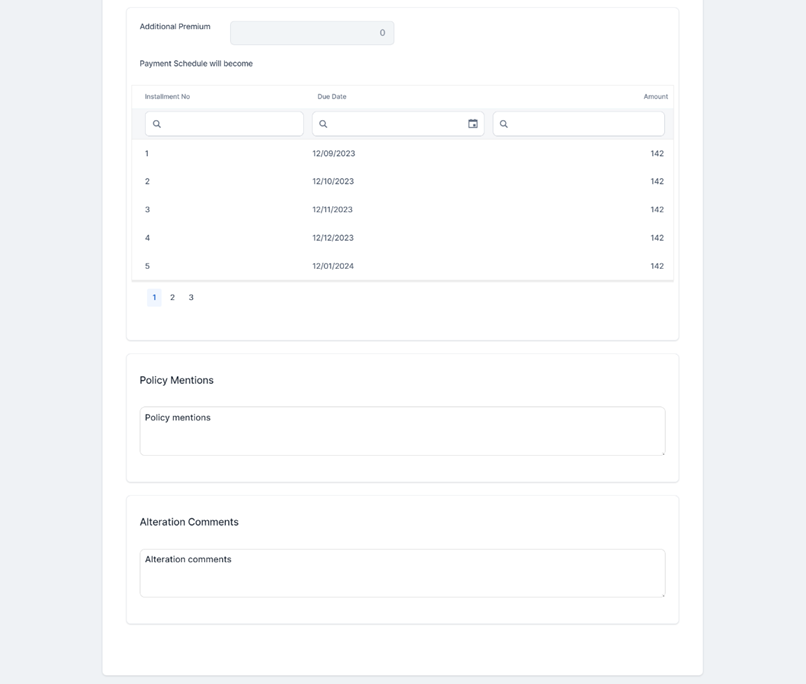
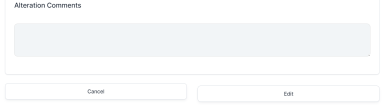
Policy Mentions: Editable section, where you can write any mentions regarding the policy;
-
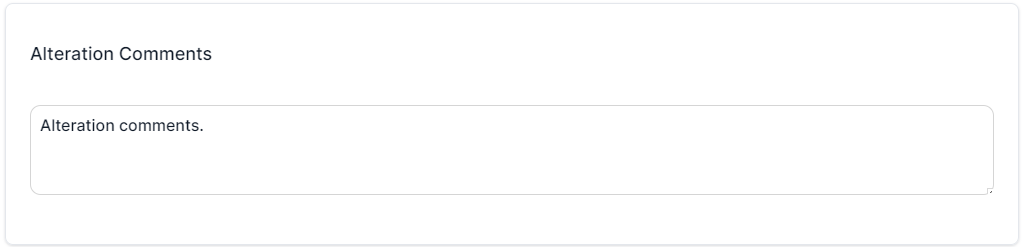
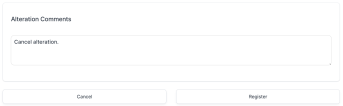
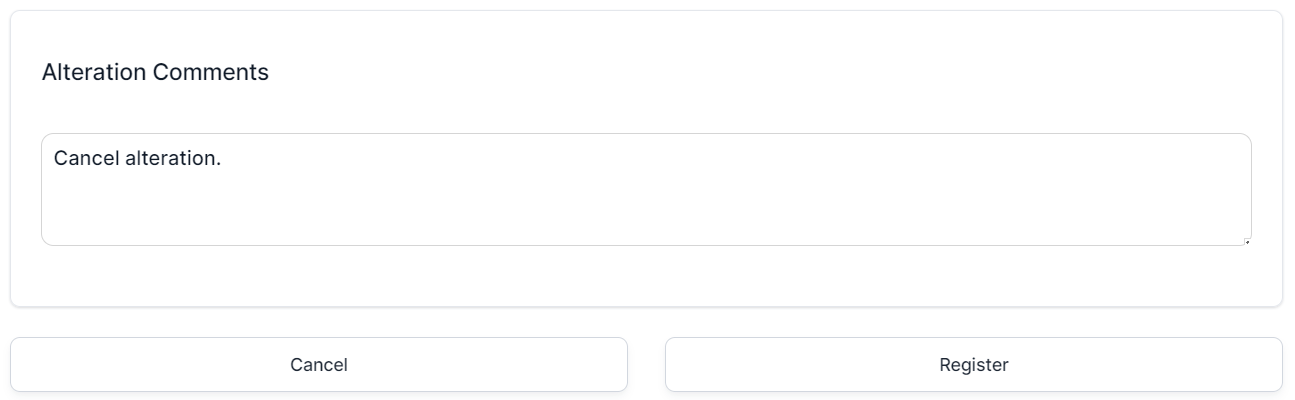
Alteration Comments: Editable section, where you can write any mentions regarding the alteration. It is mandatory to add a comment here in case you want to cancel the alteration.


Once you've confirmed the changes in the MTA request, you have the option to either register or cancel it. This can be done either after making and validating the alterations, or before attempting to work on the request.
-
Click the Register button to trigger the following actions:
-
The change policy request transitions from Draft to Pending Approval.
-
All fields become read-only.
-
The Approval tab becomes available for the next step or approving or rejecting the MTA request;
-
Policy Admin calculates the additional premium. For premium reimbursements, a negative amount is displayed;
-
The policy alteration type is determined. If at least one included alteration requires the issuance of an MTA, the value is MTA needed.
-
After updating a policy alteration request, updating the coverages on a policy by editing the Amount Insured, or removing or adding new coverages, the impact in the premium is calculated sending a getPrices API to receive the new annual premium amount calculated for each coverage (item). The request is sent after the validation of each alteration type (Register button).
In order for the request to be sent, you must create a policy data type mapping on the product.
View the calculations for the premium amounts after a cancellation by accessing the Core Policy Admin Formulas page.
The adjustments are made according to the new amount, the rest of the installments which are unpaid and having the status OnTime. Any rounded amounts are aggregated on the closest unpaid installment that does not have a statement issued.
The premium amount may be updated in case of policy changes done through an MTA, like:
-
Removing or adding a coverage;
-
Adjusting the insured amounts;
-
Changing the payment frequency.
To cancel an MTA request, follow the steps below:
-
In the Make An Alteration form, add a comment in the Alteration Comments section.
-
Click Cancel to trigger the following actions:
-
The change policy request transitions from Draft to Cancelled.
-
All fields become read-only.
-
The Approval tab becomes available.
-
-
Click Save and close.
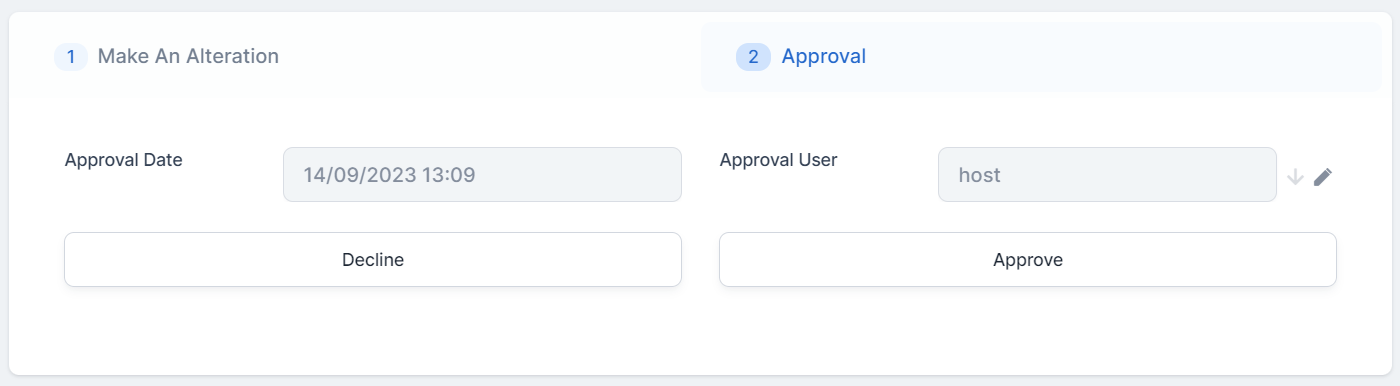
You can approve or decline an MTA request according to the customer’s decision regarding the modifications on the policy. In the cases when alterations are configured to bypass approval, the MTA request transitions from Draft directly to the Registered status upon registration. However, if the request contains at least one alteration that requires approval, you will need to approve the entire MTA request in Pending Approval status. Only a user with a preconfigured security role can approve or decline the request. The security roles are configured per alteration type. If additional changes are required, the user with approval rights can click the Edit button to transition the alteration back in the Draft status. If the user making the alteration is also the one with security roles for approval, then this step is skipped.
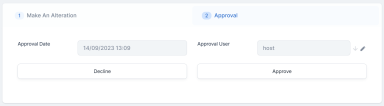
Follow the steps below to approve or decline an MTA request:
-
In the change request form that is currently in Pending Approval status, go to the second tab, Approval.
-
Choose one of the options below:
-
Click Approve. The record transitions to the Register status, and a new version of the policy containing the approved alterations, is created when the MTA reaches the effective date;
-
Click Decline. The record transitions to the Declined status, and the policy suffers no modifications.
-
You can edit an MTA in Registered status in the following conditions:
-
If the System Date is less than the Effective Date of said MTA;
-
If the edited MTA's Effective Date is later than the one of another MTA in Draft or Registered status, related to the policy.
Follow the steps below to edit a Registered MTA:
-
In the change request form that is in Registered status, click Edit. The record transitions to the Draft status.
-
The form is now editable, and you can make modifications, such as edit the Alterations Summary section, or add new alterations to the policy.
-
After you have edited the form, click Register.
-
If the record needs approval, go to the second tab, and click Approve.
-
Click Save and close.

You can cancel an already Registered MTA if the MTA's Effective Date is later than the system date. If the policy has multiple Registered MTAs, you can only cancel the one with the greater Effective Date.
Follow the steps below:
-
In the change request form that is in Registered status, click Edit. The record transitions to the Draft status.
-
Add a comment in the Alteration Comments section.
-
Click Cancel. The record transitions to the Cancelled status.
-
Click Save and close.
Alterations Business Use Cases
When making policy alterations, you can choose from the following update options:
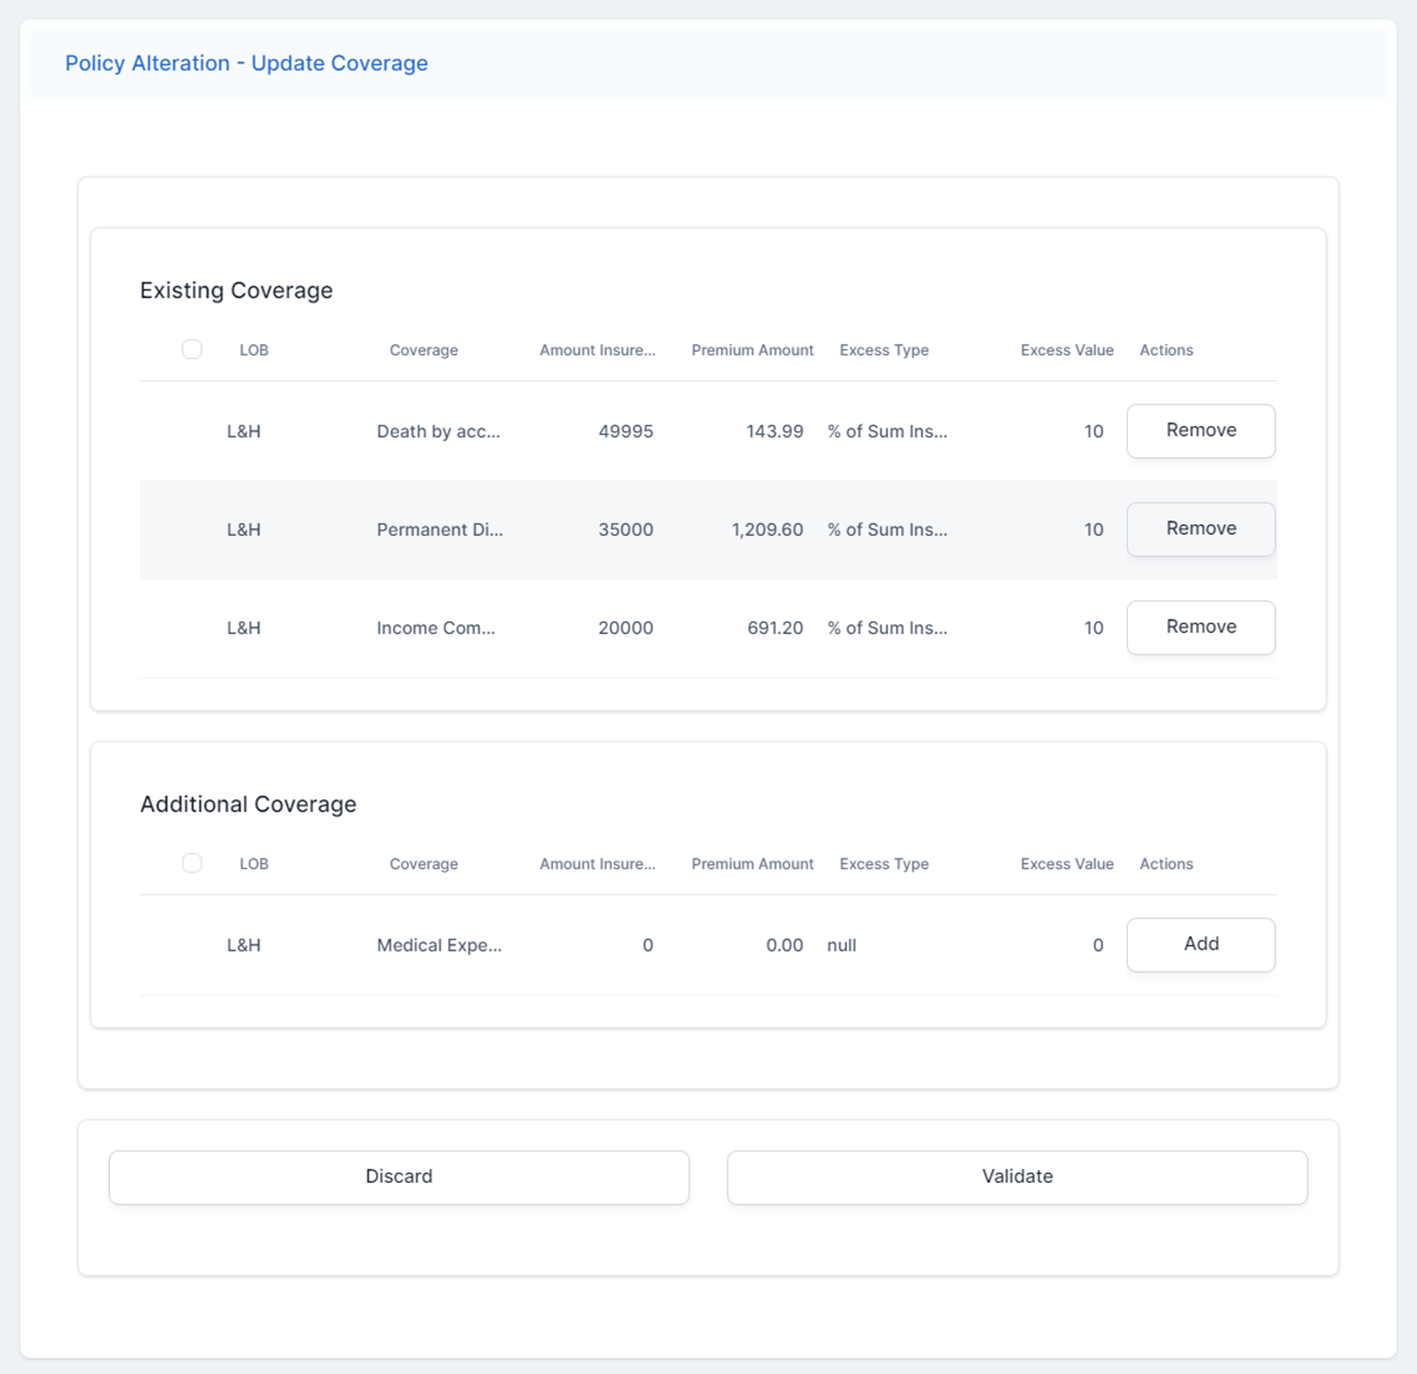
With Mid Term Adjustments, you can choose an existing policy and change the coverages by modifying the insured sum. You can also add new coverages for the policy, or delete any that are no longer of interest. Once you make the change, you can see the modification of the installment in the updated policy record. On the update card, newly added coverages start on the MTA effective date. If a coverage includes a waiting period, its begin date is set to the MTA effective date plus the length of the waiting period.
-
In the Make and Alteration form, click Add alteration to policy and select Coverage from the list. The Policy Alteration - Update Coverage form is displayed.
-
Inspect the list of the existing and additional coverages of the contract. Existing coverages grid includes only the valid coverage at effective date of the MTA. Additional coverages grid displays only the optional coverages that are not included on the policy at effective date of the MTA.

You have the possibility to make the following changes:
-
Remove a record from the Existing Coverage grid. The removed record becomes an additional coverage;
-
Click Add on a record of the Additional Coverage grid, to make it part of the Existing Coverage list;
-
Edit the following attributes of the coverages: Amount Insured, Excess Type, and Excess Value.
-
-
Make the preferred changes and click Validate.
-
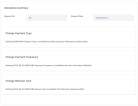
In the Make and Alteration form, view the Alterations Summary section. Here you find the record with the summary of the alteration that you have just made.
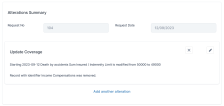
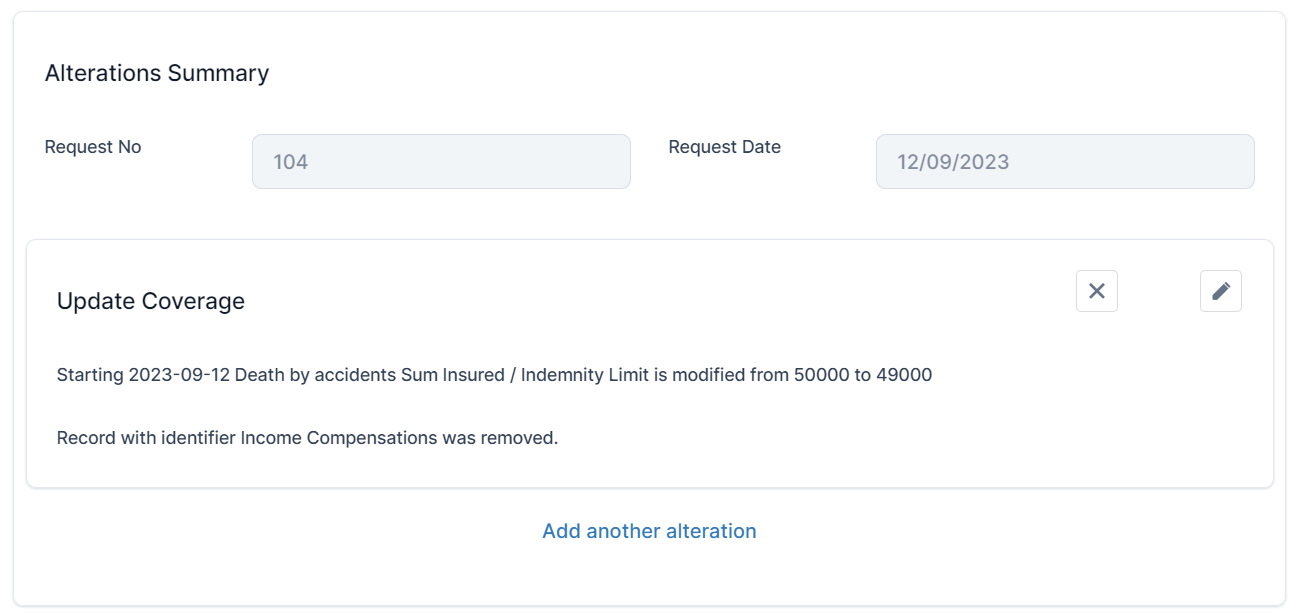
You can choose to Edit the alteration record, or to Delete it.
With Mid Term Adjustments, you can choose an existing policy and change the payment type for the installments. Once you make the change, you can see the modification for the future installments.
-
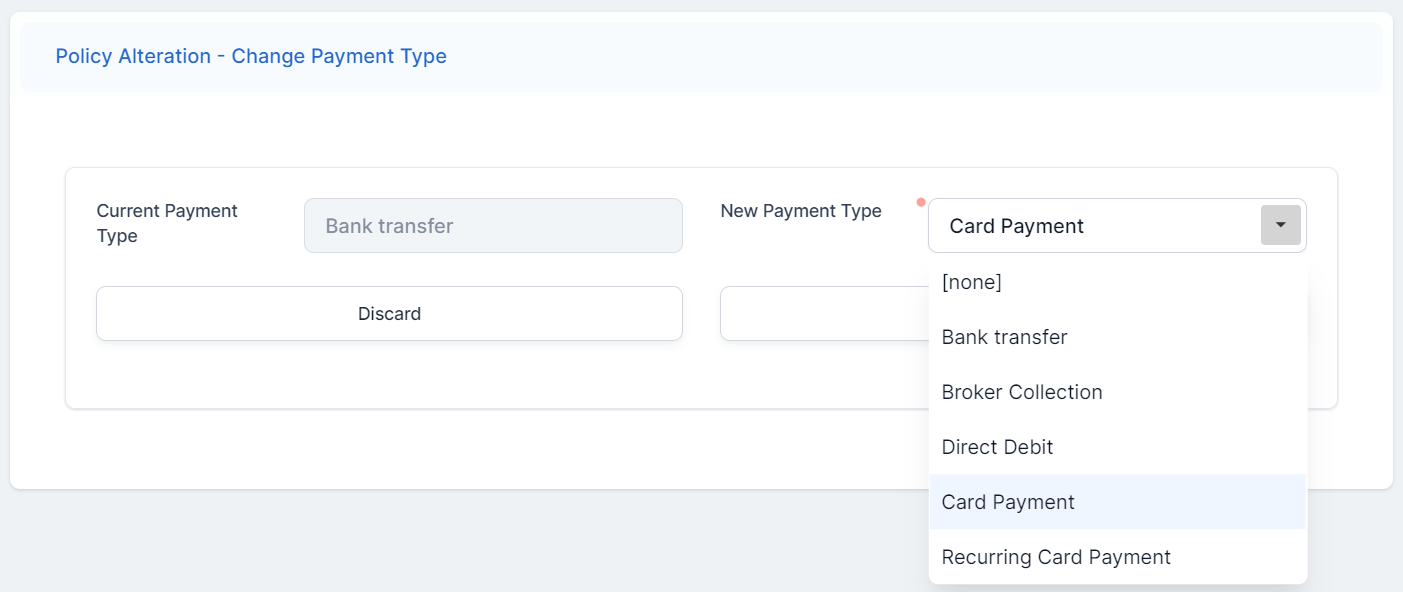
In the Make and Alteration form, click Add alteration to policy and select Payment Type from the list. The Policy Alteration - Change Payment Type form is displayed.
-
Choose a value for the New Payment Type field, from the drop-down.
-
Click Validate. The record is updated.
-
In the Make and Alteration form, view the Alterations Summary section. Here you find the record with the summary of the alteration that you have just made.
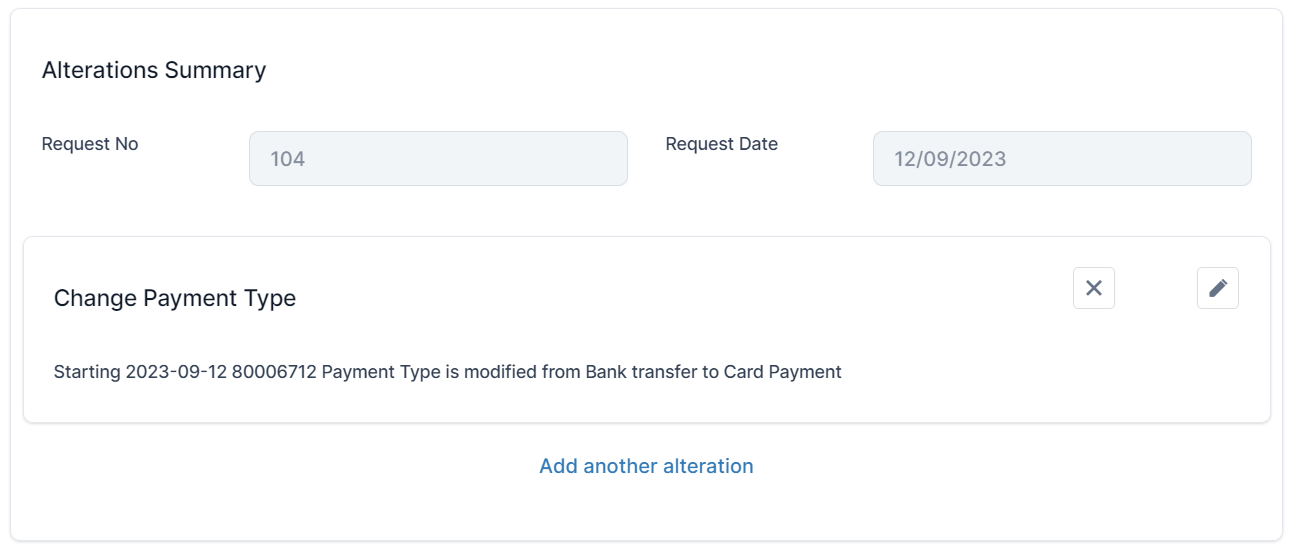
You can choose to Edit the alteration record, or to Delete it.
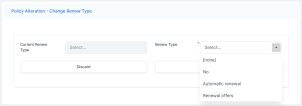
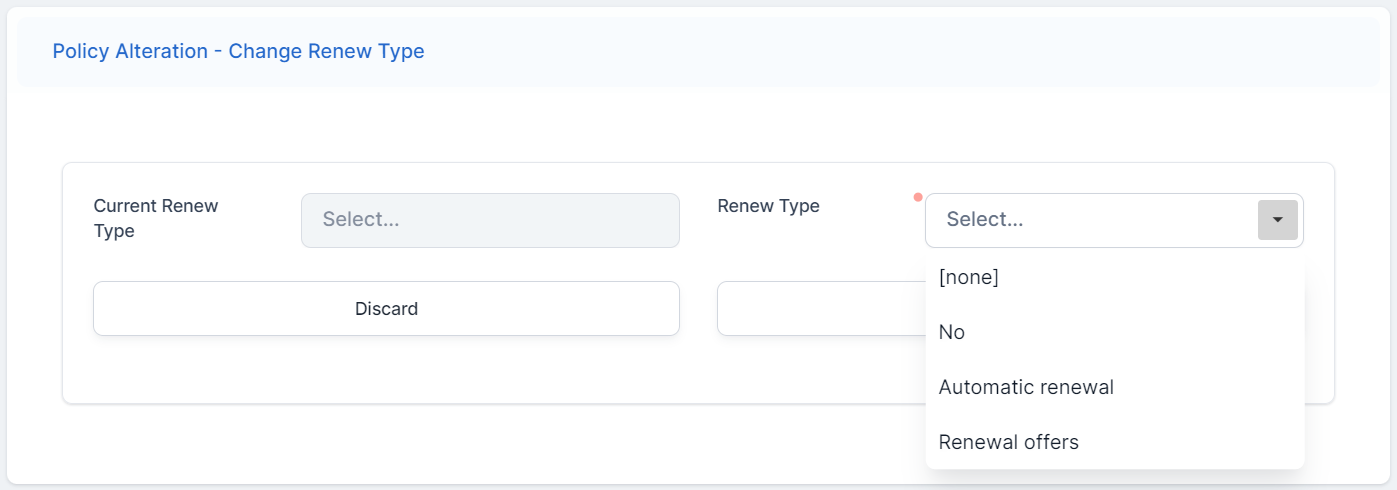
With Mid Term Adjustments, you can choose an existing policy and change the renewal type for the installments. Once you make the change, you can see the modification for the future installments.
-
In the Make and Alteration form, click Add alteration to policy and select Renewal Type from the list. The Policy Alteration - Change Renew Type form is displayed.
-
Choose a value for the Renew Type field, from the drop-down.
-
Click Validate. The record is updated.
-
In the Make and Alteration form, view the Alterations Summary section. Here you find the record with the summary of the alteration that you have just made.

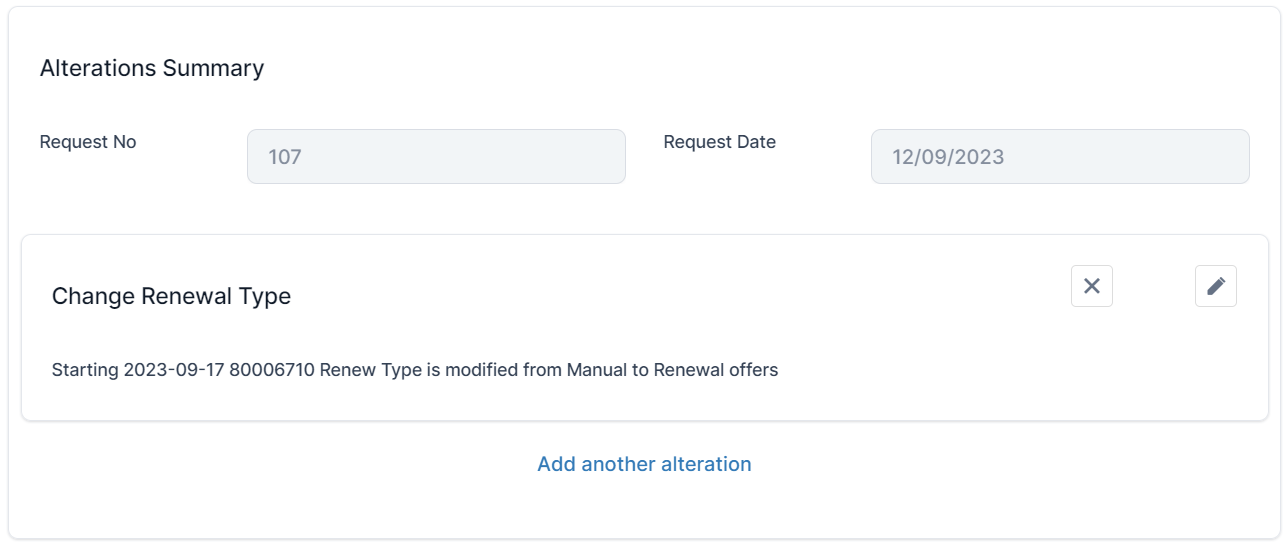
You can choose to Edit the alteration record, or to Delete it.
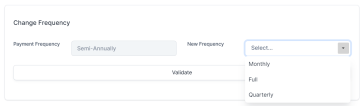
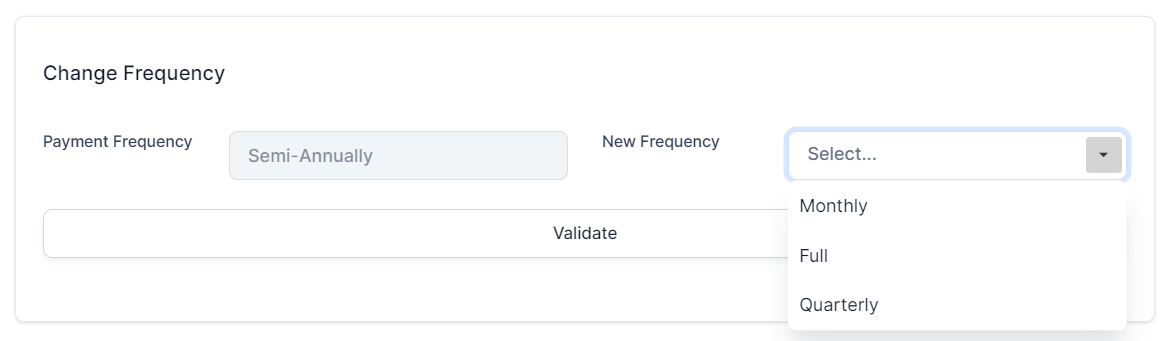
With Mid Term Adjustments, you can choose an existing policy and change the frequency of the payments for the installments. The frequency can be either full, quarterly or monthly. Once you make the change, you can see the modification of the frequency for the future installments.
-
In the Make and Alteration form, click Add alteration to policy and select Payment Frequency from the list. The Policy Alteration - Change Payment Frequency form is displayed.
-
Select a New Payment Frequency for the policy, and click Validate.
-
In the Make and Alteration form, view the Alterations Summary section. Here you find the record with the summary of the alteration that you have just made.
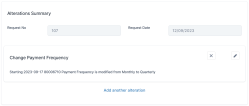
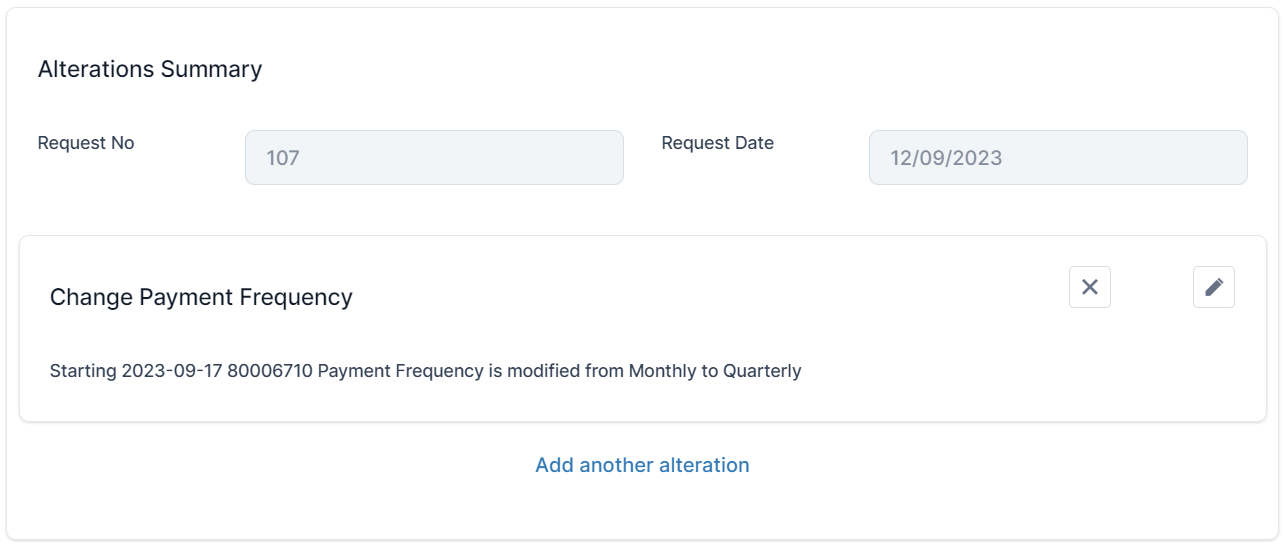
You can choose to Edit the alteration record, or to Delete it.
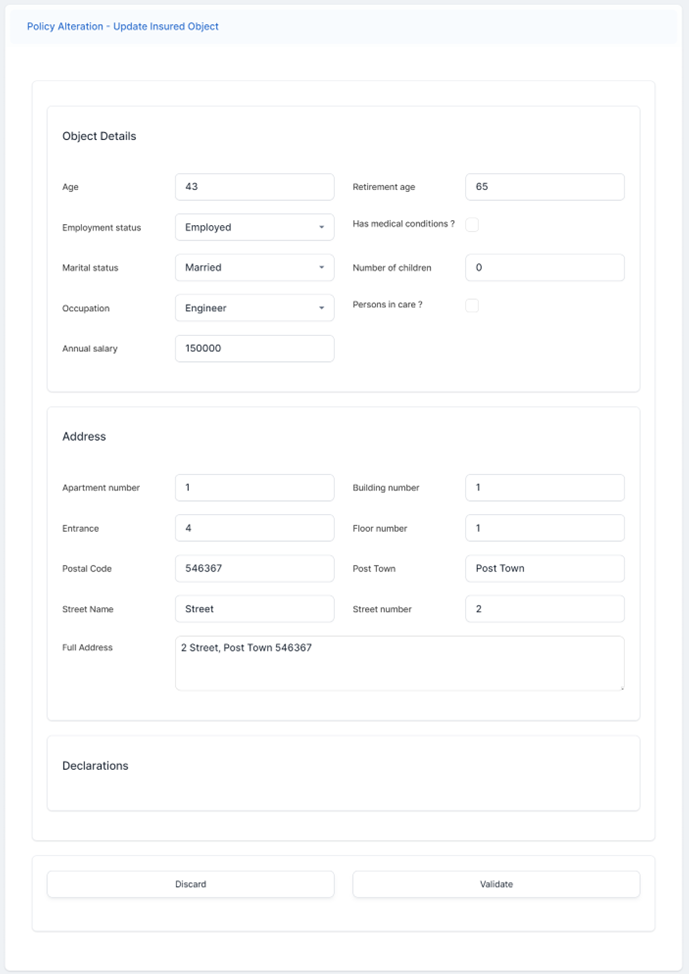
With Mid Term Adjustments, you can choose an existing policy and change the details for the insured object. Once you make the change, you can see the modification for the future installments
-
In the Make and Alteration form, click Add alteration to policy and select Insured Object from the list. The Policy Alteration - Update Insured Object form is displayed.
-
Inspect the Object Details, Address and Declaration sections, and make the necessary changes to the fields.
-
Click Validate. The record is updated.
-
In the Make and Alteration form, view the Alterations Summary section. Here you find the record with the summary of the alteration that you have just made.
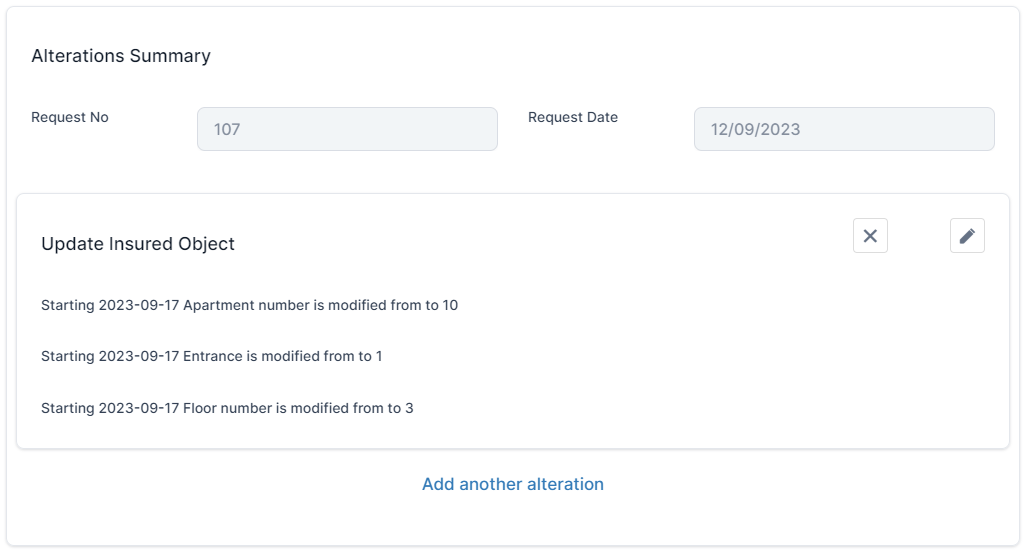
You can choose to Edit the alteration record, or to Delete it.
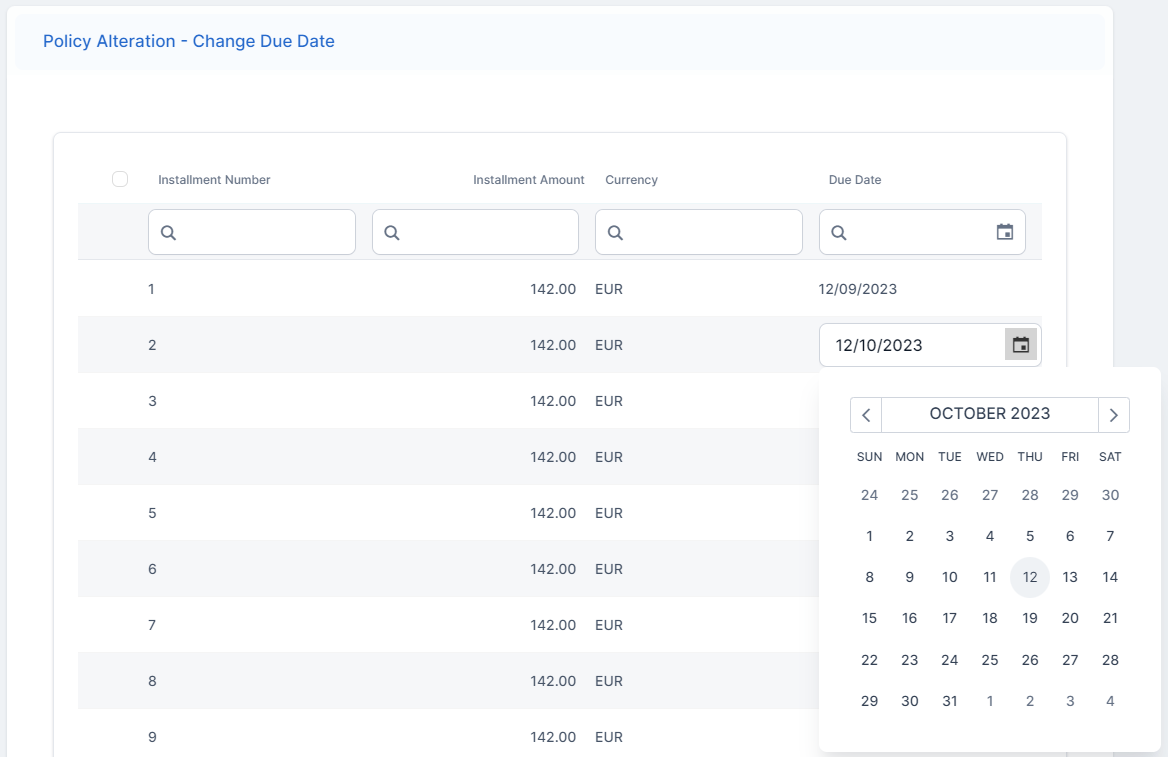
With Mid Term Adjustments, you can choose an existing policy and change the payment due date for future installments, so in On Time status, that have no generated bank statements. Once you make the change, you can see the modification for the future installments.
-
In the Make and Alteration form, click Add alteration to policy and select Due Date from the list. The Policy Alteration - Change Due Date form is displayed, listing all the installments for the policy.
-
Choose an installment record, and change its Due Date.

-
Click Validate. The record is updated.
-
In the Make and Alteration form, view the Alterations Summary section. Here you find the record with the summary of the alteration that you have just made.

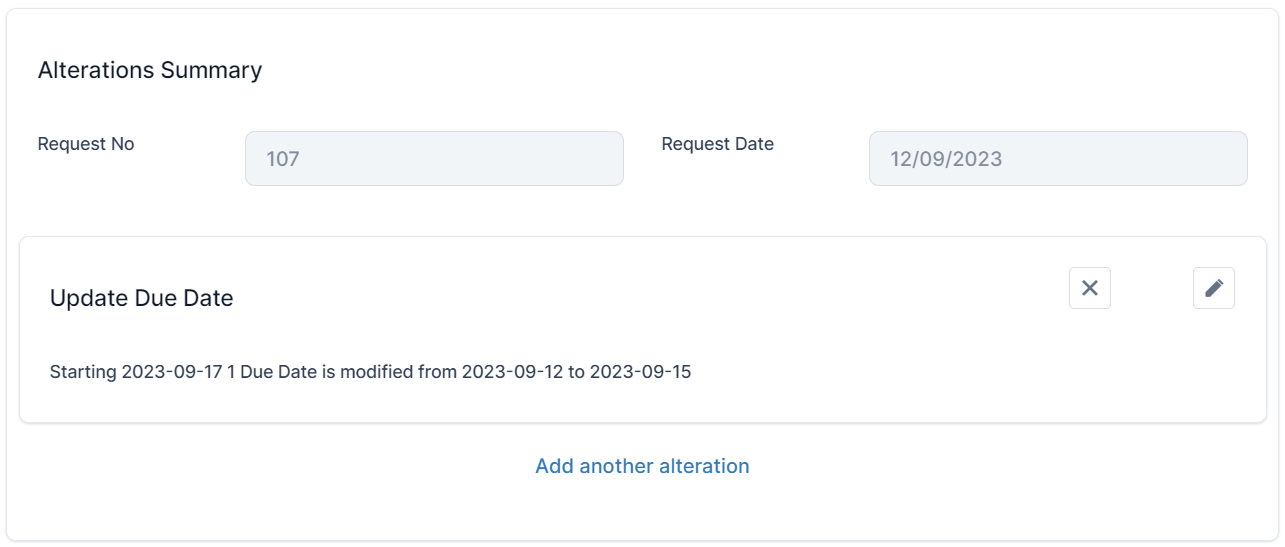
You can choose to Edit the alteration record, or to Delete it.
Issue Multiple MTAs
You can issue multiple MTAs for a policy in the following conditions:
-
The newly inserted MTA's Effective Date is later than the that of the already issued MTAs for the contract;
-
There can be multiple MTAs issued for a policy as long as they are Registered. If at least one MTA is in Draft or Pending Approval status, you cannot insert a new one until those intermediate stated are transitioned to a Registered, Cancelled or a Declined status.