Liveness Check
If the data was inserted successfully in the system in the previous step, the potential customer can access the selfie part of the session. This step has more duties to fulfill:
- face recognition
- liveness.
The customer can choose to skip the liveness check and resume it in the step Signature of Documents.
The page entitled Liveness check is displayed with the following message:
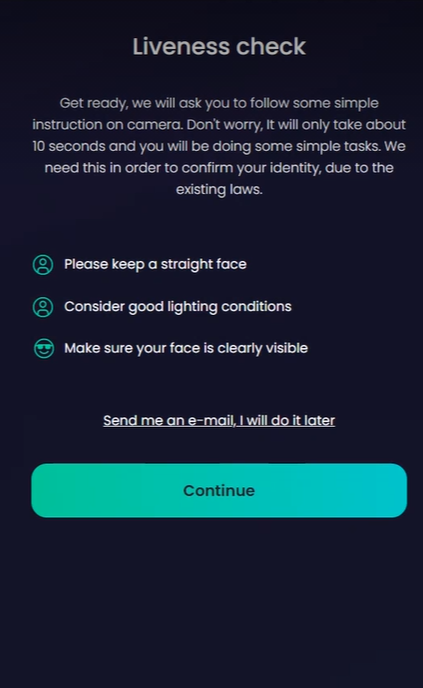
- Click Continue. From there, follow in instructions on the screen. The user is instructed to perform some tasks including moving their head to confirm it is a live person, not a photograph. The result is matched with the photograph from the identity document from the database.
or
- Click Send me an e-mail, I will do it later. This button triggers the sending of an email with a Pickup Now button to continue the flow from this step.
The selfie is necessary for the customer to progress in the application. If this step is successful, the business status is Liveness passed. If this step is failed the business status is changed to Liveness failed as presented in Business Workflows Processor.
The user has 5 possibilities to retry should the selfie fail.
Good job, Name!
This screen displays the what are the steps left to achieve in order to open an account. The header is dynamic, and it displays the name of the customer after scanning the document.
The following message is displayed: You’re almost there!
Step 1. Complete your profile
Step 2. Selfie
Step 3. Sign your contract.
Steps 1 and 2 are done and the last one is awaiting.
To move to the next page, at the bottom of the page, click the Continue button.