Back-Office Flows
Back Office Flows allow you to enhance App Data Forms with dedicated Digital Journeys that users can trigger from the form on demand. Back-office flows run within the data context of the app data form that initiated them. Once the flow is completed, users are returned to the form at the point where they left off.
For example, an online banking application based on an app data form might include steps for managing personal information, current accounts, cards, payments, etc. Additionally, a customer may wish to check their credit score. A dedicated digital journey can be attached to the app data form, where the customer consents to personal data processing, provides required details, and queries the Credit Bureau for their credit score. Once the journey is complete, the customer is returned to the banking application.
Create a Back-Office Flow
- In FintechOS Studio, go to Main Menu > Servicing > Back-Office Flows.
- Click +Insert.
- Create the desired back-office flow as you would Create a Digital Journey, with the following differences in mind:
Differences Between Back-Office Flows and Digital Journeys
When editing a back-office flow, you will notice the following differences from the digital journey editor.
- Where appropriate, the tabs for editing the back-office flow reflect the differences in naming. The Analytics are not available for back-office flows.
Digital Journey Tabs Equivalent Back-Office Flow Tabs Journey Designer Back-Office Flow Designer General General Digital Journey Map Back-Office Flow Map Digital Journey Navigation Rules Back-Office Flow Navigation Rules Analytics n/a - In the General tab:
- The Exposed API Journey option is renamed to Exposed API.
- The Digital Journey Flows section is renamed to Subflows.
- The Digital Journey States section is not available.
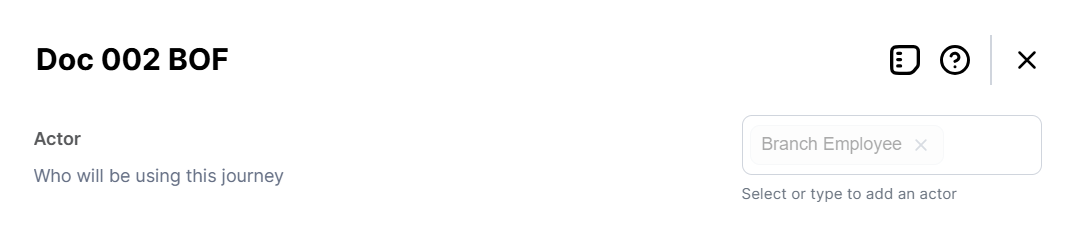
- The Journey Settings only include options for the Actor.
Attach a Back-Office Flow to an App Data Form
- In FintechOS Studio, go to Main Menu > Servicing > App Data Forms.
- In the App Data Forms grid, double click the desired form.
- Open the Configs tab.
- In the Back-Office Flow section, click + Insert.
- Select the desired Back-Office Flow. Optionally, add a Description for reference.IMPORTANT!
Since back-office flows run within the data context of the app data form that initiated them, the app data form and the associated back-office flows must use the same source entity for their data models. If a back-office flow contains multiple subflows, only the first subflow must use the same source entity as the app data form. - Click Save and reload.
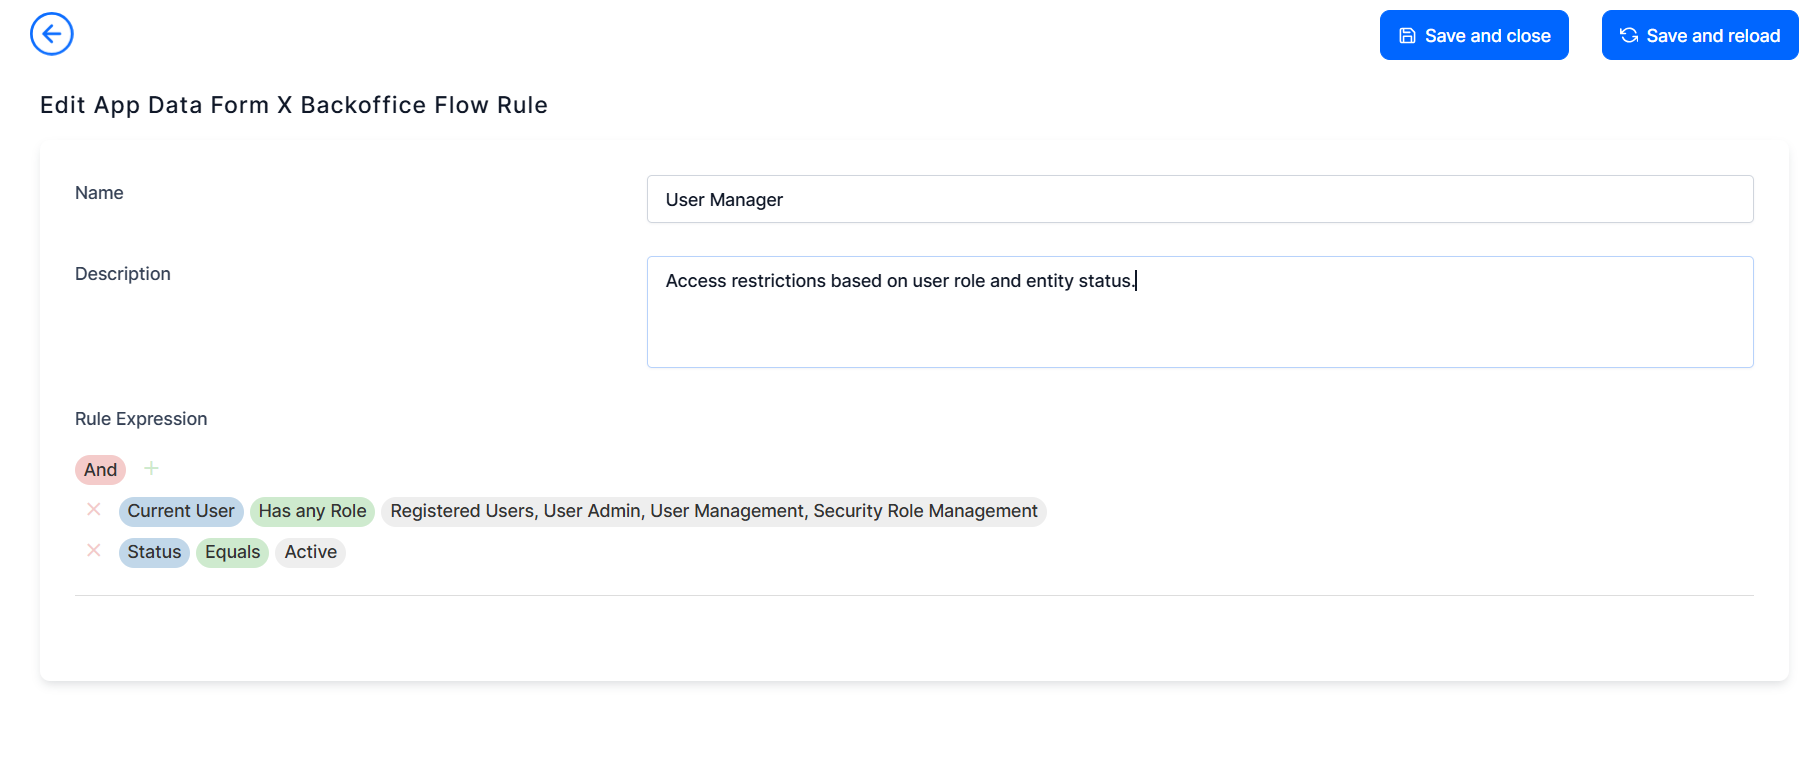
- Optionally, you can use the Availability tab to define restrictions for who can run the back-office flow and when.
- Provide a Name and Description for the availability rule.
- Use the point-and-click Rule Expression designer to define boolean logic for the rule.
 IMPORTANT!
Users who will initiate the back-office flow require Security Roles with security items that grant them access to the BackOfficeFlowExecution entity (in addition to the flow's source entity). - You can set up multiple availability rules for the same back-office flow.
- Click Save and Close.
You can repeat the process above to attach multiple back-office flows to your app data form.
Run a Back-Office Flow from an App Data Form
- In FintechOS Portal, open the desired App Data Form.
- Make sure the form is in the Edit mode (if you are inserting a new record, click Save and Reload at least once).
- From the ellipsis menu (...), select Show Flows. This displays a list of back-office flows associated with the form that you are authorized to run.
- In the Flows tab, use the Start button to initiate a flow or the Continue button to resume an interrupted flow.
In the History tab, you can review the previously run or currently running flows. - Proceed with the back-office flow. Once the flow is finished, you will be returned to the app data form.