Journey Designer
If you chose to Create a Digital Journey using the Design Journey option, you can use the Journey Designer to draft a high-level overview of the digital journey. This tool allows you to preview, test, and obtain stakeholder approval before development begins. Once you are happy with the design, you can publish the journey to automatically generate an associated mock-up flow, with the matching structure (sequence of steps, navigation rules, and actions), to kickstart the development process.
Some of the advantages of using the Journey Designer over manually building a mock-up form-driven flow include:
- Intuitive Graphical Interface: Focused on a unified design experience, free from unnecessary distractions.
- Contextual Linking: Link products, actors, and channels to the journey to enhance context and receive relevant options during the design process.
- Simplified Design Components: Easily define all journey touchpoints, including user interface screens, navigation rules, integrations, back-office tasks, underwriting/eligibility checks, document generation, and omnichannel messaging.
- Journey Preview: Visualize the user experience and obtain stakeholder approval before development.
- Automatic Documentation: Annotate each design element with detailed specifications such as descriptions, validations, UX definitions, and error handling, then automatically generate a fully-formatted Functional Specifications Document (FSD) aligned with the "Product is the Spec" philosophy.
Journey Settings
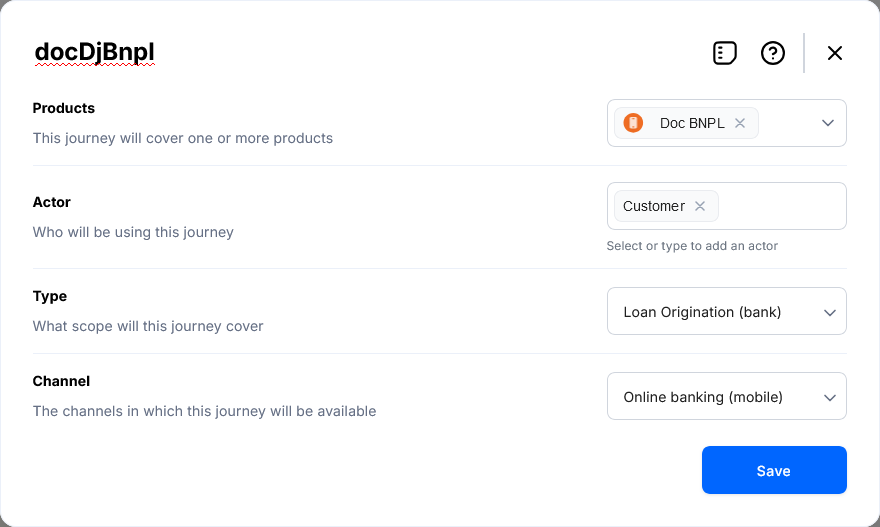
To configure journey settings, click the ellipsis button (...) in the top right corner of the Journey Designer and select Edit Journey Settings.
In the settings screen, select the associated products, actors, and channels to enhance the journey context and receive relevant options during the design process.
You must link the journey to at least one approved product.
Add Journey Elements
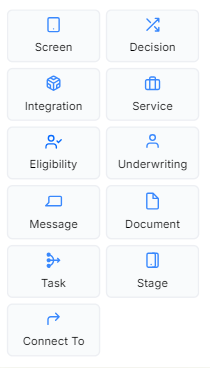
Click a + sign on the on the Journey Designer canvas at the desired insertion point to add a new journey element. This opens a pop-up window, allowing you to select the type of element you wish to add.
Screen
A screen represents the user interface displayed on screen at a specific step in the digital journey. The UI elements (headings, text, buttons/actions, tables, and inputs/data attributes) serve as reference for designing the layout of the associated form driven flow step.
The available data attributes are based on product data configurations. Newly added data attributes are included in the journey’s data domain. Data attributes serve as reference for defining the data model of the associated form driven flow.
Decision
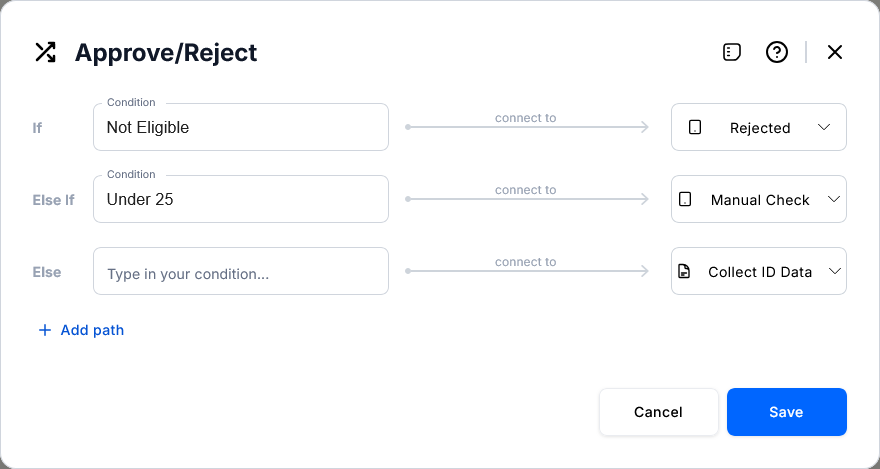
Decisions apply conditional logic to the journey’s data to select between alternative navigation paths. You can choose between two or more navigation paths depending on your navigation logic. For example, underwriting assessments often result in three possible navigation paths: "Approved," "Rejected", and "Manual Verification".
You can select navigation paths from existing elements on the canvas (resulting in a new Connect To element downstream) or leave them empty to link them later.
Navigation paths are used to define flow control rules in the associated form driven flow. Use meaningful titles and condition labels to enhance clarity when previewing the journey.
Integration
Integrations are interactions with core systems or external service providers that perform specialized functions (e.g., fraud detection, identity verification, risk assessment, or credit scoring) at a specific point of the journey.
To ensure readability on the canvas, define a clear and relevant title for the integration action, such as "Check Account". Specify the inputs and outputs using data attributes to guide the implementation of the journey. For best effect, attach the logo of the integrated system.
Service
Services facilitate interactions with platform back-office systems (either pre-built or custom-designed) that implement business logic to retrieve data, execute specific calculations, update other systems, and others.
The FintechOS platform includes a variety of pre-packaged services for tasks such as claims management, billing and collection, or policy administration. Additionally, you can build your own custom services or even orchestrate multiple services together.
When specifying a service, define the input and output data attributes that the journey will send to or receive from the service. For better clarity on the canvas, we recommend using black and white icons.
Underwriting
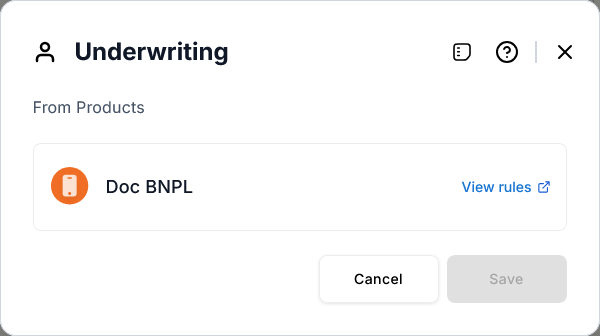
Underwriting elements evaluate if a user’s application for a banking or insurance product is approved, rejected, or requires additional verification. Underwriting rules are extracted from the products that have been linked to the journey in the Journey Settings.
Follow this element with a Decision to select alternate journey paths depending on the evaluation result.
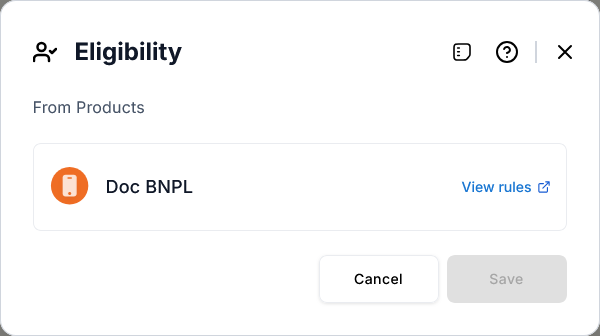
Eligibility
Eligibility rules evaluate if a user is eligible for a banking or insurance product. Eligibility rules are a subset of the underwriting rules that have been tagged as “used in eligibility” (knock-out rules that automatically disqualify an applicant if the condition is not met). Eligibility rules are extracted from the products that have been linked to the journey in the Journey Settings.
Follow this element with a Decision to select alternate journey paths depending on the evaluation result.
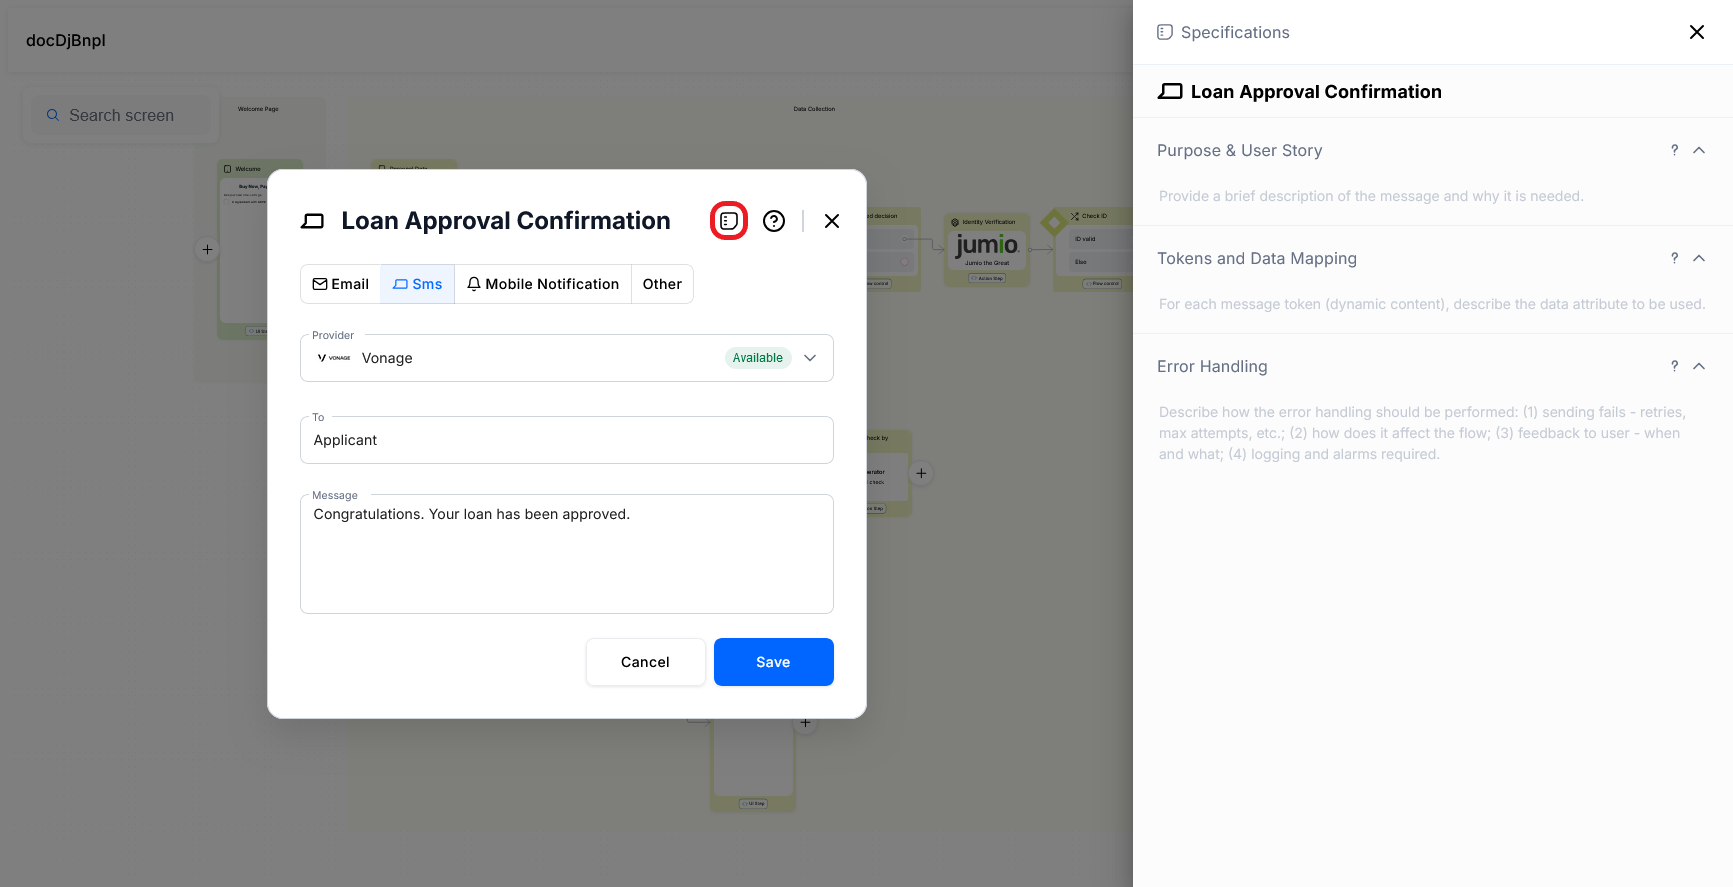
Message
Messages enable communication with users through alternative channels such as push notifications, SMS, and email. Examples include sending one-time passwords via SMS or emailing contract documents. A set of built-in providers for both email and SMS is available, with support for additional providers coming soon.
Define a relevant title and a meaningful sample text to ensure good clarity on the canvas.
Document
Documents are files that the user must either provide (e.g., proof of identity, income, or ownership) or receive (e.g., terms and conditions or GDPR agreements). You can also specify whether the document requires the user's agreement and/or signature.
Assign a clear title and an appropriate label to ensure good clarity on the canvas.
Task
Tasks are back-office operations that must be completed by a different user, typically a company employee, before the journey can proceed. This may involve manual underwriting of an application, initiating a follow-up action within the organization, or other similar activities.
Specify the responsible actor for the back-office task and what the task entails.
You may need to follow this element with a Decision to direct the journey along alternate paths based on the task outcome.
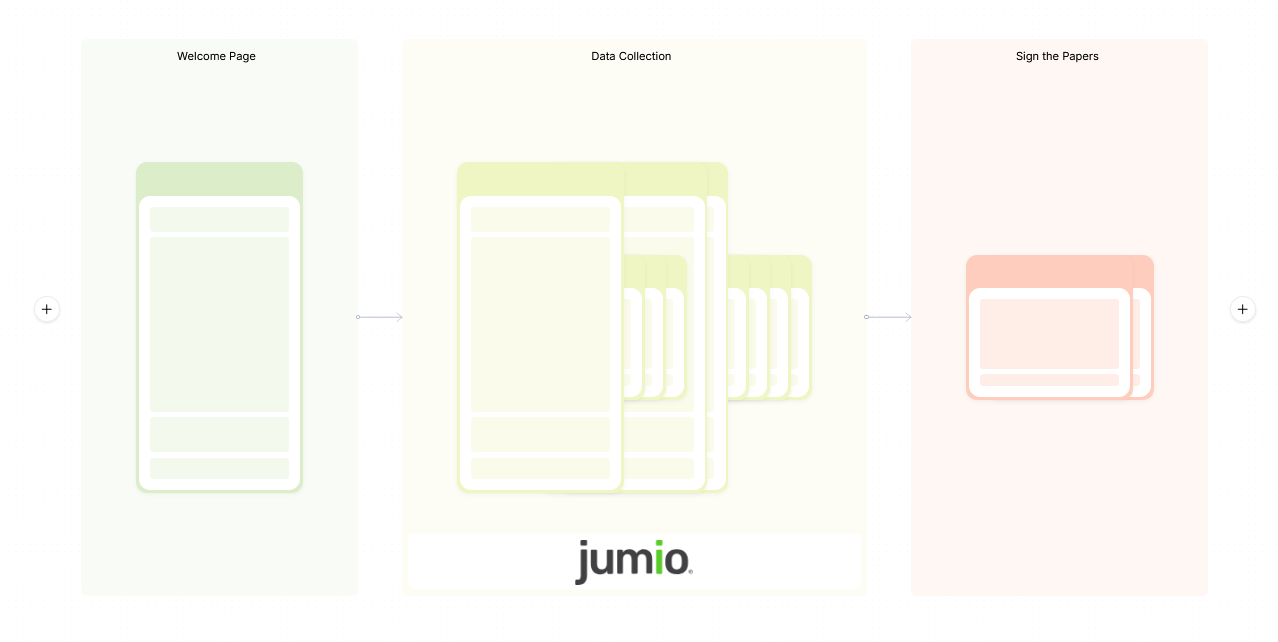
Stage
Stages enhance journey clarity by allowing you to group subsequent elements together and assign them a descriptive name. For example, you might group a sequence of screens, decisions, and integration elements used to collect and validate a user's personal data in a "Data Collection" stage.
When zooming out on the canvas, stages provide a simplified view of the journey by collapsing the enclosed elements, displaying only the stages and the outlines of their contents.
Connect To
Navigates to an existing element on the canvas.
Edit Specifications and Generate the FSD
Specifications fields for descriptions, validations, UX definitions, error handling, and more are available at the journey, stage, element, and item levels. To add specifications for a component, click the bullet points icon at its top right corner to slide out the specifications pane.
Once you have filled in the specifications for all the components, you can automatically generate a fully-formatted Functional Specifications Document (FSD) for your journey. To do so, click the ellipsis button (...) in the top right corner of the Journey Designer and select Export document.
Publish the Journey
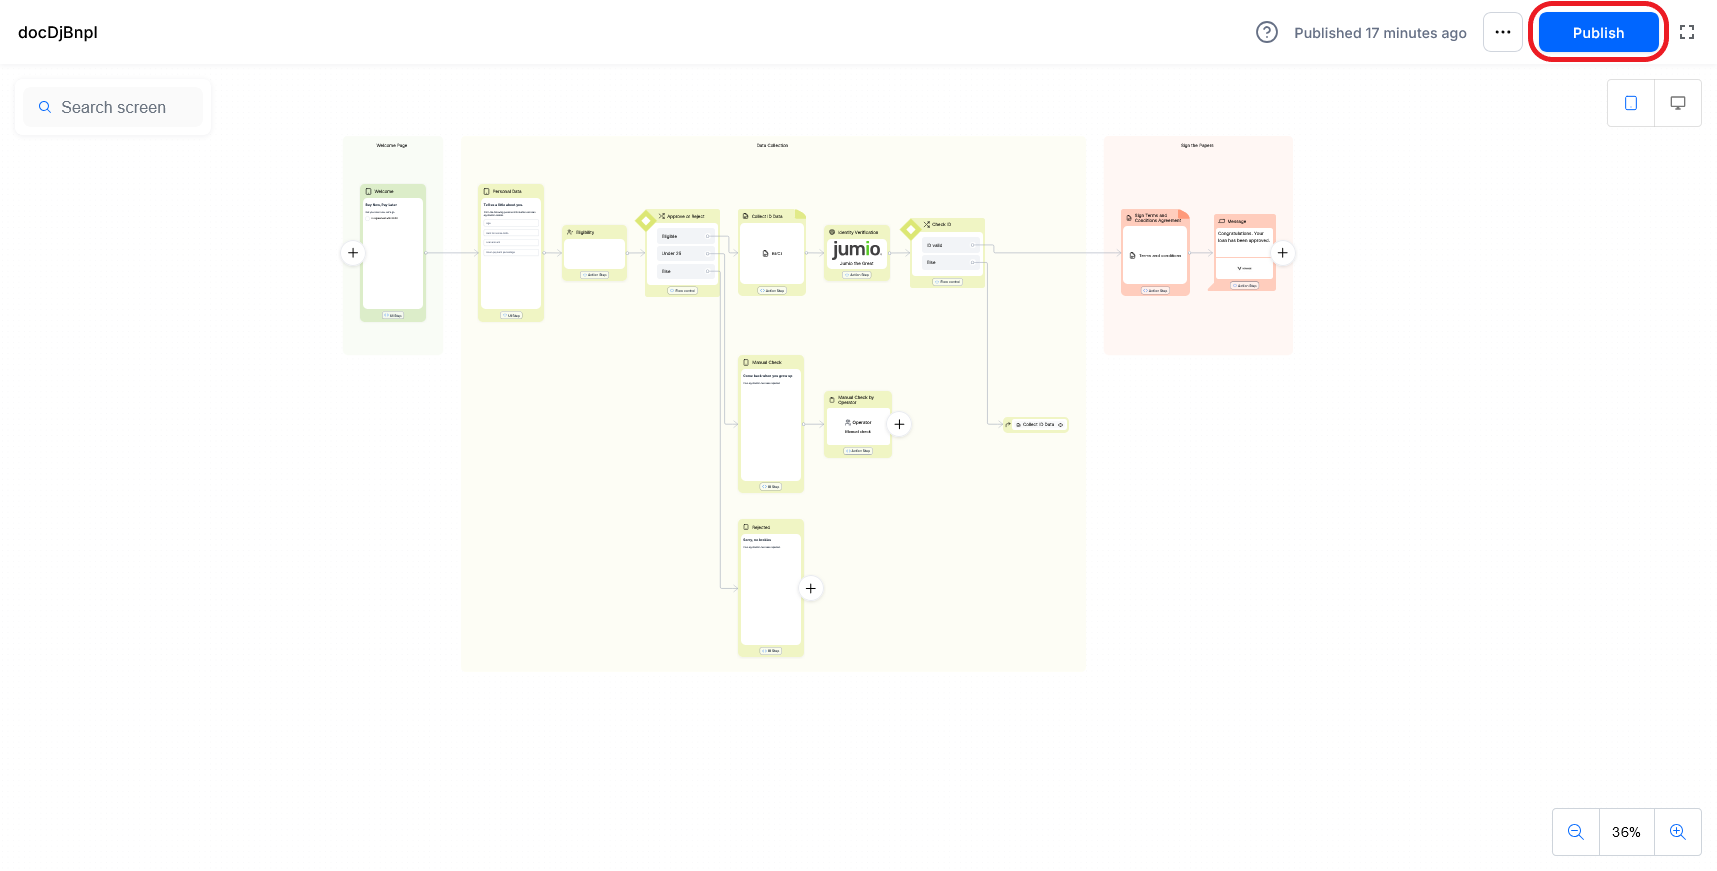
Use the Publish button at the top right corner of the screen to propagate the journey design to the platform, automatically generating a mock-up flow with a matching Flow Map.
Journey elements are converted to flow elements as follows:
| Journey Element | Corresponding Flow Element |
|---|---|
| Screen | Default UI step. |
| Decision | Each exit path generates a flow navigation rule. |
| Integration | Action step. |
| Service | Action step. |
| Underwriting | Action step. |
| Eligibility | Action step. |
| Message | Action step. |
| Document | Action step. |
| Task | Action step. |
| Stage | N/A. |
| Connect To | Flow navigation rule. |
If you make additional changes to the digital journey, you can click the Publish button again to update the associated mock-up flow.
Once you convert the associated mock-up flow to a regular form drive flow (by attaching a data model), you can no longer publish the journey.
Preview the Journey
After you Publish the Journey, the Publish button is replaced with a Preview button, which allows you to visualize the journey and navigate its steps to assess the overall user experience.
