Add views to the UI
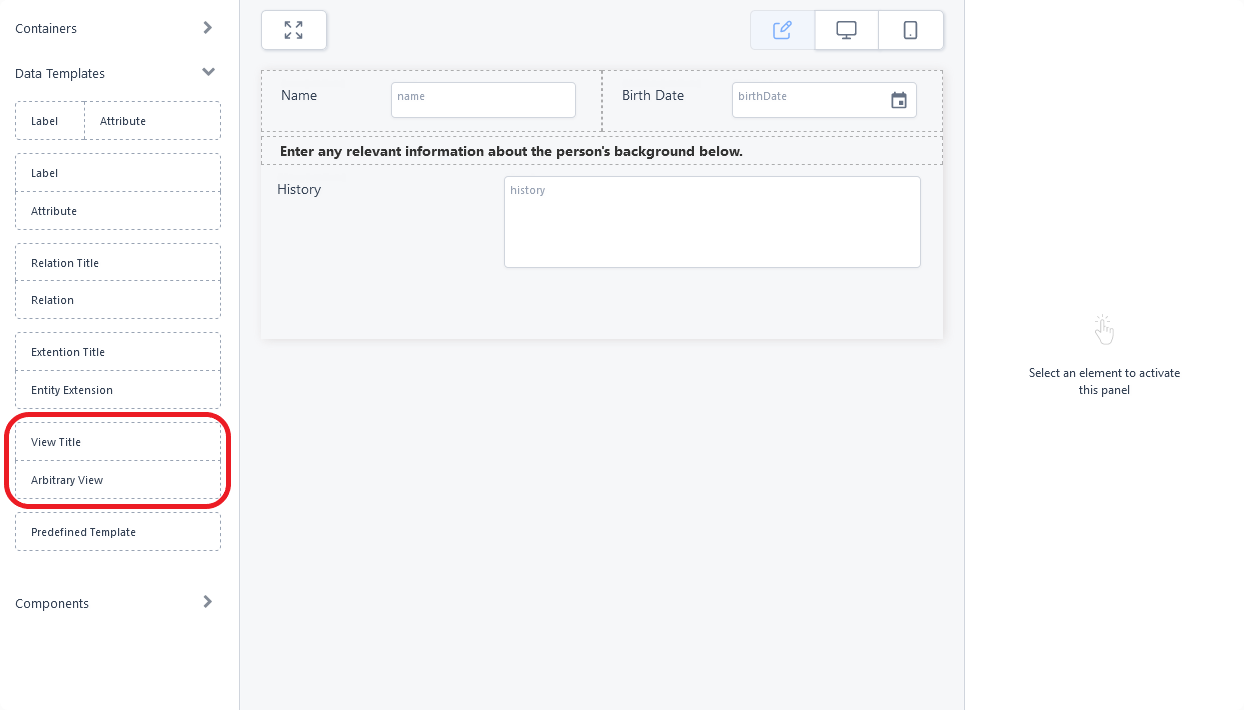
- In the UI Designer's left panel, from the Data Templates section, select the view template and drag it to the working area in the desired position. For more information, see Adding UI elements to the user interface.
- While the view field is selected, fill in its properties in the right panel.
Property Description Entity Select the name of the entity the view belongs to. View The name of the view of the selected entity to be displayed. If left unchecked, the default view is used. Grid Id Allows you to assign an ID suffix/ending to the HTML element that holds the grid view.
This can be used as a discriminator if you want to display multiple views of the same entity with different behaviors.Collapse Makes the field collapsible and sets the heading of the collapsible panel. No Header Does not display the view header. No Filter Does not display the view filtering / search. Form If the view entity has multiple forms and you want to use a specific data form for edits, select this checkbox and provide the form name. Otherwise, the entity's default edit form will be used. Insert Form If the view entity has multiple forms and you want to use a specific data form for inserts, select this checkbox and provide the form name. Otherwise, the entity's default insert form will be used. Additional CSS classes Write any CSS class names you wish to apply to the field. The classes must be defined in one of the form's associated Style Sheets. NOTE
You must press Space or Enter after typing a class name to confirm it. - Click Apply changes to save the field's properties.
- Click Save and reload to save the form.
To modify a view field, select it in the main area and edit its properties from the right panel.
To move a view in the user interface or to delete it, see Moving and deleting UI elements.