Creating Form Driven Flows
This section walks you through the steps that you need to follow in order to create a form driven flow.
Prerequisite
You need to have the flow's underlying data model defined (entity and attributes), including any required data extensions (presented in the Extend the Data Model).
1 Create the form driven flow
- From the menu, click Digital Journeys > Form Driven Flows. The Form Driven Flows page appears.
- At the top-left corner of the page, click the Create button. The data form driven configuration page appears which is comprised of two sections. It displays by default on the General section.
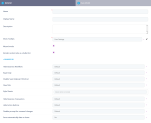
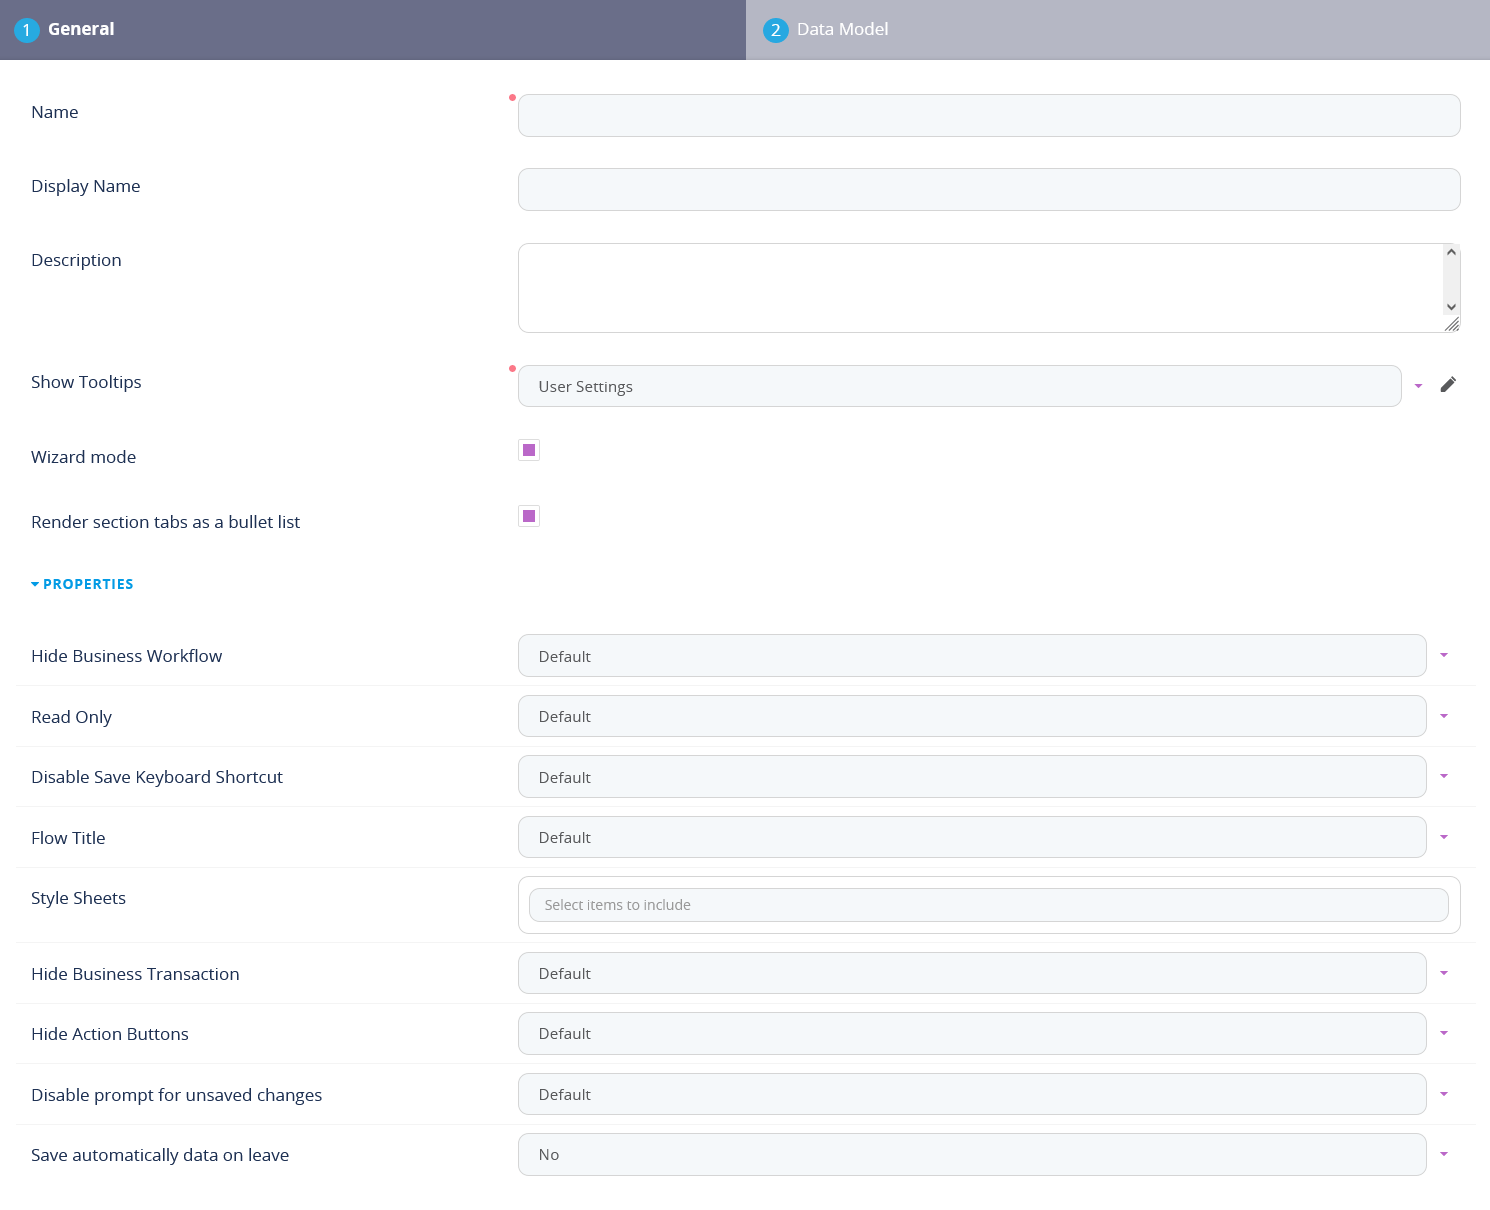
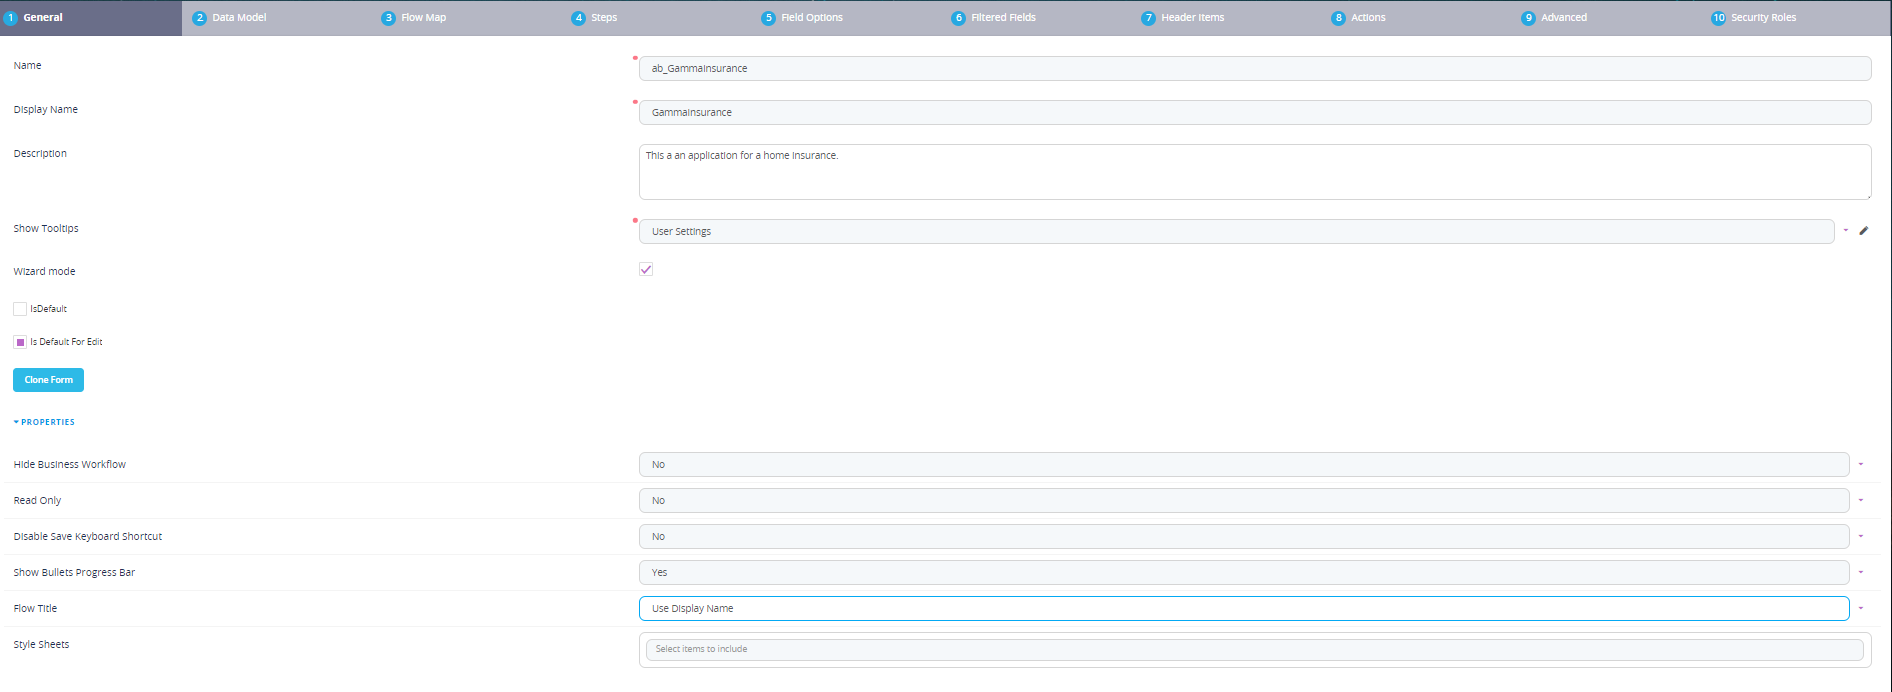
- Provide the form driven flow general information:
Field Description Name The name of the form driven flow used internally by the system. This field is mandatory. NOTE
A naming convention is an important part in a well-built data model; therefore, we recommend you to use PascalCaseNames (upper camel). The Name starts with an uppercase letter, as do all additional words. For example: FTOS_CMB_BaseAccount.Display Name This is the name that will be shown in the user interface. Choose a suggestive name. Description Optional description of the form driven flow. Show Tooltips Select how you want the tooltips to be shown for specific attributes on journeys in the user interface. The following values are available: - User Settings (default value). Give users the possibility to show tooltips by toggling on / off the Tooltips button displayed at the top-right corner of the UI.
- YES. Always show tooltips in the Portal UI the digital journeys when users hover their mouse on the attributes on fields which have tooltips. The users do not have the possibility to toggle the tooltips off.
- No. Never show tooltips in the Portal UI on the digital journey.
Wizard Mode The steps of a digital user journey are by default displayed as tabs.
If you tick Wizard Mode, the digital journey will have a sequenced design in the user interface, with navigation buttons (Next, Previous, Finish). If you select this field, you will be able to control the flow of the digital journey and also visualize the journey map (graphical representation of the steps).By enabling the wizard mode, the tabs Flow Control and Flow Map are displayed.
IMPORTANT!
In a wizard-like digital journey, the data is saved into the database when navigating from a section to the next one, so be careful how you manage the mandatory fields. We recommend you to add these fields on the first step of the digital journey.You can customize the layout of the wizard: button labels, positioning an their colors. For more information, see Client SDK Reference.
If the bool is true a new field will be displayed ''Show Bullets Progress Bar''.
Render section tabs as a bullet list Not available in wizard mode.
The steps of a digital user journey are by default displayed as tabs.
If you tick this checkbox, the steps will be shown in the Digital Experience Portal as a bullet list and you can navigate between steps by clicking on the round numbered bullets.

Hide Business Workflow Hides the entity record's state and state transition options in the end-user interface. For more information about business workflows, see the Business Workflows Processor documentation. Read Only Prevents end-users from making changes to the displayed form fields. Disable Save Keyboard Shortcut Prevents end-users from saving and reloading the form by pressing the Ctrl+S keyboard shortcut. Show Bullets Progress Bar Wizard mode only.
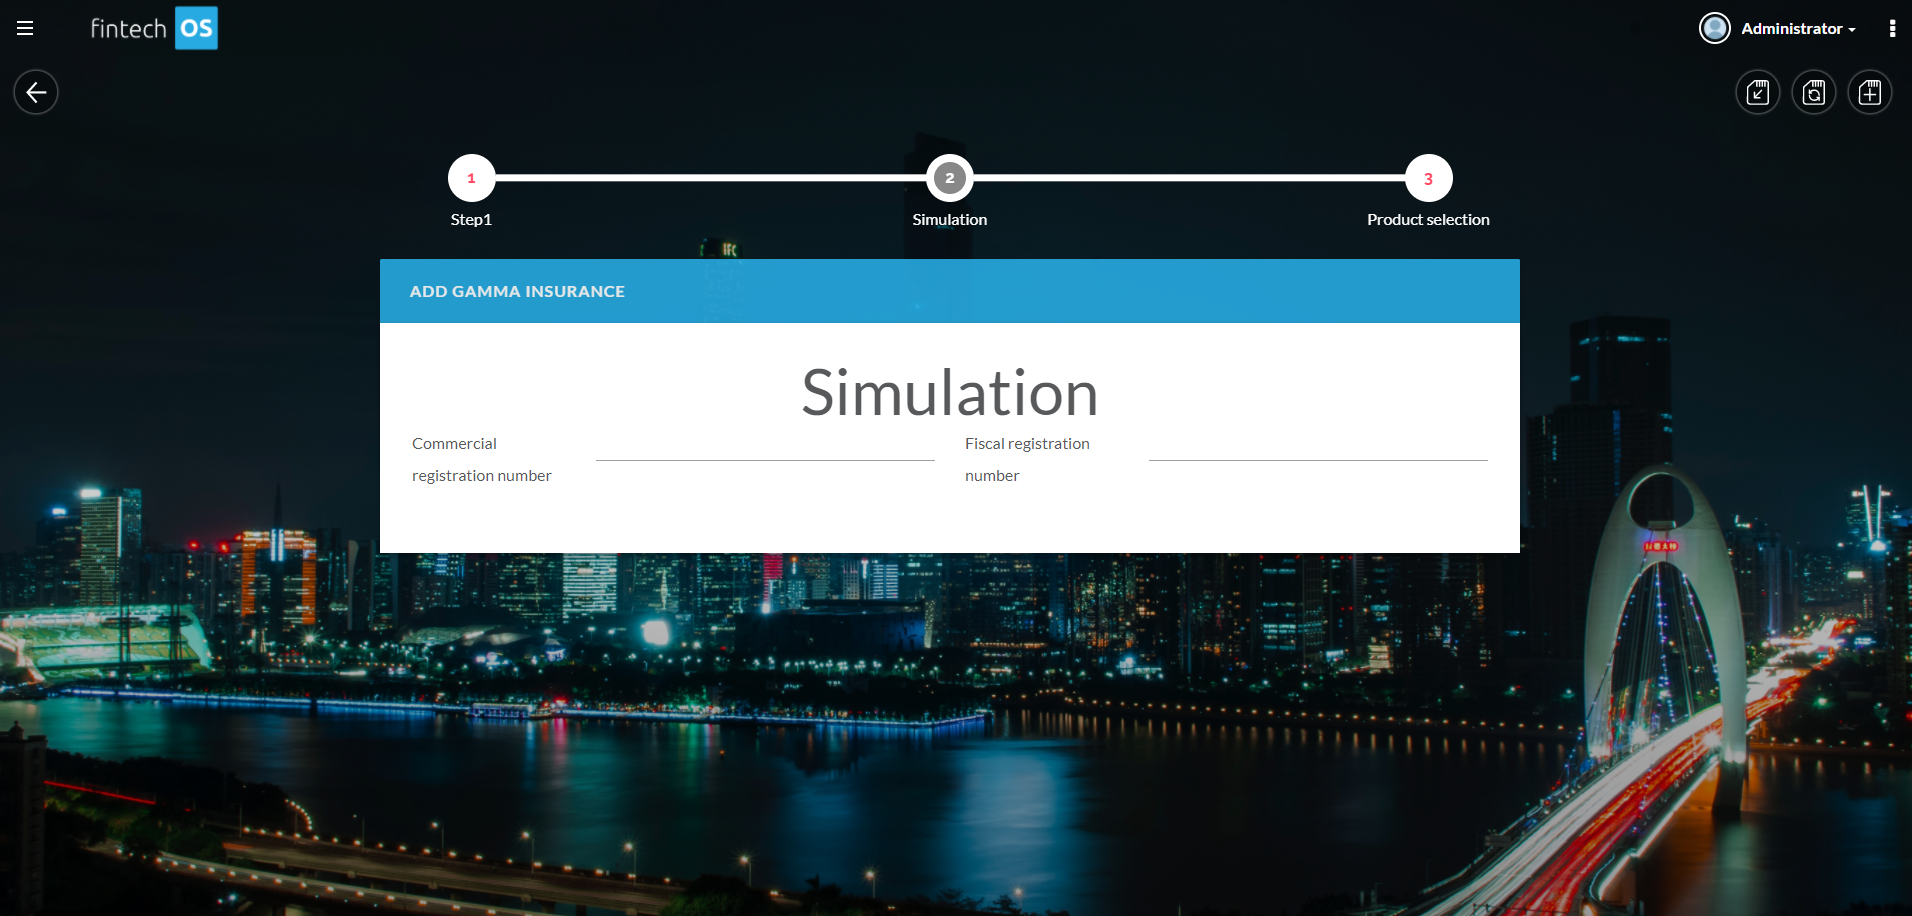
In addition to the Next and Previous buttons, the numbering of the steps appear on the progress bar. Choose one of the following:
- Default. The progress bar is not shown.
- Yes. The progress bar is shown and the navigation is done through the Next/ Previous buttons.
- No. The progress bar is not shown.
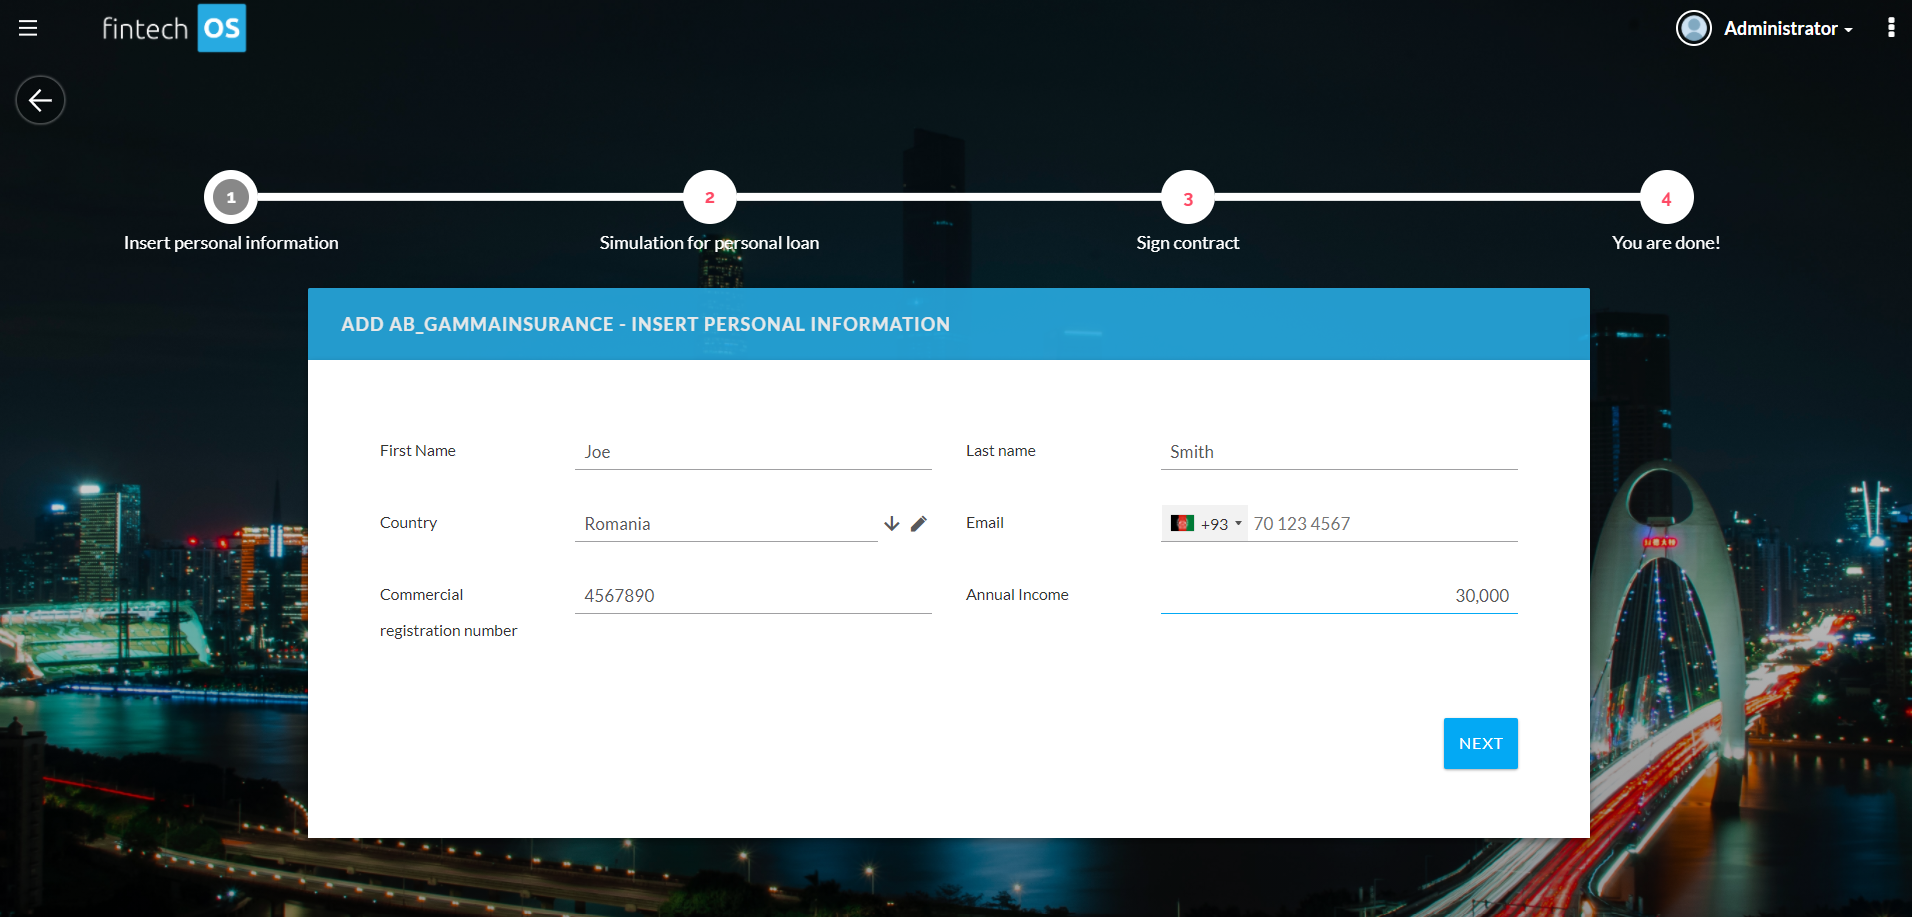
This is how it looks like in the Portal.

Flow Title Select a title from the list:
- use display name (this name will appear everywhere, on every step this name will be exhibited)
- show only step display name (each step will have its own name exhibited).
Style sheets Select the style sheet you wish to use. Multiple style sheets can be added. The order of how they are added is respected in the execution. For details, see Using Your Own Style Sheets. Hide Business Transaction Hides the Business Transactions button at the top right corner of the screen, which displays the business workflow transitions of the record. For more information about business workflows, see the Business Workflows Processor documentation. Hide Action Buttons Hides the Actions button at the top right corner of the screen, which allows you to open action groups or reports associated with the form driven flow (for details, see Defining Action Groups and How to add Power BI Reports to Digital Journeys). Disable prompt for unsaved changes When navigating away from the form driven flow, for instance by clicking the Go Back button in the top left corner of the screen, if the form contains unsaved data, the user will not be prompted to save changes. Save automatically data on leave When navigating away from the form driven flow, for instance by clicking the Go Back button in the top left corner of the screen, any unsaved data in the flow will be automatically saved. - Click the Data Model tab and from the Entity field, select the entity whose data model you'll be using.
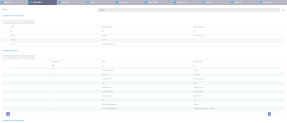
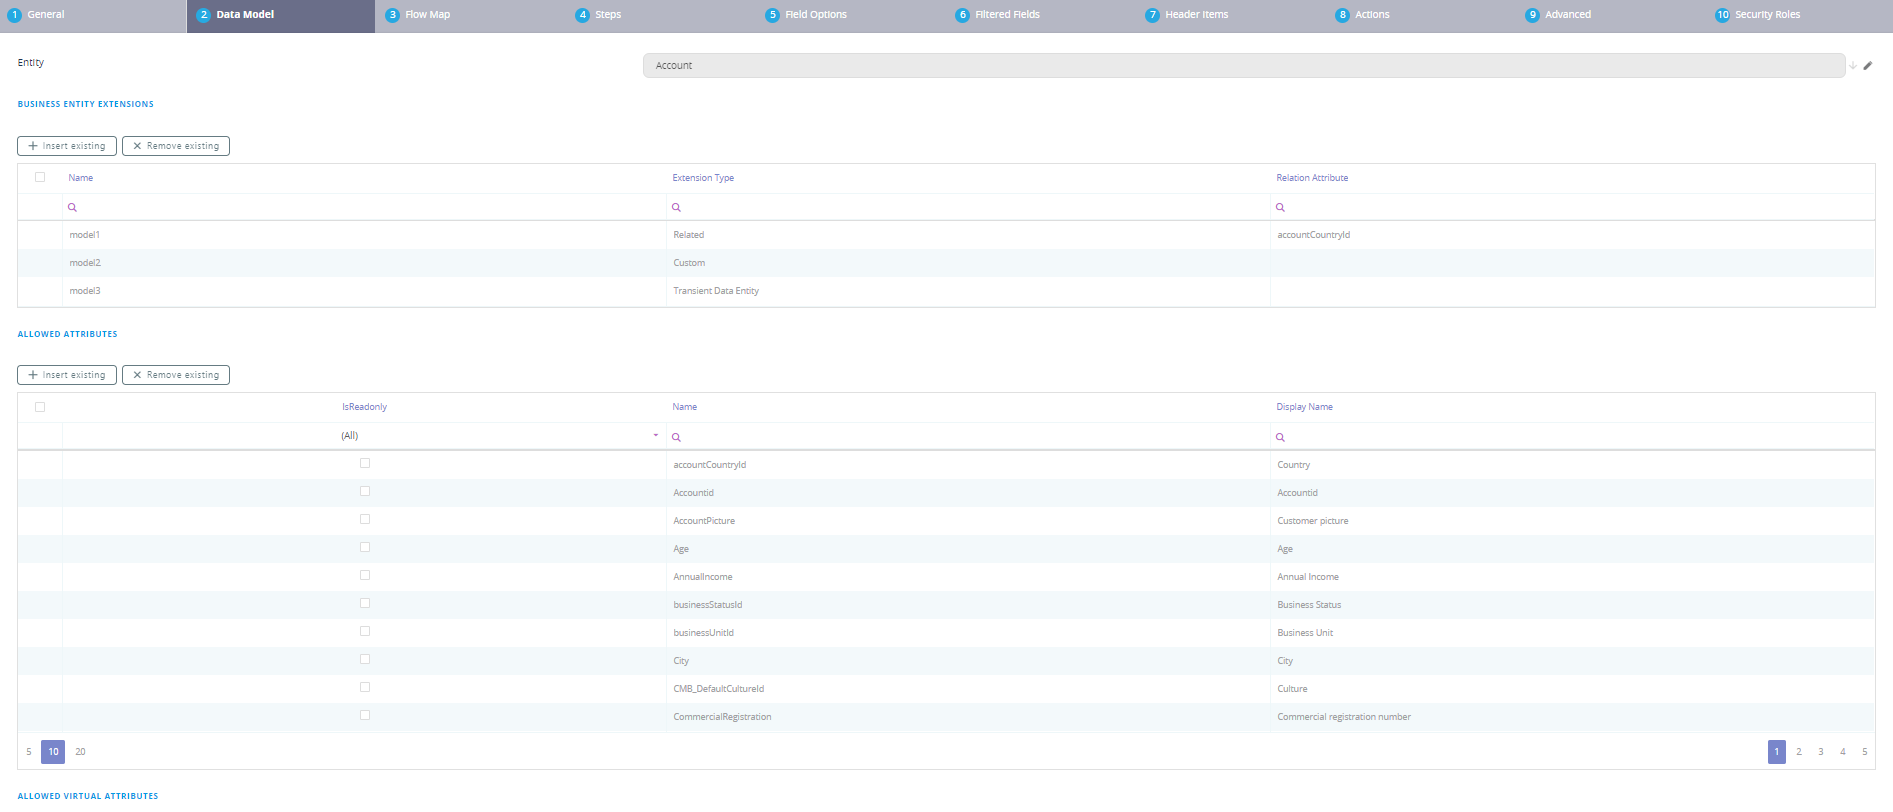
- At the top-right corner of the page, click the Save and reload icon. The digital journey is added into the system and the data form driven configuration page displays on the Data Model tab which has the Business Entities Extensions section expanded. For more information on how to add Business Entities Extensions, see Extend the Data Model.
If you want to render data extensions on the digital journey, you need to first register them by adding the entity extension, For more information, see Rendering Custom Data Extensions.
- For a specific digital journey, after selecting the entity, select the attributes from it that you wish to use in particular. Click the ''Insert existing'' button and select from the list the attributes.
- To add virtual attributes, in the third grid of the Data Model, click the ''Insert pre-existing'' and tick the virtual attributes to be added to the form.
- If you wish to restrict the form's access only to specific attributes in the data model, insert the corresponding values in the Allowed Attributes and Allowed Virtual Attributes sections. By default, all attributes in the data model are available to the form's context. Once you start populating the allowed attributes sections, the form will be restricted from accessing any attributes except the ones explicitly defined in these sections.

2 Set the journey default type
Click the General tab and set the form driven flow default type by ticking the appropriate checkbox:
- IsDefault to set the data form by default on Insert mode.
- Is Default For Edit to set the data form by default on Edit mode.
Each entity has a default auto-generated data form which contains all the attributes of the data model you're using. If you want to make changes to the default data form, leave the Auto Generate Template checkbox unticked, otherwise on entity updates (e.g., add a new data form attribute), the data form will be overwritten and all the updates will be lost.
You can set to automatically generate the data form template by ticking the Auto Generate Template checkbox and selecting from the Auto Generate Template Type field one of the options available: Inherit, 1 Column, 2 Columns, 3 Columns and 4 Columns.
If inherit is selected, the data form layout will inherit the value from the entity which is parent for the current entity.
For backwards compatibility, a default auto-generate data form template is available at application level in the web.config file, 1-column data form template.
If the checkbox is selected, on data form save, the existing data form template will be overwritten with the auto-generated one.
3 Design the flow UI
Click the UI tab . You can design a complex form driven flow layout by providing the HMTL code or you can create a classic data form layout by using the HTML elements available on the toolbar of the HTML editor. You can also create the HMTL template of a form driven flow by using the Advanced Code Editor or the UI Designer.
The form driven flow UI template supports the following tokens:
| Token | Description |
|---|---|
| {AttributeName} | Displays the corresponding field on the data form. NOTE The attribute name must be included between curly brackets; otherwise, a simple text will be displayed on the page instead of the actual field. |
| {#RelationshipName, view: viewName#} | Generates a view provided by relationship and by view. The viewName is optional and specifies which view to generate. If viewName is not provided, the default view will be displayed on the data form. |
| {#RelationshipName, view: viewName, editmode:cell#} | Generates a view provided by relationship and by view. This view allows inline editing meaning that you can edit cells one by one directly in the grid, without opening specific records. NOTE In order to activate inline editing for a specific cell, you must select the Allow Editing checkbox displayed on the entity view column (View > View columns). |
| {#MKT_CampaignResponse_MKT_Campaign,nodelete,noinsert#} | Generates a view provided by relationship and by view, but the Delete and Insert buttons are not displayed on the view. You can apply the same logic (similar tokens) for the Export (noexport) or Refresh (norefresh) if you no longer need them on the view. |
| {$ChartName$} | Generates a chart based on the provided chart name. |
| {? entityName, view: viewName ?} | Allows you to display a view from another entity. For information on how to use it, see Display View from Another Entity. |
In the HTML template, you can link HTML elements (labels) to attributes. For information on how to do it, see Link Labels to Attributes.
When designing the UI template of the form driven flow, you can also add custom buttons. For more information, see STEP 4. Working with Buttons.
4 Group information in steps
Grouping entity information in sections, herein referred to as steps, based on specific criteria (business, operational or other relevant to you) is useful especially in complex financial activities when you have to display a lot of information on digital journeys. You can add as many steps as you need in the Steps section (tab) based on your criteria.
If you only need one section on your journey, add it to the Steps section; it will not be marked as step in the Digital Experience Portal.
To avoid issues with the steps loading order, we recommend you to define functions in the journey and only call them within the steps. Rendering a step automatically loads, the main journey is also rendered.
Before changing the behavior of an element existing on a step by using logic in a different step, make sure that both steps were previously rendered.
For information on how to add and configure steps, see Adding and Configuring Steps.
The default execution order of a digital journey which is comprised of steps is given by the OrderIndex of the steps as set on the digital journey > Steps tab. You can change the default flow of a digital journey by using the Flow Control feature.
5 Define who has access to the flow
If your business case requires that the form driven flow is available to designated roles within your organization, click the Security Roles tab and add the security roles who should have access to them. If no security roles are added here, all users will be able to view the journey.
6 Save the flow
If you want to save and close the flow, at the top-right corner of the page click the Save and close icon.
If you want to save the flow and continue working on it, click the Save and reload icon.
For detailed procedures on how to do extensive configuration of data form driven flows, refer to the Related Topics.
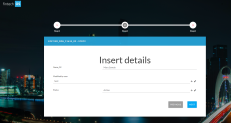
Cloning a form driven flow
To duplicate a form driven flow with all of its configurations, in the General tab, click the Clone Form button.
Insert a name for it and click ''Clone''. The new form driven flow will open immediately for editing.
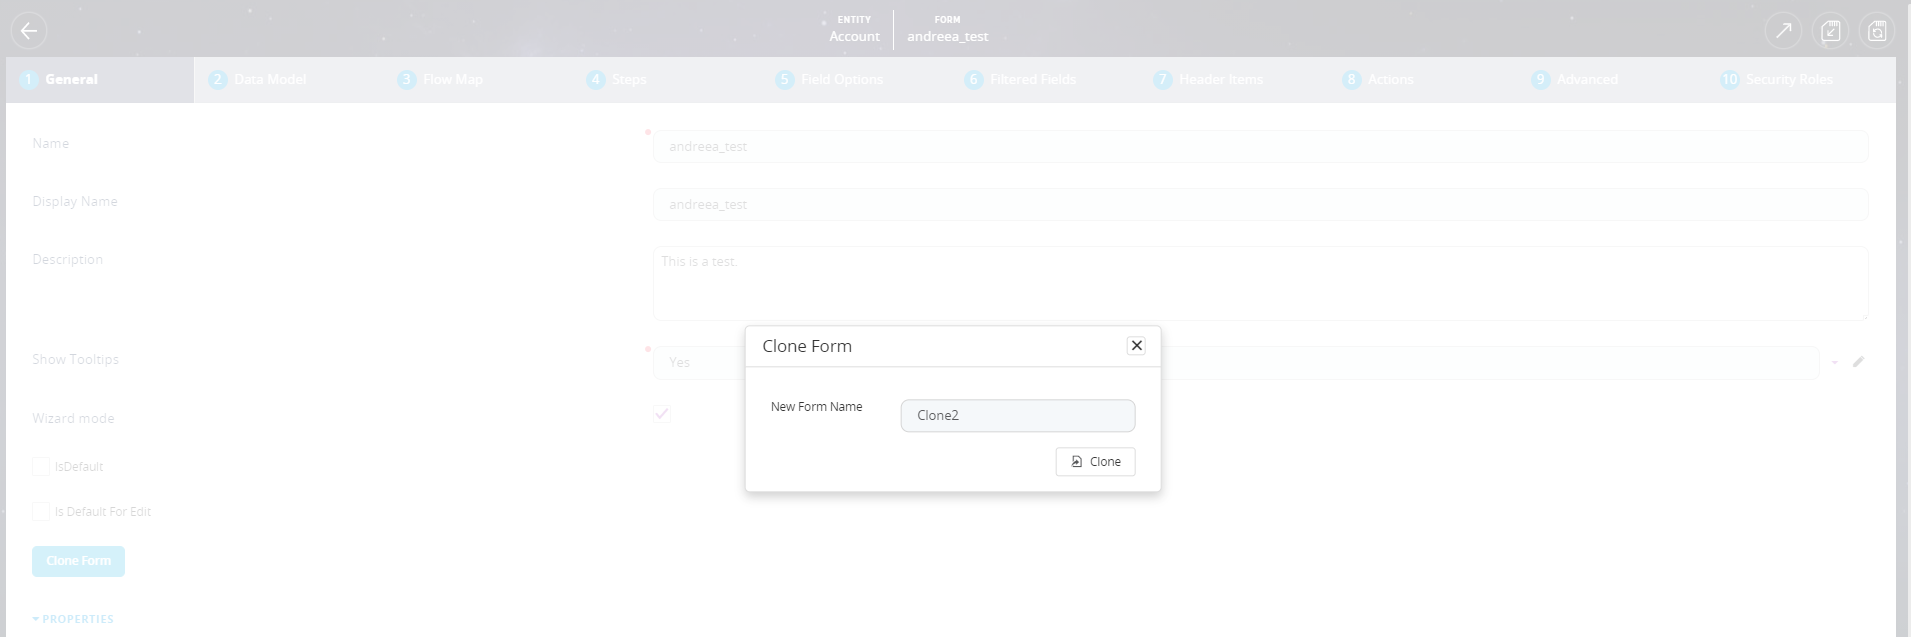
The data set behind it is not cloned, simply the form and its settings.
The Is Default and Is Default For Edit settings are not replicated in the cloned form driven flow, since you can have only one default form driven flow per entity.