Creating HTML Widgets
HTML widgets allow you to show specific actions to be performed by users in the UI, e.g. setting up the customer profile. In Innovation Studio, you can create HTML widgets using HTML and JavaScript code.
To create an HTML widget, follow these steps:
- From the menu, click Digital Frontends > Digital Experience Portals > Widgets. The Widgets List page appears.
- At the top-right corner of the page, click the Insert icon. The wizard configuration page appears by default on the General tab.
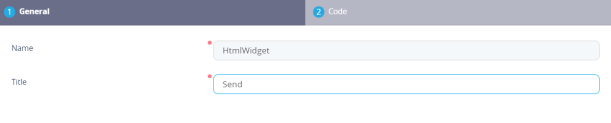
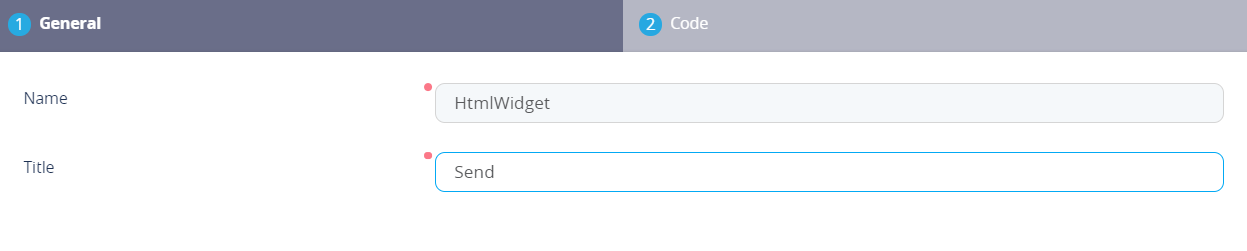
- In the Name field, provide the name of the HTML widget to be used by the system.
- In the Title field, provide the widget title to be displayed in the Digital Experience Portals.
- Click the Code tab. You can provide the HTML code in the Html tab or provide the JavaScript code (JavaScript tab). You can create the widget template by either providing the HTML code in the Html field, or by using the UI Designer .
- After providing the widget code, at the top-right corner of the page, click the Save and close icon.
The widget will be saved into the system and it will be displayed in the HTML Widgets List page.
Now you can add the HTML widget to a dashboard. For more information on how to add widgets to dashboards, see Adding Widgets to Dashboards.