Defining Form Actions
Form actions provide a no-code method to:
- change a record's business status
- generate a report
- run a server side script
- run a business decision matrix
- call a formula.
Once defined, form actions can be triggered on-demand, for example by form buttons (see Form Actions Buttons for details).
How to create a form action
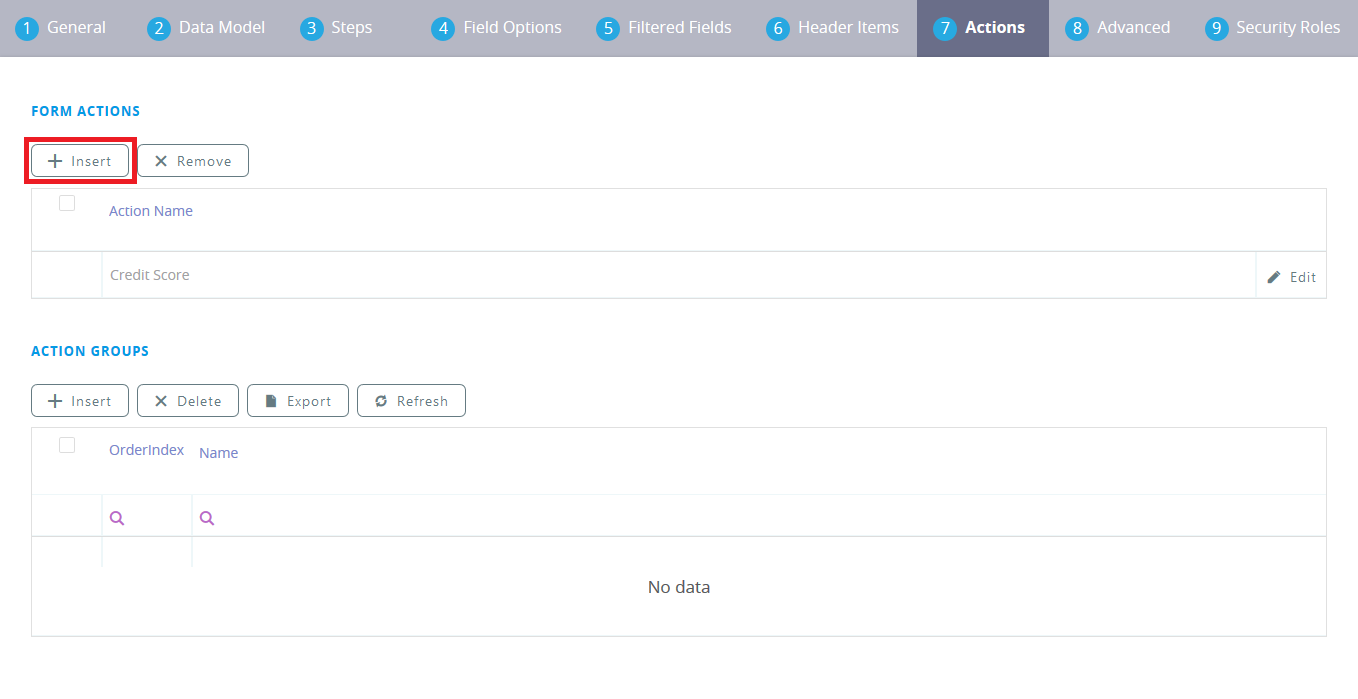
- On the configuration page of the form driven flow, click the Actions tab. Two grids will be shown: one is Form Actions and the other is Action Group.
- At the top of the Form Actions section, click the Insert button.

- In the Form Action window:
- Enter a name for the form action.
- Click the Plus (
 ) sign next to the execute label to add a command.
 - Click the labels in the command to select the desired operands such as change business status from status/ generate digital document/ call custom processor/ call business matrix/ call a formula with mapping. Then, select the status/ the document/ the processor/ the matrix.
- Go back to step b. if you wish to add additional commands. To remove commands from the list, click the
 button.
 - Click the Save button at the bottom right corner of the page.

Available form action commands
| Command | Description | Operands | Examples |
|---|---|---|---|
| Change Business Status from Status | Changes the record's workflow status based on the entity's attached business workflow. For details, see the Business Workflows Processor documentation. |
|
Change the status from Draft to Active |
| Generate Digital Document | Generates a predefined report. For details, see Analytics. | Report name. | Generate a contract or an agreement |
| Call Custom Processor | Runs a predefined on-demand server automation script. For details, see Creating On-demand Server Automation Scripts. | Server automation script name. | Call the E-sign processor or an endpoint. |
| Call Business Matrix | Runs a predefined business decision matrix. For details, see the Business Decisions Processor documentation. | Business decision matrix name. | Call the eligibility matrix. |
| Call Formula with data mapping | Runs a predefined formula for calculation of input data. See Calling the Business Formulas. | Business Formulas | Call the formula for calculating the policy of an insurance. |
Alternatively, it is possible to trigger an action from the actual step of a digital journey.
How to add an action to a specific step in a Digital Journey
- Open the main menu and click on the Digital Journey menu item. Open Form Driven Flows.
- Select the flow you wish to work on. Click the ''Steps'' tab. Select the step you wish to modifiy.
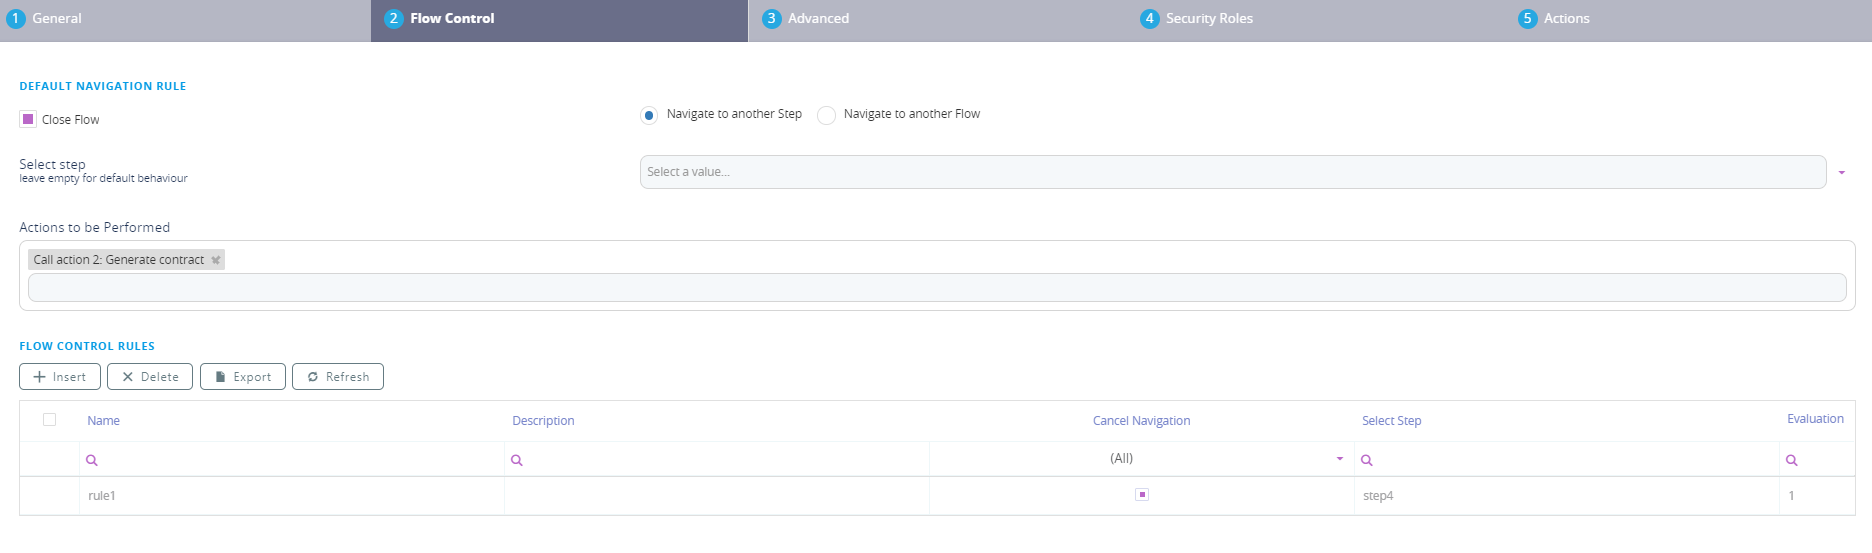
- Inside the step, click on Flow Control tab.
- In the Actions to be performed section, select the action you wish to have in that particular step. The available actions are those configured earlier from the Available form action commands table.
- Click the ''Save and Reload'' button.
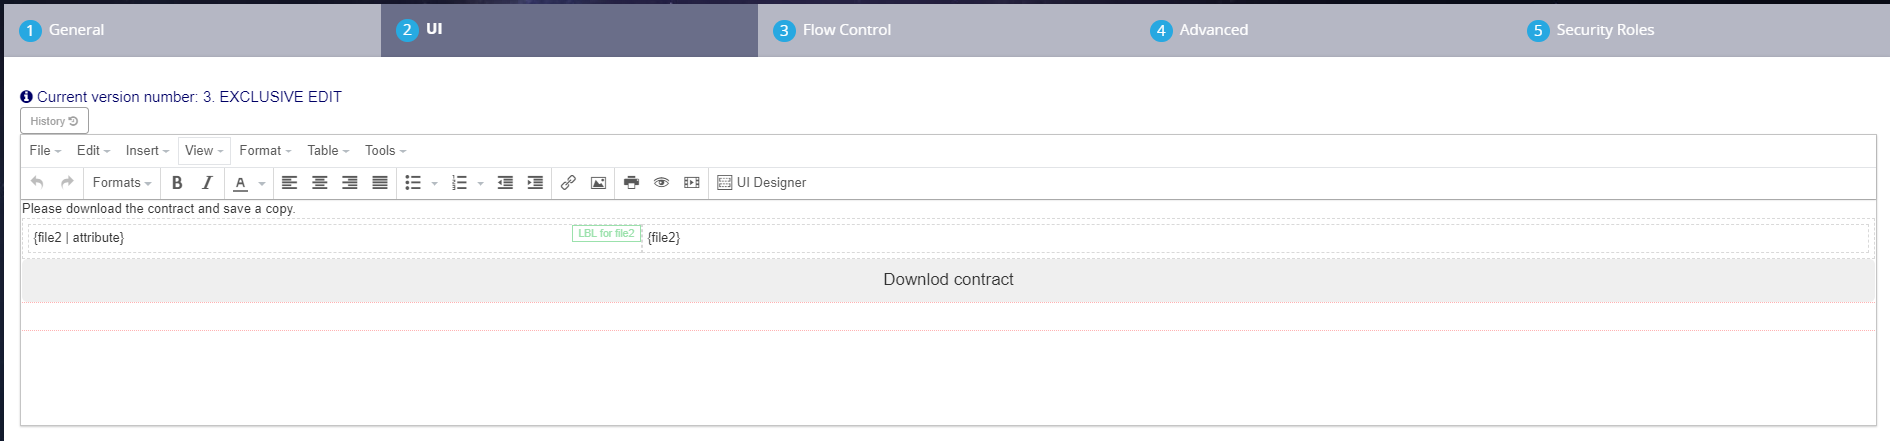
- Optionally, if you have selected the Generate contract action, go to the UI tab and add the button for this action and the file attribute created in the Data Model of the entity. For more information, see Digital Documents Processor
- Click the ''Save and Reload'' button.
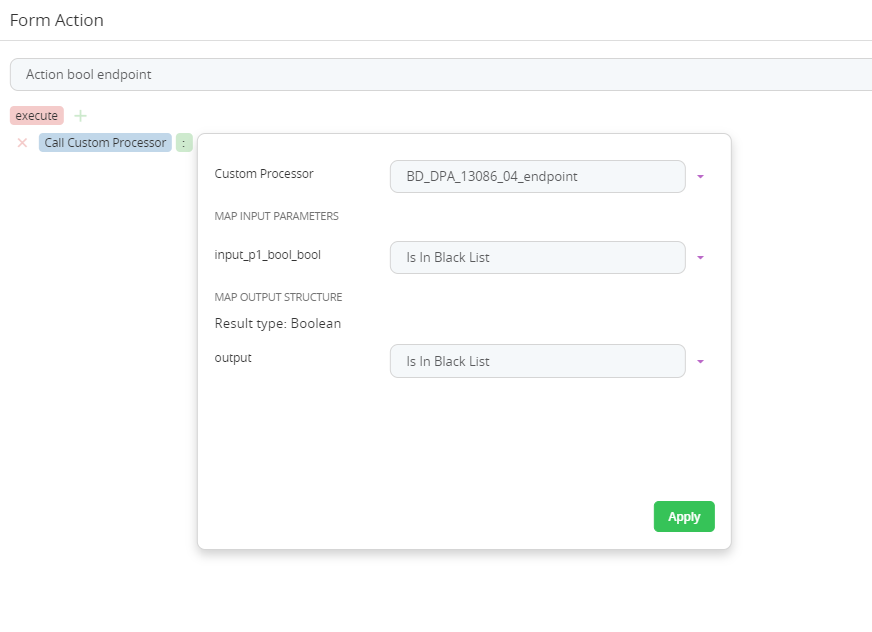
How to attach an endpoint in Form Action
In form Driven Flow, in form Actions, a user can map between an automation script input/output parameters and form attributes.
-
Create one Platform Data Entity that is default for a FDF type wizard.
-
Create a server script with Input Parameters and the Output structure is one of the following, depending on your needs:
- [none]
- “Entity"
- “Custom“
- “Boolean“.
If the endpoint has no output structure type, then no output mapping form will be displayed. For more details, see Creating On-demand Server Automation Scripts.
- Navigate to the Form Driven Flow, Actions tab and in the first grid click the ''Insert'' button.
- Insert a name for the action.
- Click the execute button and select the ''Call custom processor''.
- Select for the drop-down the endpoint created.
- Map the input attributes.
- Map the output attributes.
- Click ''Apply''. Click ''Save''.
- Click the ''Save and close'' button.