
Exporting a Deployment Package
The deployment package menu entry exports the metadata from a source environment (and its database) to a destination environment (and a different database). This specific menu entry imports the package as well when accessed on the destination environment.
To export a deployment package from the Deployment Packages section, follow these steps:
While using the Deployment Package feature, you can only export what is implemented in FintechOS using the user interface.
1 Create deployment package
- From the main menu, click DevOps > Deployment Packages. The Deployment Packages List page opens.
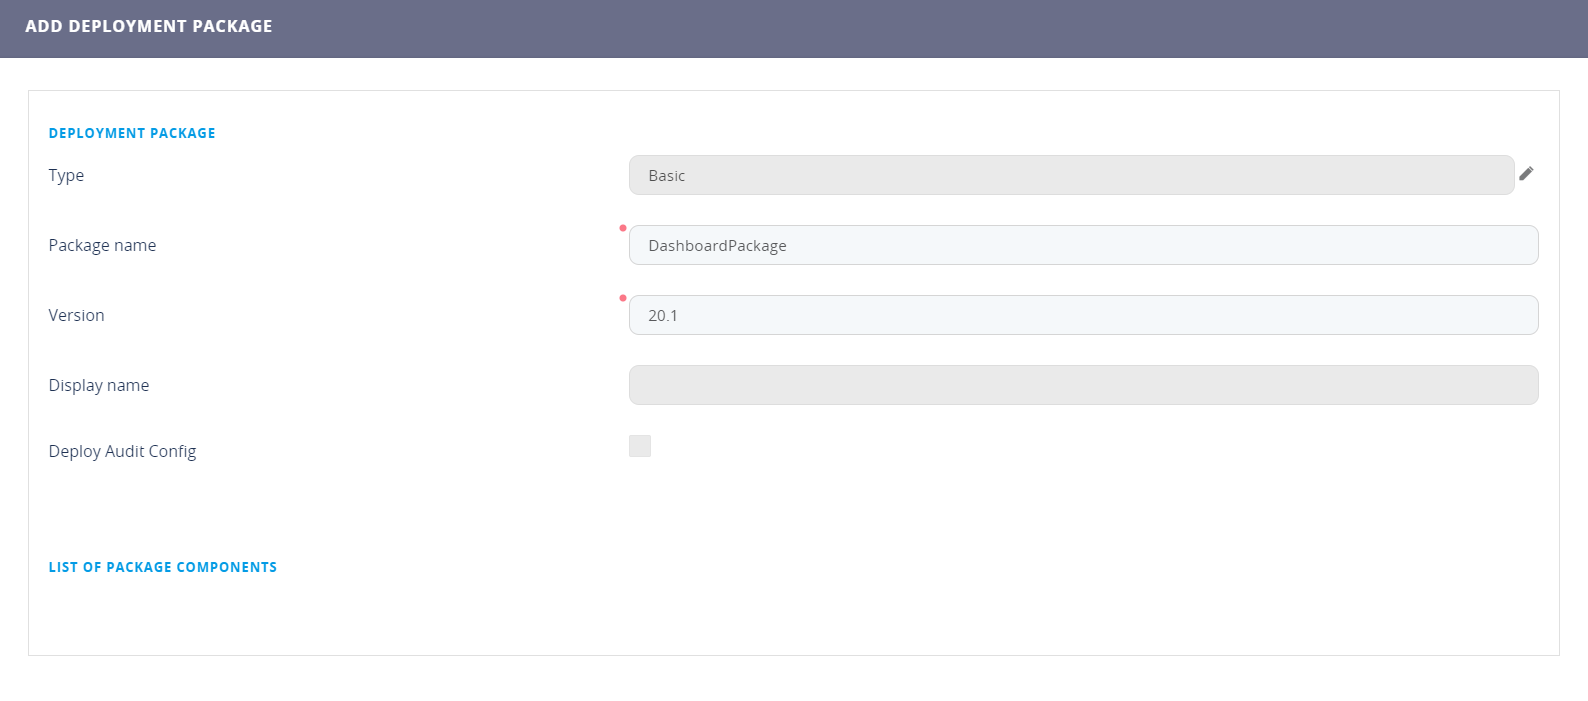
- At the top-right corner of the list, click the Insert icon. The Add Deployment Package page opens.
- Fill in the Package Name and Version fields.
- At the top-right corner of the page, click the Save and reload icon. The Edit Deployment Package page opens. The other remaining fields will be automatically auto-filled by the system.
Now you can add the metadata to be included in the deployment package.
2 Add Components to the deployment package
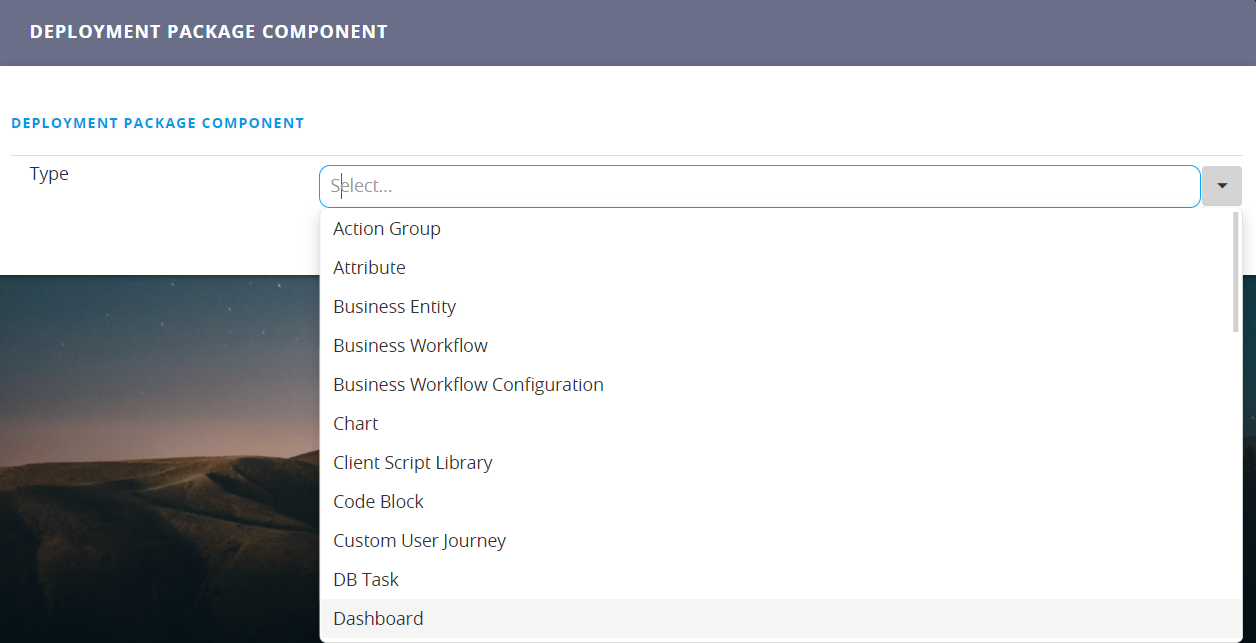
- From the List of Package Components section, click the Insert button. The Deployment Package Component page opens.
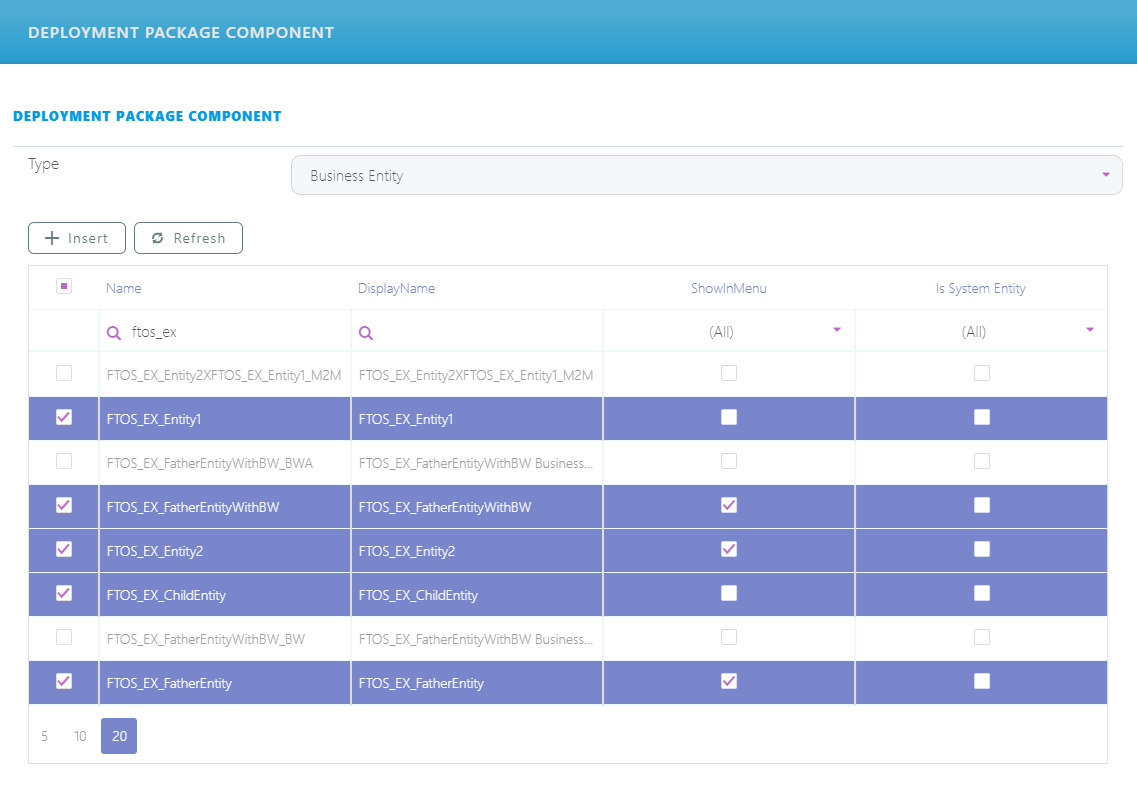
- From the Type drop-down list, select the metadata type:
Field Description Action group Attribute Business Entity When exporting an entity, which has a lookup attribute, the user must include the entity the attribute is linked to (if the entity is not found on the destination environment). If it is not included, the import will not be successful. If the entity has an attribute type option set, it will extract the list of options as well. It will extract as well the views, data events (after and before), the extended model. IMPORTANT!It will not extract the business workflow attached to the entity it has to be added from the option below.
To deploy the extended model of an entity you need to export that entity as well.Business workflow Business workflow configurations Unlike the previous component, here you can add just the statuses of a workflow. Chart
Client script library
Code blocks
Custom user journey
DB Task
Dashboard
Data Config definition
Data Import Template
Data maping
Data model
Data set
This is a data set used in Data Sets for a business formula.
Digital journey
With this type, it exports the form driven flow as well. Therefore, to export a form driven flow, attach it to a digital journey. When it will be imported, it will impoert the flow and the journey. Email template
Endpoint This deploys the server-side scrip attached to the endpoint as well. There is no need to attach the script separately. Entity form
Entity menu section
Entity Status
Entity view
Formula
HTML widget
Menu item
Option set
Portal profile
PowerBI report
Report
Report document
Script library
Sequencer
Server script
Style sheets
System parameter
User competence
Web API client library
HINT
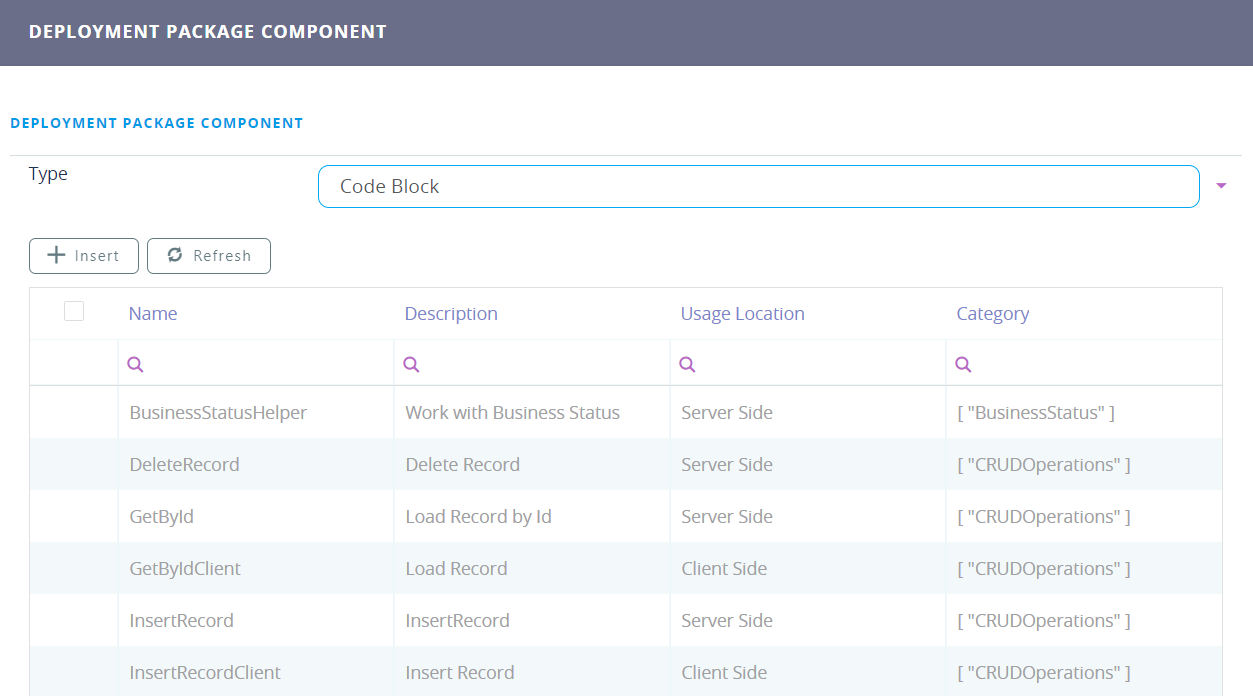
The package will contain the configurations created in FintechOS, not the records inserted in the FintechOS Portal. To export the records use, Configuration Data Definitions and Configuration Data Deployment Package. - Below the Type field, the list of metadata matching the selected type is displayed. The figure below shows an example of Code Blocks records.
- From the list displayed, select only the components you want to add to the deployment package. You can add multiple components to the package by selecting the desired records from the components list and clicking the Insert button.
- Click the Insert button again. The selected metadata is displayed in the List of Package Components section.
- Click the Save and reload button. Now you can export the deployment package.
If you need to add more components to the package repeat the steps provided above.
- You can add a component to a deployment package only once.
- When adding a metadata of type Entity to a deployment package, on export, the system exports all the metadata related to that entity (entity forms, entity views, attributes, option sets related to the attributes created and all the referenced relations); therefore, you do not have to add the entity related metadata from the components list.
- If you want to export entity related metadata (entity forms, entity forms or attributes) without exporting the entity on which the metadata was created, make sure that on the destination environment that entity exists.
-
When creating a deployment package, all the referencing metadata found in lookup relationships must be included in the package or must exist on the destination environment.
-
When adding a metadata of type Server Script to a deployment package, on export, the system exports all the script libraries related to that server script.
-
The system does not export the Audit check; therefore, you will have to manually configure it on the destination environment.
-
The system does not export the system user roles associated to metadata (e.g., roles on custom flows, dashboards etc.)
-
DO NOT add to a deployment package entities that have been automatically created by the system (e.g.,
_ADT tables,_BWand_BWA tables), otherwise issues might occur.When exporting Report Documents, the template is not exported, so make sure that you attach the template file again in the destination environment in order to save it on the server or that you use an enhanced deployment package (see Creating Enhanced Deployment Packages for reference).
- Validations are done only on deployment package import.
- DO NOT add to a deployment package entities that were automatically created by the system when defining a many-to-many relationship, otherwise issues might occur.
- When exporting entities that have a many-to-many relationship defined, make sure that all the referencing metadata found in this type of relationship exist in the deployment package created.
Always add the business workflows associated on the entities that were added to the package, otherwise, although allowed on import, only the
businessStatusIdandPreviousBSIdattributes will be imported and the system will not create the business workflow entities on the destination environment.If an entity has business workflows associated, DO NOT add to a deployment package the business workflow entities that were automatically created by the system (
_BW,_BWAtables), otherwise issues might occur.
3 Export deployment package
At the top-right corner of the Deployment Packages List page, select the deployment package you want to export and at the top-right corner of the page, click the Export baisc deployment package.
The deployment package is saved as an Excel file .xlxs type, locally in the default download folder on your computer/device.
The package also contains the audit information of entities, as follows:
- The
IsAuditedproperty of audited entities (the entities which have the Audit Enabled checkbox ticked). - Information of entities storing audit logs (
Entity_ADT).
The Excel file .xlxs type contains the names of the two attributes (dataSourceType and language) instead of their GUIDs and the attributes on the ReportDocument entity are provided in the DocumentReport tag instead of being separate tags:
<DocumentReport name="Rap No Format Fetch" dataSourceType="Entity" language="English" AllowEdit="false" AllowDelete="false">