Perform Master Policy Alterations
Master policy mid term adjustments (MTAs) comprise of a collection of alterations that apply in the same way for all the policies that are part of said Masterpolicy. These MTA types are: change payment frequency, change payment type, update due date.
You can make alterations either to a Masterpolicy or to a single policy that is part of a Masterpolicy.
When you create a new alteration, the system generates a clone of the existing masterpolicy. Actual modifications done for the clones corresponding to the policies linked to a masterpolicies are done after the Register button is clicked. Any modifications that are made to each related policy are processed in parallel and as such the total impact in premium and payment schedule are calculated for the master policy alteration once all the policies processing is over.
If you start an alteration (MTA) on a master policy and leave it in Draft status, then add or cancel a policy under that same master policy, the draft alteration will automatically move to Inactive. The system will display the message: “Inactivated by the system due to changes on master policy.” This is also applicable for a cancellation on a policy that has a draft alteration or for a cancellation on a master policy that has a draft alterations.
To avoid this, always check whether the policy or master policy has any draft alterations, and either register or cancel those alterations before adding or cancelling policies under the master policy.
Before making alterations, you have to pull up the masterpolicy that you want to modify.
-
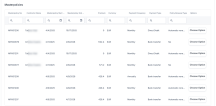
Choose from the Policy Admin menu, the Alterations menu entry. This displays the list of records of policies and masterpolicies that are going through a mid term adjustment process.
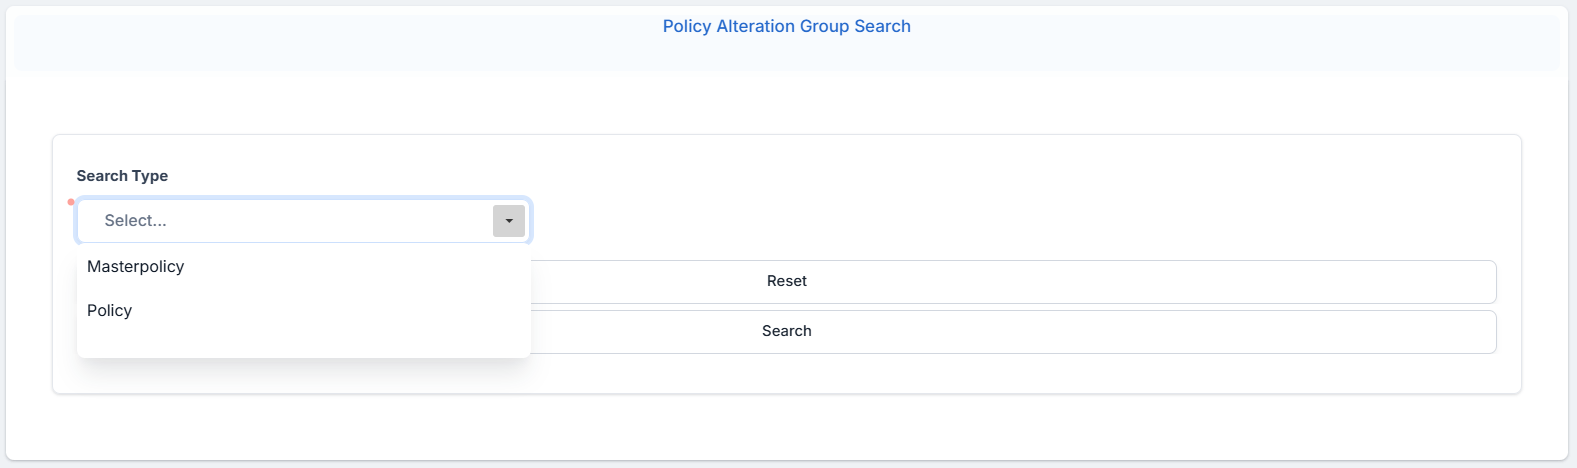
- Click the Insert button to open the Policy Alteration Group Search form.
-
In the Search Type field, choose between a Masterpolicy or a Policy.

-
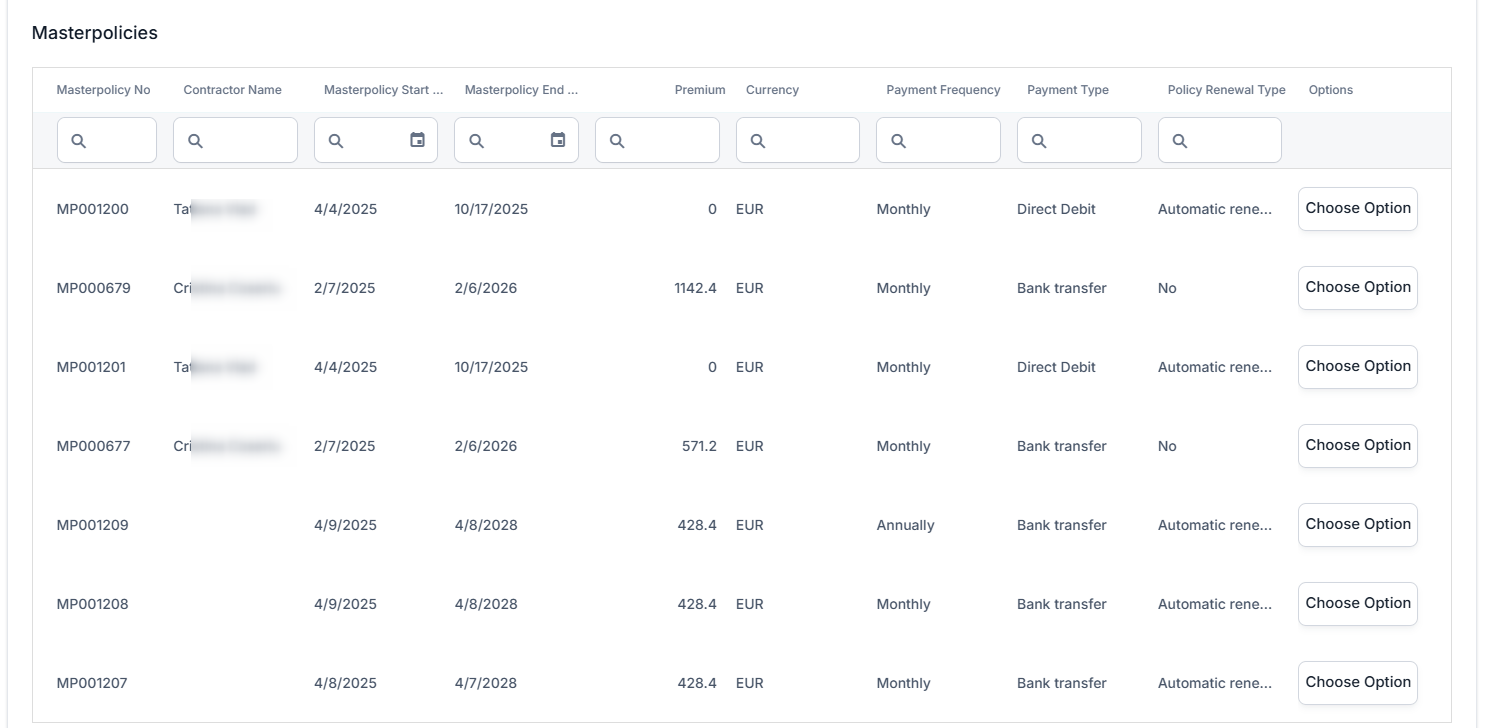
Click Search and add the required filters, then click Search again.
-
Click Choose Option next to the masterpolicy that you want to alter.
Alternatively, you can choose to modify a single policy belonging to a Masterpolicy.
-
In the Policy Alteration Group Search form, from the Search Type drop down, choose the Policy value.
-
Click Search, and the Policies grid unfolds, containing the policies with the matching criteria.
-
Click Choose Option next to the masterpolicy that you want to alter.
Multiple alteration types are permitted in the same MTA, so you can expand multiple selections at the same time, complete, and validate them in the desired order.
After completing the steps above, the Make an Alteration form opens with the following sections:
-
Contract Summary: This section lists the main data of the policy to be altered, and the list of beneficiaries. This section cannot be edited.
-
Alterations Start Date: In this field, input the date you want your alteration to come into effect.
-
Alterations Summary: This section holds the request number for the alterations made for the policy. Whenever an alteration is registered, the details are displayed in this section.
-
Policy Mentions: Editable section, where you can write any mentions regarding the policy.
-
Alteration Comments: Editable section, where you can write any mentions regarding the alteration.
Follow the steps below to make an alteration to this Masterpolicy:
-
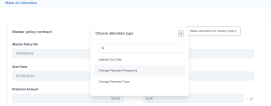
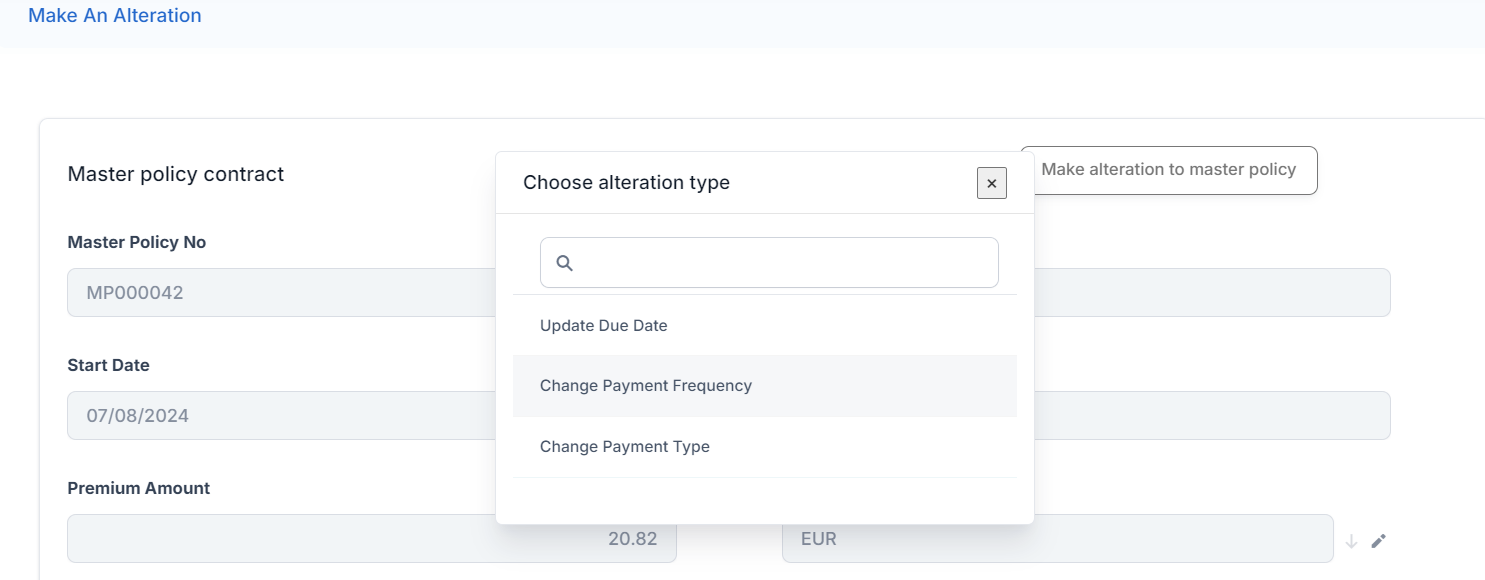
Click the Make an alteration to masterpolicy button at the top right of the form.
-
Choose one of the available options:
-
Update Due Date
-
Change Payment Frequency
-
Change Payment Type
-
Update Master Policy Party
-
-
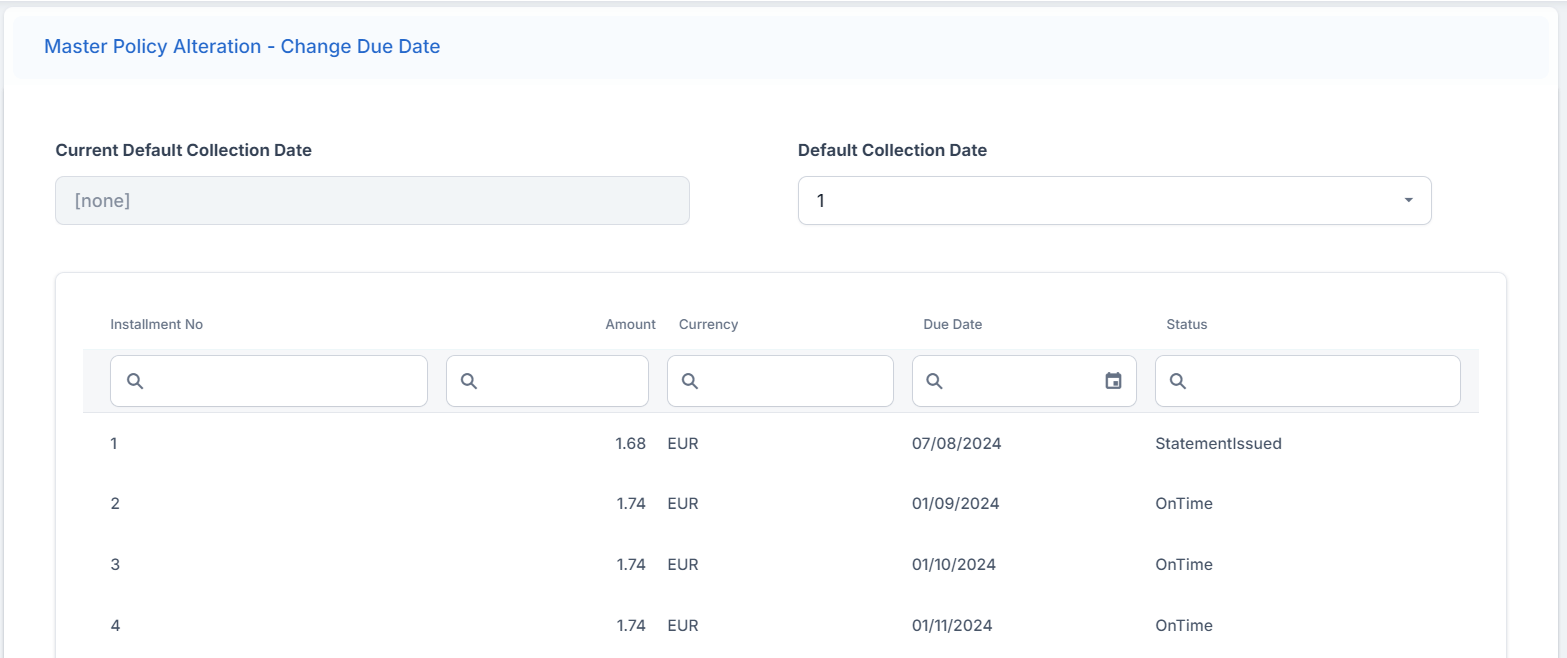
Click Change Due Date. The form with installments and due dates for the policy opens.
-
Update the due dates that you want to change inline, within the schedule.
-
Click the Validate button to complete.
-
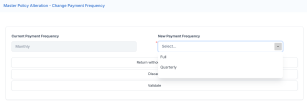
Click Change Payment Frequency. A form with options opens.
-
Click the New Payment Frequency dropdown and choose one of the options:
-
Full
-
Quarterly
-
Monthly
-
-
Click Validate.

-
Click Change Payment Type. A form with options opens.
-
Click the New Payment Type dropdown and choose the available options, in our case Bank transfer.
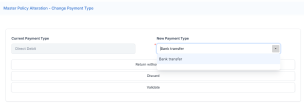
-
Click Validate.

-
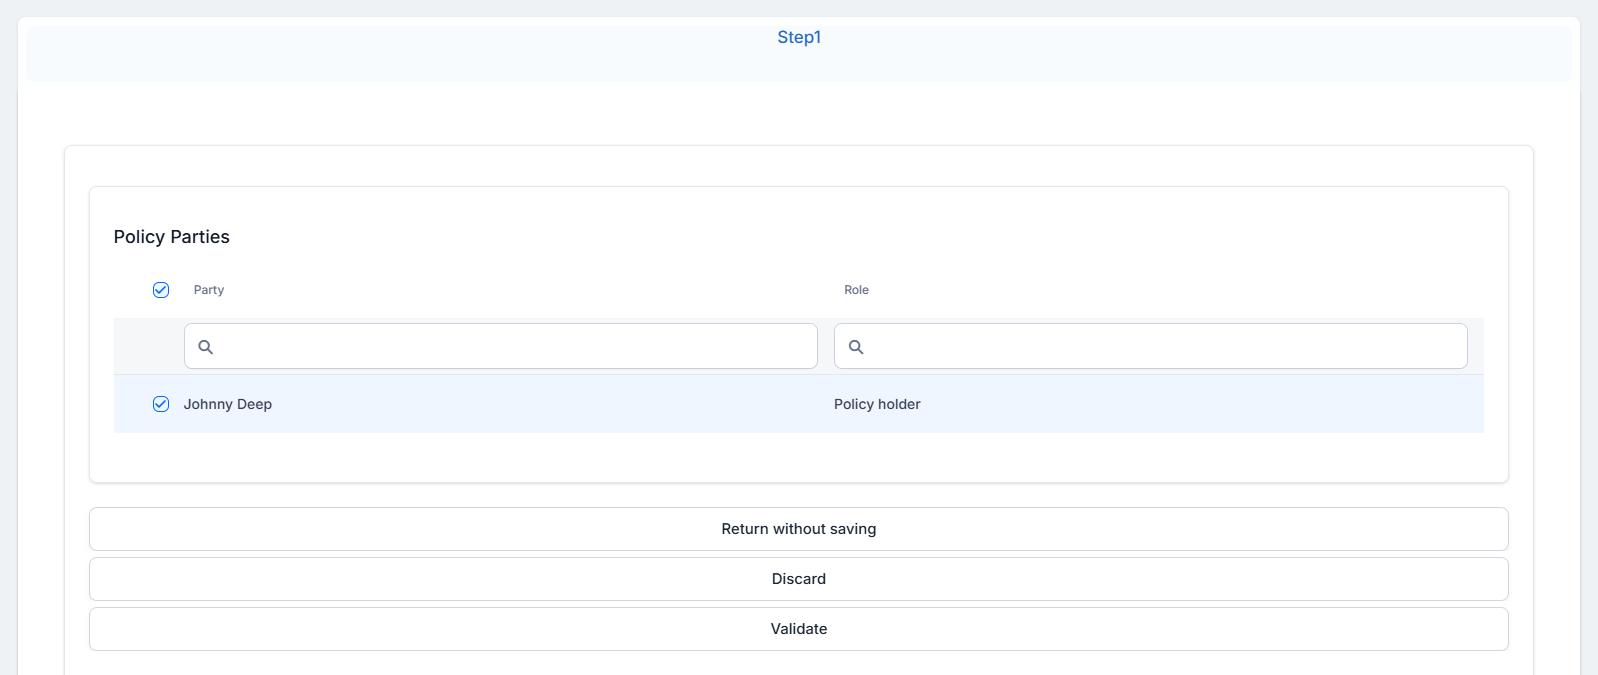
Click Update Master Policy Party. A form with options opens.
-
In the Policy Parties section, click the record under the Party column. The list of registered parties is displayed.
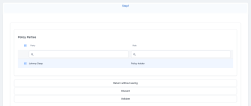
-
Pick another party from the list and click OK.
-
Click Validate.
After clicking the Validation button for each of the alteration options above, you are redirected to the Make an alteration form with the details of your masterpolicy.
Notice that the Alterations Summary section now contains all the changes you've made in the previous steps. You can cancel, edit, or make another alteration from this section. If you updated the due date, the grid shows each installment with the old and new due dates.
When done, click the Register button to record all of your changes and the alteration status to change to Pending Approval.
You can approve or decline an MTA request according to the customer’s decision regarding the modifications on the master policy. In the cases when alterations are configured to bypass approval, the MTA request transitions from Draft directly to the Registered status upon registration. However, if the request contains at least one alteration that requires approval, you will need to approve the entire MTA request in Pending Approval status. Only a user with a preconfigured security role can approve or decline the request. The security roles are configured per alteration type. If additional changes are required, the user with approval rights can click the Edit button to transition the alteration back in the Draft status. If the user making the alteration is also the one with security roles for approval, then this step is skipped.
Actual modifications for the clones corresponding to the policies linked to a masterpolicy are done after the Register button is clicked.