Set Up a Video Streaming Automation Processor
1 Add queues and operators
For every anonymous digital journey which require a video validation (onboarding, credit card loan, etc.), add a queue and operators who should handle the queue.
For Video Streaming to work, the sites must run on HTTPS.
- Log into the FintechOS Portal.
- Click the main menu icon (
 ) at the top left corner.
 - In the main menu, click Digital Onboarding Configuration > Queues . The Queues List page appears.
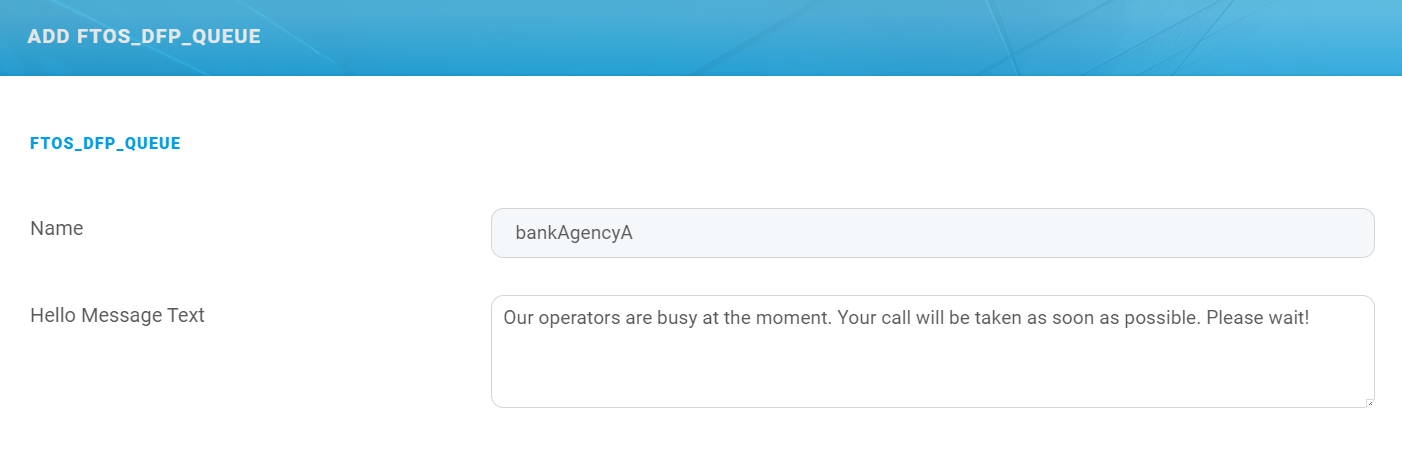
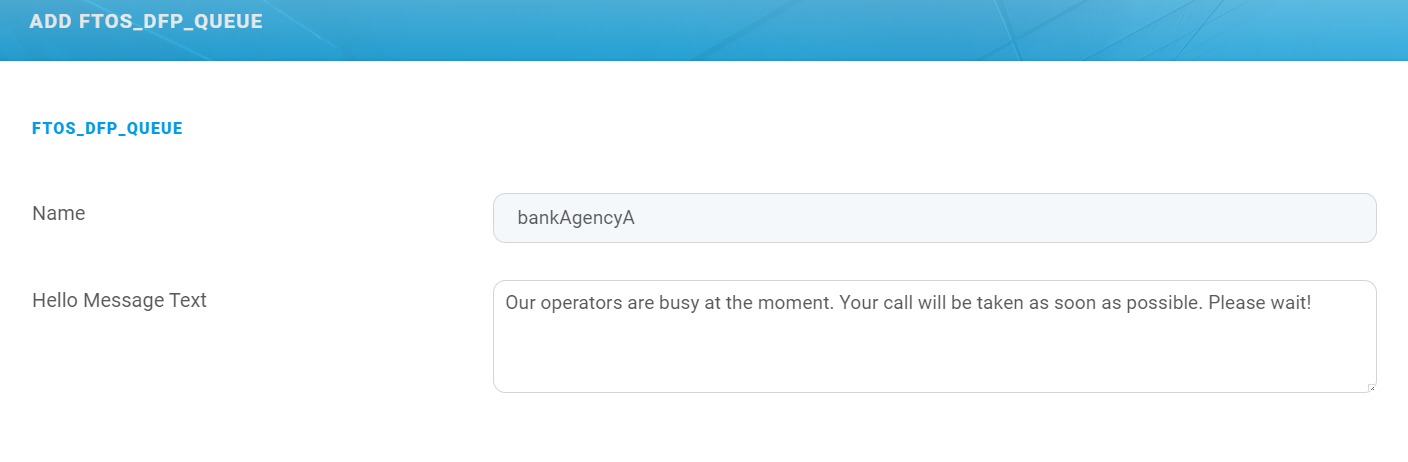
- At the top-right corner of the page, click the Insert icon. The Add FTOS_DFP_QUEUE page appears.
- Provide a Name for the queue and optionally a Hello Message Text to be displayed when customers initialize a video call with the operators.
- At the top-right corner click the Save and close icon to save the queue.
- Click the main menu icon () at the top left corner.
- In the main menu, click Digital Onboarding Configuration > Operators. The Operators List page appears.
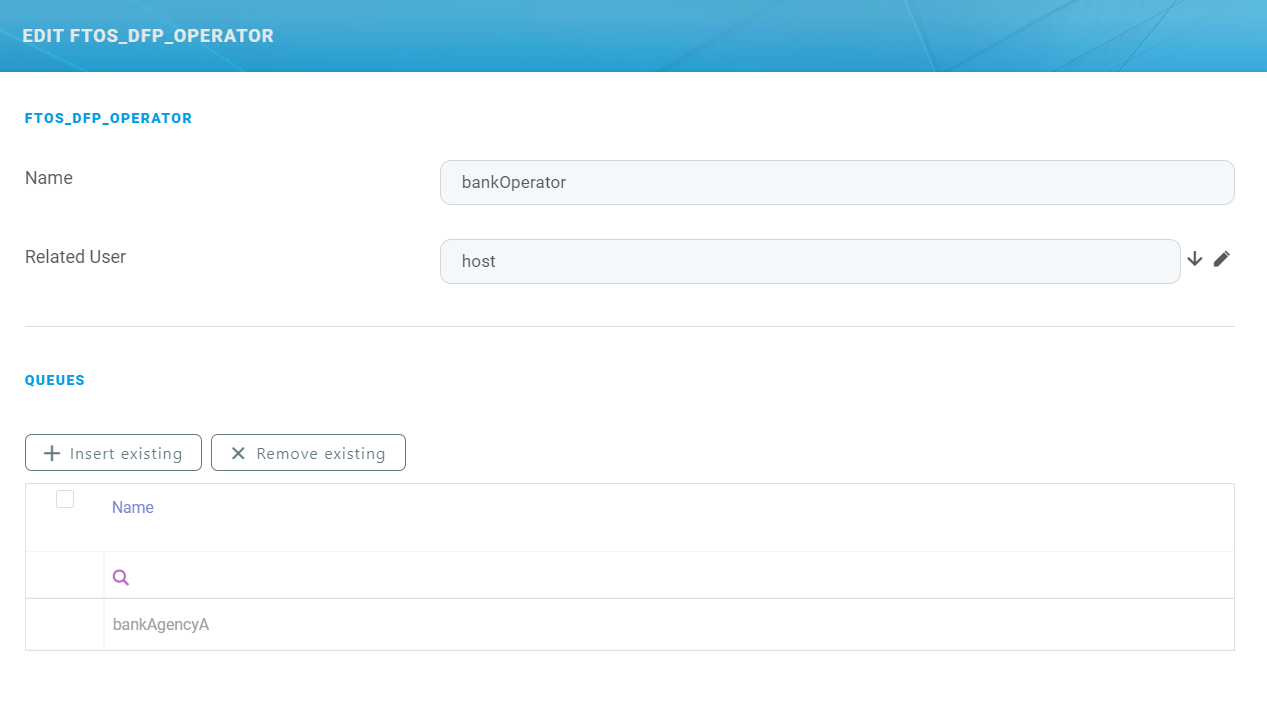
- At the top-right corner of the page, click the Insert icon. The ADD FTOS_DFP_OPERATOR page appears.
- Type the operator Name and from the Related User field, select the FintechOS Portal user account of the person who will be fulfilling the operator role.
- At the top right corner of the page, click the Save and reload icon. The EDIT FTOS_DFP_OPERATOR appears and the QUEUES section is unlocked.
- In the QUEUES list, click the Insert existing button. A pop-up appears listing the existing queues.
- In the pop-up, double click on the queue (you added following steps 4 to 6) . The selected queue is listed in the QUEUES section.
- Click the Save and Close button (
 ) at the top right corner to save the settings.
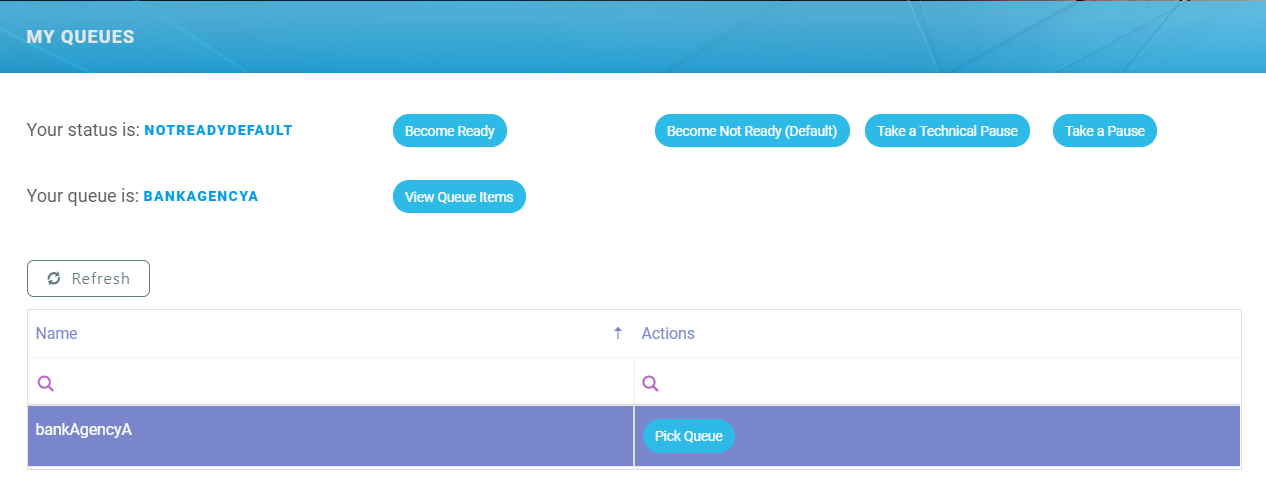
The user who you selected to be operator for the queue will see the queue by clicking in the main menu Digital Onboarding > My Queues.
2 Create a digital flow processing settings group
The Video Streaming automation processor must be hosted in a flow settings group. A flow settings group can include multiple automation processors and is typically used as a container for the automation processors called by a specific digital journey.
If you already have a flow settings group you wish to host your Video Streaming automation processor, skip to 3 Add the Video Streaming automation processor to flow settings group. Otherwise, follow the instructions below to create a new flow settings group:
- In FintechOS Portal, click the main menu icon () at the top left corner.
- In the main menu, select Digital Flow Processing.
- Click Flow Settings.
- In the Flow Settings List page, click the Insert button (
 ) at the top right corner to add a new flow settings group.
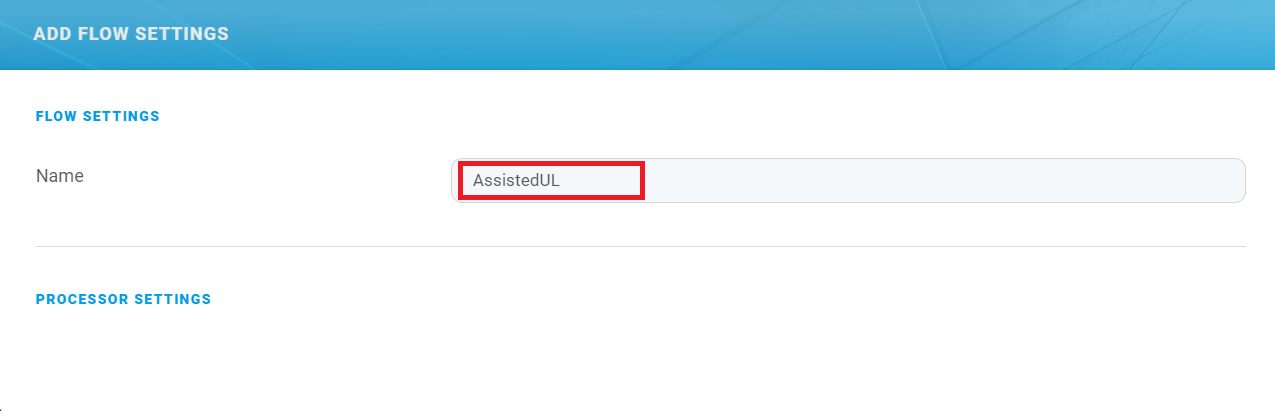
 - In the Add Flow Settings window, enter a Name for your flow settings group.

- Click the Save and Close button () at the top right corner to save your flow settings group.
3 Add the Video Streaming automation processor to flow settings group
- In FintechOS Portal, click the main menu icon () at the top left corner.
- In the main menu, select Digital Flow Processing.
- Click Flow Settings.
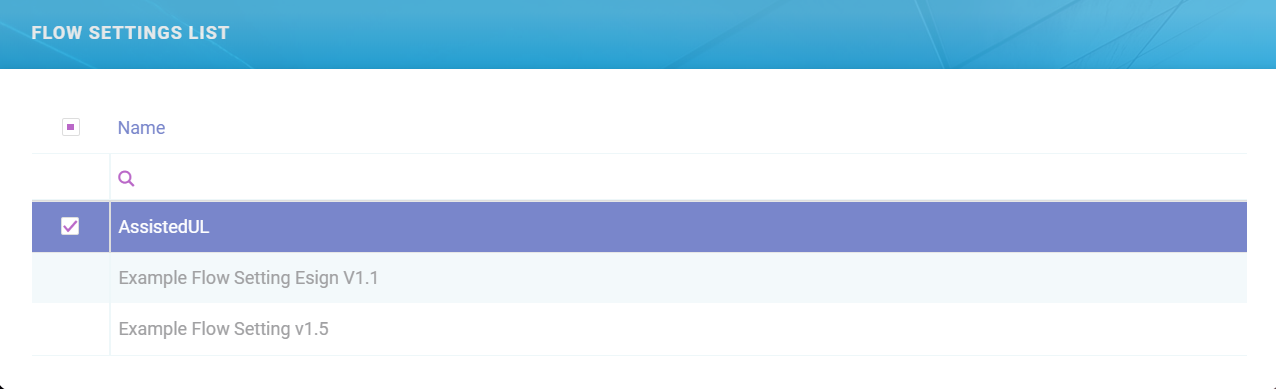
- In the Flow Settings List page, double click the flow settings group you wish to host your automation processor.
- In the Edit Flow Setting window, under the Processor Settings section, click the Insert button (
 ) to add a new automation processor.
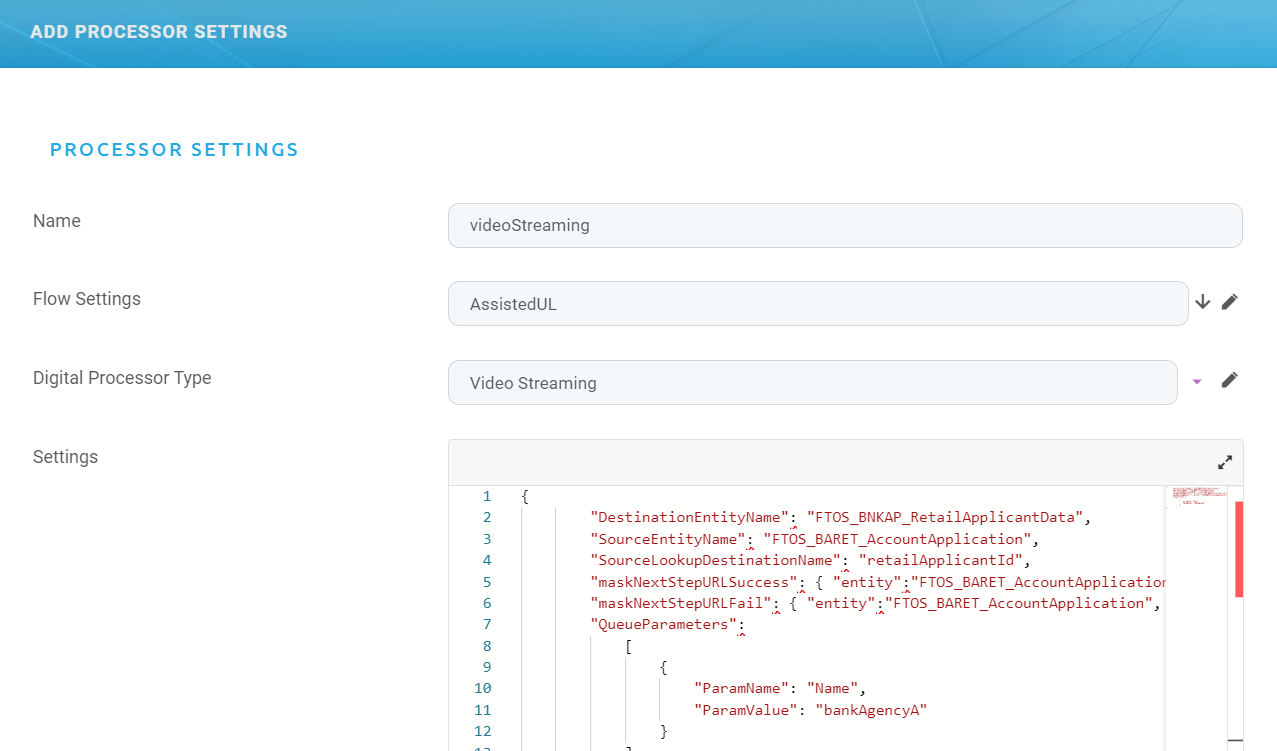
The Add Processor Settings page appears. In this page, configure the video streaming automation processor settings as described in the next step.
4 Configure the automation processor's settings
- In the Add Processor Settings screen, fill in the following fields:
- Name – Enter a name for your automation processor
- Digital Processor Type – Select Video Streaming.
- Settings – JSON code for the automation processor's settings. For details, see Video Streaming Settings.

- Click the Save and Close button () at the top right corner to save your automation processor.