Creating Limits
Customer limit records are created in the FintechOS Portal, on the Customer Limits List page.
IMPORTANT!
The
The
LimitMandatoryForIndividual Core Banking system parameter allows banks to specify whether their system should validate limits for individual customer, the same way it validates limits for legal entity customers. The limits for legal entities and groups are validated by Core Banking by default.To create a new limit record for a customer, follow these steps:
- Click the Insert button on the top right side of the Customer Limits List page. The Customer Limit page is displayed.
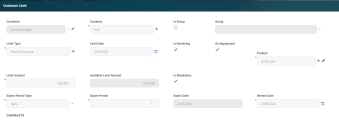
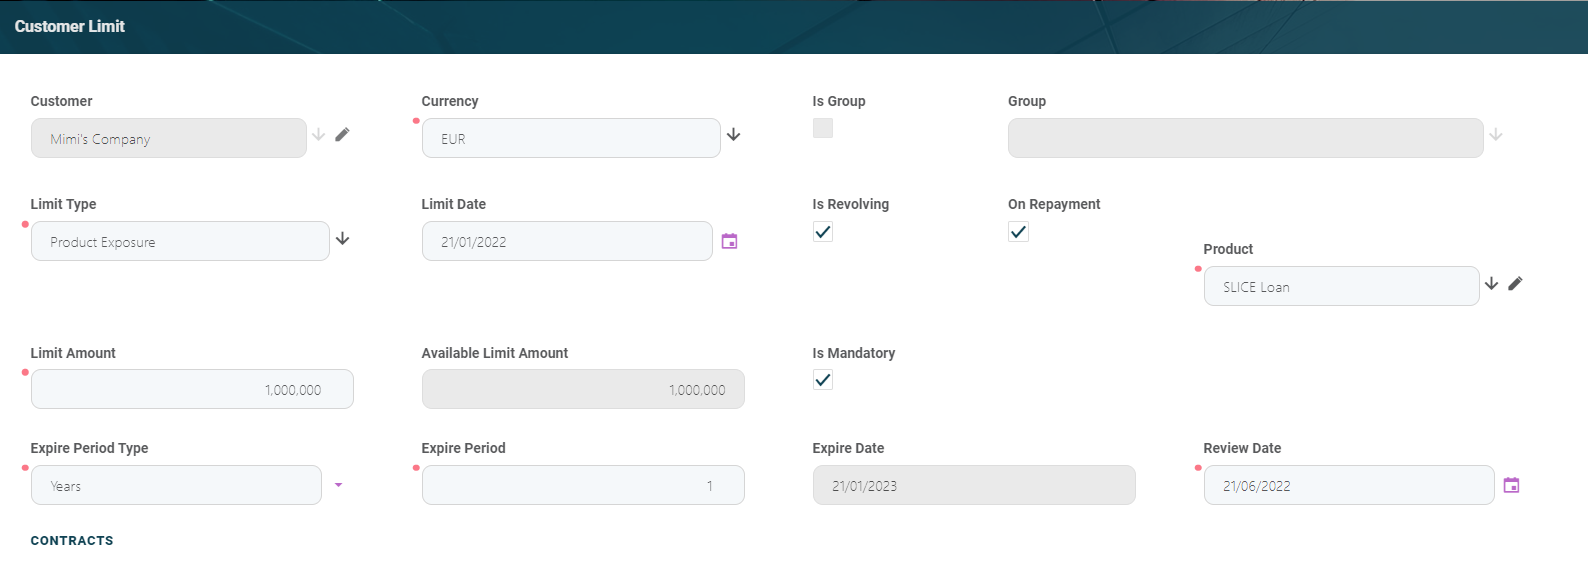
Alternatively, click the Add New Customer Limit button in the Customer Limits dashboard to display the same Customer Limit page. Or, manage limits at a customer level from the Customer Core menu, by selecting a customer from the list and managing their limit records within the Groups & Limits tab. - Fill in the following fields:
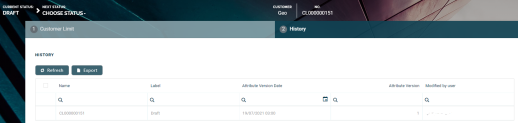
- Click the Save and Reload button at the top right corner of the page. A number is automatically generated for the limit record and the name of the customer is filled in and displayed at the top of the page. The History tab is also displayed, containing information about each version of the record.
Depending on the type of exposure selected, each type may display additional fields that must be filled in: - bank account
- term loan
- card
- overdraft
- leasing
- mortgage
- credit card
- deposit.
- Click the Save and Close button at the top right corner of the page.
In the Contracts section, the existing contracts affected by this limit are displayed. To export the list, click the Export button.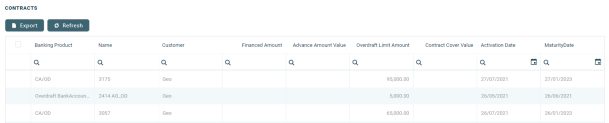
- Repeat to add as many limits as needed.

| Additional Fields | Data Type | Description |
|---|---|---|
| Exchange exposure | ||
| Exchange currency limit | Lookup | Select the currency from the list. |
| Product Exposure | ||
| Product | Lookup | Select the product from the list. From the total exposure amount, you can set a limited amount to be given on a certain product. For example, for a corporate term loan to give only $2 million dollars while the total exposure is $3 million. |
| Product Type Exposure | ||
| Product type | Option set | Select the product type from the list: |
| Product type is secured | Boolean | If true, then the type is secured by an asset. |
| Country Exposure | ||
| Country | Lookup | Select from the list the country where the limit is available. |
| Company Limit | ||
| Company | Lookup | Select from the list of group members the company for which the limit applies. For details on Groups, see Groups.
|


IMPORTANT!
For the same customer, only one limit exposure can be added.
For the same customer, only one limit exposure can be added.
- Send the limit record to approval by changing its status into Send to Approved.
- A user with customer limits approval rights must approve the record before it becomes active in the system. The approval can be performed from the Customer Limits dashboard > Customer Limits Approval Requests tab or from the Approval Tasks menu.
Alternatively, you can also add limits and groups while defining customers using the Single Customer View -> SME Clients menu, by following these steps:
- Log into FintechOS Portal. In the main menu, navigate to Single Customer View -> SME Clients menu option.
From the newly opened page, you can add a new company or modify an existing one. To access the limits and groups, once the legal entity has been created and saved in the database, you can access the Group & Limits tab. - Navigate to the Group & Limits tab.
-
Two fields are displayed: the checkbox is Group and Account Limit Currency. If true, the checkbox marks the legal entity as being a group. The Account Limit Currency opens a drop-down to select the currency that is used later on when creating limits. This currency acts as a reference for the limits added further on. Two sections are displayed below, Limits and Members. Members is relevant if the company is a group, because this is where the members of the group are added.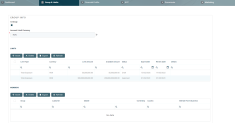
- In the Limits section, the list of existing limits is displayed. To add a customer limit, click the Insert button.
- Fill in the following fields (valid for a legal entity and for a group):
Field Data Type
Description Currency Lookup Select the currency for the limit in particular. Limit Type Option set Select the type from the list as explained above: - Total Exposure
- Product Type Exposure
- Product Exposure
- Exchange Exposure
- Country Exposure
- Company Exposure.
IMPORTANT!
The correlation between the limits and group is important as the limits on the parent entity affect the child entities. If the legal entity is a group, two additional types of exposures are available country and company exposure.Expire Period Type Option set
Select from the list the period type applicable for this limit: - Days
- Weeks
- Months
- Years
- Once.
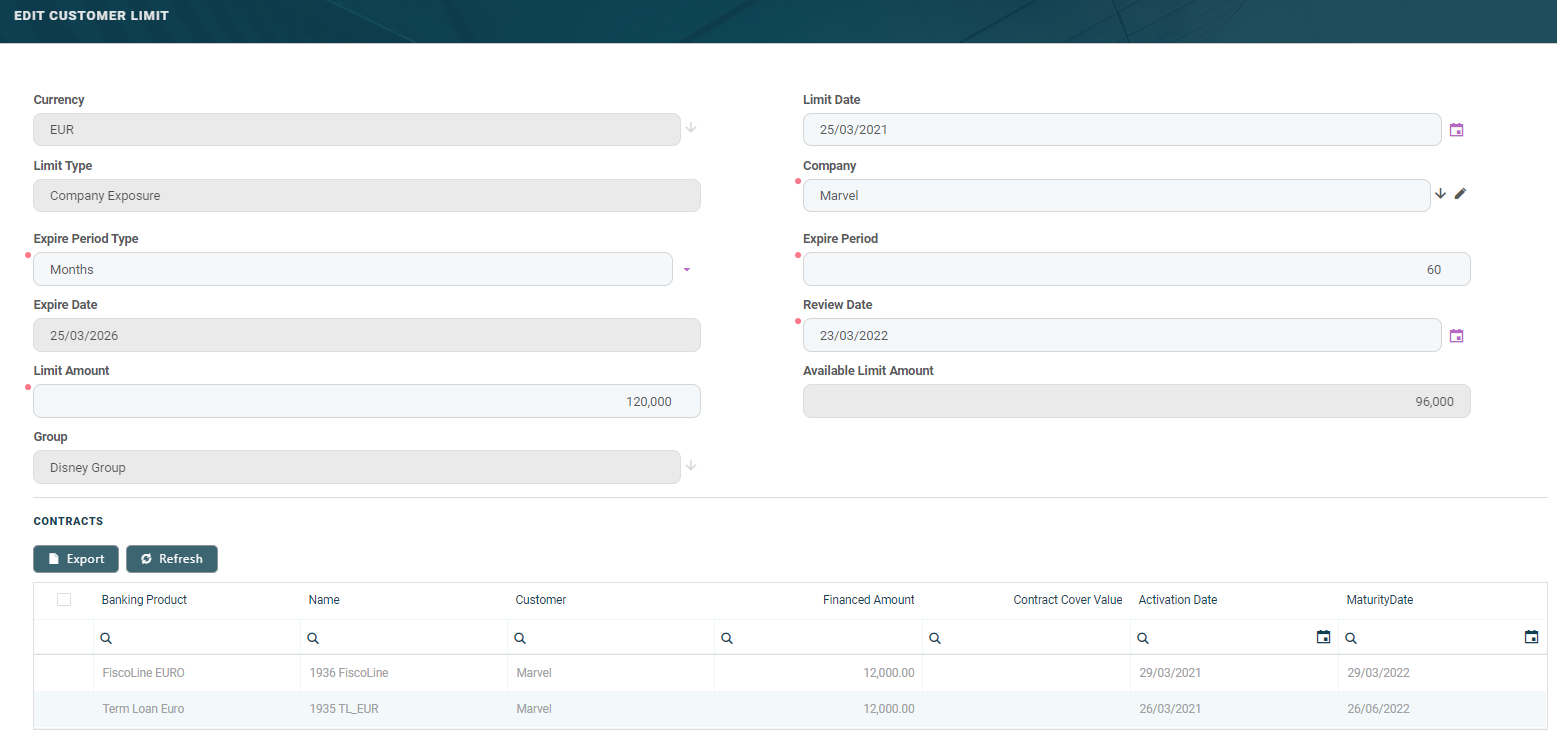
Expire Period Whole number Insert the number for the period, e.g. 4., i.e. 4 months. Expire Date Date This field is automatically completed with the date when the limit expires, as calculated based on the values entered in the previous fields. Review Date Date Select a date when the limit is reviewed. Limit Amount Numeric Select the amount representing the limit for the credit. Available Limit Amount Numeric This field is automatically completed by Core Banking with the remaining amount, e.g. if the total exposure was $5 million, a credit was given for $3 million, $2 million is still available. Group Lookup If the legal entity is not a group, this field is read-only. If the legal entity is a group, the name of the group will be automatically filled in. Depending on the type of exposure selected, each type may display additional fields:
Additional Fields Data Type
Description Exchange exposure Exchange currency limit Lookup Select the currency from the list. Product Exposure Product Lookup Select the product from the list. From the total exposure amount, a user can set a limited amount to be given on a certain product. For example, for a corporate term loan to give only $2 million dollars while the total exposure is $3 million. Product Type Exposure Product type Option set Select the product type from the list: - bank account
- term loan
- card
- overdraft
- leasing
- mortgage
- credit card
- deposit.
Product type is secured Boolean If true, then the type is secured by an asset. Country Exposure Country Lookup Select from the list the country where the limit is available. Company Limit Company Lookup Select from the list of members the company for which the limit applies. For details on Groups, see Groups. 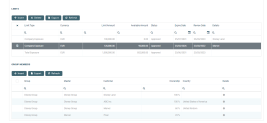
- Click the Save and reload button. Repeat to add as many limits as needed.

IMPORTANT!
For the same customer, only one limit exposure can be added.
For the same customer, only one limit exposure can be added.
In the Contracts section, the existing contracts affected by this limit are displayed. To export the list, click the Export button.