Customers
A customer is an individual or a legal entity who has an account with a bank. Opening an account is the crucial element in establishing the bank-customer relationship.
Core Banking requires banks to create a record for each of their customers. Complex customer management is performed by the Single Customer View apps. The records are stored in the Account entity. Read about the record statuses in the Account Flow Diagram topic.
Core Banking also enables you to manage customers from its dedicated Customer Core menu, with pages that display customer information relevant to the Core Banking business. Follow these steps to manage customers:
-
Log into FintechOS Portal.
-
Click the main menu icon at the top left corner.
-
In the main menu, expand the Core Banking Operational menu.
-
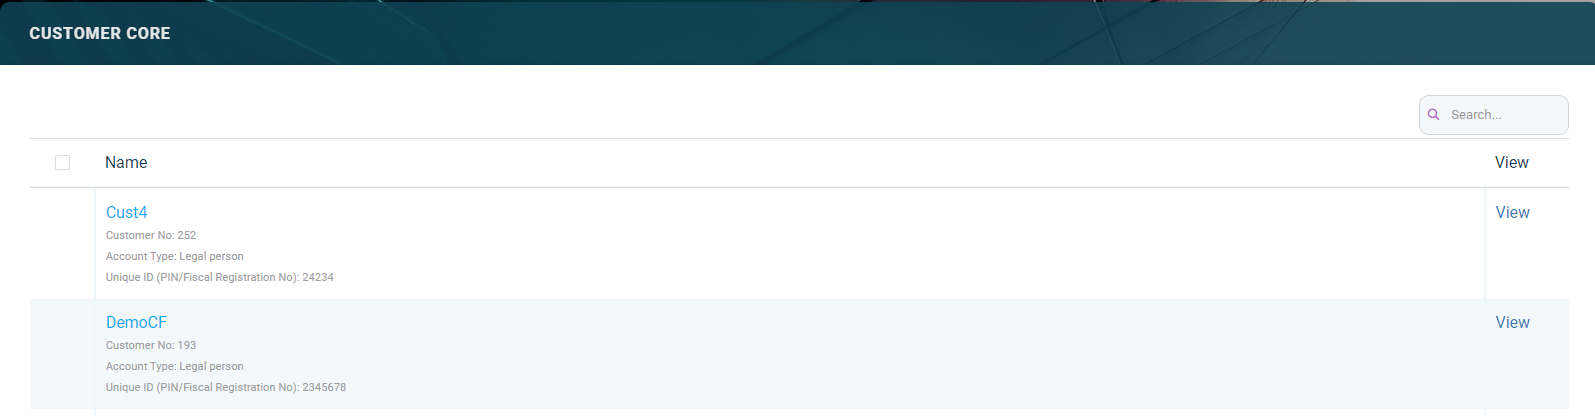
Click Customer Core menu item to open the Customer Core page.
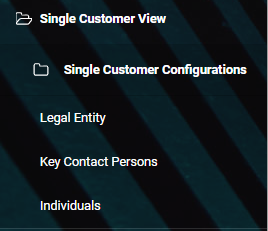
Alternatively, you can manage customers via the Single Customer View apps dedicated menus: SME Clients, Banking Retail Clients and Key Contact Person.
On the Customer Core page, you can:
-
Create a customer by clicking the Insert button at the top right corner and filling in the fields in the newly displayed Overview page of the customer creation process.
-
Edit a customer from the list by double-clicking it.
-
Delete a customer by selecting it and clicking the Delete button at the top right corner
-
Search for a specific record by filling in any details of the desired customer in the Search box above the customer list.
Creating Customers
Follow these steps to create new operation item records:
-
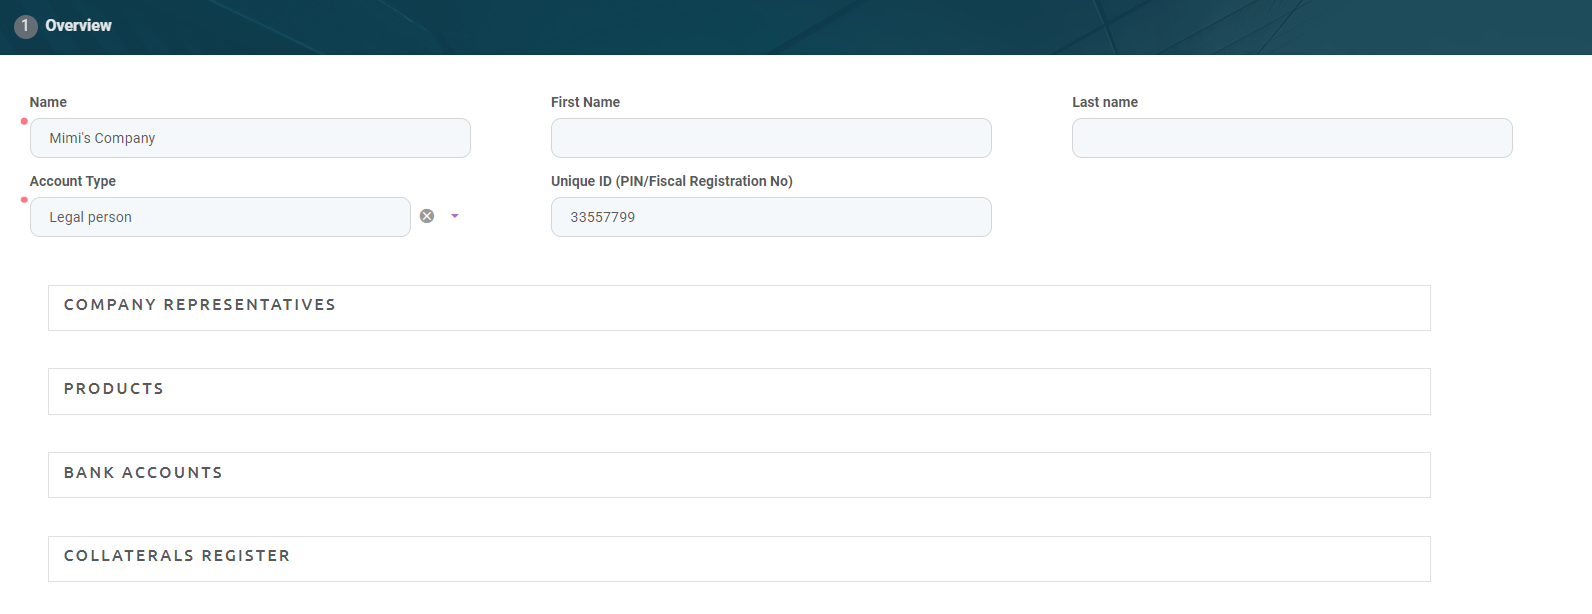
In the FintechOS Portal, click the Insert button on the top right side of the Customer Core page. The Overview page of the customer creation process is displayed.

-
Fill in the following fields:
-
For an
Individual personcustomer enter their personal identification number (PIN). -
For a
Legal personor aSelf employed individualcustomer enter their fiscal registration number.
| Field | Mandatory | Data Type | Details |
|---|---|---|---|
| Name | Yes | Text | Enter the name of the customer. |
| First Name | No | Text | Enter the first name of the customer, if this is not a legal person. |
| Last Name | No | Text | Enter the last name of the customer, if this is not a legal person. |
| Account Type | Yes | Lookup | Select the customer type from the possible options: Legal person, Individual person or Self-employed individual. |
| Unique ID (PIN/Fiscal Registration No) | No | Text |
Enter the customer's unique ID: |
-
Click the Save and Reload button at the top right corner of the page. The customer is saved in Newbie status, with minimum information, such as an auto-generated customer number, but the page displays now a series of sections that assist you in adding or viewing information about the customer: Company Representatives, Products, Bank Accounts and Collateral Register. A newly displayed tab, Groups & Limits, helps you with the configuration of group membership and limits for this customer.
-
Scroll through each of the newly displayed sections and fill in the necessary information, as described within the sections.
-
Select the Groups & Limits tab and fill in the necessary information, as described here.
A customer has to be in the
Prospect or Customer status to be selected when creating contracts. Make sure you change the customer's status from the top right corner of the screen:
Company Representatives Section
This section lists the customer’s legal representatives, such as administrators, affiliates, owners, or other key contact persons.
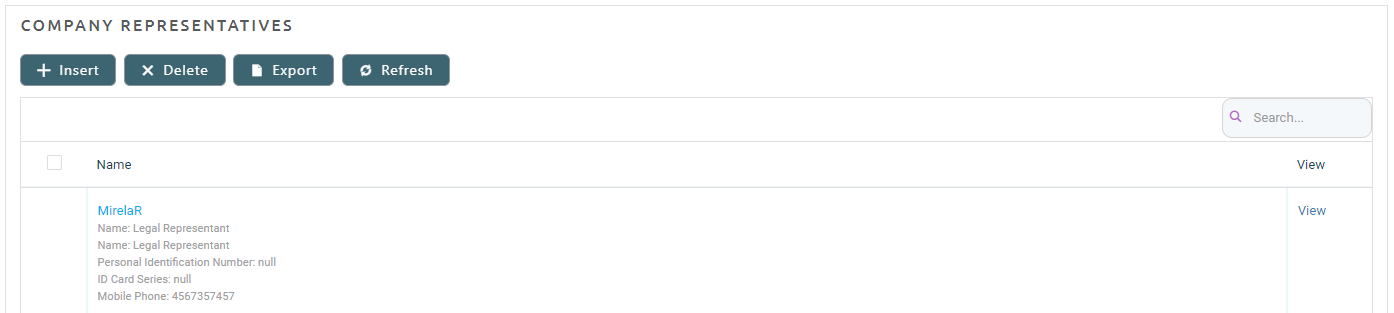
In this section, you can add new representatives, view the existing ones by clicking the desired record from the list, delete records from the list and export the list.
To add a new representative to the customer, follow these steps:
-
Click the Insert button within the Company Representatives section. The Add Account Contact page is displayed.

-
Fill in the following fields:
Field Mandatory Data Type Details Contact Yes Lookup Select an existing customer from the database as your new customer's representative. Contact Type No Option set This field is automatically completed with the Legal Representativecontact type and it cannot be changed.Account Relation Type Yes Option set Select the representative's type of relation with the customer from the drop-down list of possible values. -
Click the Save and Close button at the top right corner of the page.

Products Section
The Products section lists the contracts currently used by this customer. Each record displays information about the number of the contracts, the banking product, the customer, the activation date, the main bank account associated to the contract, the status of the contracts and its category.
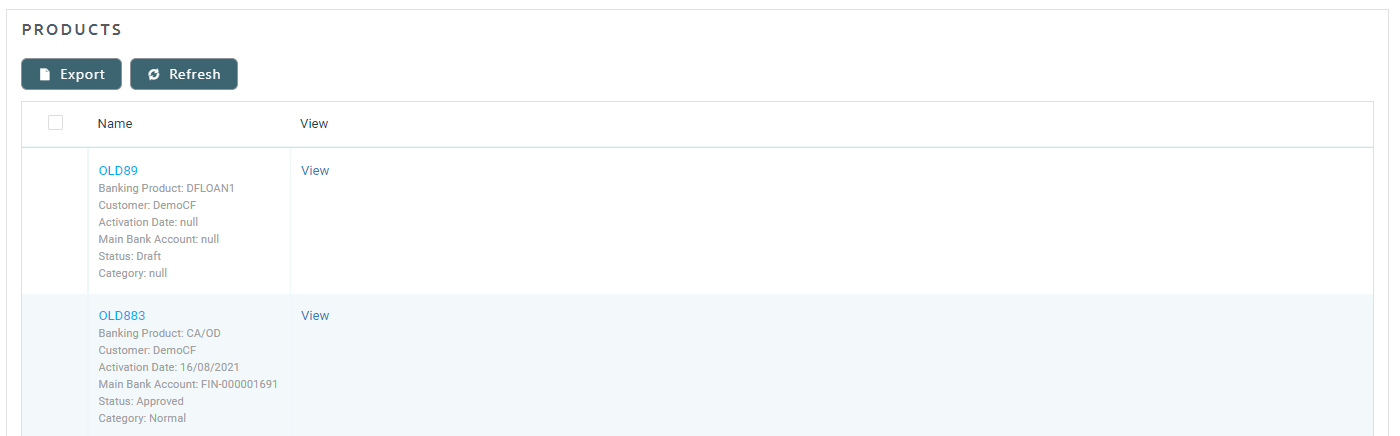
Click the desired record from the list to open the Contract page with the selected contract's information.
Bank Accounts Section
This section lists the company’s bank accounts, with details such as name of the bank, Swift/BIC, account number and type, customer, and business status.
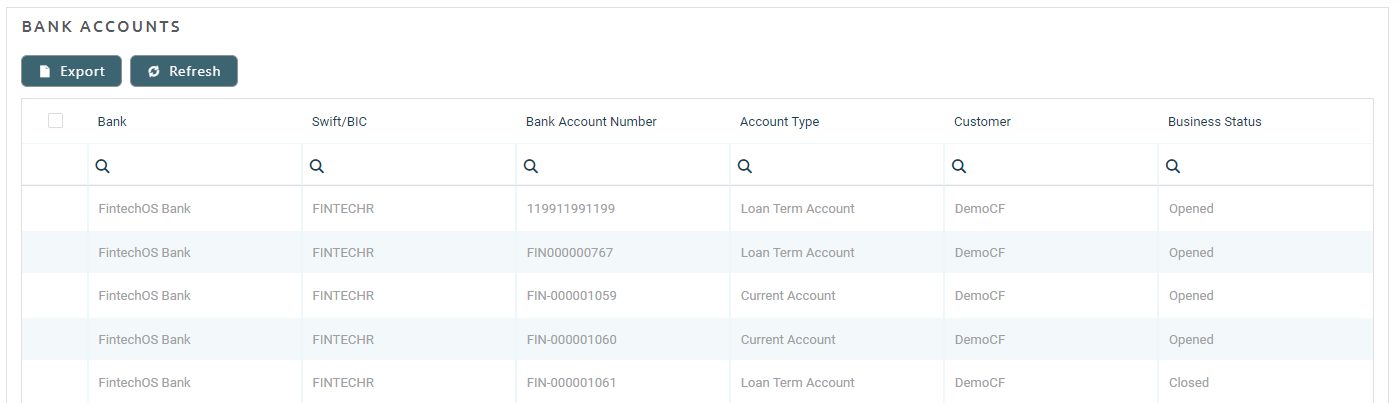
Click the desired record from the list to open the Bank Account page with the selected bank account's information.
Collateral Register Section
This section lists the customer’s registered collaterals, with details such as name, business status, owner, available value, currency, last and next evaluation dates.
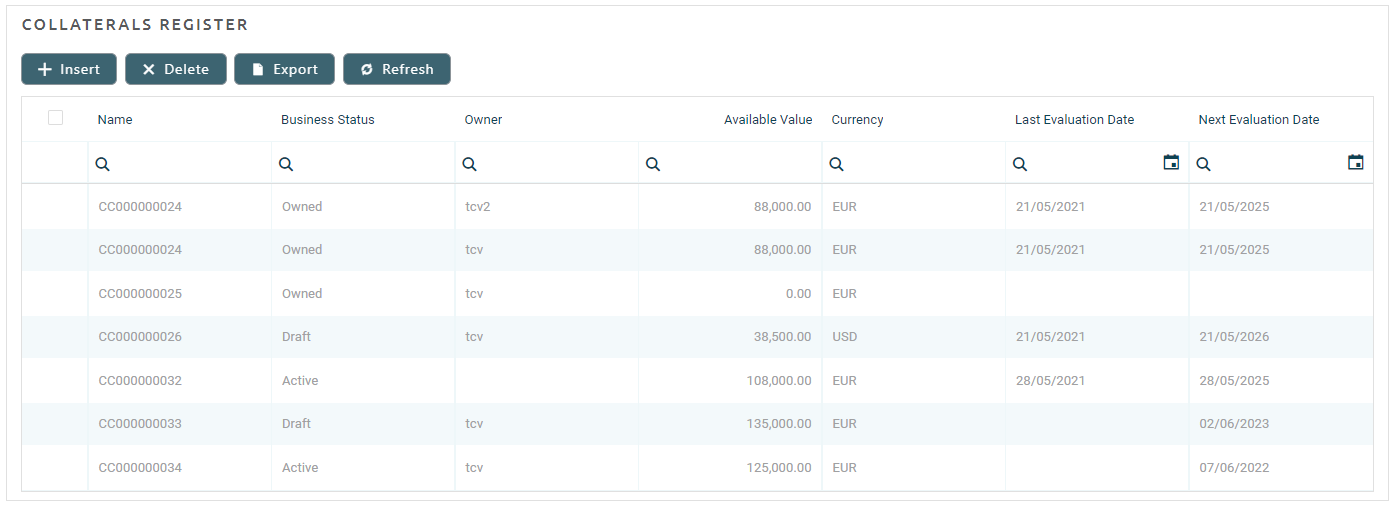
In this section, you can add new collateral register records, view the existing ones by clicking the desired record from the list, delete records from the list and export the list.
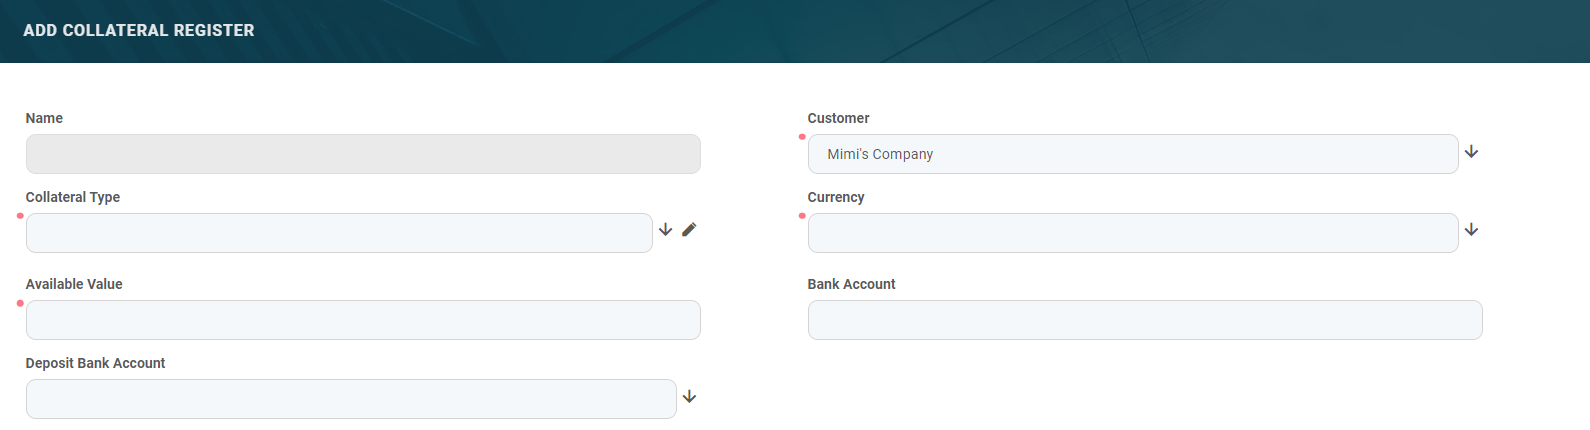
To add a new collateral register record to the customer, follow these steps:
-
Click the Insert button within the Collateral Register section. The Add Collateral Register page is displayed, with the
Customerfield automatically completed with the current customer's name.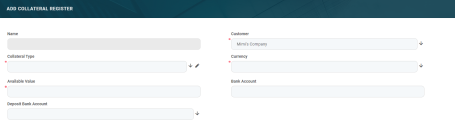
-
Follow the steps described in the Registering Collaterals page of this guide.
Groups & Limits Tab
The Group & Limits tab provides an overview of limits set for the customer. If the customer is a group, then all the limits applicable for the group members are listed here, as well as details about the group members. To learn more about how limits and groups work, see the Limits page in this guide.
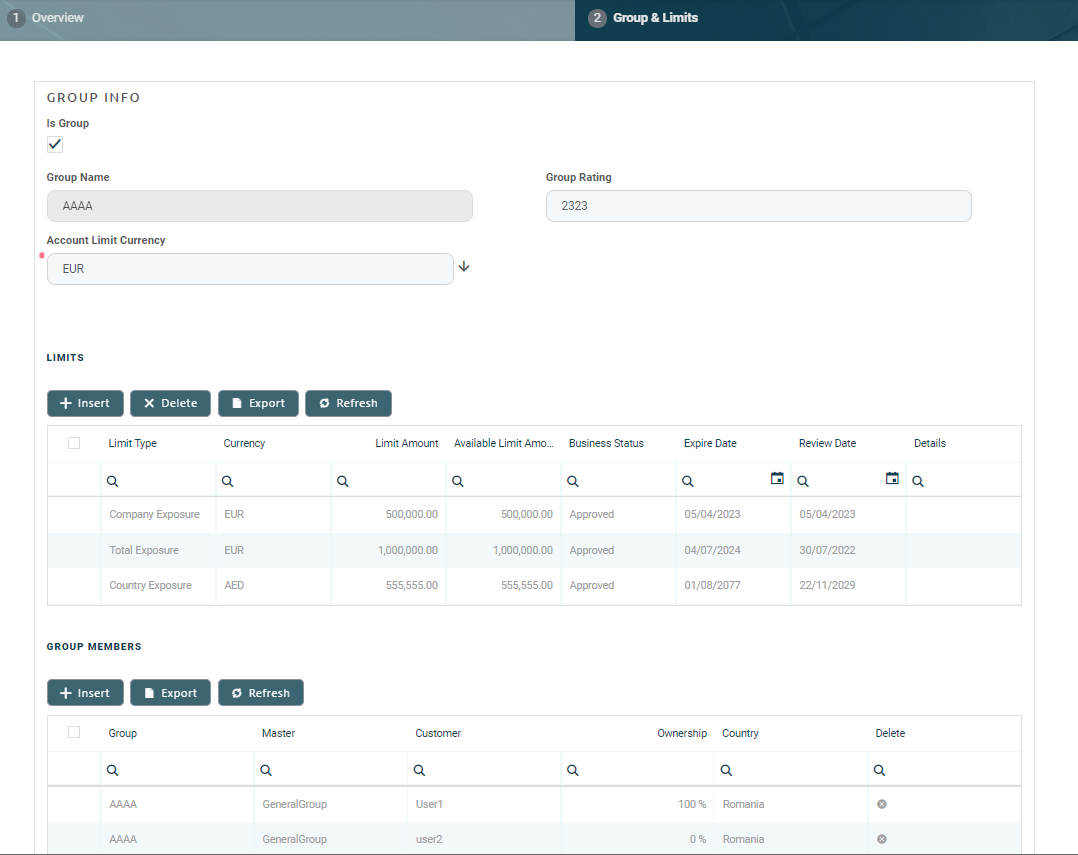
Both legal entity and individual customers can be added to groups. This can be helpful if you need to monitor group exposure for a household or a company and its shareholders together.
When
LimitMandatoryForIndividual = True, limit validations for a group containing individual customers happen the same way as for groups composed solely of legal persons.The following sections within this tab display specific information:
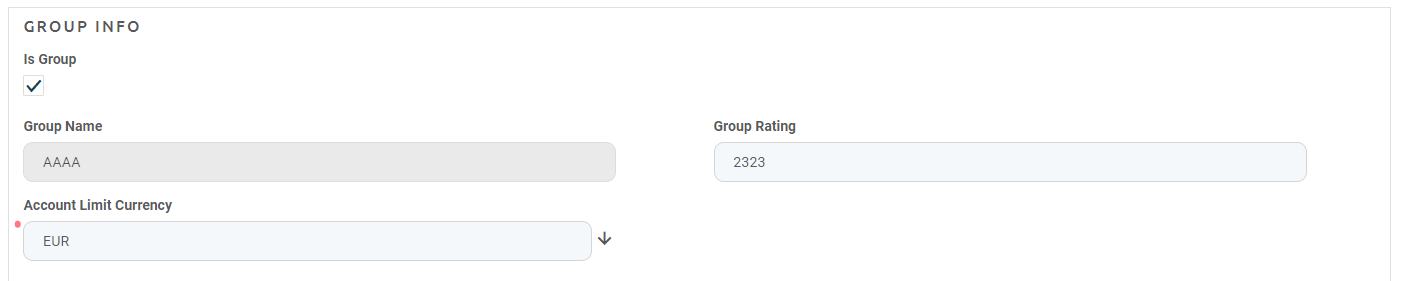
Group Info Section
This is the place where you can specify whether a customer represents a group of companies.
-
Fill in the following information within this section:
-
Click the Save and Reload button at the top right corner of the page.
| Field | Mandatory | Data Type | Description |
|---|---|---|---|
| Is Group | Yes | Boolean | Select the checkbox if the customer represents a group or not. |
| Group Name | No | Text | This field is displayed only if the customer represents a group. It is automatically completed with the current customer's name. |
| Group Rating | No | Number | Enter the rating of the group. |
| Account Limit Currency | Yes | Lookup | Select the currency of the customer limit. |
Limits Section
This section lists all the customer’s limits. If the customer is a group, then all the limits applicable for the group, coming from group members, are listed here.
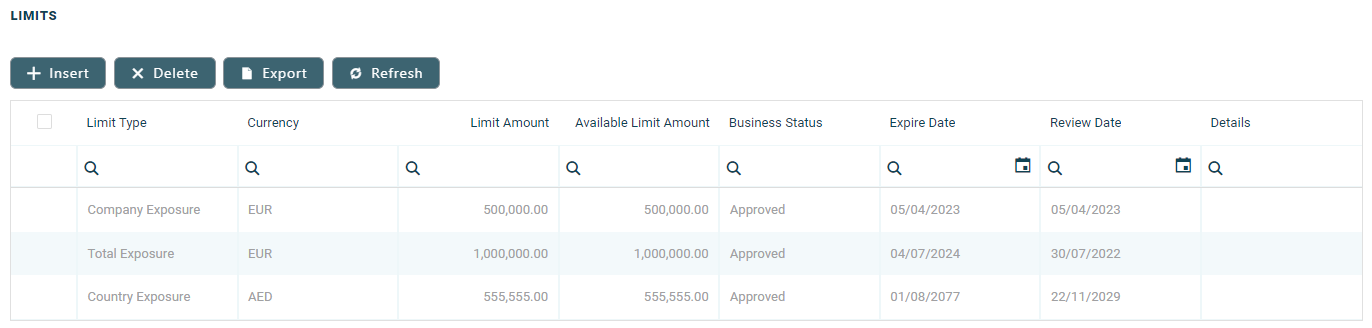
In this section, you can add new limit records, view the existing ones by clicking the desired record from the list, delete records from the list and export the list.
To add a new limit record to the customer, follow these steps:
-
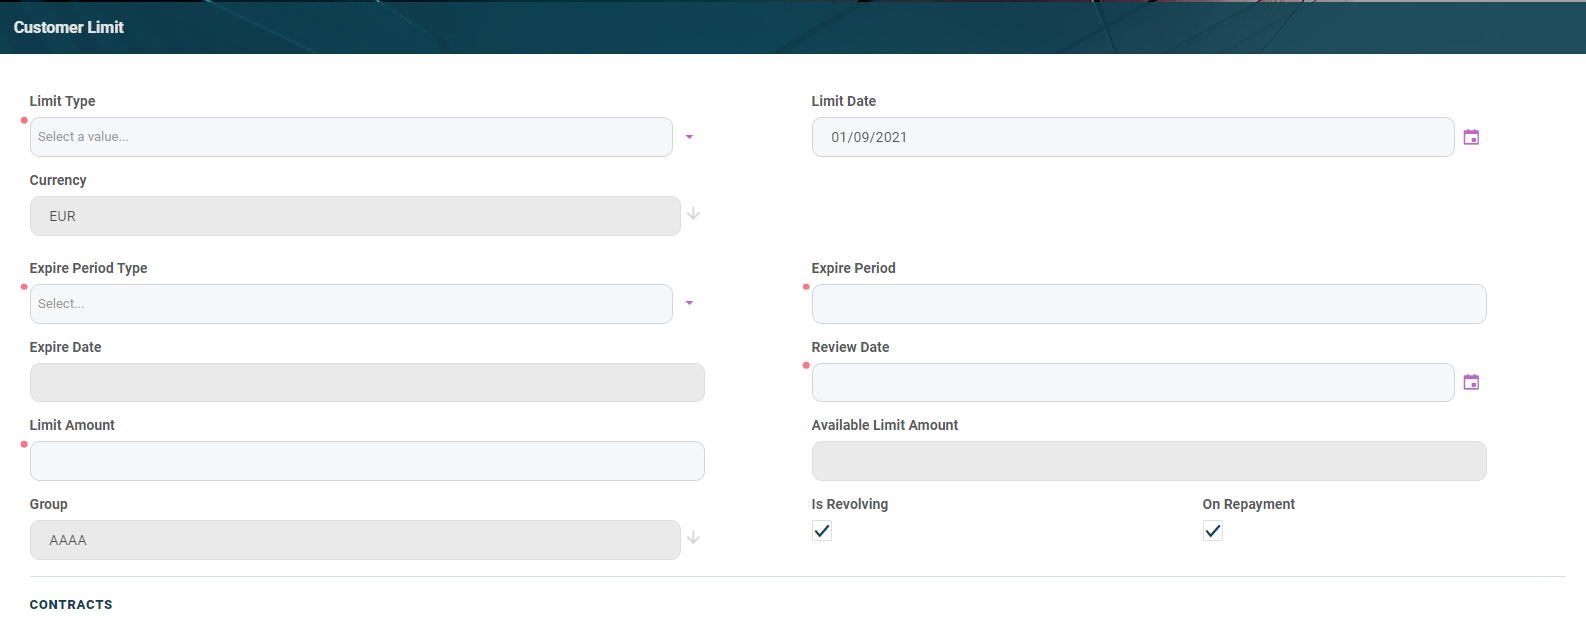
Click the Insert button within the Limits section. The Customer Limit page is displayed, with the customer, the group and the currency automatically completed with the current customer's values.

-
Follow the steps described in the Creating Limits page of this guide.
Members / Group Members Section
This section lists all the members / group members' details. To view a specific member, double-click the desired company from the list.
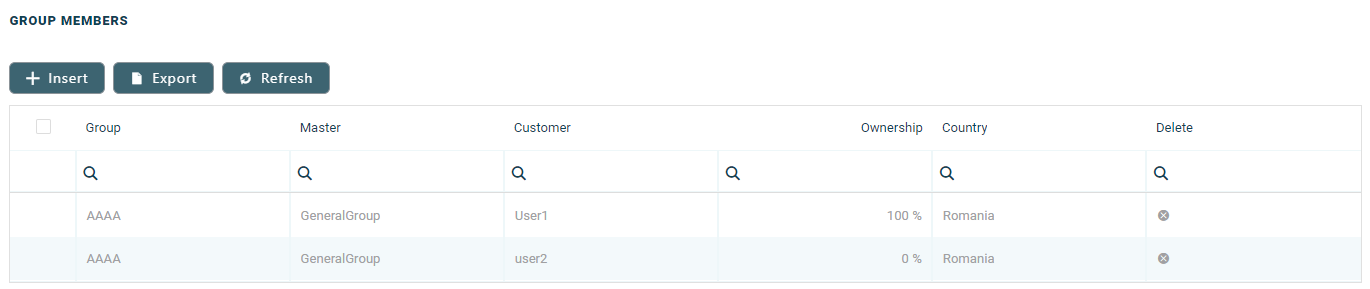
In this section, you can add new member records, view the existing ones by clicking the desired record from the list and export the list.
To add a new member or group member to the customer, follow these steps:
-
Click the Insert button within the Members / Group Members section. The Add Member / Add Group Member page is displayed, with the master and the group automatically completed with the current customer's values.

-
Follow the instructions from the Groups page of this guide, selecting a customer to add as a member, and entering an ownership percentage.

Creating Customers Using the Single Customer View Menus
Alternatively, you can create new customer records for customers following the steps described in the Adding Companies page.
After creating a record for a customer, proceed to filling in their details as described in the Managing Detailed Company Information page.
A customer has to be in the
Prospect or Customer status to be selected when creating contracts.