Collaterals
A collateral is a property, such as securities, items of value, pledged by a borrower to protect the interests of the lender. A lender can seize the collateral from a borrower if the latter fails to repay a loan according to the agreed terms. A collateral acts as a guarantee that the lender receives the amount lent even if the borrower does not repay the loan as agreed.
For example, when contracting a mortgage, the bank asks the customer to provide their house as collateral. If the customer fails to meet the repayment terms of their mortgage, the bank has the right to take ownership of the house. The bank can then sell the house in order to recoup the money that it lent to the customer.
Collateral Management
Collateral management is the method of granting, verifying and managing collateral transactions in order to reduce credit risk in unsecured financial transactions. It is an essential and integral part of any financial institution's risk and regulatory compliance framework.
There is a wide range of possible collaterals used to hedge credit exposure with various degrees of risk:
- Cash Collateral: Fixed Deposit, Stocks, etc.
- Real estate: Property, Land
- Other: metals, commodities, etc.
The following steps must be done in order to perform collateral management in FintechOS Core Banking:
-
Set the guarantee types.
-
Create collateral types based on the guarantee types.
-
Register a collateral before using it within a contract. Registration is performed based on a collateral type.
The first two steps are usually performed during Core Banking configuration, while the 3rd step is performed each time an asset is must be registered as a collateral, to be later on used to cover a contract.
Only after a collateral is registered, it can be used as a guarantee for covering a secured loan contract.
Setting Guarantee Types
Guarantee types are set in Innovation Studio, in the FTOS_BP_GuaranteeTypes option set. There are two guarantee types defined by default that cover most of the business requirements:
- Real Estate
- Cash Collateral.
To manage guarantee types:
- Log into Innovation Studio in Developer mode.
- Click the main menu icon at the top left corner.
- In the main menu, expand Admin menu.
- Click Option Sets to open the Option Sets List page.
- Type
FTOS_BP_GuaranteeTypesin the Name header of the list to find the option set that stores the guarantee types. - Double-click the
FTOS_BP_GuaranteeTypesoption set to open the Edit Option Set page. - In the Option Set Items section, click the Insert button to open the Add Option Set Item page.
- Add the details of the new guarantee type by filling in the following fields:
- Click the Save and Close button at the top right corner of the page.

| Field | Required | Data Type | Details |
| Name | Yes | Text | The name of the guarantee type. |
| Display Name | Yes | Text | The display name of the guarantee type. |
| Value | No | Whole Number | The value of the guarantee type. |
| Id | No | Whole Number | Read-only field. The id of the option set item is automatically generated when saving the record. |
| Status Id | Yes | Bool | The status of the item within the option set: active or inactive. Default value: Active. |
Guarantee types are further used to define collateral types.
Creating Collateral Types
In FintechOS Core Banking there is a large range of predefined collateral types:
- Predefined collaterals for Cash Collateral guarantee: Fixed Deposit, Stock, Bonds.
- Predefined collaterals for Real Estate guarantee: Land and Property.
New types can be created in the FTOS_CB_CollateralType entity for your business specific needs.
To manage collateral types:
- Log into FintechOS Portal.
- Click the main menu icon at the top left corner.
- In the main menu, expand Core Banking Operational menu.
- Click Collateral Type to open the Collateral Type List page.
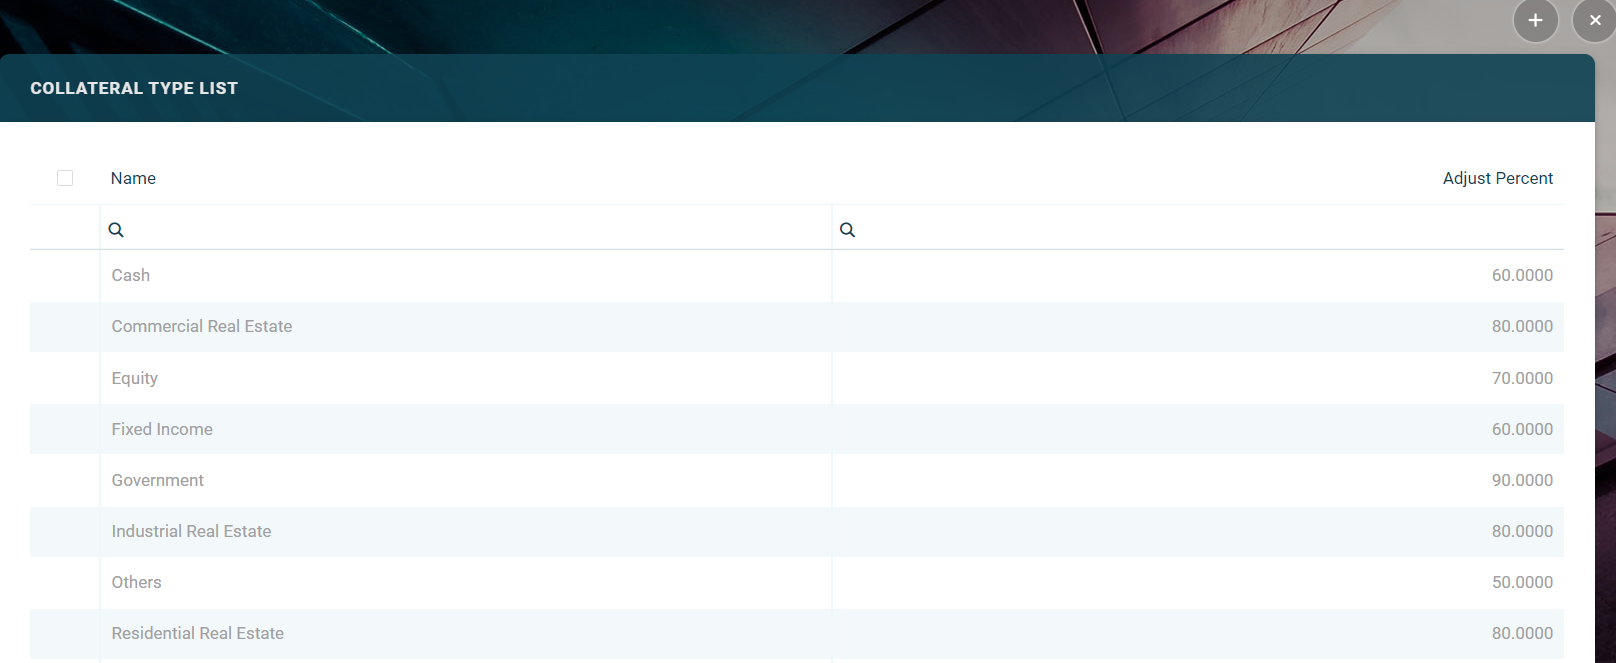
In the Collateral Type List page, you can:
- Add a new collateral type by clicking the Insert button at the top right corner.
- Edit an existing collateral type from the list by double-clicking it.
- Delete a collateral type by selecting it and clicking the Delete button at the top right corner.
To add a new collateral type, click the Insert button and fill in the following fields displayed in the Add Collateral Type page:
| Field | Required | Data Type | Details |
| Name | Yes | Text | The name of the collateral type. |
| Code | Yes | Text | The code of the collateral type. |
| Adjust Percent | No | Whole Number | The adjusted value of the collateral type. NOTE When a collateral type is defined, you can set an adjustment percent. The adjustment percent is a customization applied for that collateral. Further, when a collateral is linked to a secured loan contract, its market value is automatically adjusted by Core Banking using the adjustment percent. |
| Priority | No | Whole Number | The priority of the collateral type to be considered within a contract. |

-
Click the Save and Reload button at the top right corner of the page.
In the newly displayed Product Guarantee Structure section, click Insert. The Add Product Guarantee Structure page is displayed, allowing you to add the product guarantee structure records. Fill in the following fields:
| Field | Required | Data Type | Details |
| Banking Product | No | Lookup | Read-only field. The banking product to which this collateral type applies to. |
| Guarantee Type | No | Lookup | The collateral type where the structure is applicable. Automatically completed with the previously selected/ added collateral type, but you can change it to the desired collateral type. |
| Max Accepted Covering Percent | No | Whole Number | The maximum covering percentage from the collateral's value accepted at contract level. |
| Name | No | Text | The name of the record. |
-
Click the Save and Close button at the top right corner of the page.