Define Workflow Statuses
You can define workflow statuses either by using the Workflow Designer tab or by the Configurations tab.
This section describes how to add a business workflow status from both.
HINT
Whether you add a status from the Designer or Configurations tab, they are automatically updated in each tab to reflect the situation properly. Therefore, any modification in each tab is propagated thought both places.
Whether you add a status from the Designer or Configurations tab, they are automatically updated in each tab to reflect the situation properly. Therefore, any modification in each tab is propagated thought both places.
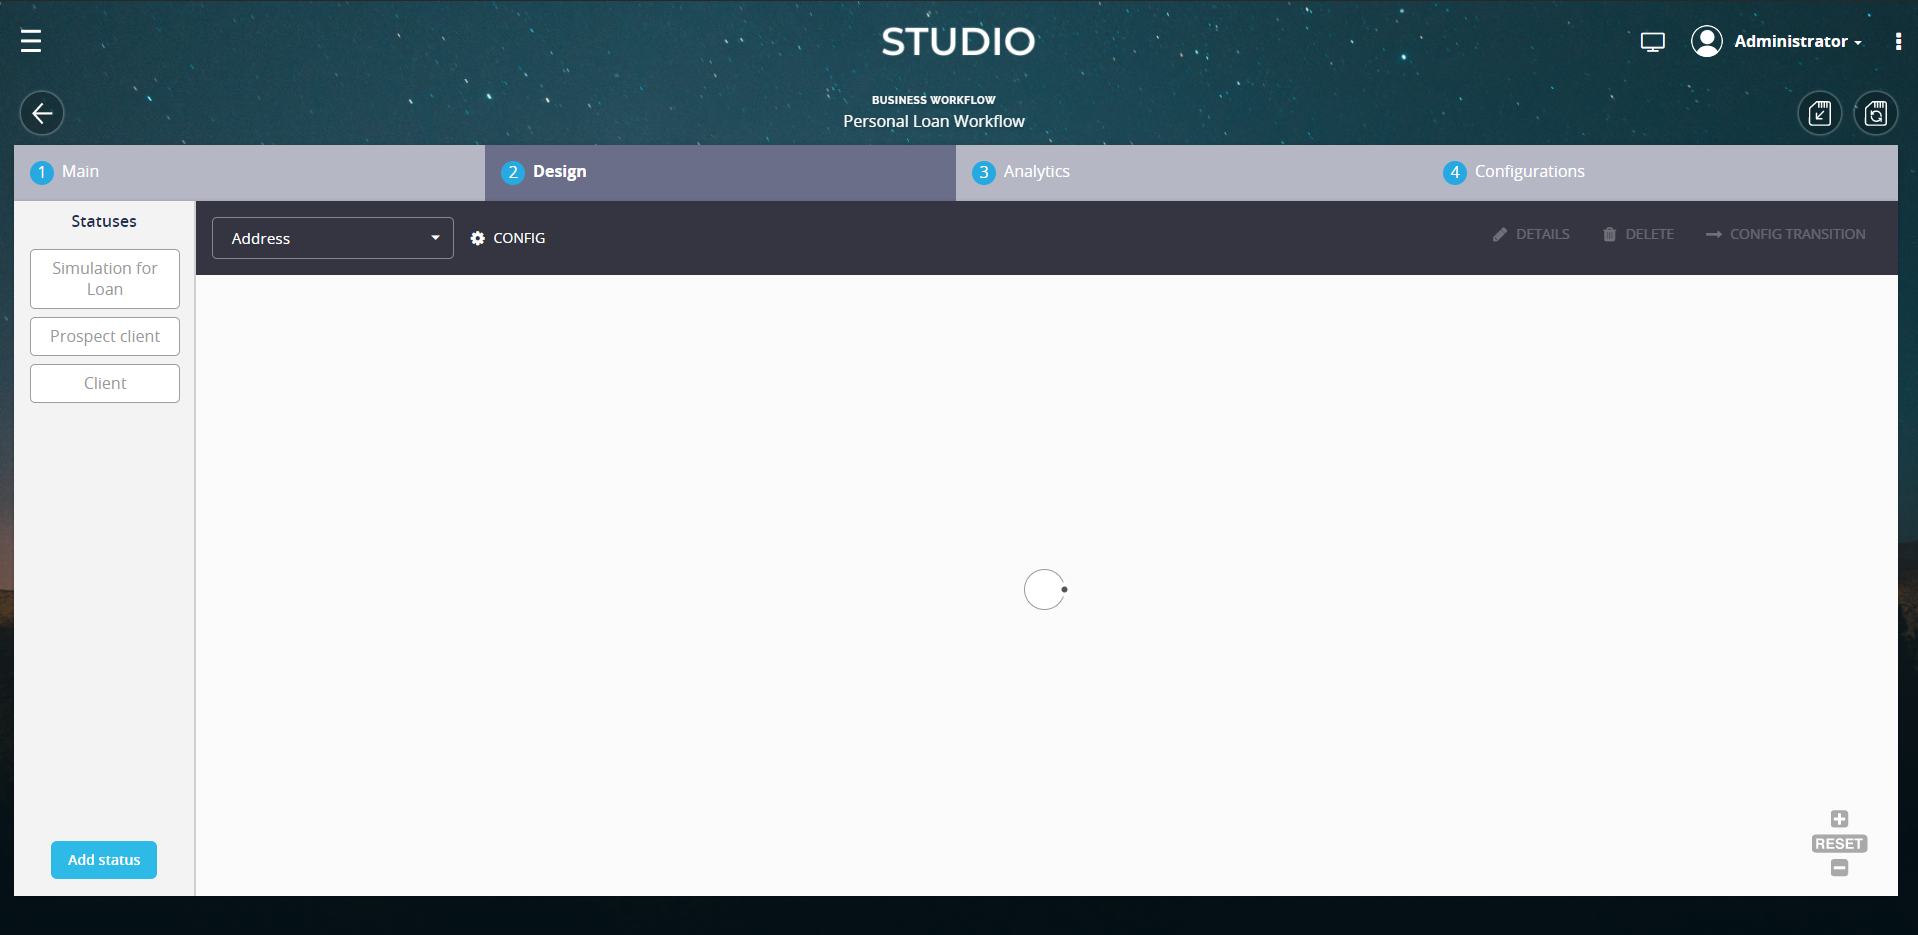
Add statuses from the Designer
- After having created the workflow and attaching it to the proper entity, click on the Designer tab.
- On the left side of the screen, there is a panel which contains the list of status created. To add a status, click the button on the left panel at the bottom which reads Add status. It will open a pop-up window.
- In the Name field, enter the status name that will be used by the system.
- In the Label field, enter the name of the status that will be displayed in the UI.
- Click the Save and Close button (
 ) at the top right corner of the page.

Follow the procedure above as many times as statuses your business workflow has.
After you finish adding the business workflow statuses, you need to define the workflow transitions.
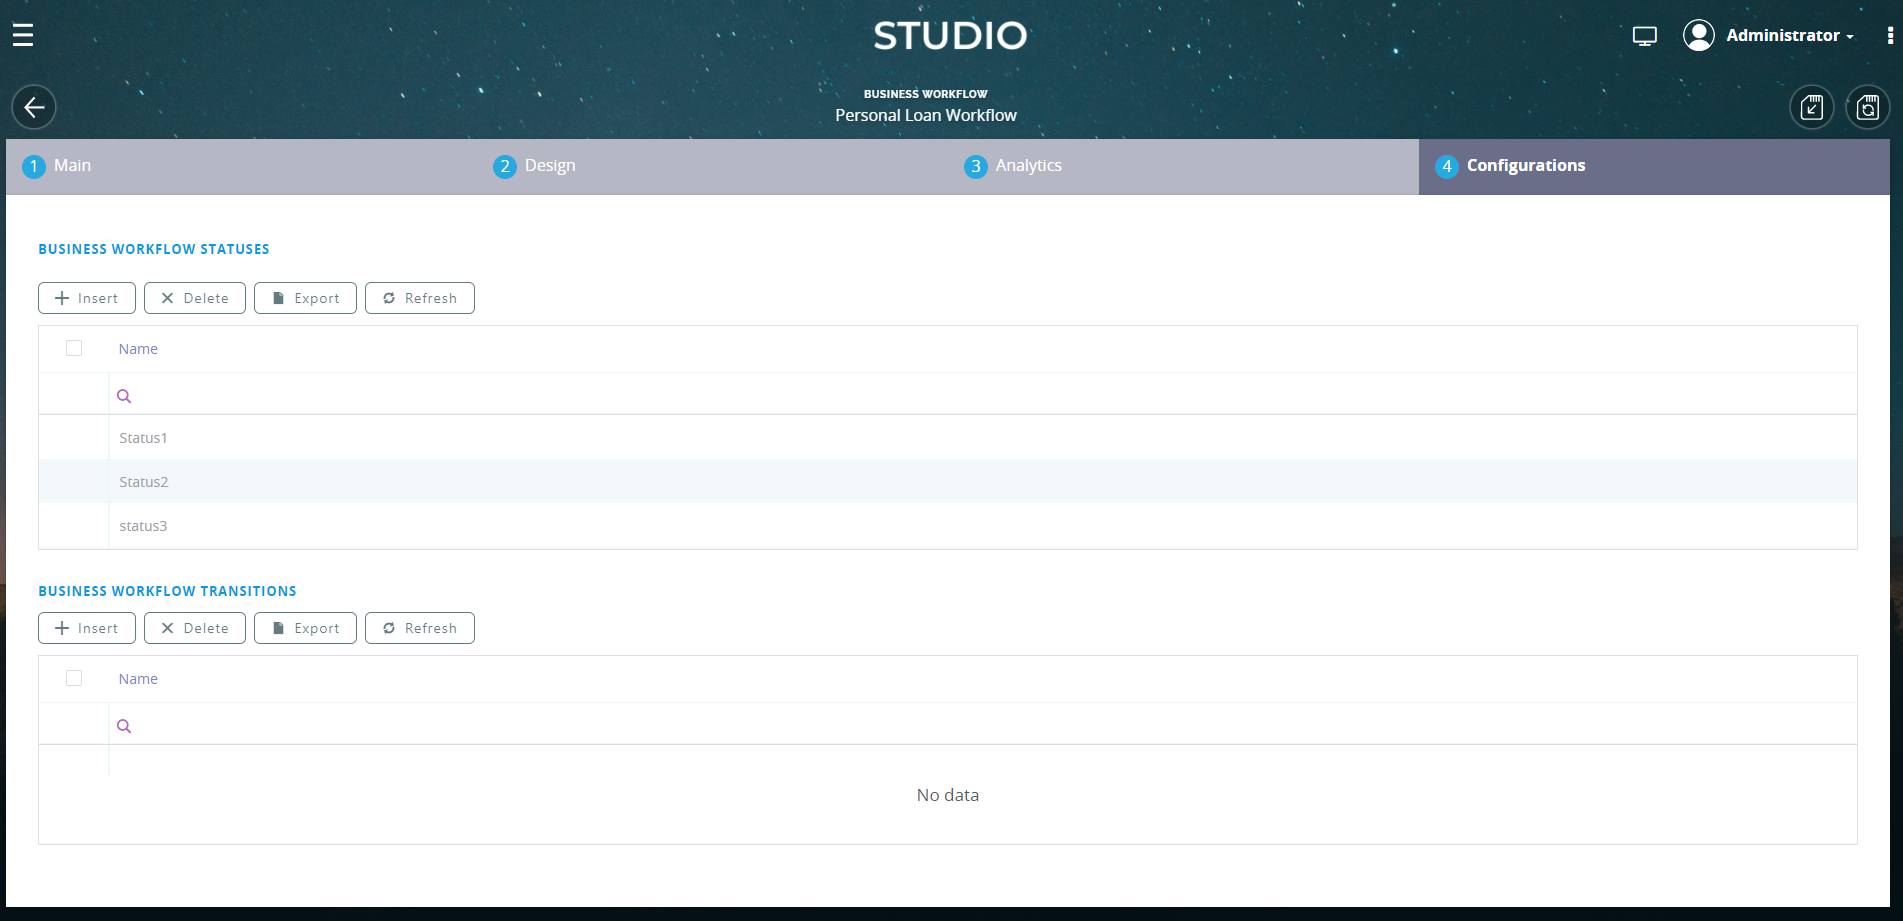
Add statuses from the Configurations tab
The second method is available through the Configurations tab. The first grid named Business Workflow Statuses shows the statuses list. To add one from here:
- Click the Insert button.

- Fill in the name and label for it.

- Click the Save and reload button. Repeat as many times as needed.