Create a Report with Fetch Designer
Fetch Designer creates a data source drawing entities and their attributes and select how their value will be displayed with conditions that must be met in order to include a record into the data rendered. A report is essential in data analysis and analyzing a situation.
Task at hand
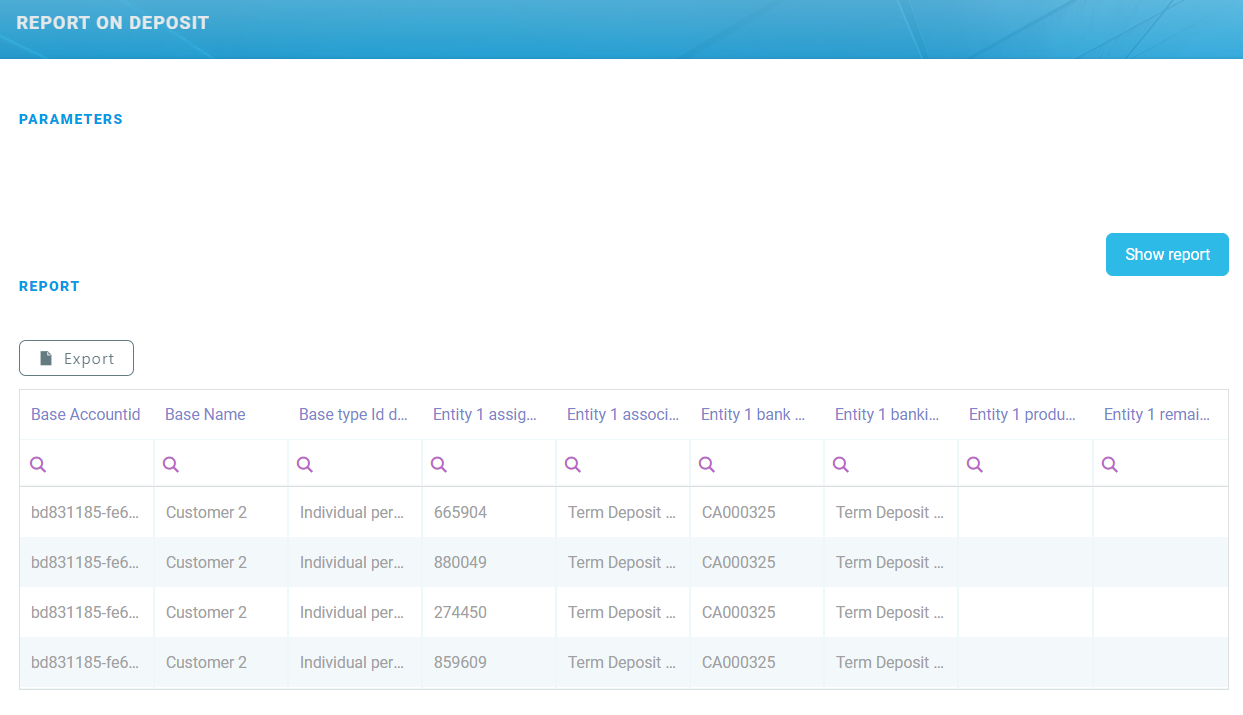
Create a report using a data source built with Fetch Designer. We will draw on the Customer entity with specific attributes and intersect them with another entity. What we wish to see is all the individual customers with a deposit, not a savings account.
Before you begin
Before you launch into the present task, configure the following:
- Create an entity Account and an entity FTOS_IB_BankAccountObjective with a many-to-many relationship.
- Create two banking products: savings and deposit (they can have any specifications).
- Create a Form Driven Flow attached to the entity Account. The Form Driven Flow is for a customer to create a savings/ deposit.
- Populate the Form Driven Flow at least with two records, one record with a savings account, one with a deposit.
- Create a business unit "Goals'' and security role ''Goals'' which have CRUD operations on the entities.
1 Configure the data source with Fetch Designer
Follow the path: FintechOS Studio > Analytics > Data source.
Click the Insert button.
Insert the name and display name ''Data Source''. Here we will join the two entities and add conditions.
Click on Fetch Designer. For the first entity, Account, we will select the following attributes:
- CommercialRegistration
- DateOfBirth
- FirstName
- Name
- PIN
- PlaceOfBirth
- typeId.
Join the first entity with FTOS_IB_BankAccountObjective and its attributes:
- accountId
- assignedAccountId
- associatedAccountTypeId
- bankAccountId
- bankingProductId
- hasRegularPayments
- initialAmount
- maturityDate
- Name
- productPeriodTypeId
- productTypeId
- remainingAmount
- targetAmount
- tenor.
Click on Conditions. We wish to have in the report only the information which meets these conditions.
- The client is an individual.
- The banking product is a ''deposit'' from the attribute associatedAccountTypeId.
If you are writing the JavaScript, and not using Fetch Designer, write the alias for the attributes, otherwise, it will not work. After saving, the fetch designer will erase your selection, and can only edit through the code snippet.
For details, see Tabular reports.
2 Create the report
Follow the path: FintechOS Studio > Analytics > Reports.
| Field | Details |
|---|---|
| Name | Insert the name for the report. e.g. ReportonDeposits |
|
Display Name |
Insert the display name, e.g. Report on Deposit. |
| Scope | Select General. |
| Type | Select Simple Grid Report. |

Attach a report item. This is where you will add the data source and the time-line for where to fetch the data.
| Field | Details |
|---|---|
| Start Date | Select the start date. |
| End Date | Select the end date. IMPORTANT! Be sure that the time interval selected is included in the time interval of the banking product. It is outside of that interval, no data will be fetched. For example, a savings account product has 1/1/2021 as start date and 1/1/2025 as end date. The report dates should be between that time-frame, e.g. 1/4/2022 to 1/8/2024. |
| Data Source | Select the data source created in the first step. |
| Is Default | Tick the boolean. |
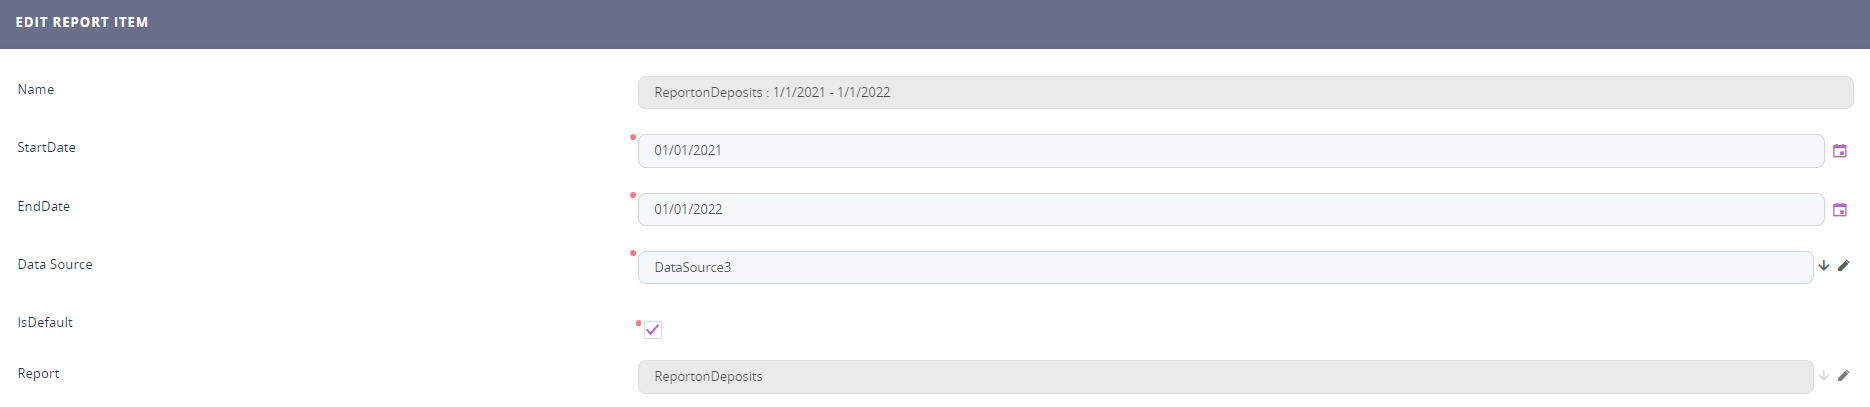
Click the Save and reload button.
Attach the security role Registered User and Goals.
3 Attach the report to a Portal
Follow the path: FintechOS Studio > Digital Frontends > Digital Experience Portals >Menu items.
Click the Insert button.
| Field | Details |
|---|---|
| Type | Select Report. |
| Report | Select the name of the report, e.g. ReportonDeposits. |
| Select an icon | Select any icon you desire. |
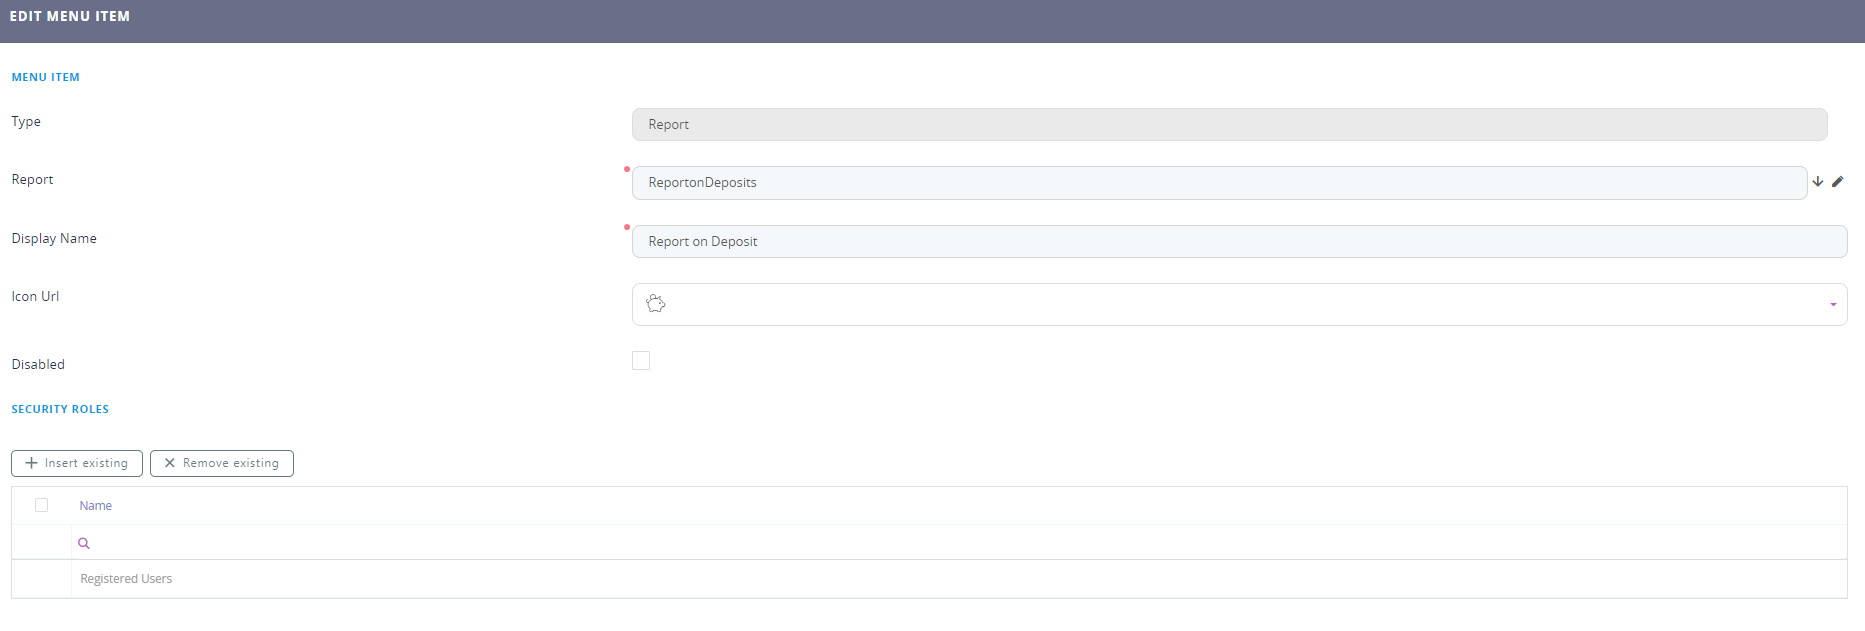
Click the Save and reload button.
Attach the security role Registered User and Goals. For details, see Grouping Entities in Menu Items.
Congratulations! You have created a report!