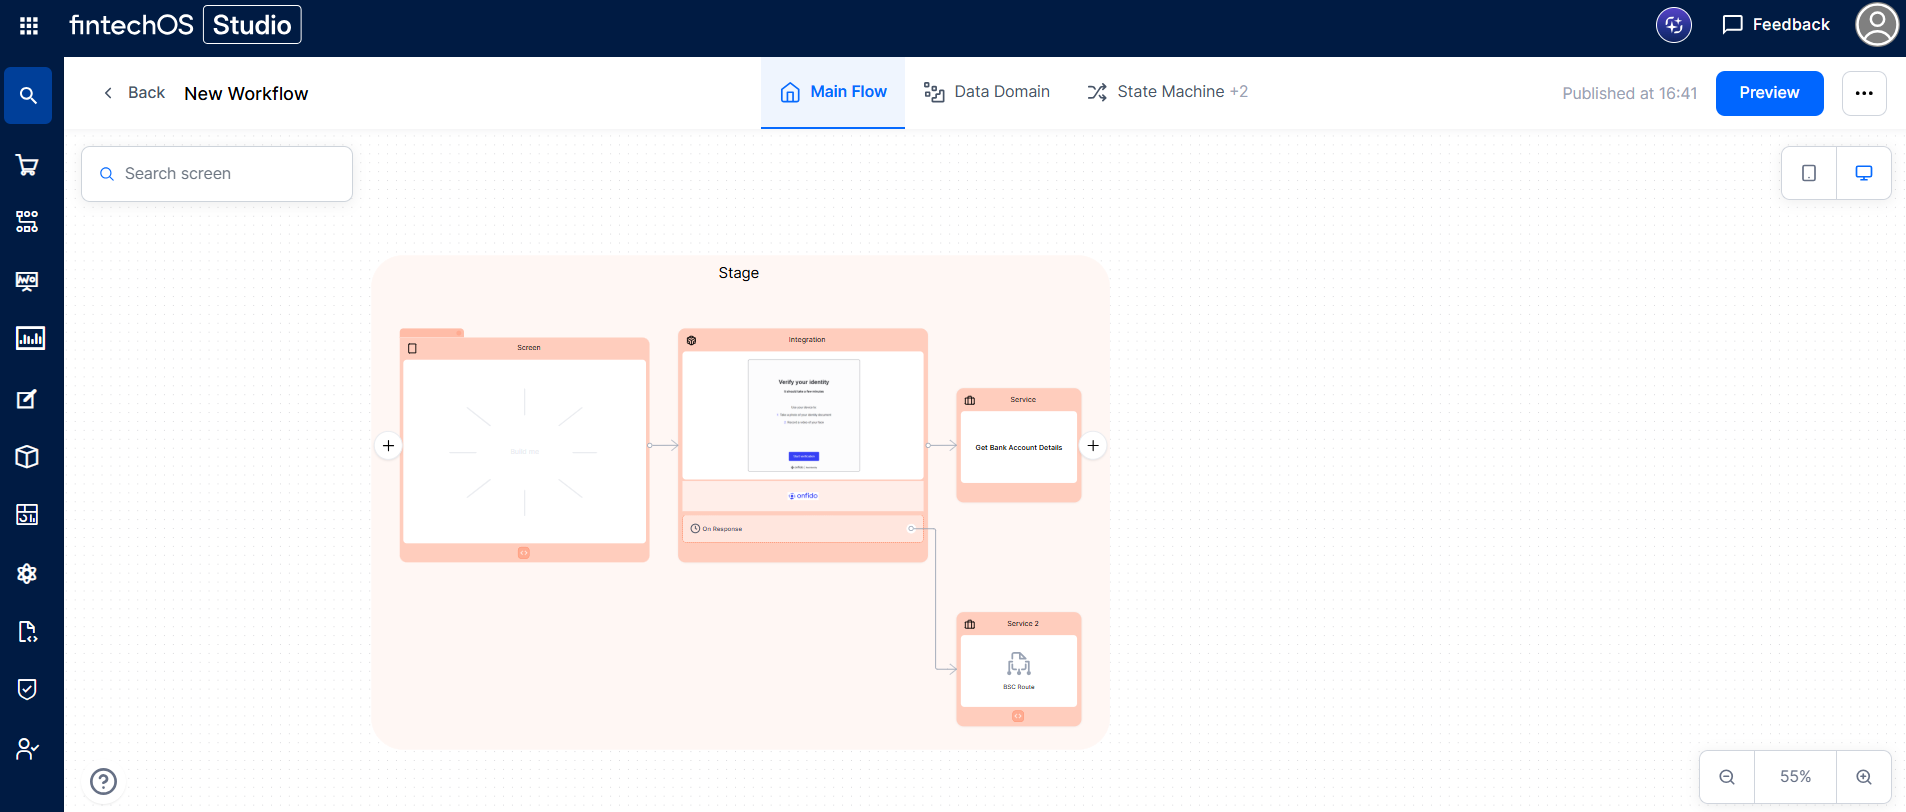
Workflow Lifecycle Management
The Workflow Designer allows you to manage your workflows across their lifecycle, from initial design through validation, preview, and documentation. Once a workflow candidate is defined, you can activate its components, evaluate the user experience, and generate formal specifications, ensuring a controlled transition from design to implementation.
The Publish and Preview buttons are only available when the Vault environment-context type is set to dev or trial. In Vault, set it at the path
[environment]/environment-context. In non-development environments (such as QA, UAT, or Prod), both buttons are disabled.
When workflow steps are deleted, related instances are fully removed in dev environments but soft-deleted in production-like environments (QA, UAT, Preprod, Prod) to preserve existing data.
Workflow Publishing
Use the Publish button at the top right corner of the Workflow Designer to generate the workflow assets and enable the Workflow Logic Blocks, Workflow UI Designer, and Custom Business Services for implementation.
If publishing fails, an Errors and Warning side panel appears, which lists the relevant issues. This panel remains available until the next publish operation and can be reopened at any time using the Errors button at the top of the screen.
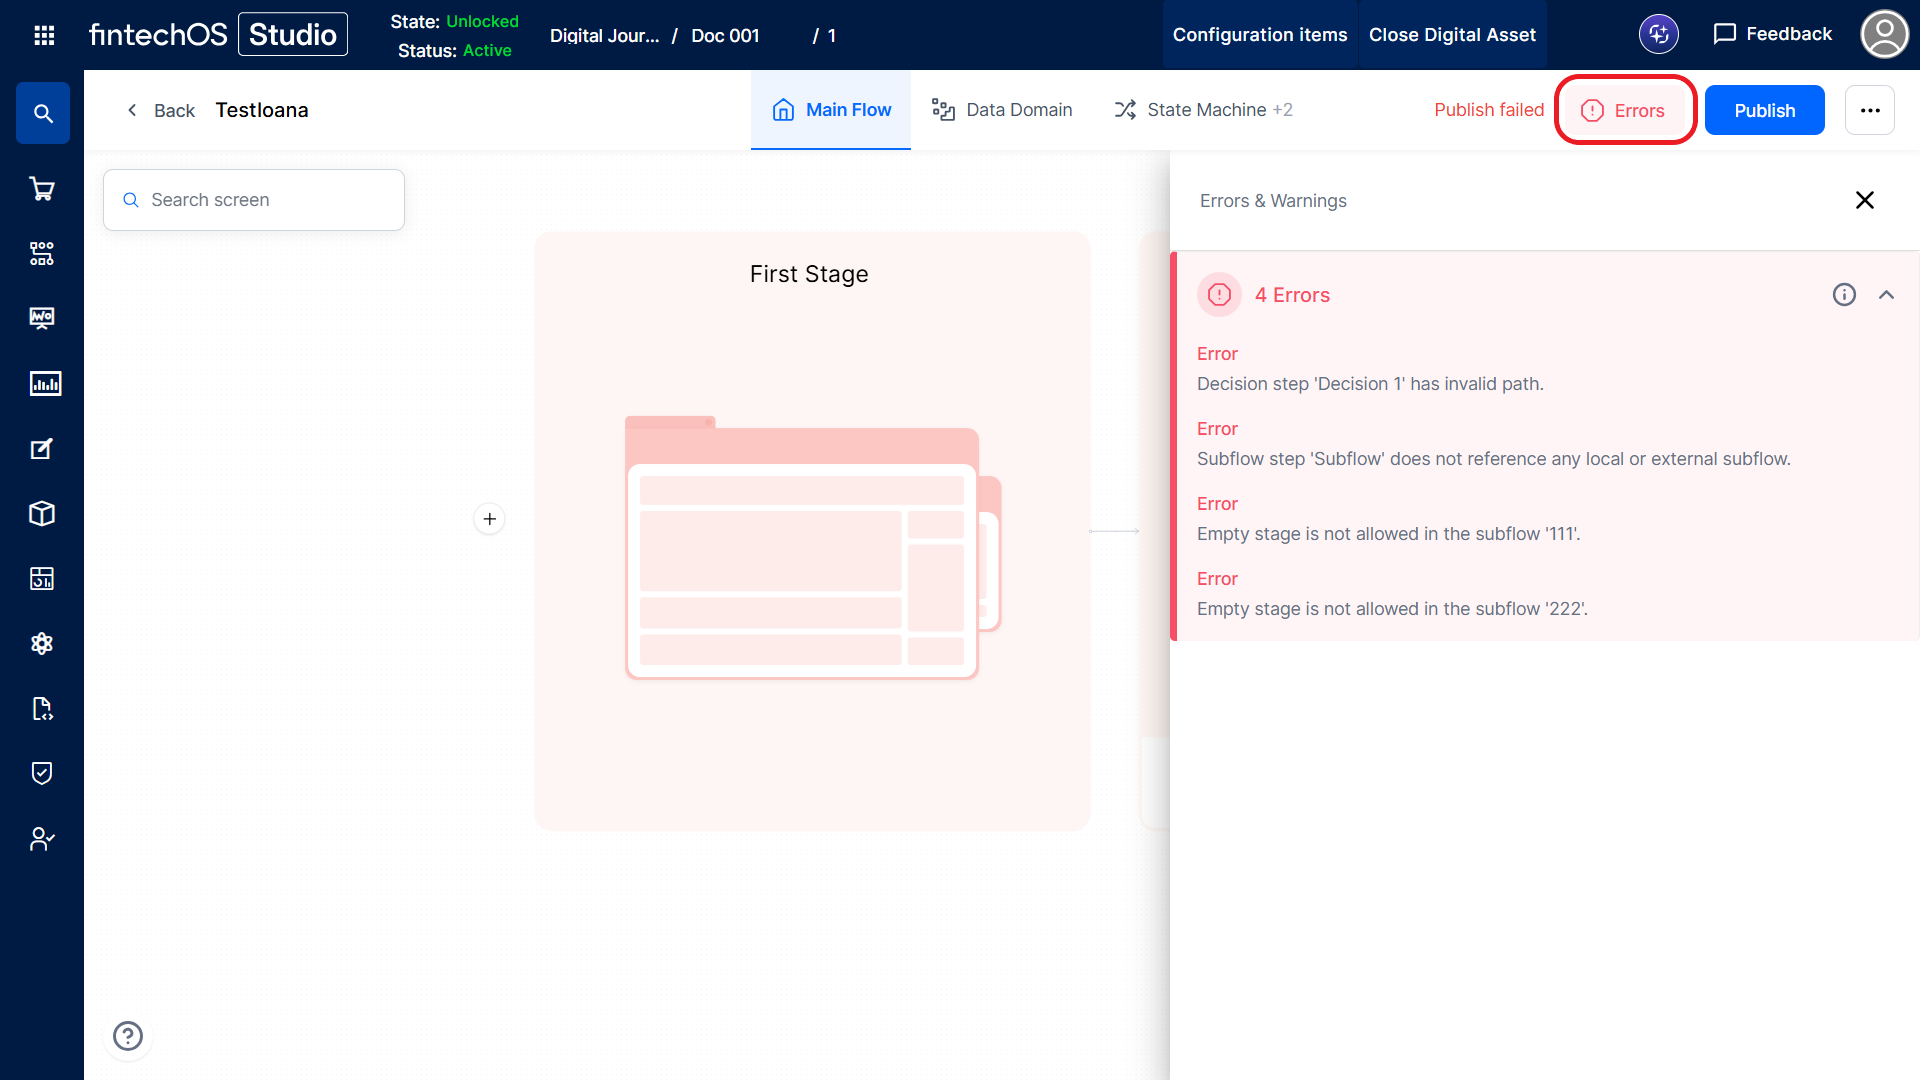
If you make additional changes to the workflow, you need to click the Publish button again to update the workflow assets.
Published screens become read-only in the Main Flow. Any further modifications to these screens must be made in the Workflow UI Designer.
Each published workflow automatically maintains a Business State History table in SQL that logs every state transition for auditing and troubleshooting. The table displays the following:
-
BusinessStateHistoryId - Unique identifier for the history record
-
FlowInstanceId - The workflow instance that changed state
-
FromStateName, ToStateName - The previous and new state names
-
FromStateId, ToStateId - The previous and new state identifiers
-
CreatedOn - Timestamp when the transition occurred
-
CreatedByUserId - User who triggered the state change
-
UserId - User context at the time of change
-
BusinessUnitId - Business unit context for the transition
-
InstanceItemId - The workflow step associated with this transition
-
Context - Business State Controller name and script that executed the state change
-
ClusteredId - Sequential ordering for query performance.
Internal names are fixed technical identifiers that the system uses behind the scenes to reference your workflows, attributes, and statuses, so nothing breaks when you rename the display label. They cannot be changed after the workflow is published.
Preview the Journey
After you Workflow Lifecycle Management, the Publish button is replaced with a Preview button, you to visualize the workflow and navigate through its screens to evaluate flow behavior and user experience. The button is active in dev mode.
When you use Preview, a real workflow instance is created, it is not a simulation. Make sure you are working in an appropriate development environment before publishing or previewing a workflow.
To enable development mode, set the feature-development-mode key to true in App Settings.