Customer Workflows and Back-Office Workflows
The Workflow Designer is a visual tool that allows business users to create, configure, and manage customer and back-office workflows without technical expertise. Users can define workflow steps, decision rules, user interface behavior, data models, service calls, integrations, and other workflow settings through an intuitive visual interface.
- Customer Workflows are external, customer-facing experiences that guide users through a series of steps and decisions to complete a specific process. Typical examples include digital onboarding, loan origination, quote-and-bind processes, and similar customer journeys.
- Back-Office Workflows are internal workflows that support operational, servicing, and compliance activities. They are used by agents, brokers, call-center operators, and other internal staff to perform tasks such as account updates, claims processing, disbursements, contract changes, and regulatory compliance activities.
Customer vs Back-Office Workflows
| Customer Workflows | Back-Office Workflows |
|---|---|
|
|
Create a Workflow
- In FintechOS Studio, go to Main Menu > Workflows > Customer Workflows or Back-Office Workflows.
- Click Insert.
- A pop-up window appears which prompts you to configure the Workflow Settings, then provides an empty canvas where you can manually design your workflow.
Workflow Settings
To configure workflow settings, click the ellipsis button (...) in the top right corner of the Workflow Designer and select Edit Workflow Settings.
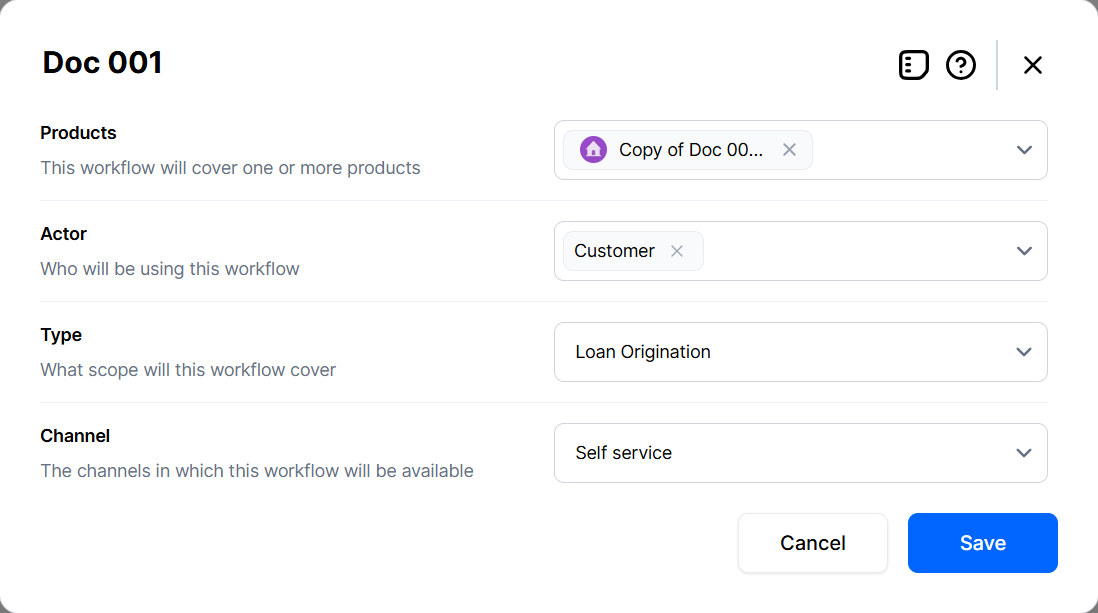
Depending on the type of workflow, the settings screen may include configuration such as the associated products, actors, workflow type, and the channels. These selections define the workflow context and enable relevant options during the design process.
Error and Success Handling
You can handle errors and success messages returned by custom services during flow execution. When a custom service returns an error (for example, a validation failure):
-
You are returned to the last successful screen
-
The error message is displayed in the UI
-
The current service transaction is rolled back
-
When a custom service returns a success message, only the success message is displayed.
To control this behavior, use the UiData object with the following properties:
-
Message - the text displayed in the UI
-
IsSuccess - set to false to trigger error handling, or true to display a success message.