Services
Services are reusable backend components that interact with platform back-office systems to retrieve data, run calculations, update records, or trigger operations. Under the hood, they are automation scripts exposed as configurable endpoints, so you can use them directly in the Workflow Designer without writing code.
The platform includes prebuilt services for common tasks such as claims management, billing and collection, and policy administration. You can also build your own custom services to implement your specific business logic.
Map Parameters
-
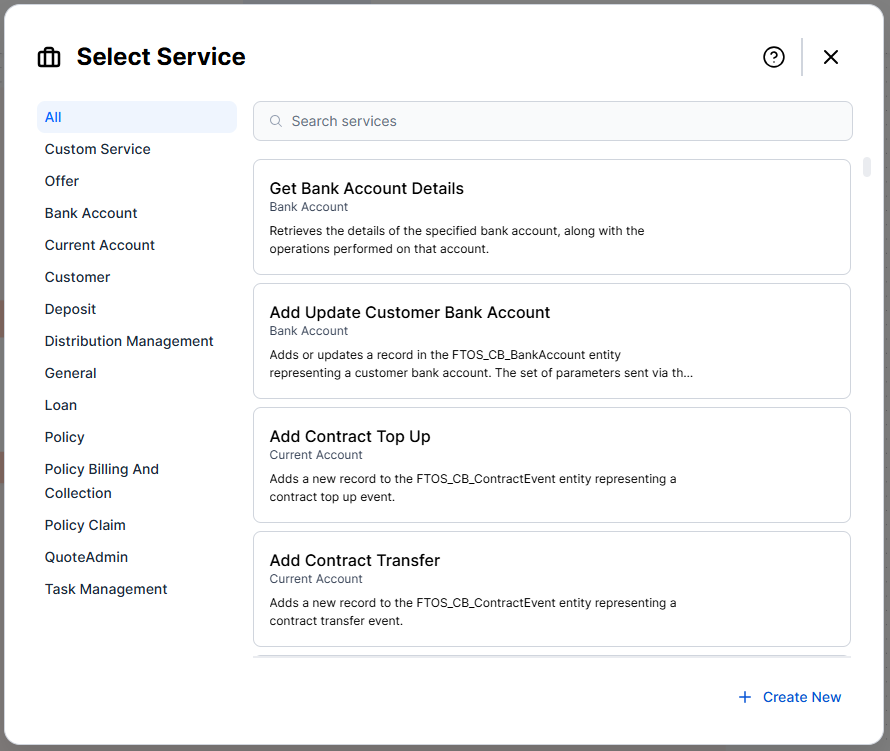
To add a service to your Customer or Backoffice Workflow, click the "+" symbol and pick Service from the modal.
-
From the list, add a service and type a name for it inside your flow.
-
Click Map Parameters. This opens a data mapper where you link each parameter to a Data Domain attribute. For inputs, the mapping tells the system where to pull data from your Data Domain to send to the external service. For outputs, it does the reverse, storing the returned results back into your Data Domain. In both directions, the Data Domain is your side of the exchange.
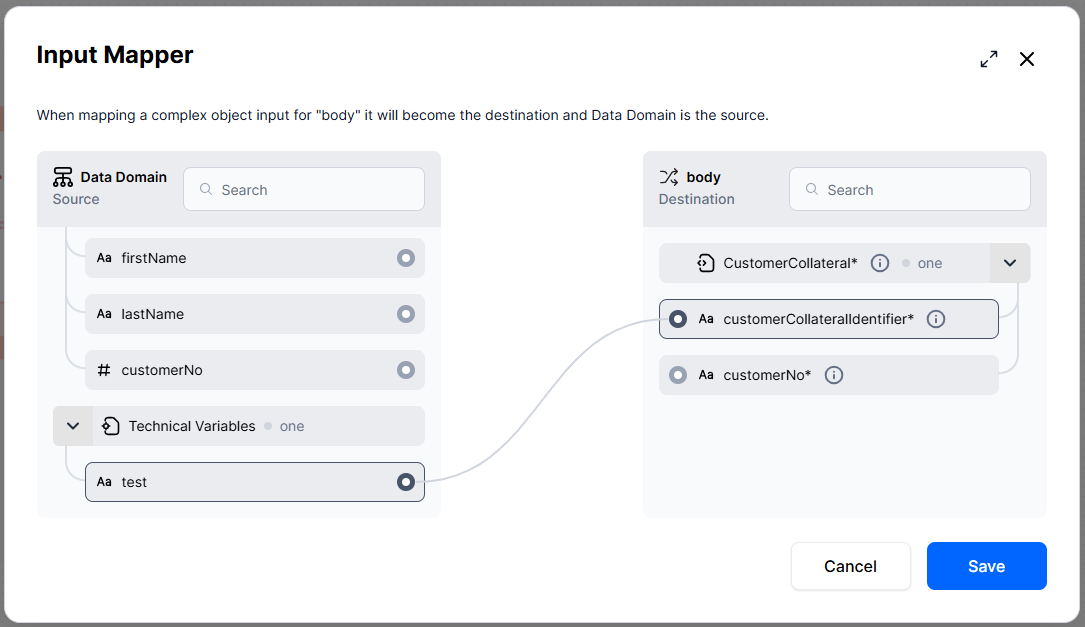
You can save your mapping progress at any point without completing all properties. After saving, the mapper button displays the mapping status (for example, 3/7 properties mapped) and changes its visual state to indicate whether all or only some properties have been mapped.
Configure Service
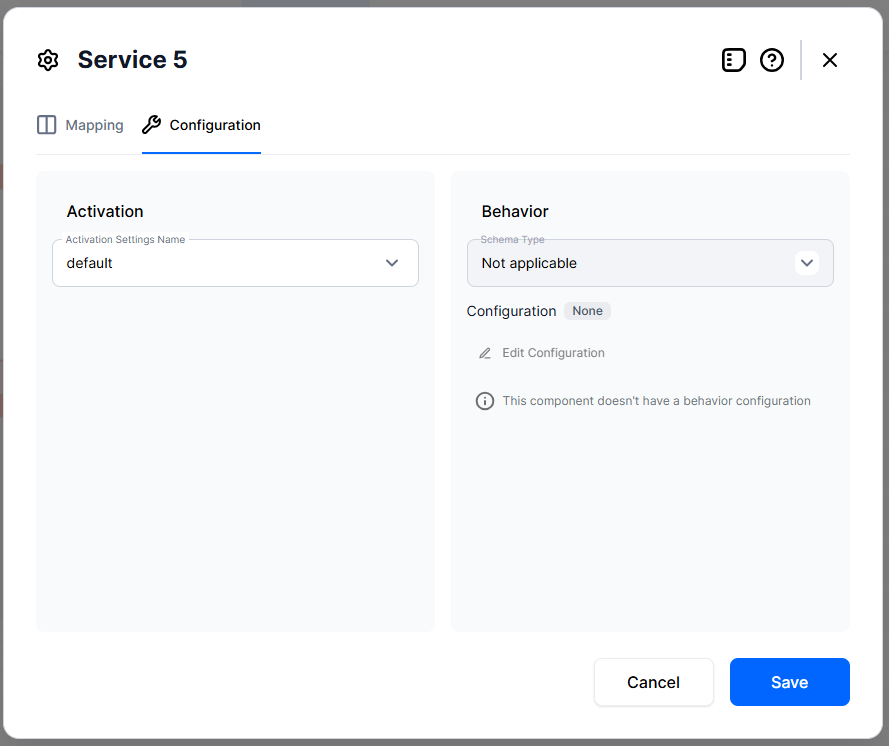
After mapping parameters, the Configuration section lets you define how the platform authenticates to the service and how it behaves at runtime, including UI branding. Out-of-the-box services don't require authentication, not do they have a special behavior at runtime, as the integration with Onfido does, for example.
If an integration does not support complex configuration, the Activation Settings are default and Behavior Settings are disabled. An informational message explains why the settings cannot be interacted with. This applies by default to all custom services.
Custom Services
Some business outcomes require coordinating multiple components, back-office services, core systems, external providers, tasks, and more. For these scenarios, create a Custom Service:
-
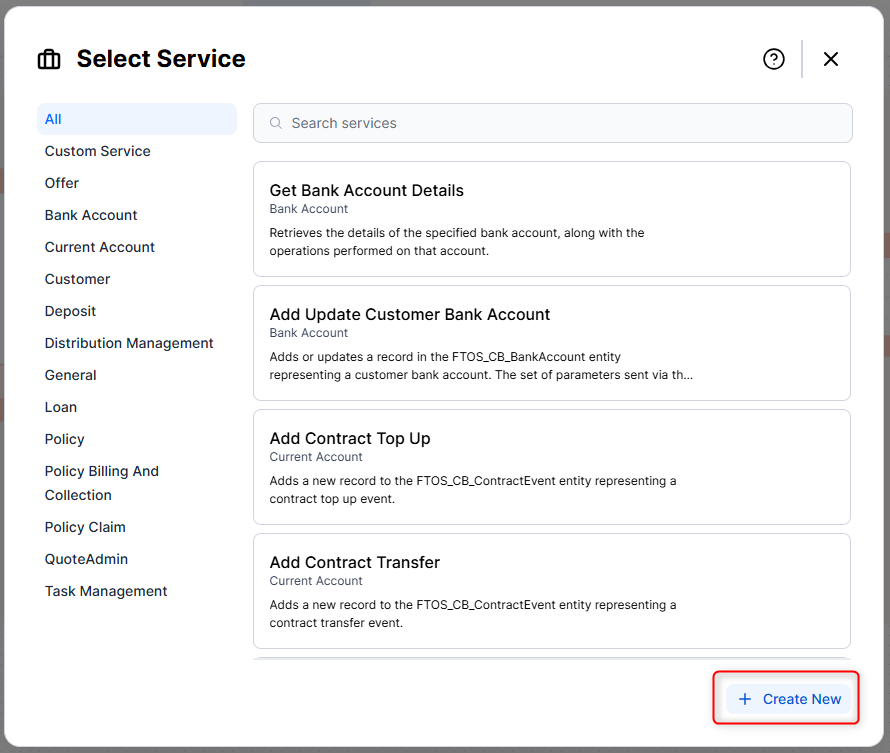
In the Services modal, click Create New.
-
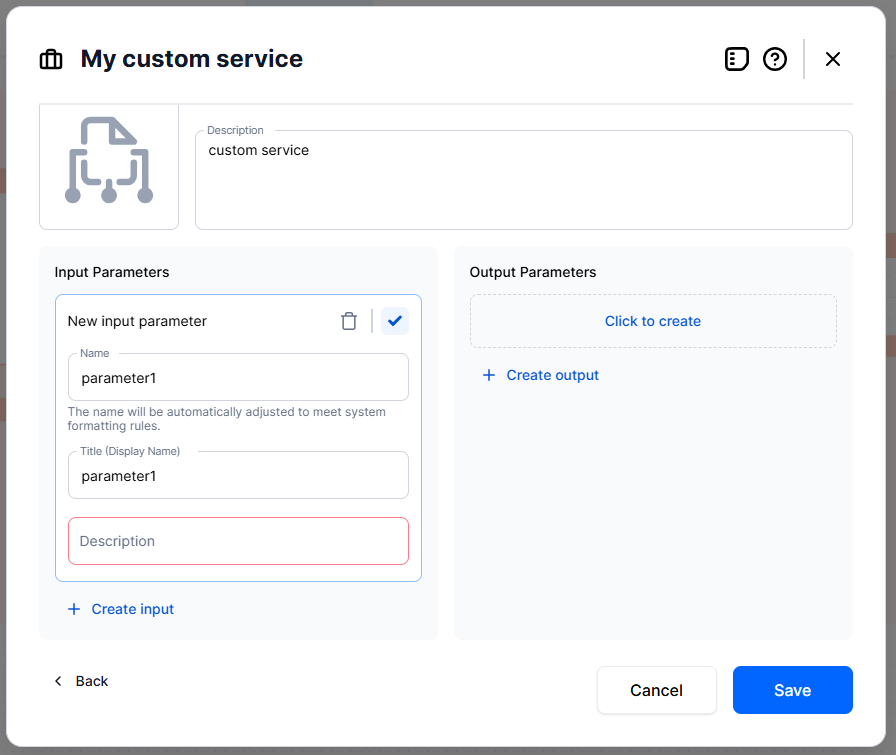
Add a name, description, and create input and output parameters.
-
Click Save, you will be redirected to service orchestration view to create your custom logic. The subflow is encased in a single Stage, and only supports Decision, Integration, Service, Message, Document, Task, and Connect To elements.
Service orchestration subflows are displayed on the Workflow Designer canvas as a single element. To view or edit them, use the Go To Service link from the service's editor or access it via the Service Orchestration menu.
NOTE
For custom services, the output is not automatically mapped to the server. You must explicitly call ftos.data.patchFlowData within the method code written in BSC.
After creating a custom service, you can orchestrate the flow visually using the Service Orchestration panel in the Workflow Designer. Alternatively, if you prefer a code-only approach, you can implement the logic directly via a Business Service Component (BSC).