Flow Control
Flow Control helps you manage the execution of the workflow's business logic through service orchestration, subflows, and state management. The flow control components are grouped together in a single menu at the top of the Workflow Designer.
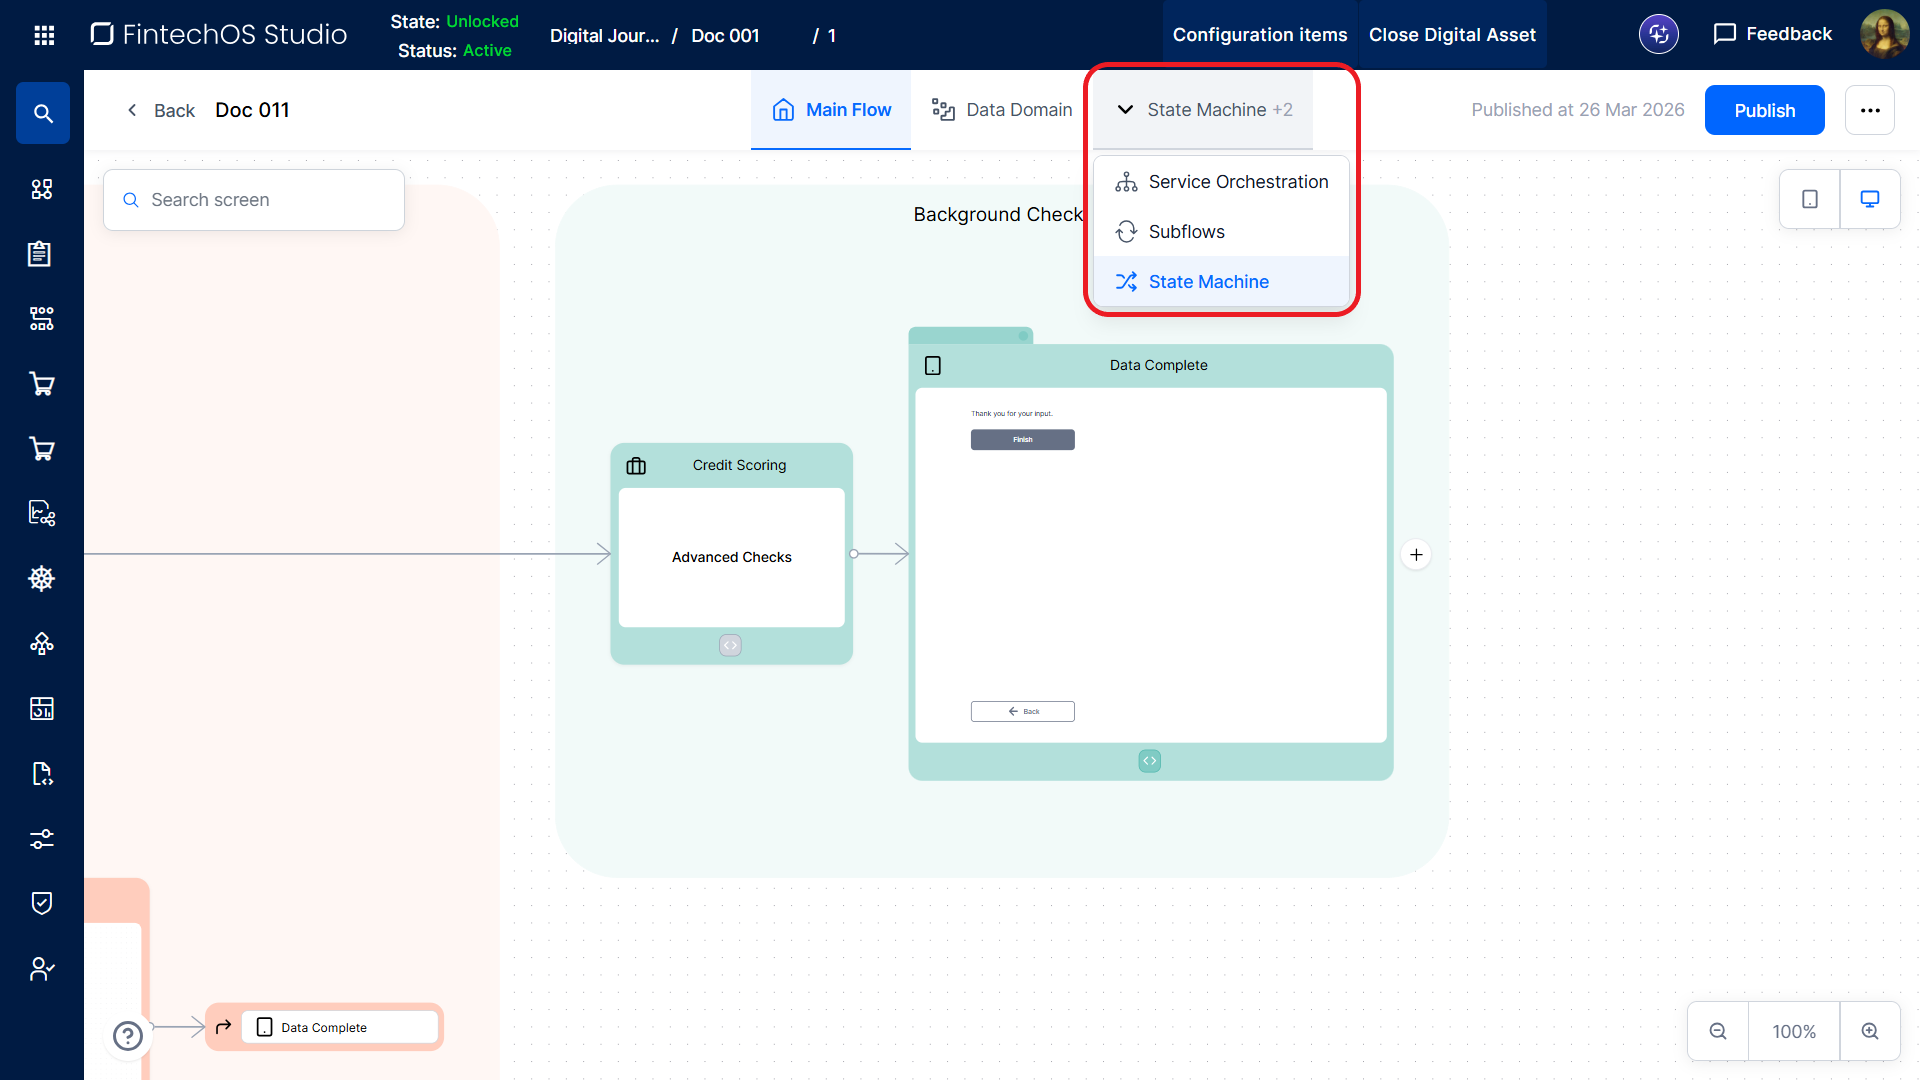
If the desired component is not visible, click the drop-down arrow to expand the menu and select it.
Service Orchestration
This is a repository for all the Custom Services defined within the workflow, where you can expand and edit each custom service's orchestration flow as needed.
Subflows
Subflows are reusable sequences of workflow steps that allow you to:
- Display parts of the workflow in a more compact form (i.e. grouped inside a Flow element).
- Reuse the same sequence of steps multiple times to:
- Edit one-to-one entity attributes repeatedly using Flow elements
- Populate multiple one-to-many entity records via relation tables (see Add relations to the UI).
To create a subflow:
- In the Workflow Designer, select Subflows at the top of the screen.
- Click Create New.
- Fill in the Subflow name.
- Select the Subflow entity. The selected allows you to link the subflow to a specific one-to-many relationship when using the subflow to edit relation tables (see Add relations to the UI).IMPORTANT!
Only subflows linked to the relation are available for editing its records table in the Workflow UI Designer. - Design the subflow as you would a standard workflow.
State Machine
The state machine defines the states assigned to the workflow as it progresses. A state represents the current condition of the workflow at a specific point in time. The state machine allows you to configure two types of states for your workflow:
Business States
Business states represent the business-level status of a workflow at any given point in its execution. A workflow can be in only one business state at a time. Transitions between states occur according to predefined rules that enforce the intended business logic.
For instance, a loan application workflow may transition through states such as Pending, Submitted, Under Review, Approved, or Rejected. You can use these business states to:
- Enforce business logic - Restrict which transitions are allowed, preventing invalid or out-of-order actions (e.g., an application in the Approved state cannot transition back to Submitted).
- Control access and permissions - Define which actors are allowed to interact with the workflow at a given time (e.g., applicants may edit data in Submitted, while only reviewers may act in Under Review).
- Track progress - Provide a clear and simplified view of the workflow’s current business condition, such as awaiting review, pending additional information, or finalized.
- Enable automation - State transitions can trigger notifications, service calls, or other behaviors (e.g., entering the Approved state can trigger a contract generation or downstream service calls).
Define Business States and Transitions
To define the business states and state transitions for a workflow:
- In the Workflow Designer, select the State Machine tab at the top of the screen.
- Click the outbound connector on the right edge of a state to create a new state and automatically define a transition to it.
- To create a transition between existing states, drag from the outbound connector on the right edge of the source state to the inbound connector on the left edge of the destination state.
- Use the Settings button (the toggles icon) on a state to open a slide-out panel where you can configure its internal name, display name, or pick a color for it.
Assign Business States to Workflow Elements
After you Define Business States and Transitions, you can assign them to workflow elements:
- Open the workflow's Main Flow.
- Hover over the bottom edge of the desired workflow element.
- If the Status button appears, click it.
- Select Business.
- Choose the business state to assign to the workflow when it reaches the element.
To unassign a business state from a workflow element, select the same state again.
Process States
In addition to the customizable business states, there are three predefined process states that describe the workflow’s technical status:
- On Hold - The workflow is paused and awaiting an action, such as user input or a reviewer’s decision. You can apply this state only to non-final workflow elements (elements with outgoing execution paths).
- Finished OK - The workflow has completed successfully. You can apply this state only to terminal workflow elements (elements that mark the workflow completion).
- Finished Not OK - The workflow has ended with errors or an unsuccessful outcome. You can apply this state only to terminal workflow elements (elements that mark the workflow completion).
Assign Process States to Workflow Elements
To assign a process state to a workflow element:
- Open the workflow's Main Flow.
- Hover over the bottom edge of the desired workflow element.
- If the Status button appears, click it.
- Select Process.
- Choose the process state to assign to the workflow when it reaches the element.
To unassign a process state from a workflow element, select the same state again.
Resume Behavior for On Hold States
When you assign an On Hold state to a Screen element, an additional screen setting called Resume Behavior becomes available. This setting controls the user experience while the workflow is paused:
- Waiting Screen (default) - The user remains in the current session and waits for the workflow to resume. This option is suitable when the hold period is expected to be short.
- Resume with link - The user exits the workflow and waits for a notification containing a link to resume later. This option is suitable when the workflow is expected to remain on hold for an extended period.