Business Units
Business units are the foundation of the security structure. Each user must to be part of a business unit. When FintechOS is installed, a business unit is created by default - the root business unit. You can rename it, but you cannot remove or disable it. A user configured under the root business unit can see all the records of the entities based on granted access rights.
To define the organization structure, super users can add as many business units as necessary to fulfill the need of configuring several levels of access to information for specific to groups within the organization.
Depending on your organizational needs, there is always only one root business unit, and at least one business unit. The root business unit acts as the top level of the organizational hierarchy, and all other business units are its children. The root business unit is the company, while the child business units are subsidiaries or departments within the company.
Create Business Units
- From the menu, click Security > Business Units. The Business Units List page appears.
- Click Insert . The Add Business Unit page appears.
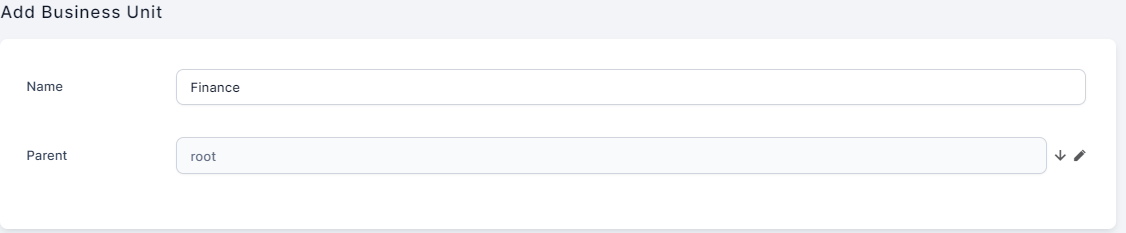
- In the Name field, enter the name of the business unit.
- From the Parent drop-down, click the down-arrow. A pop-up appears listing all existing business units.
- If this is the first business unit you add, then select root otherwise, select the parent business unit so that it reflects your organization structure. The figure below shows an example on how to add the first business unit.
- When you finish adding business units, click Save and close . The page closes and the business unit is displayed in the Business Units List page.

Remove Business Units
You cannot remove business units that contain users. If you try deleting such business units, an error message informing you that the operation has failed is displayed.
-
To remove business units, from the menu, click Security > Business Units.
-
The Business Units List page is displayed.
-
Select the ones that you want to remove and click Delete.
Synchronization in IDP
Business units can be synched in FintechOS Identity Provider. This is useful in some complex scenarios when a user is part of 2-3 groups in other identity and access management solutions, such as Azure Active Directory, which is authorized in FintechOS through identity brokering. Those groups are automatically synchronized as business units in the FintechOS Identity Provider, each business unit is inserted and relations are set with the system user.
To enable/disable this sync, go to the Configuration Manager on your environment and search for the ShouldSyncBusinessUnit key under app-settings in the auth section. The default value is 0 (false). To turn the feature on, set the value to 1 (true) and restart the Studio or Portal.
After the sync, to check if the user, including service accounts, has the business unit mapped, go to the Users section in your realm in the FintechOS Identity Provider > User details > Your_user > Attributes. You should see the business unit mapped.