Data Anonymization Requests
Data anonymization requests allow FintechOS Portal operators to mark specific records within a Sensitive Context And Sensitive Data for anonymization. Once the relevant data is identified, validated, and approved for anonymization by the operator, a data anonymization job can process the marked records.
1 Create a Sensitive Request
- In FintechOS Portal, go to Main Menu > Data Anonymization Requests.
- Click the Insert button at the top right corner of the screen.
- Fill in the following sensitive request values:
- Request no - Identifier for the data anonymization request.
- Request Date - Select a reference date for the data anonymization request.
- Sensitive Context - Select the Sensitive Context And Sensitive Data relevant for the request.
- Click the Save and Reload button at the top right corner of the screen.
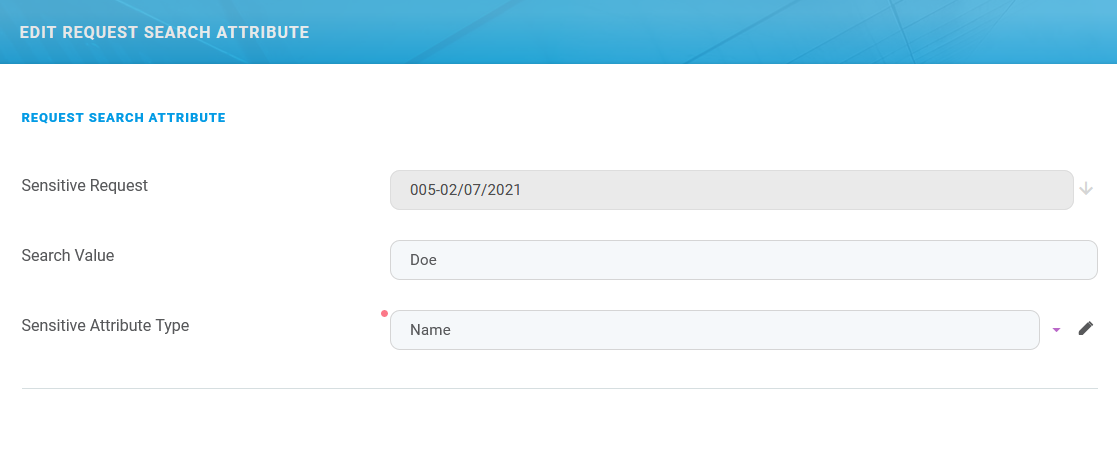
- In the Request Search Attributes grid, you will see the attributes that are available for search according to the sensitive context's Sensitive Data definition. Edit the search attribute you wish to use as search criteria:
- Sensitive Request - This field is populated automatically with the data anonymization request identifier.
- Search Value - The key term you wish to use for your search, such as a user's first name or SSN.
- Sensitive Attribute Type - The clasification for the sensitive attribute type. The following values are available: CNP, Name, Phone, First Name, Last Name.
 HINT
HINT
Although you can define any sensitive attribute type, the search will only work for the values that match the Sensitive Data definition. This is why the best approach is to edit the desired search value directly in the Request Search Attributes grid.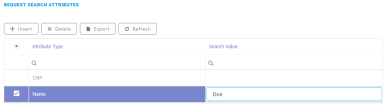
- Click Save and Close at the top right corner of the screen.
- The data anonymization request is saved with the Register status.


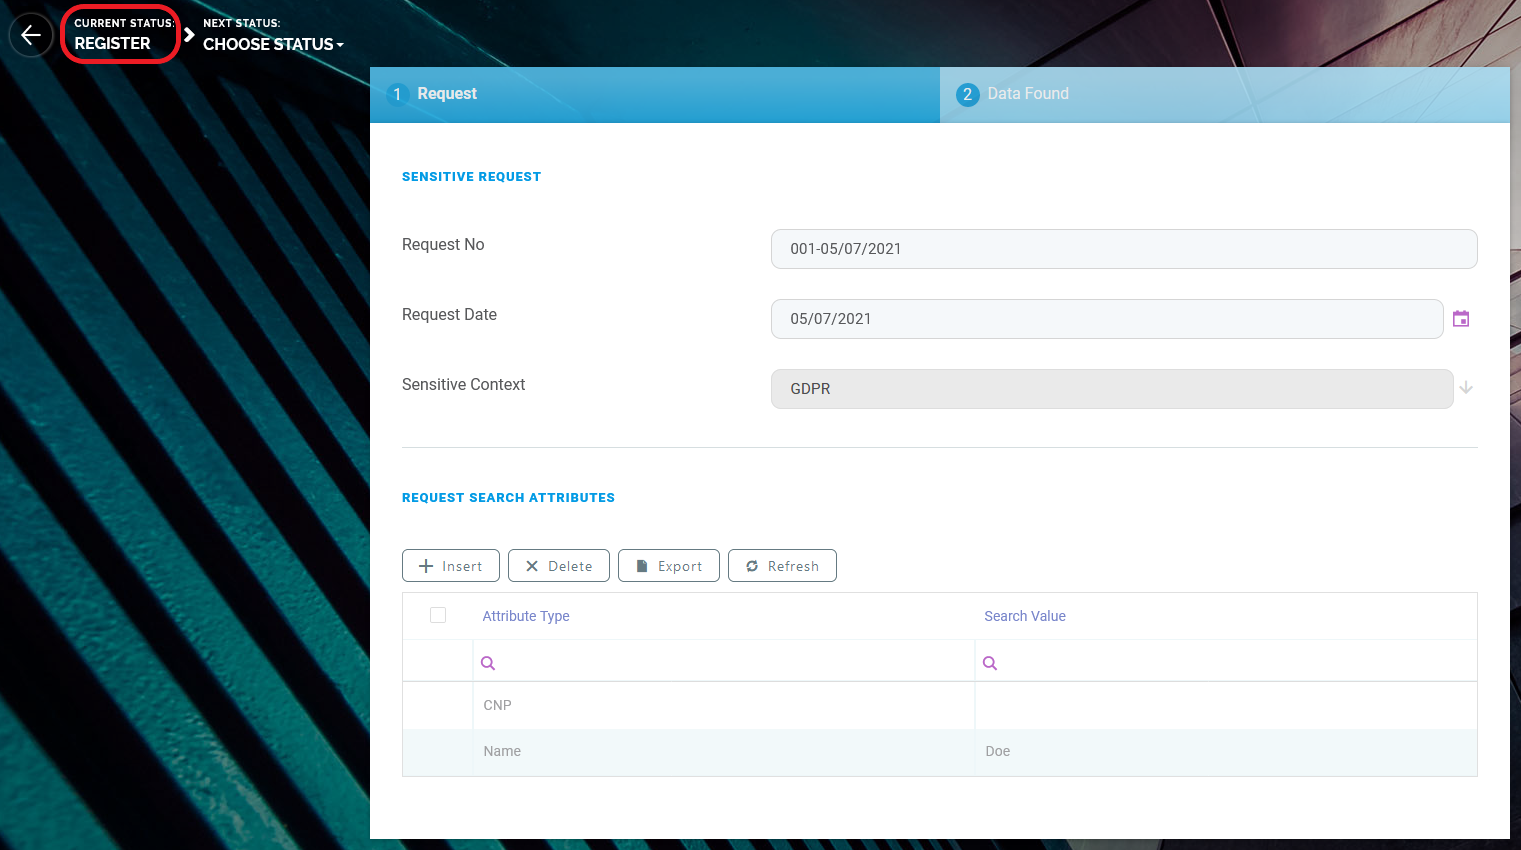
2 Check the Returned Sensitive Data
- Once all the settings of the Data Anonymization Request are configured, you can choose to either cancel the request or proceed with the search by selecting the desired status from the top left corner of the screen.

-
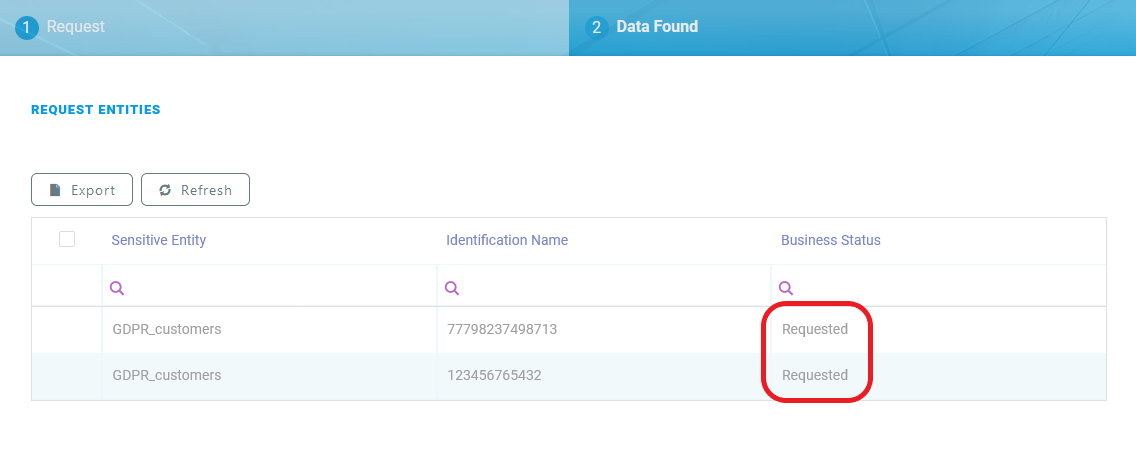
Select the Requested status to lock the search criteria and perform the search. Once the status is updated, the search results are populated in the Data Found tab of the request. Each search result will also be in the Requested business status.

- You can double click on the desired entities to do a preliminary check on the individual results. When ready, select the Validated status at the top right corner of the screen to run the data validations that were configured in the sensitive data (for details, see 3 Add Validation Rules).

- The request will advance to the Solved status and each search result will go into the Pending Approval status.

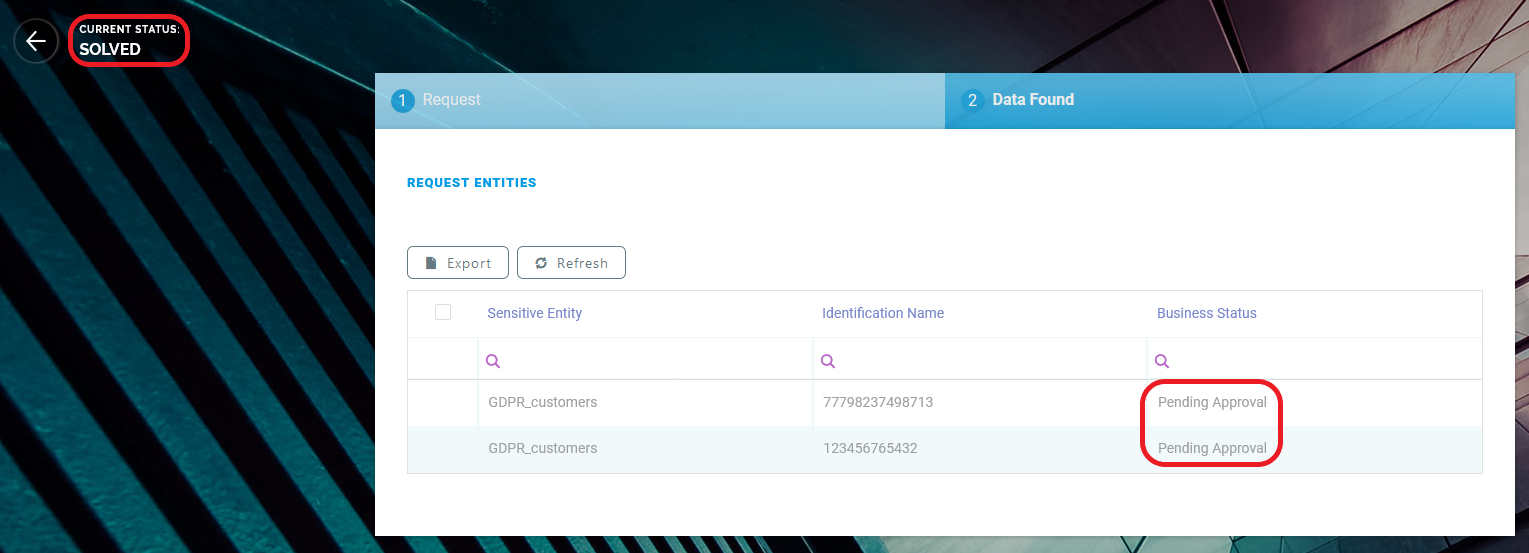
3 Approve the Records for Data Anonymization
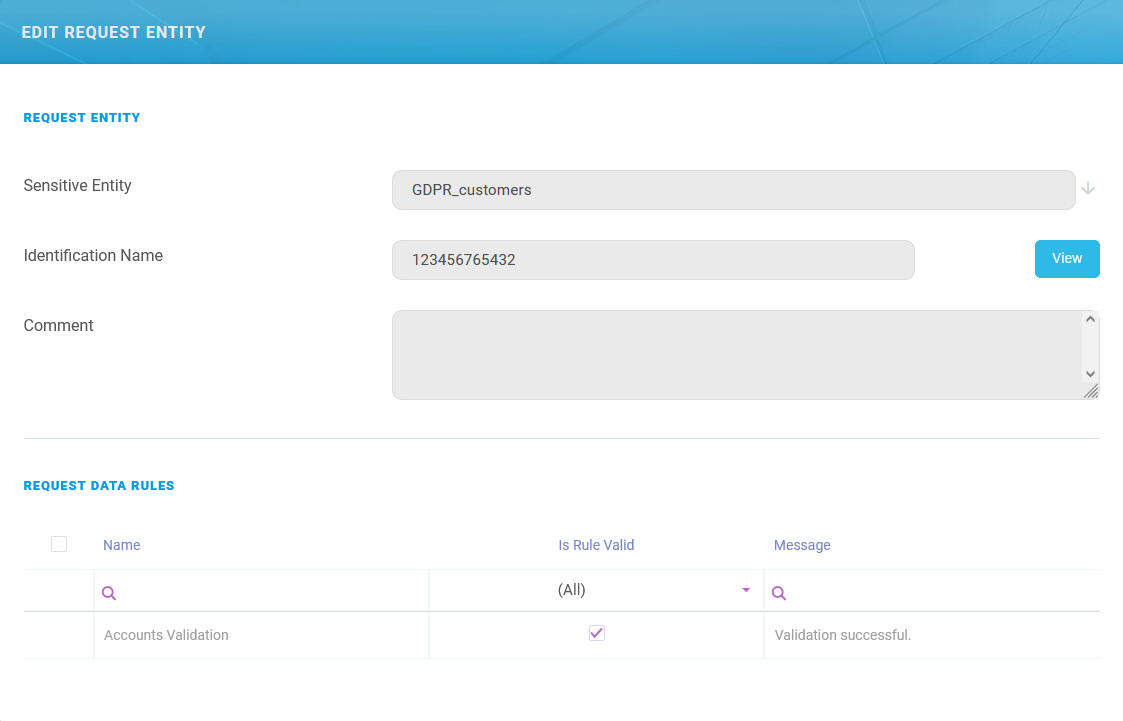
- Open each search result in the grid and check it:

- Sensitive Entity - Sensitive entity based on which the search was performed. For details, see 1 Configure the Sensitive Entity.
- Identification Name - Primary attribute of the returned sensitive entity record.
- View - Click this button to view the sensitive entity record in its default edit form.
- Comment - Sensitive entity description (if provided).
- Request Data Rules - The results of each validation rule applied to the returned data.
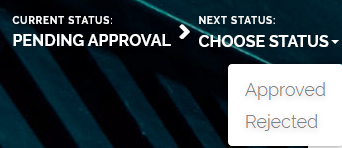
- Based on the search result's data, from the top left corner of the screen, choose to either approve or reject data anonymization for the record.
 IMPORTANT!
When you approve a record, the anonymized record attributes are permanently deleted and replaced with generic information, such as Sensitive data deleted. - Repeat for the remaining search results and either approve or reject them.

When the FintechOS Platform Job Server runs the corresponding Data Anonymization Jobs And Requests, the approved sensitive data is anonymized.


The business status of the sensitive entity is set to Anonymized.
