STEP 1. Define the form layout
Insert Row Templates
In the UI Designer, on the left panel there are the types of layout displayed. You can insert containers for entity attributes as per your needs. The left panel has:
- containers
- data templates
- components (chart, button, heading).
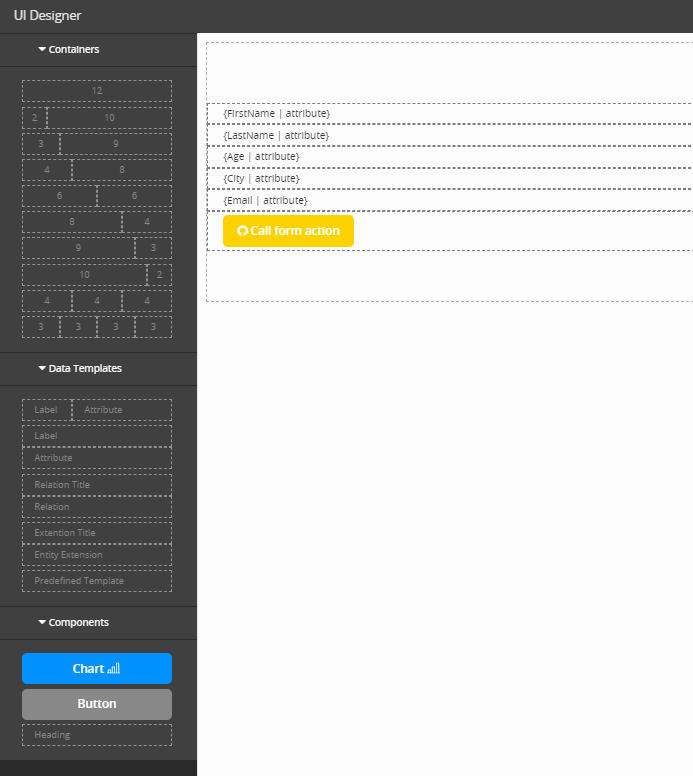
There are ten types of containers. Drag and drop the preferred layout. Inside each container it is possible to add a data template or component as in the example below.
Move Row Templates
To move a row in the grid, click the up or down buttons available on each row.
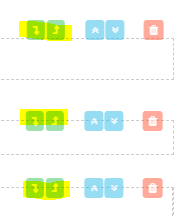
Delete Row Templates
To delete a row from the grid, click the Delete button available on the right-side of the row. Once you’ve finished building the grid, you can start adding attributes on the grid.
Always, after exiting the UI designer, click the ''Save and reload'' button to actually save the template to the step.
Procedure protocol
- Select the containers for the whole step.
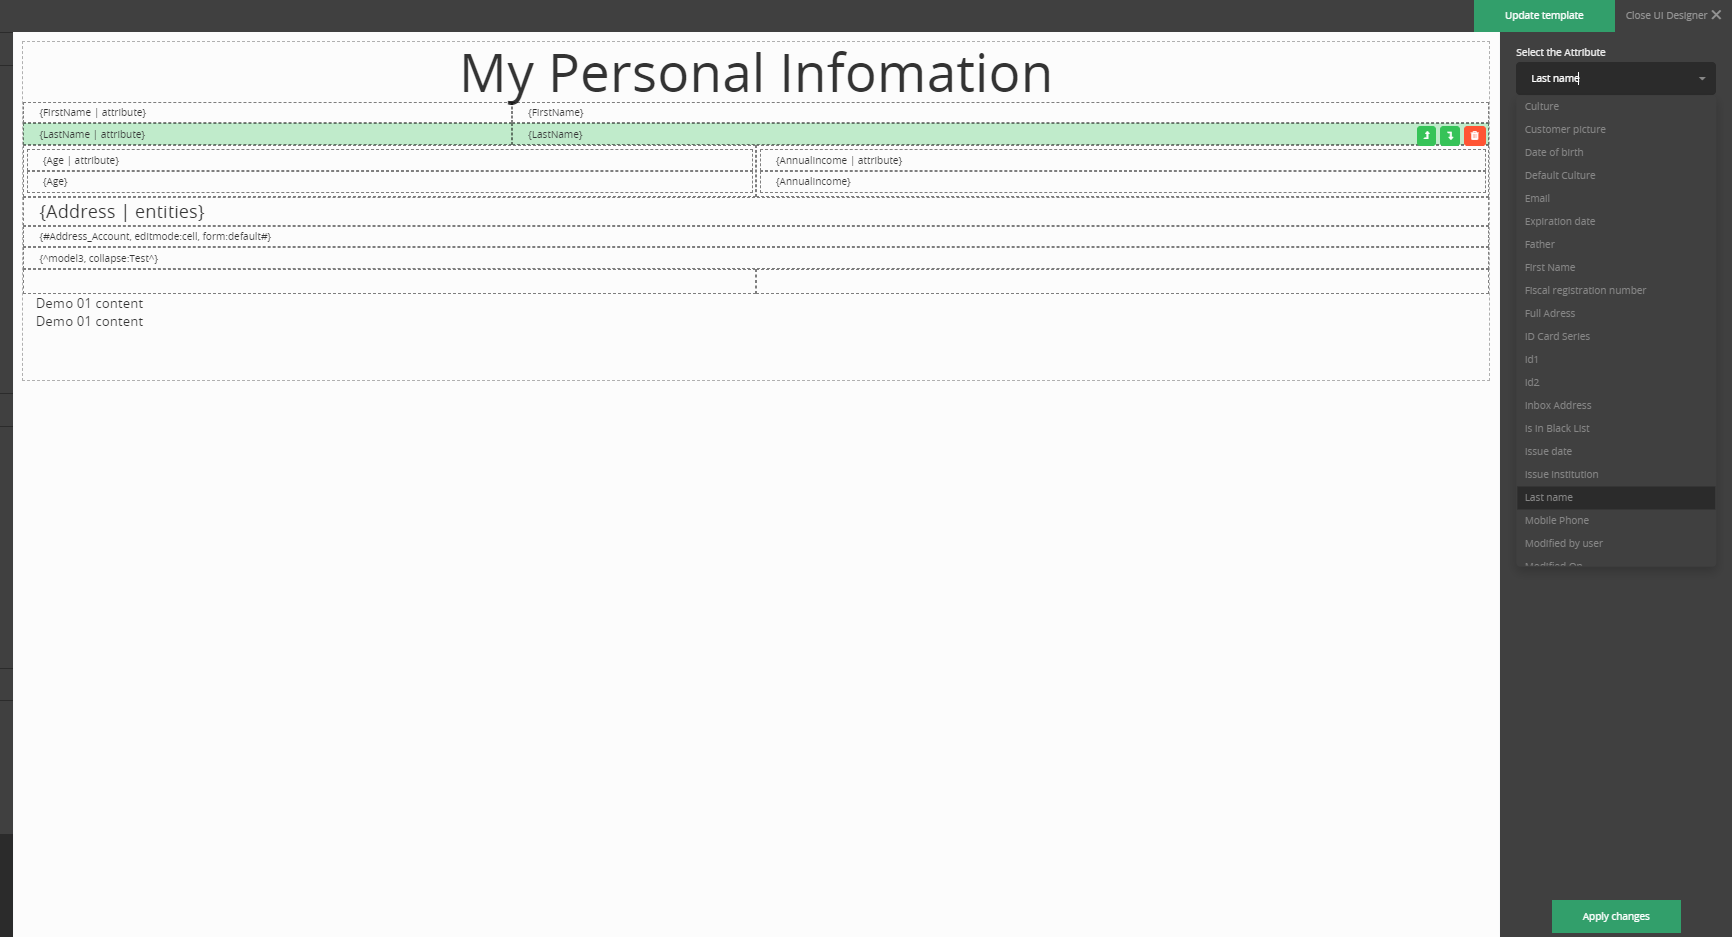
- Drag and drop the data templates inside each container. Click on the data template to replace with attribute/ relation/ entity extension/ predefined template. For the first three, on the left side of the screen select the actual data to go inside.
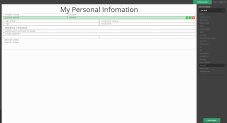
For example, for an attribute, select Age and click the ''Apply changes'' button on the right side of the screen.
For a relation, select Address_Account and configure the relation mode of display in the digital journey:
- edit
- collapse
- view
- Form
- Insert Form
- No header
- No filter
- No insert
- No insert for Insert Existing
- No delete
- No export
- No refresh
- No toolbar.
Click the ''Apply changes'' button on the right side of the screen.
For an entity extension, select Model 1 and click the ''Apply changes'' button on the right side of the screen.
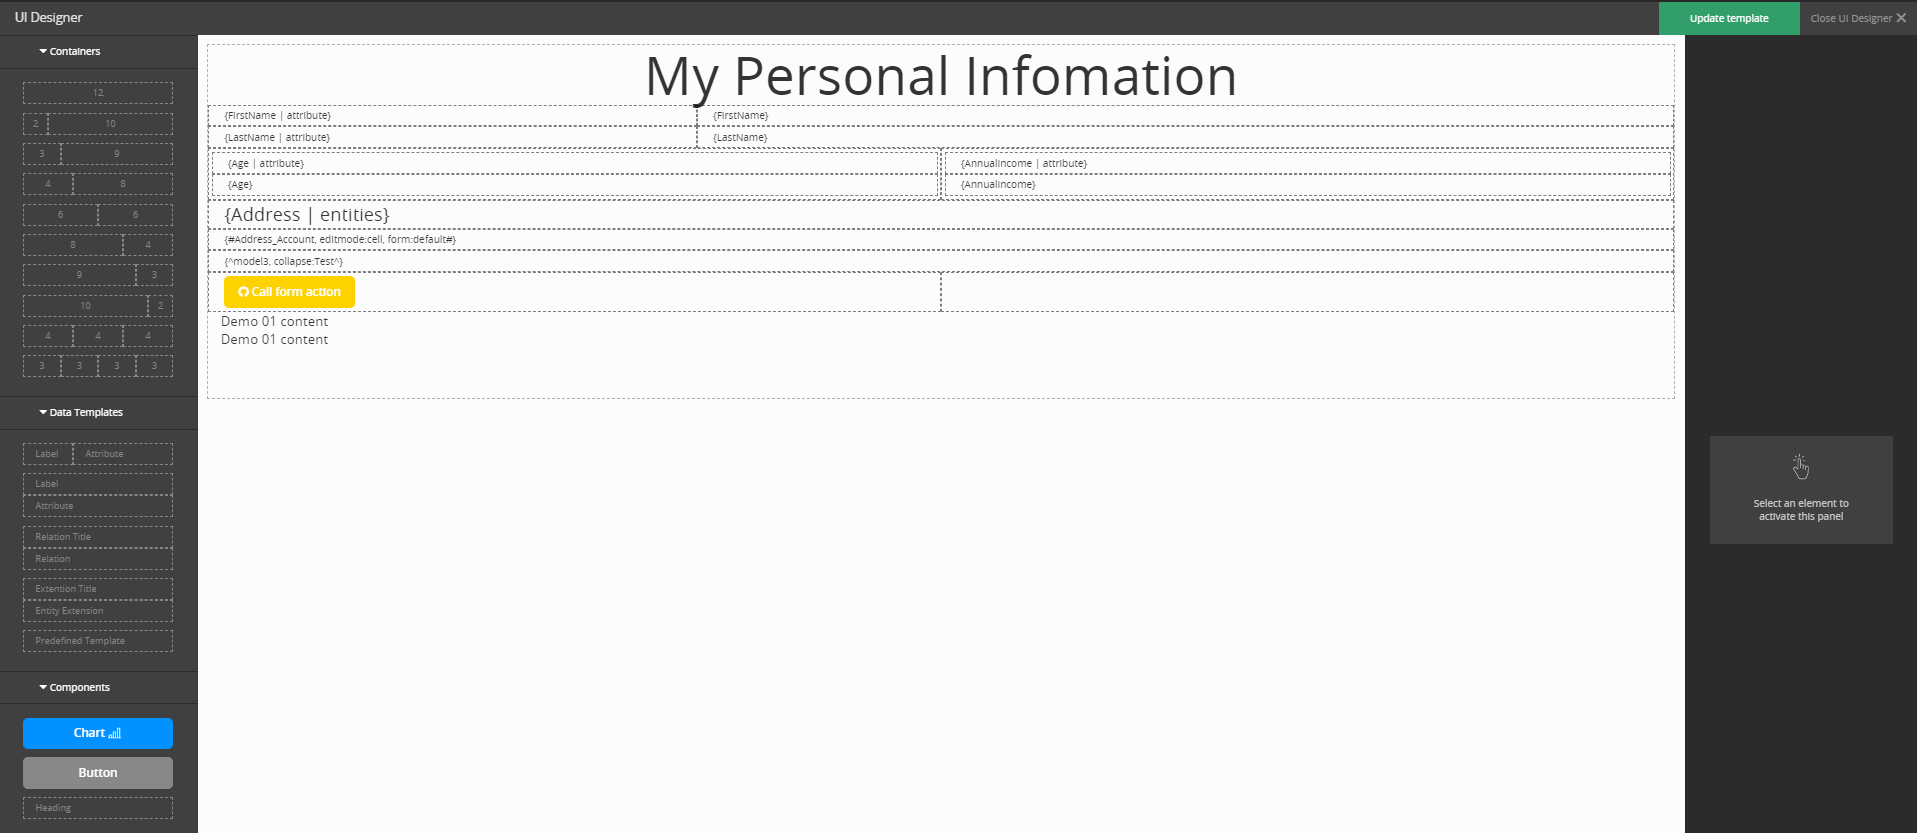
- Insert the buttons in the containers created in set 1.
- Insert the charts. Click the ''Apply changes'' button on the right side of the screen.
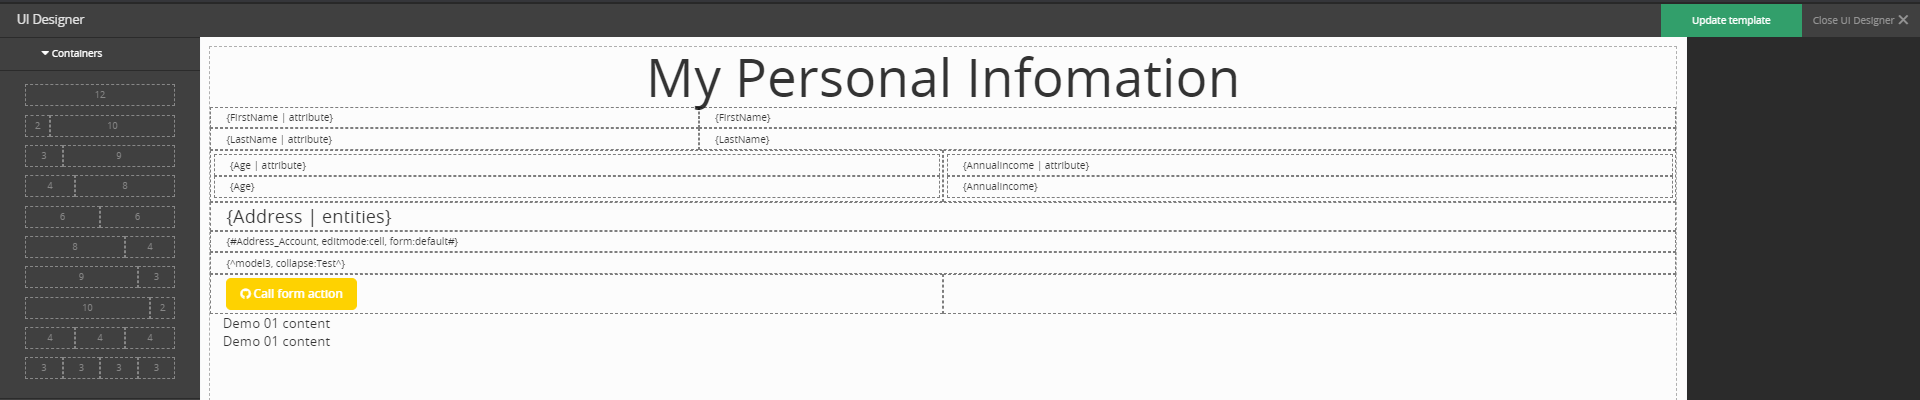
- Insert the header. Edit the text header in the right side of the screen panel. Click the ''Apply changes'' button on the right side of the screen.
- Click the ''Update Template'' button on the right side upper corner and then click the ''Save and reload'' button.