Creating and editing Dashboards
Innovation Studio enables you to aggregate together lists fed from the open data model with the most relevant data (e.g., to-do lists ordered by SLA or severity) by using dashboards.
To create a dashboard, follow these steps:
Step 1. Add dashboard
- From the main menu, select Digital Experience > Digital Frontends > Dashboards. The Dashboards List page opens.
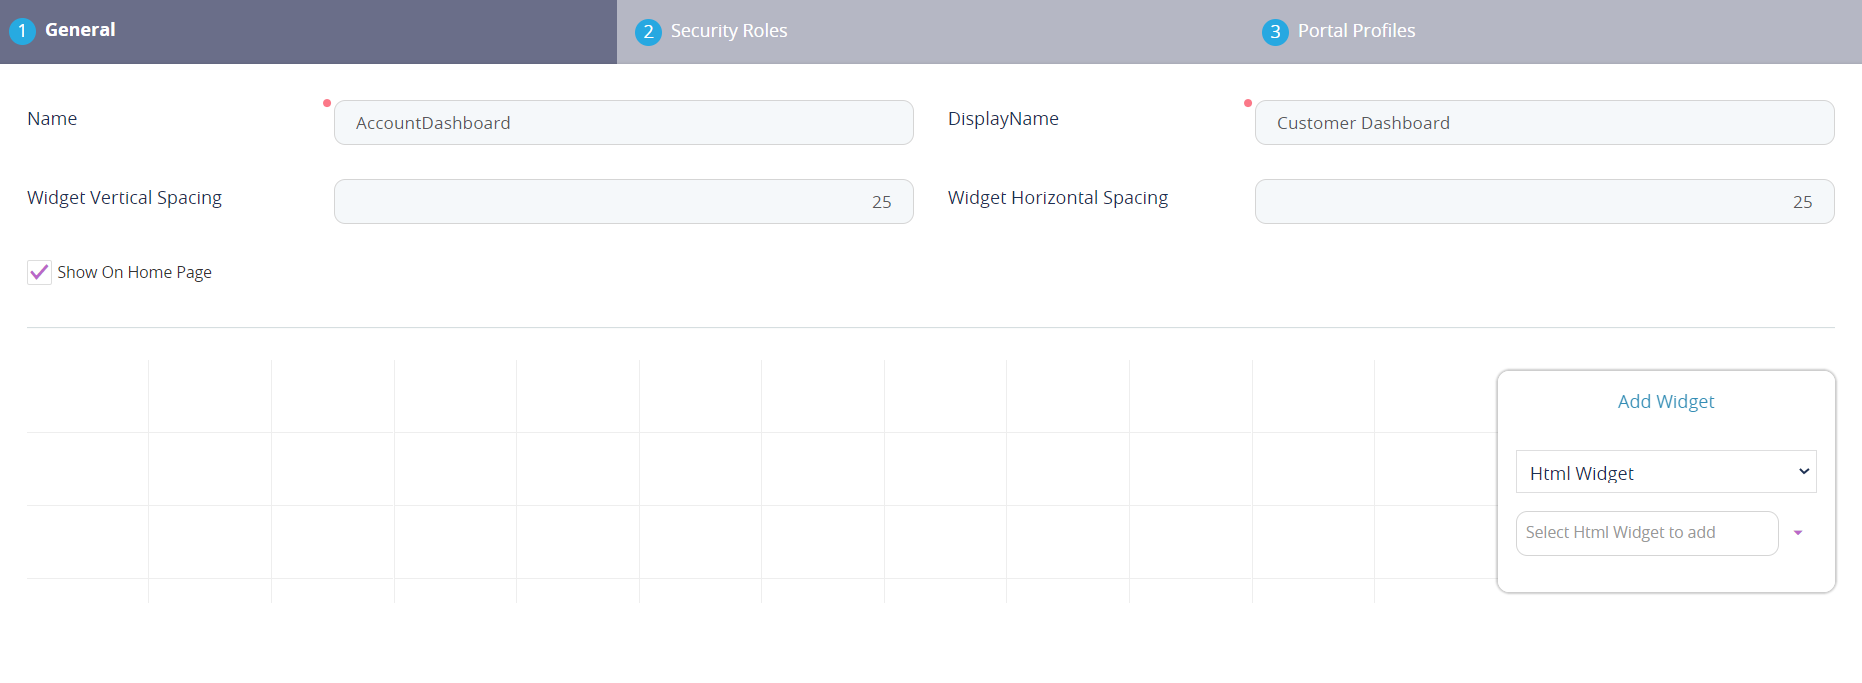
- At the top-right corner of the page, click the Insert icon. The dashboard configuration page appears by default on the General tab.
- In the Name field, provide the name of the dashboard that will be used by the system.
- In the Display Name field, provide the name of the dashboard that will be displayed in the Digital Experience Portals.
- In the Widget Vertical Spacing field, provide the amount of vertical space to be added between the dashboard's elements. Default value is 20. The vertical spacer automatically adjusts with the screen size your page is viewed on.
- In the Widget Horizontal Spacing field, provide the amount of horizontal space to be added between the dashboard's elements. Default value is 20. The horizontal spacer automatically adjusts with the screen size your page is viewed on.
- Tick the Show On Home Page checkbox if you want the dashboard to be shown on the Portal home page. If the checkbox is false, then the dashboard and everything placed in its layout will not be rendered in the Portal.
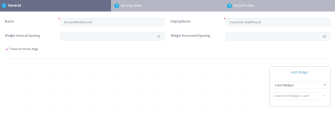
- At the top-right corner page, click the Save and Reload icon. The page refreshes and you can now add widgets to the dashboard. For more information on creating and adding widgets to dashboards, see .Adding Widgets to Dashboards.

You can also attach the security roles who have privileges to see the dashboard and add the dashboard to a portal profile. To do so, read the sections below.
Step 2. Attach security role to a dashboard
If your business case requires the dashboard to be available to designated roles within your organization, click the Security Roles tab and add the security roles that should have access to the dashboard. If no security roles are added here, all users will be able to view the dashboard in the Digital Experience Portals.
Once you finish customizing your dashboard, at the top-right corner of the page, click the Save and close icon to save the dashboard settings or Save and reload if you want to add the dashboard on a portal profile. For more information on how to add a dashboard to a portal profile, see the next section.
The dashboard is displayed in the Dashboards List page.
You can add as many dashboards as you need. The Order Index column specifies the order in which dashboards appear in the Change Dashboard drop-down menu on the Portal home page. You can change the order index of a record by using drag and drop.
Step 3. Add dashboard on a portal profile
- In the dashboard configuration page, click the Portal Profiles tab.
- Click the Insert button at the top of the Dashboards on Portal Profiles section. The Add Dashboard on Portal Profile page appears.
- Select Portal Profile on which the current dashboard will be added on.
- At the top-right corner of the page, click the Save and close icon. The Add Dashboard on Portal Profile page closes and the record is displayed in the Dashboards on Portal Profiles section.


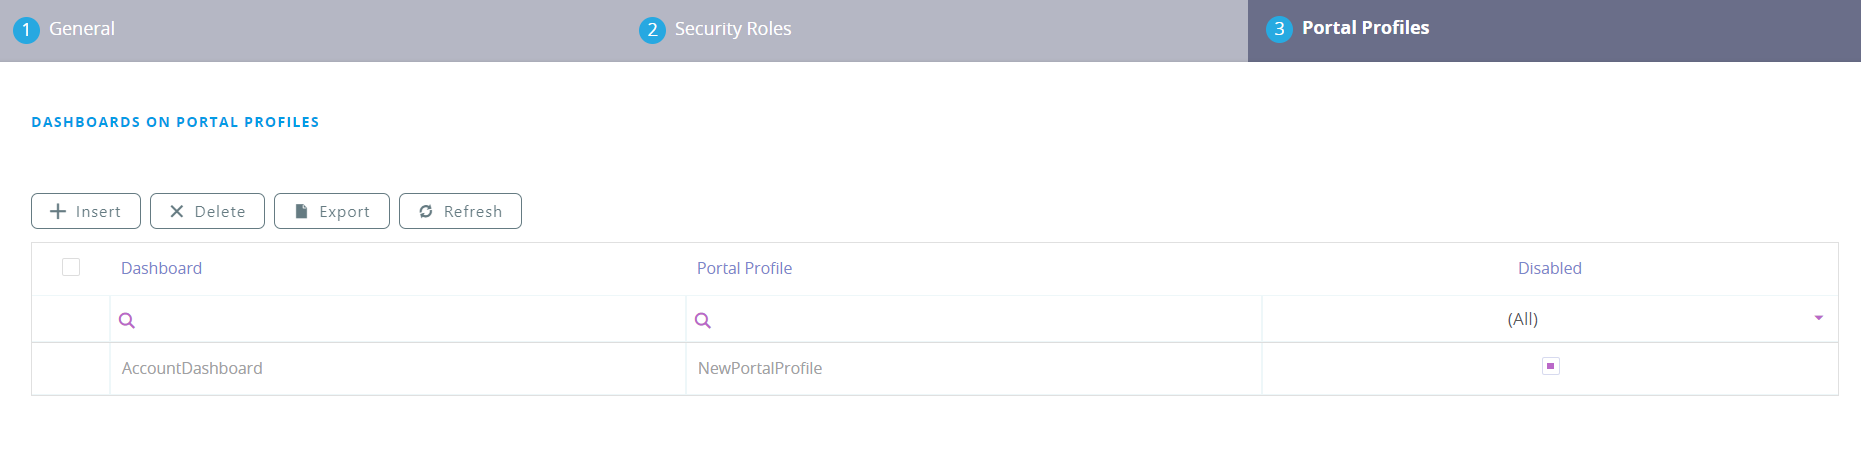
The Dashboards on Portal Profiles section lists both dashboard added on the portal profile from the dashboard configuration page (Portal Profiles tab) and from the portal profile configuration page (if any).
Editing Dashboards
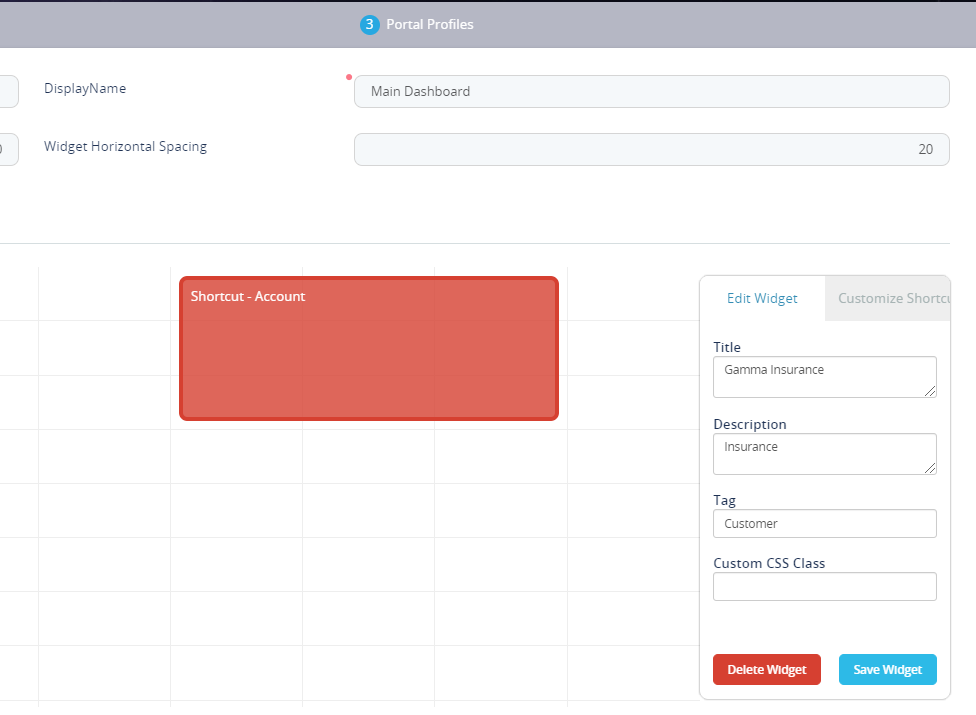
You can edit dashboards by changing the dashboard details, adding new widgets, editing or removing them.
To remove a widget from a dashboard, go to the dashboard customization page, double-click the desired widget and on the right-side click the Delete Widget button. Then, Click the Save and close button.