Projects
Projects allow you to bundle your digital assets for easy distribution and deployment. For instance, you can use projects to create product suites that contain multiple applications, each based on a specific digital asset. The linking between a project and a digital asset is non-exclusive, therefore a digital asset can be part of multiple projects.
By bundling digital assets into projects, you can leverage the Digital Solutions Packages capabilities to easily export and deploy complex deliverables.
Creating Projects
-
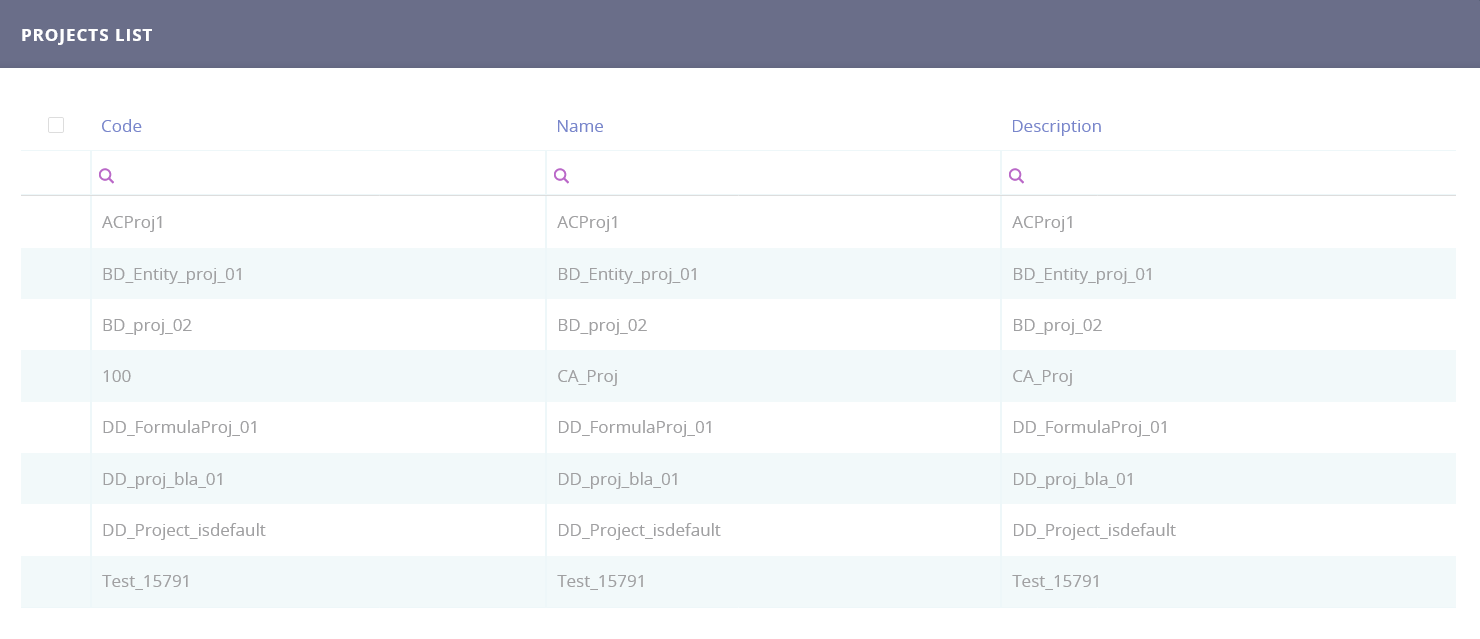
From the Main Menu, go to Projects under Digital Journeys. The Projects List is displayed.

-
Click the Insert button on the top right of the page. The Add Project page is displayed.
-
Fill in the Code, Name, and Description fields accordingly.
-
Click the Save and reload button. The project is now created, and the Edit Project page is displayed.
Editing Projects
-
From the Main Menu, go to Projects under Digital Journeys. The Projects List is displayed.
-
Locate the target project, select it and click the Edit button on the top right of the page. The Edit Project page is displayed.
On this page, you can do the following:
-
Edit the project description.
-
Insert, delete, export applications.
-
Refresh the applications list.
Once all editing is complete, click the Save and reload button to save the changes.
Deleting Projects
-
From the Main Menu, go to Projects under Digital Journeys. The Projects List is displayed.
-
Locate the target project, select it, and click the Delete button on the top right of the page. A confirmation dialog is displayed.
-
Click Yes to confirm deleting the project. The selected project is now deleted.