Step 2. Create portal profiles
To create a portal profile, follow these steps:
- In Innovation Studio, from the Main Menu, click Digital Frontends > Digital Experience Portals > Portal Profile. The Portal Profiles List appears.
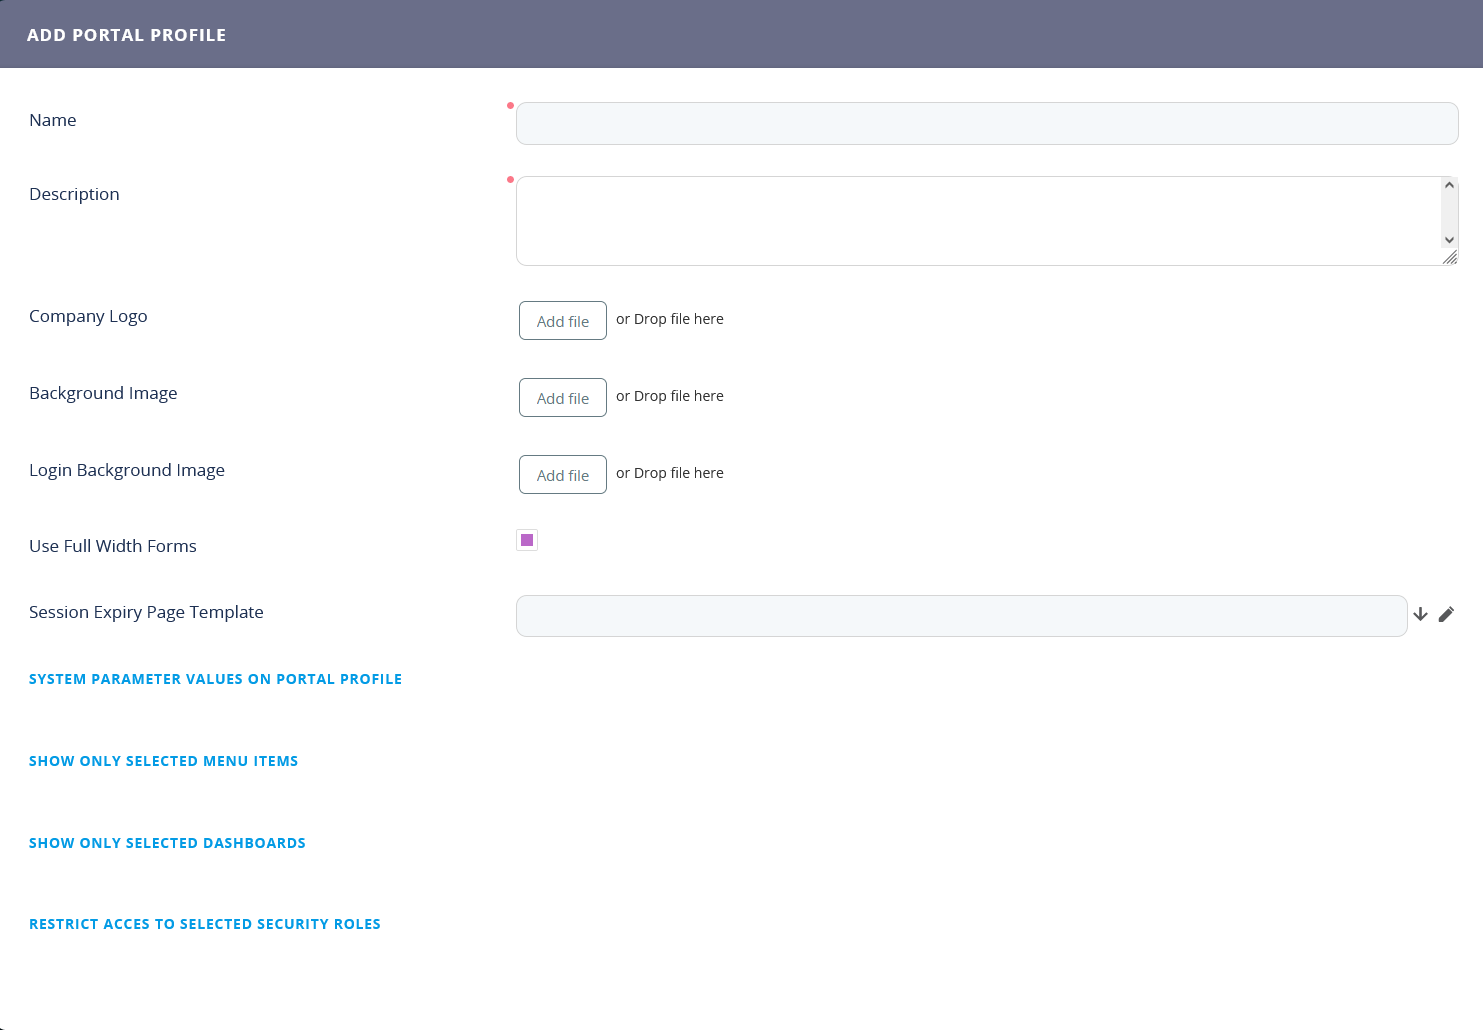
- At the top-right corner of the page, click the Insert icon. The Add Portal Profile page appears.
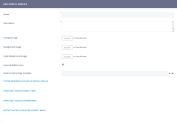
- Provide a Name and a Description for the portal profile.
- You can display your own Company Logo on the portal pages by adding a custom logo file.
- You can use your own Background Image and Login Background Image by adding the desired image file(s).
- Check the Use Full Width Forms if you wish the forms displayed in the portal to cover the full width of the screen.
- If you wish to customize the Session Expired page template, use this control to insert new Custom Page Templates and/or to select one from the list. Otherwise, the default login page will be displayed when the user's session expires.
- Save the portal profile by clicking the Save and close button at the top-right corner of the page or the Save and reload icon if you want to continue adding dashboards and menu items to the portal profile.
If you click the Save and reload icon, the Add Portal Profile page is replaced by the Edit Portal Profile page and all sections are unlocked.
See the links below for information on how you can the further customize your portal profile: