Code Blocks
The Code Blocks feature enables FintechOS developers to insert predefined blocks of code into attributes of type After generate JS.
Code blocks are designed to be extensible and configurable. You can define your own code blocks and configure them based on your needs.
Code blocks are grouped per categories to help you easily spot the one that you want to use. To add code blocks, make sure that you have categories defined.
Step 1: Add categories
Categories help you group code blocks.
To add a code block category:
- From the menu, click ADMIN > Option Sets. The Option Sets List page appears.
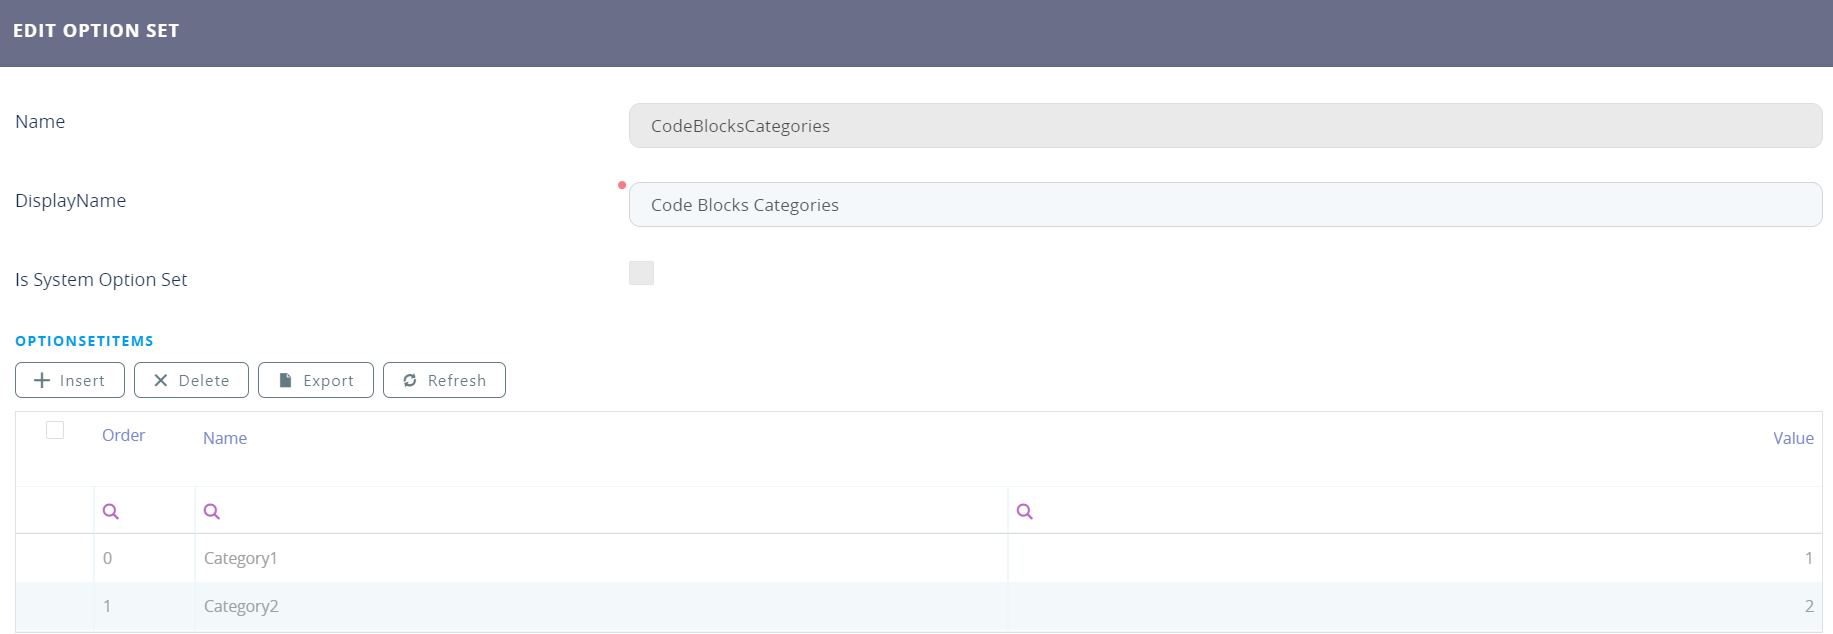
- Search for the CodeBlocksCategories option set. You can do a partial Name or Display Name search by ''categories', or an exact Name match search by 'CodeBlocksCategories' or an exact Display Name match search by 'Code Blocks Categories'.
- Double-click on search result. The Edit Option Set page appears.
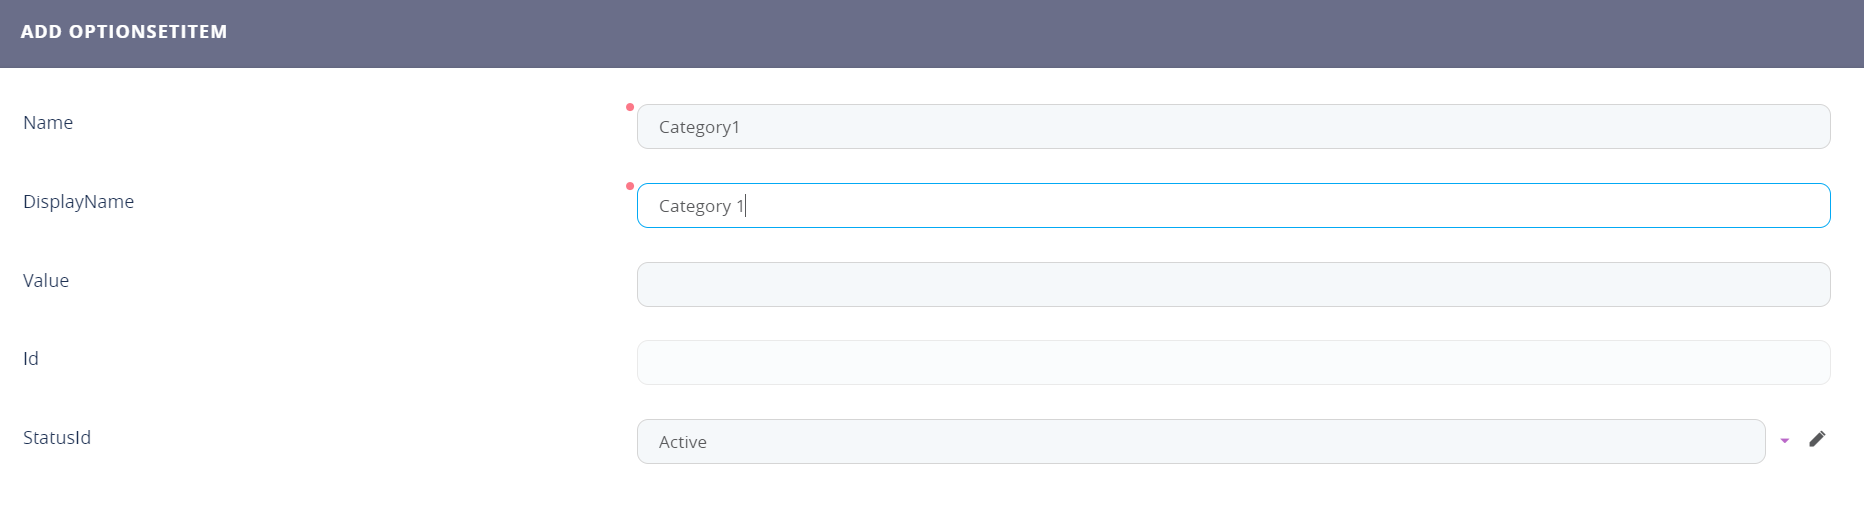
- Click the Insert button at the top of the OptionsetItems section. The Add OptionSetItem page appears.
- In the Name field, type a name that will be used by the system and in the Display Name field, type the name that will be displayed in the user interface.
- At the top -right corner of the page, click the Save and close icon to save the category. Add as many categories as best suit your needs. They are displayed in the OptionsetItems section.

Now you can add code blocks.
Step 2: Add code blocks
To add a code block:
- From the main menu, click Advanced > Code Blocks. The Add Code Block page appears.
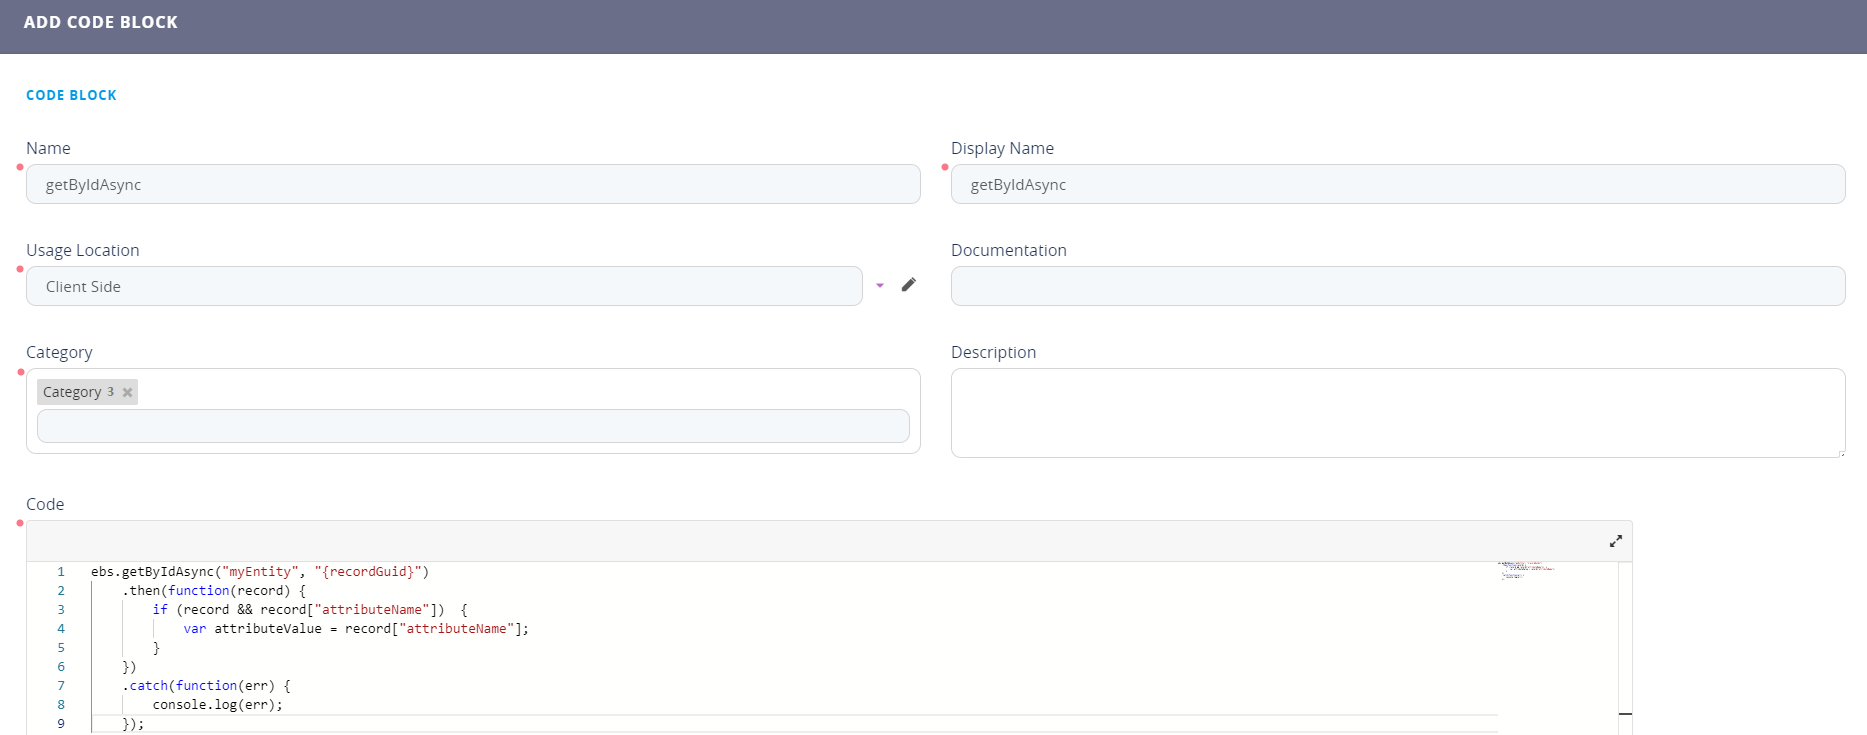
- Fill-in the following fields:
- At the top-right corner of the page, click the Save and close icon to save the code block. Add as many code blocks as you need to increase efficiency.
|
Field |
Description |
|---|---|
|
Name |
The category name used by the system. The field is mandatory |
|
Display Name |
The category name to be displayed in the user interface. The field is mandatory |
| Usage Location | The place where the code block will be available: Client Side or Server Side. The field is mandatory |
| Documentation | If you have the code block documented, provide the URL to the documentation. |
| Category | The category to which the code block will belong to. The field is mandatory. |
|
Description |
Provide a brief description of the code block to help others easily identify the scope of the code block. |
|
Code |
JavaScript code which will be inserted in After generate JS when using code blocks. The field is mandatory. |
You can now start using code blocks
Step 3: Use code blocks
You can use code blocks in attributes of type After generate JS on forms (Advanced tab) or in the Advanced Code Editor.
To insert a code block in an After generate JS field:
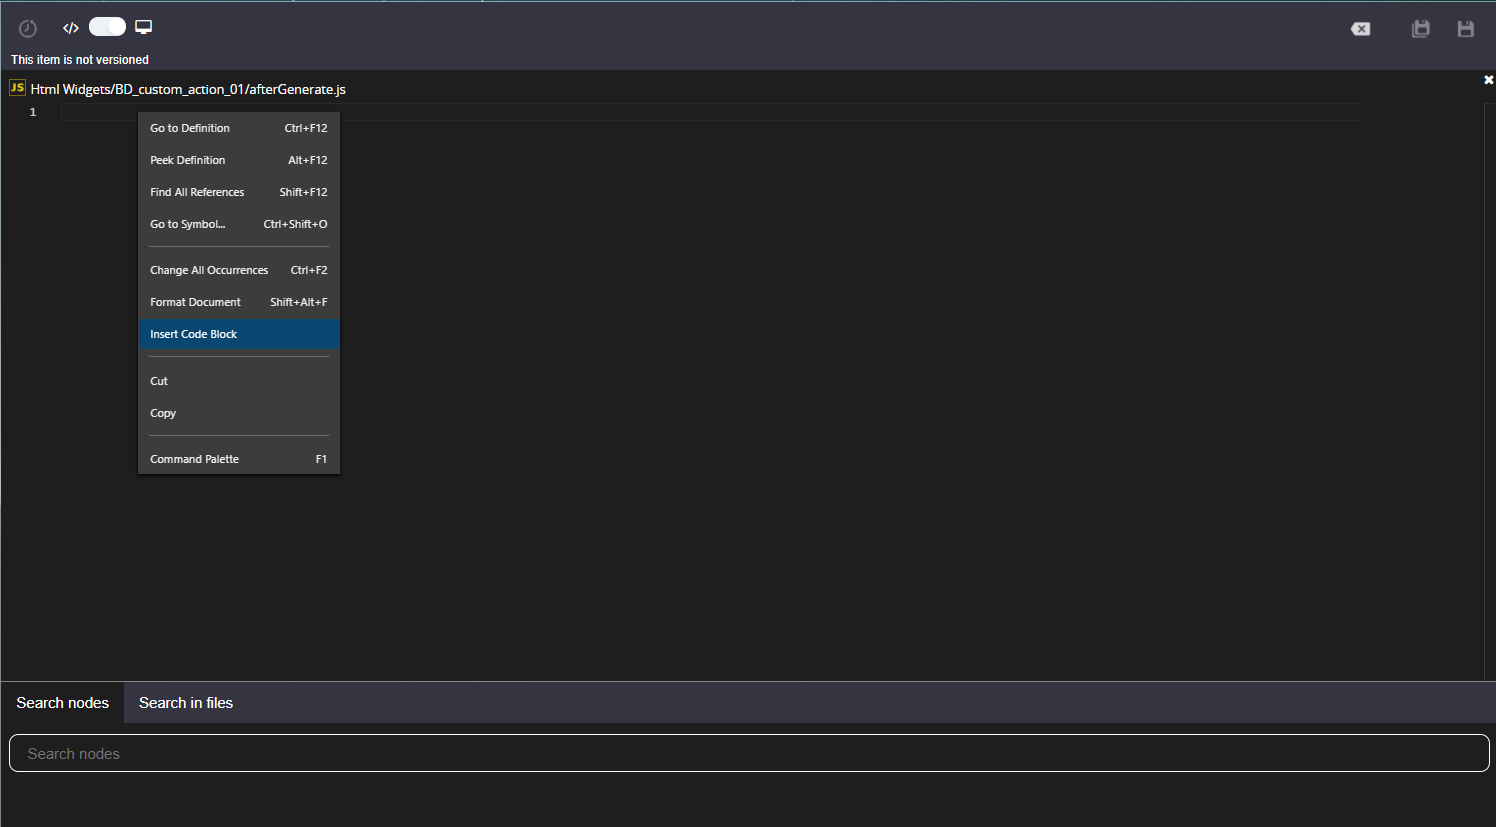
- Place the cursor inside the desired After generate JS, right click and from the contextual menu click Insert Code Block.
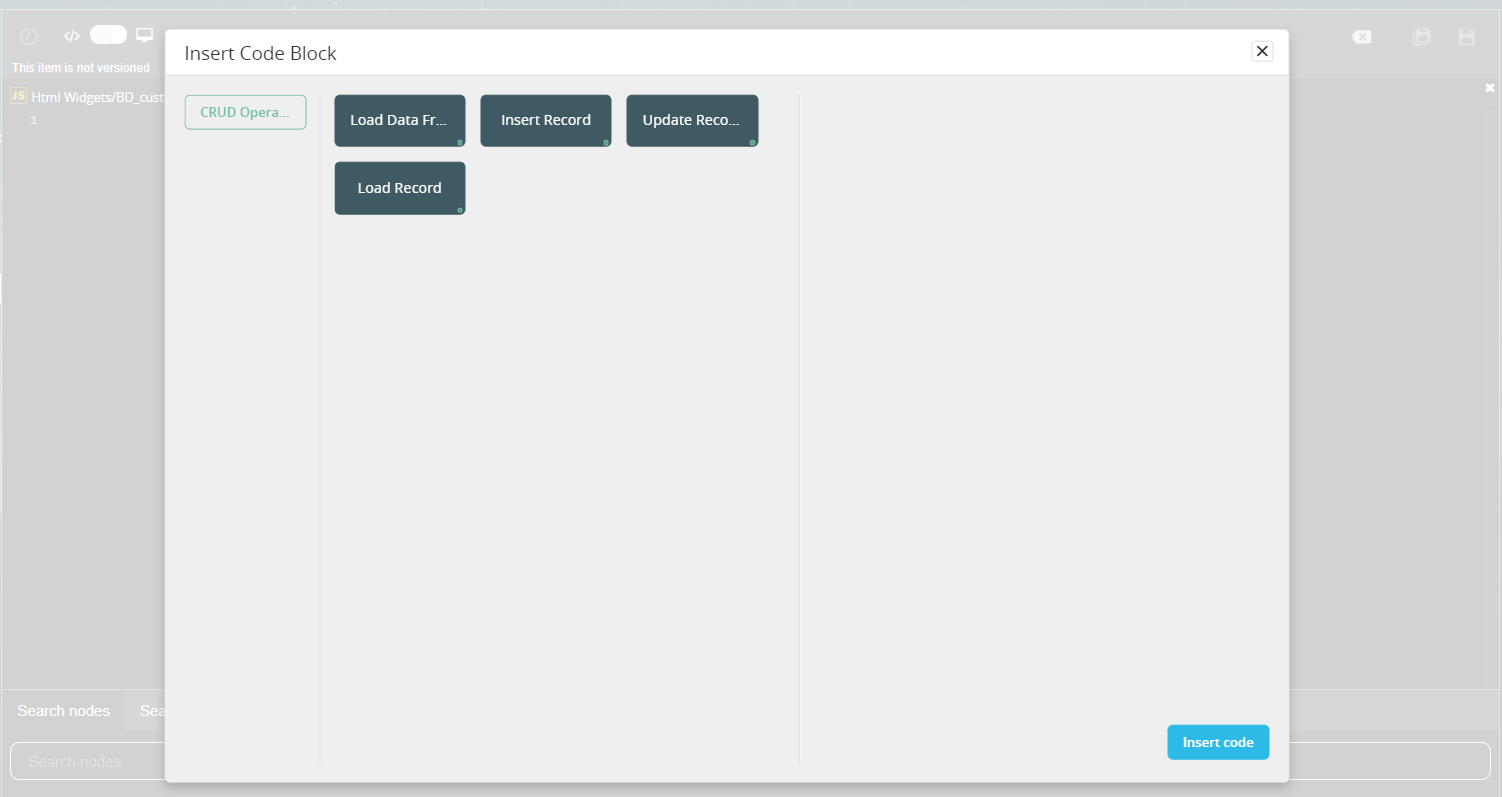
- The Insert Code Block page appears.
- Click on categories and which one contains the code block you want to use.
- Double click on the desired code block or click on it then click the Insert code button. The code from the selected code block is added on a new line at the cursor position in the editor.
- Modify the inserted code as best suit your needs.