
Creating Security Roles
Configuring a security role is a two-step procedure:
1 Add the security role
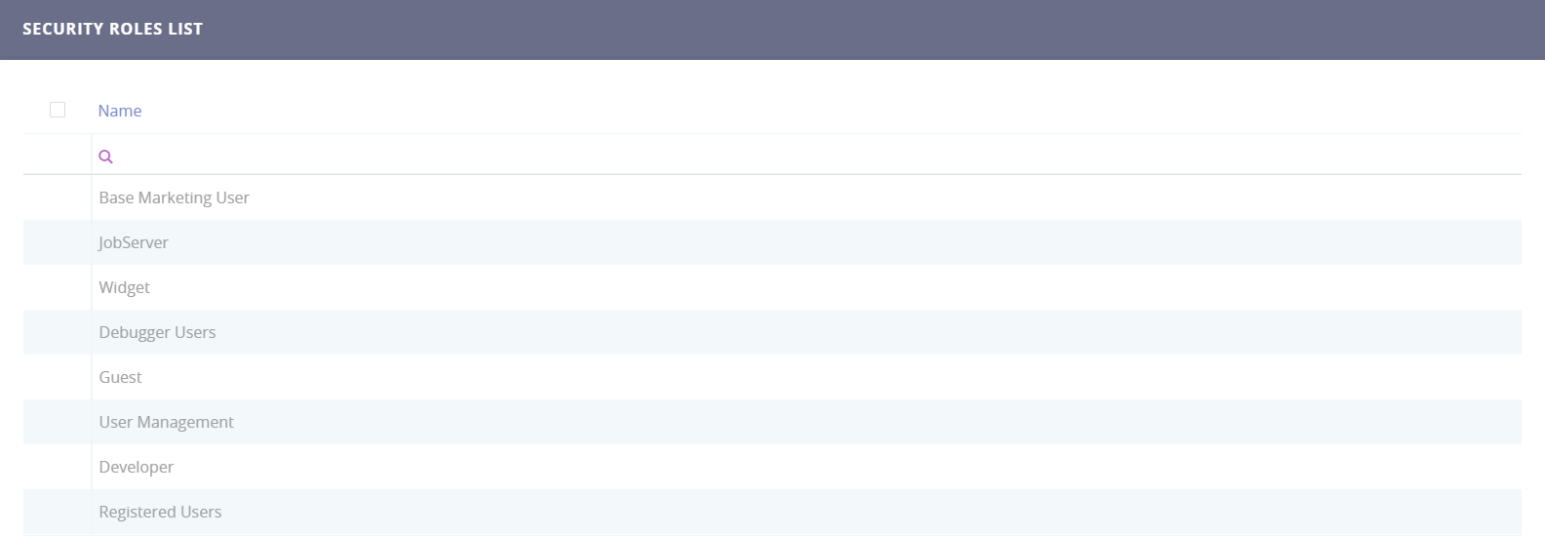
- From the menu, click Security > Security Roles. The Security Roles List page opens.
- At the top-right corner of the page, click the Insert icon. The Add Security Role page opens.
- In the Name field, type a name for the new security role.
- At the top-right corner of the page click the Save and reload icon. The Edit Security Role page opens.
Now you can start adding security items .
2 Assign security items to the security role
Security items specify the entities and the privileges (CRUD operations on those entities) that the security role grants access to.
Users assigned with a security role will be able to perform only the CRUD operations on entity records assigned in the security items.
To add a security item, follow these steps:
- From the Security Items section, click the Insert button. The Add Security Role Item page is displayed.
- In the Entity field, type the entity name or click the down-arrow and select it from the list.
- In the Security Operation field, type the record-level privilege (CRUD operation) or click the down-arrow and select it from the list. You can choose one of the following:
CRUD operation Details Read Allows users to view records. Update Allows users to update records. Insert Allows users to add new records. Delete Allows users to delete records. - In the Security Scope field, type the level of access or click the down-arrow and select it from the list:
Scope Details User Privileges to the records owned by the user or assigned to the user. Parental Privileges to all records owned in the business unit to which the user belongs to, including privileges to the records owned in the child business units. Business Unit Privileges to all records owned in the business unit to which the user belongs to. Organization Privileges to all records in the organization regardless of their owner. - Click the Save and reload icon at the top right corner of the screen.
- If your security role item is an entity with attributes tagged as isSecurable, you can use the Permissions for secured attributes table at the bottom of the page to set the following permissions for the entity's secured attributes:
Permission Details Restricted (default) Prevents access to the attribute. Allow Allows access to the attribute. Explicit deny Prevents access to the attribute even if another security role allows access. 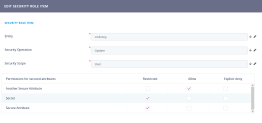
- Click Save and close at the top right corner of the page.

Repeat the process for additional security items you wish to assign to the security role.