Defining View Data
The Data tab allows you to fetch entity data that will be displayed on the view, select the view columns and define the default sort of the view records.
To define what data is shown in the view and the sorting order of records, follow these steps:
STEP 1. Fetch entity data
Fetching data allows you to filter entity records displayed in view based on specific criteria (e.g business status, security role).
There are two ways in which you can fetch entity data:
At the upper-right corner of the Data section, click the Show Fetch Designer button. The Advanced Find page will be displayed.
Choose Entity Links
In the Advanced find page, the entity from which you triggered the Advanced search is displayed by default in the Entity Links field and it is non-editable.
Select the entities
Click in the Select field. The list of entities that are linked to the default entity will be displayed.
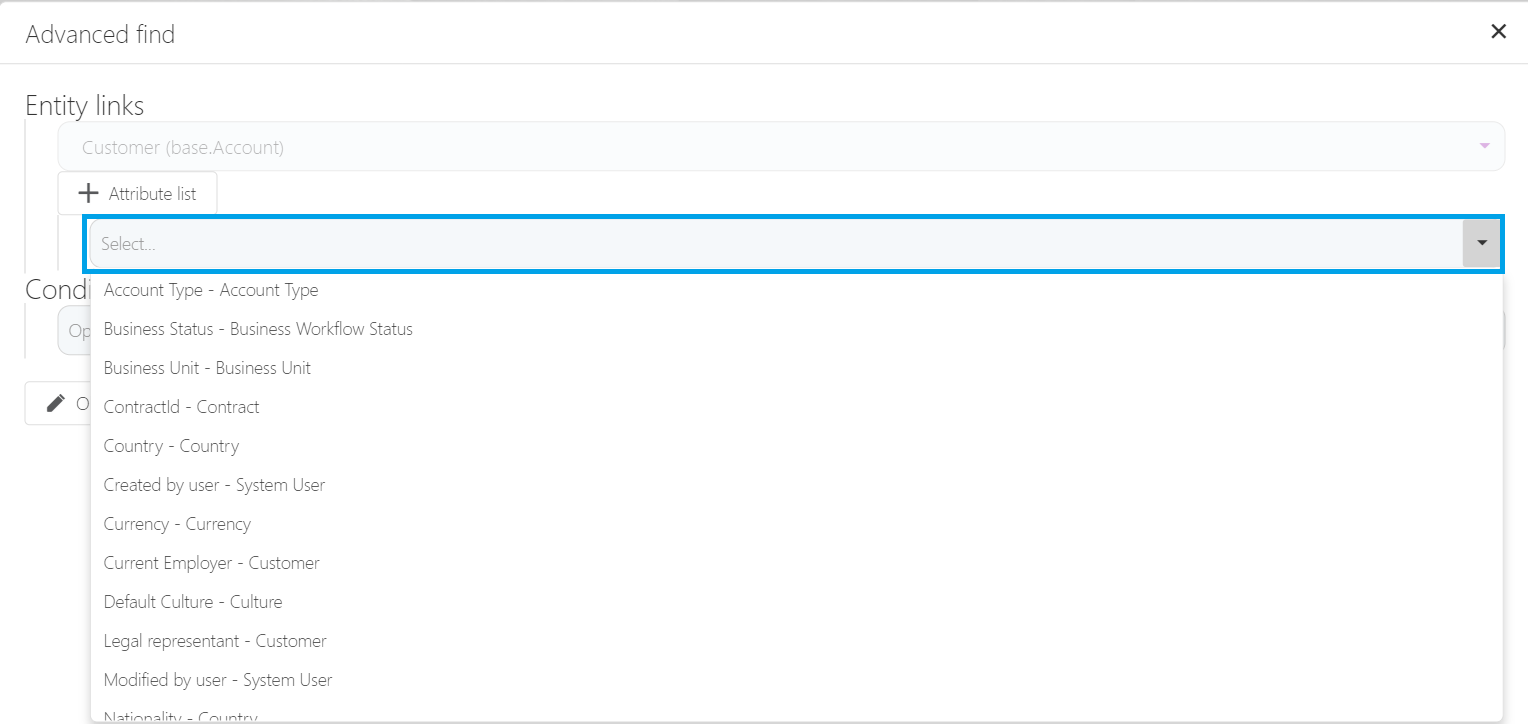
Select the desired entity from which you want to gather data. Another empty field will be displayed which allows you to select another entity in case you want to fetch data from various entities.
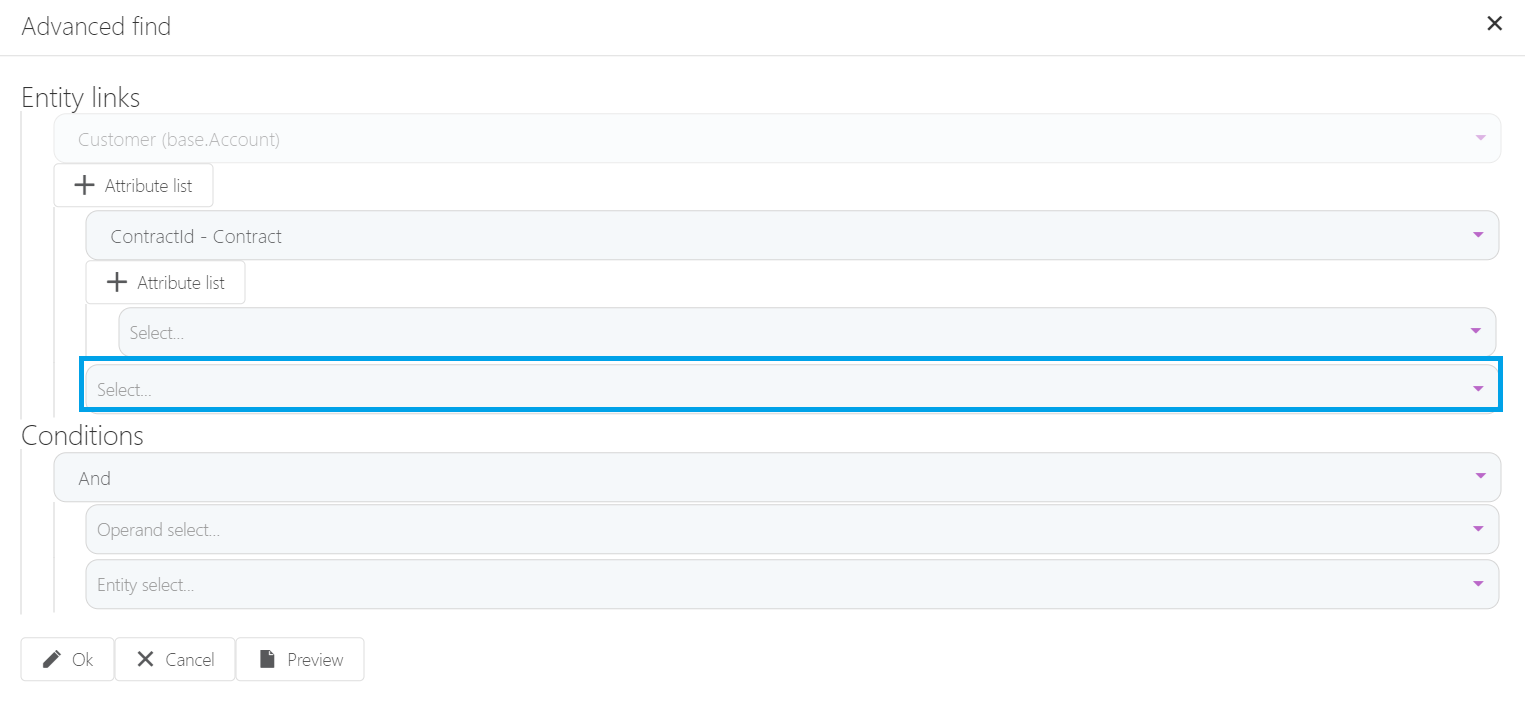
You can add as many entities as you need to extract data from. For example, to create profiles for tailored price offerings and communication, you need to fetch data from the following entities: Account, Product and Contract.
Select the attributes
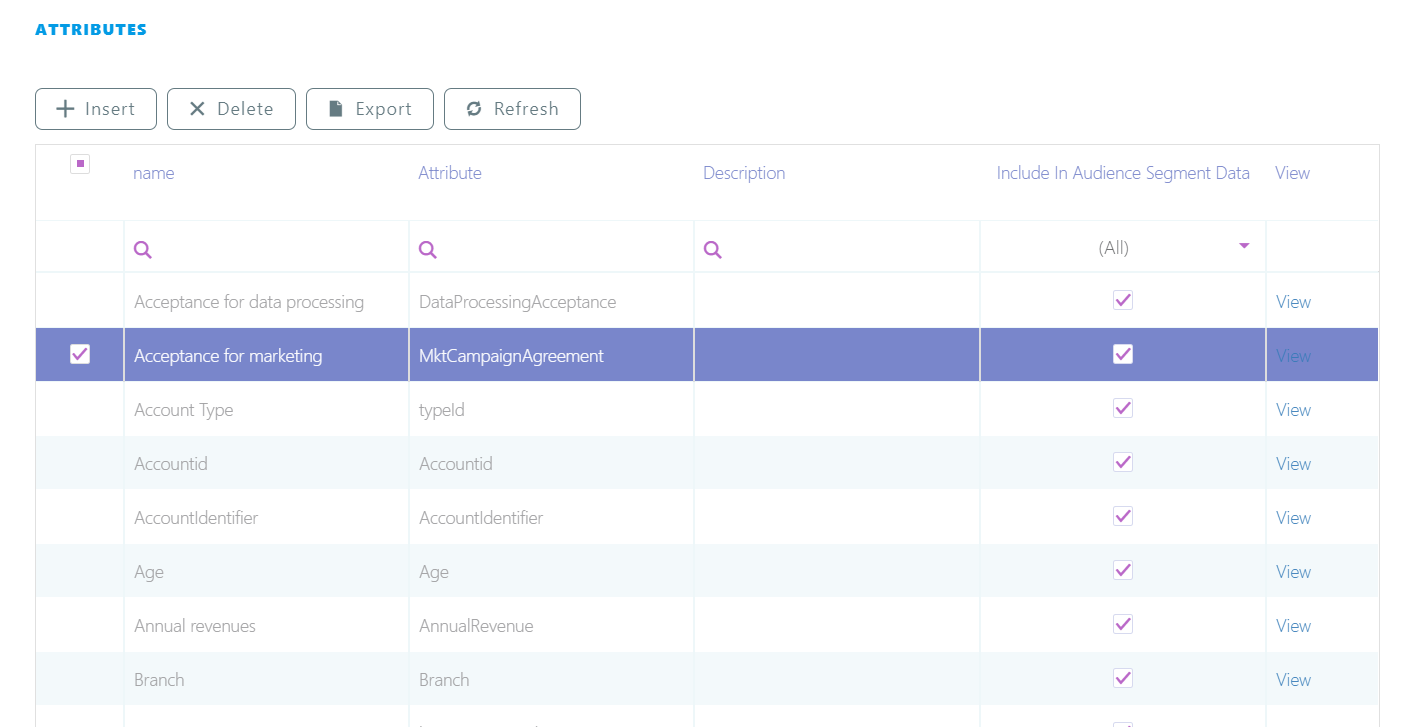
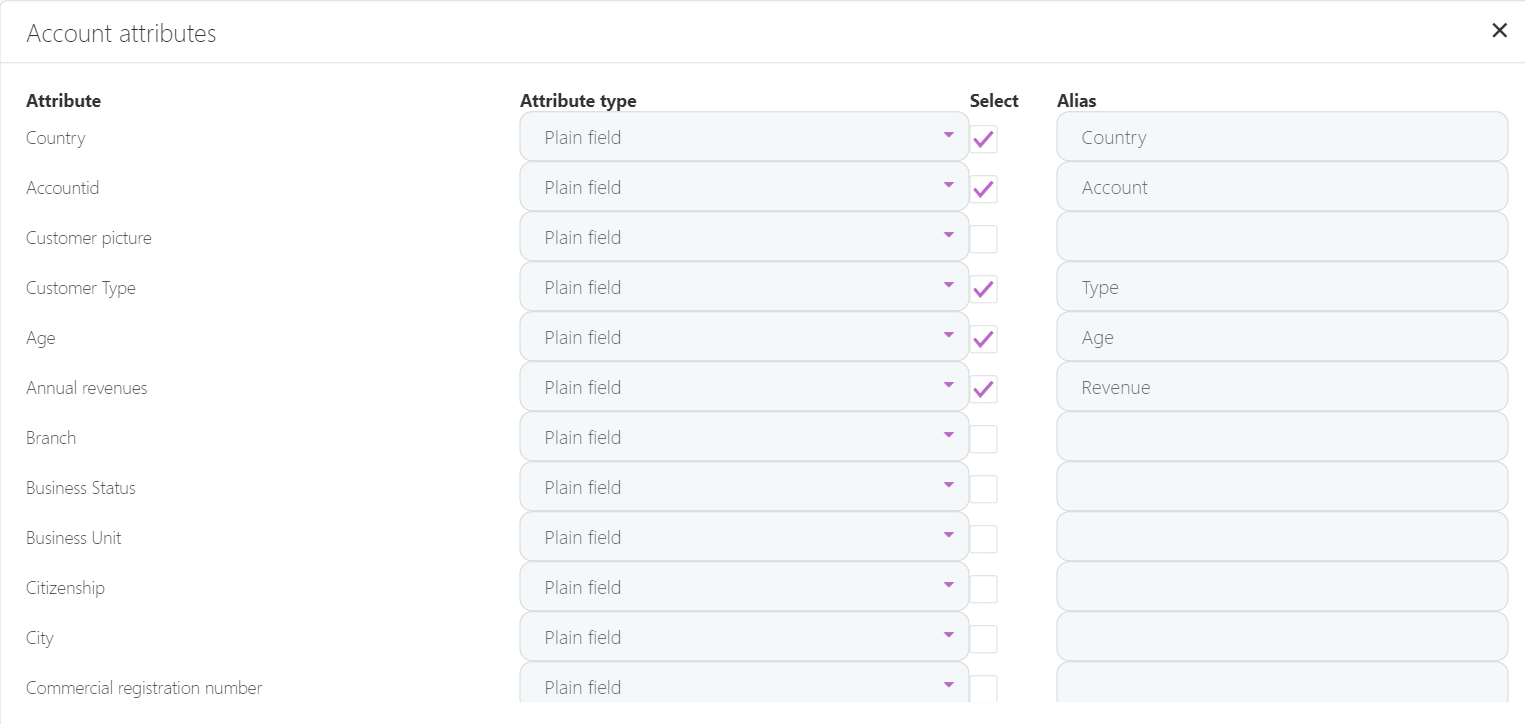
After selecting all the entities from where you want to extract information, for each entity, select the attributes to be included in the fetch. To do so, click the Attribute list button displayed below each entity. The Attributes list page will be displayed. It lists all the attributes existing on that entity. The figure below shows the attributes of the Account entity:

Select the attributes you want to include in the fetch by clicking the corresponding checkbox in the Select column.
For all selected attributes, in the Alias column, type a unique alias name.
The alias is used by the system to distinguish between various records; therefore, providing a unique alias for all selected attributes is mandatory. Do not use the same alias name for two attributes of the same or different entities. For example, you should not use the "Mobile" for an attribute existing on the entity "Account" and the "Mobile" alias for an attribute on the entity "Campaign".
Optionally, you can select how the attribute value will be displayed, by choosing one of the values available in the Attribute type drop-down list:
- Plain field - displays the actual value of the attribute. It is selected by default for all attributes.
- Sum field - displays the sum of the attribute values.
- Max field - displays the maximum of the attribute values.
- Count field - displays the number of the attribute values.
Account Attributes
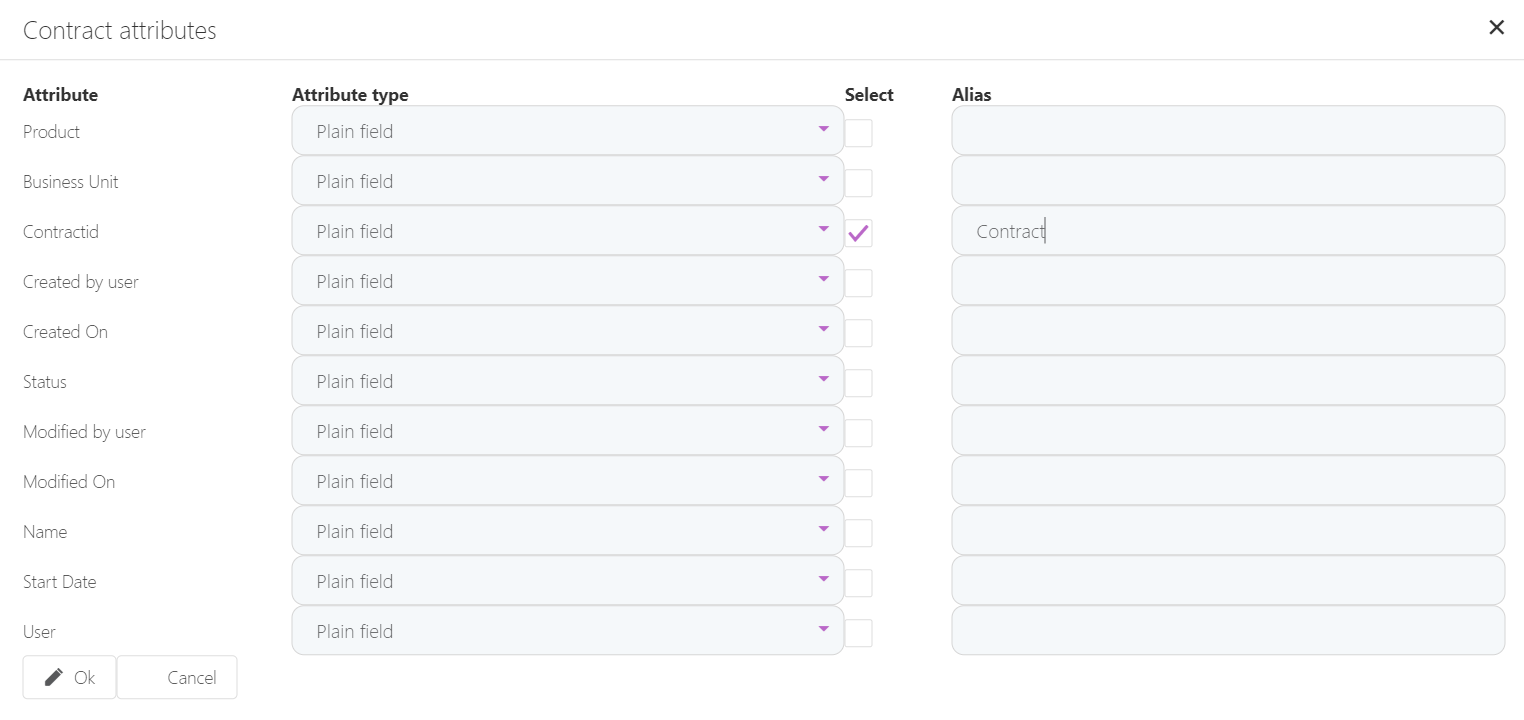
Contract Attributes
Product Attributes

Scroll-down at the bottom of the attributes list and click OK. The page listing the entity’s attributes will be closed.
Now you have to set up the fetch conditions.
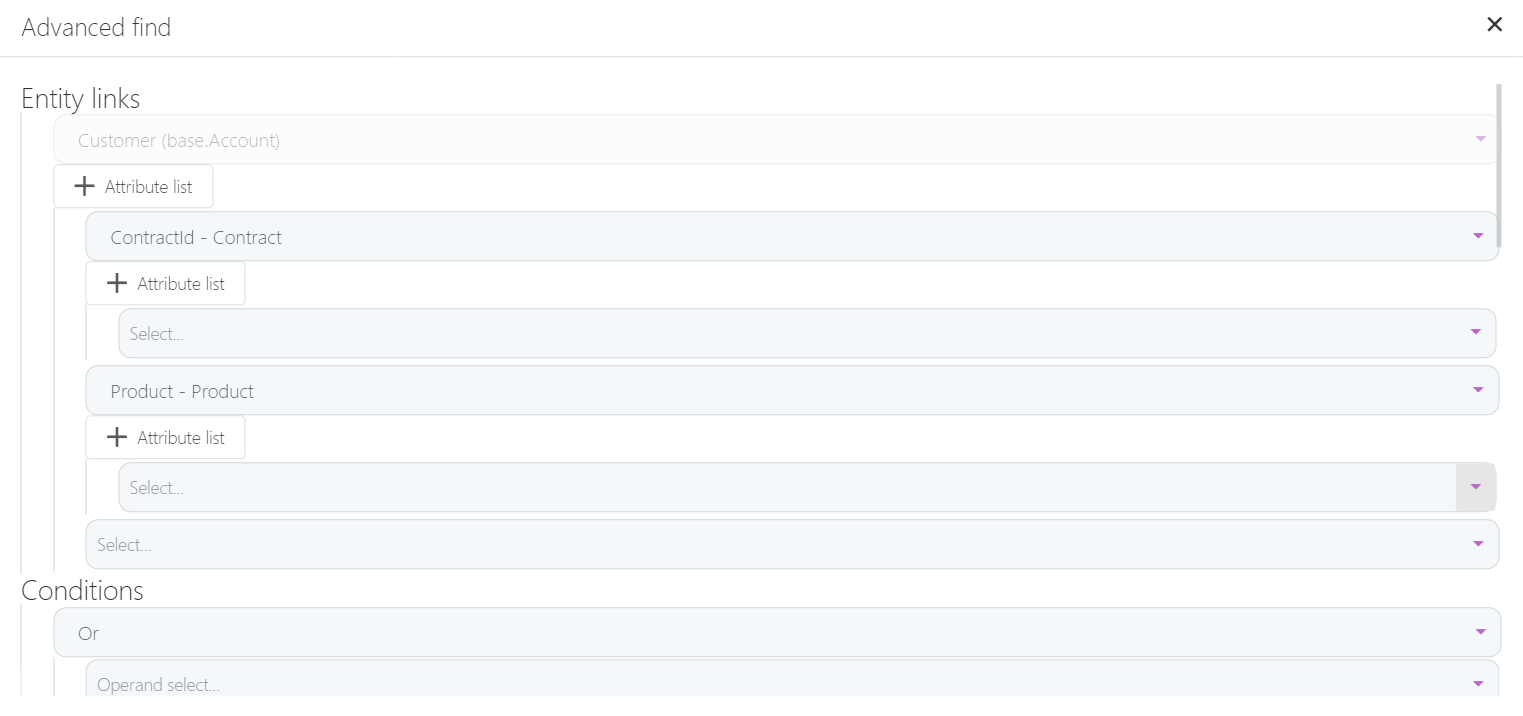
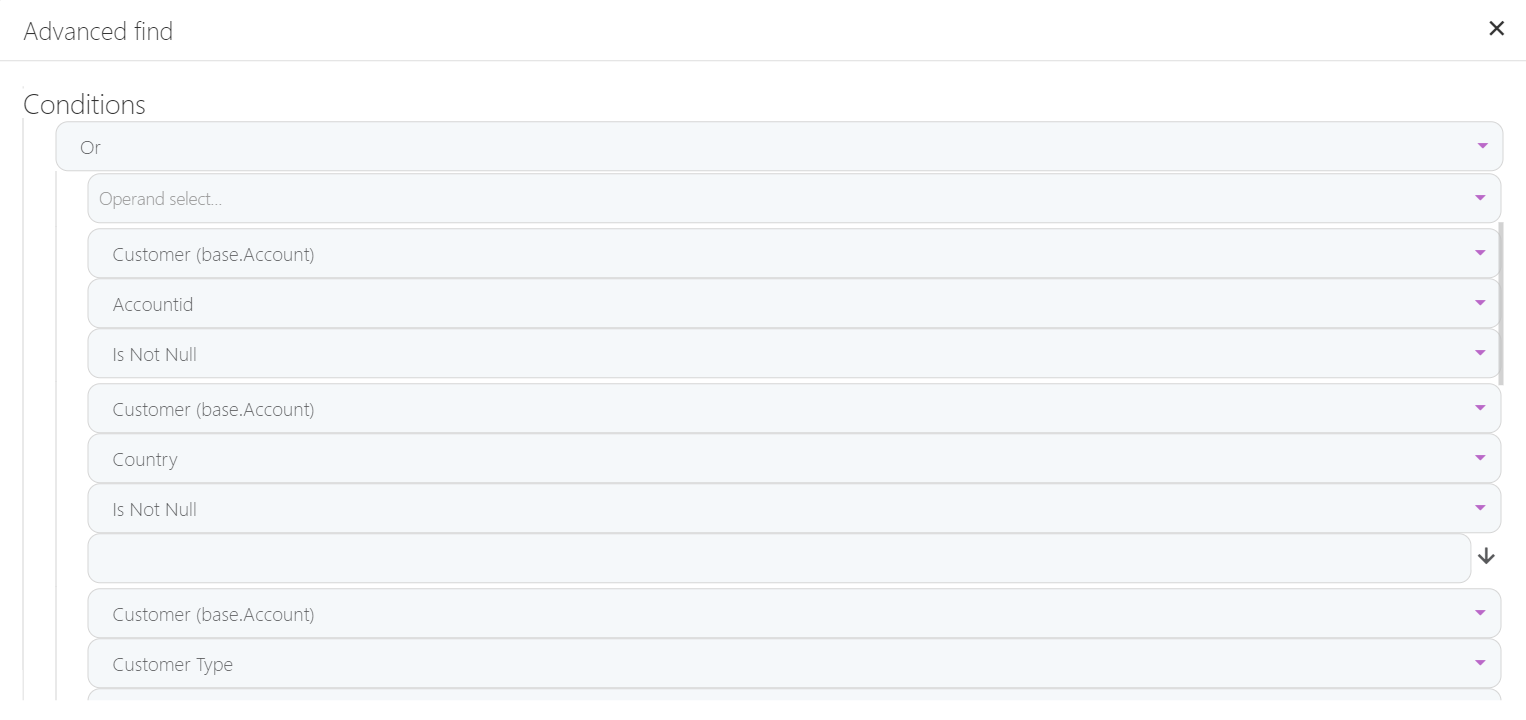
Apply Filtering Conditions
From the Conditions section you need to select the conditions which must be met in order to include a record into the data fetched from the database.
You can apply multiple conditions which need to be met separately or in combination by selecting either AND or OR as logical operator.
To set up the fetch entity data conditions, follow these steps:
- From the drop-down field displayed in the Conditions section, select the logical operator:
AND – to apply multiple conditions which need to be met separately.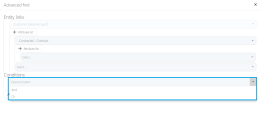
OR – to apply multiple conditions when at least one condition needs to be met.You can apply multiple conditions by using as many logical operators as you need. Once you select one, another logical operator field will be displayed beneath the first one, and so on. - Select the entity on which the condition is to be applied.
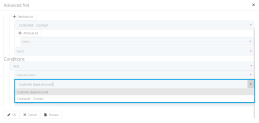 NOTEAfter selecting an entity, the Attribute select field will be displayed below the selected entity.
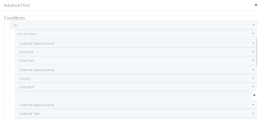
You can only select from the list of chosen entities on which the database segmentation will be done (selected in the Entity Links section). For information on how to choose entities for fetching the data, see . - Click in the Attribute select field. A drop-down list will be displayed, listing only the entity attributes selected for the fetch.

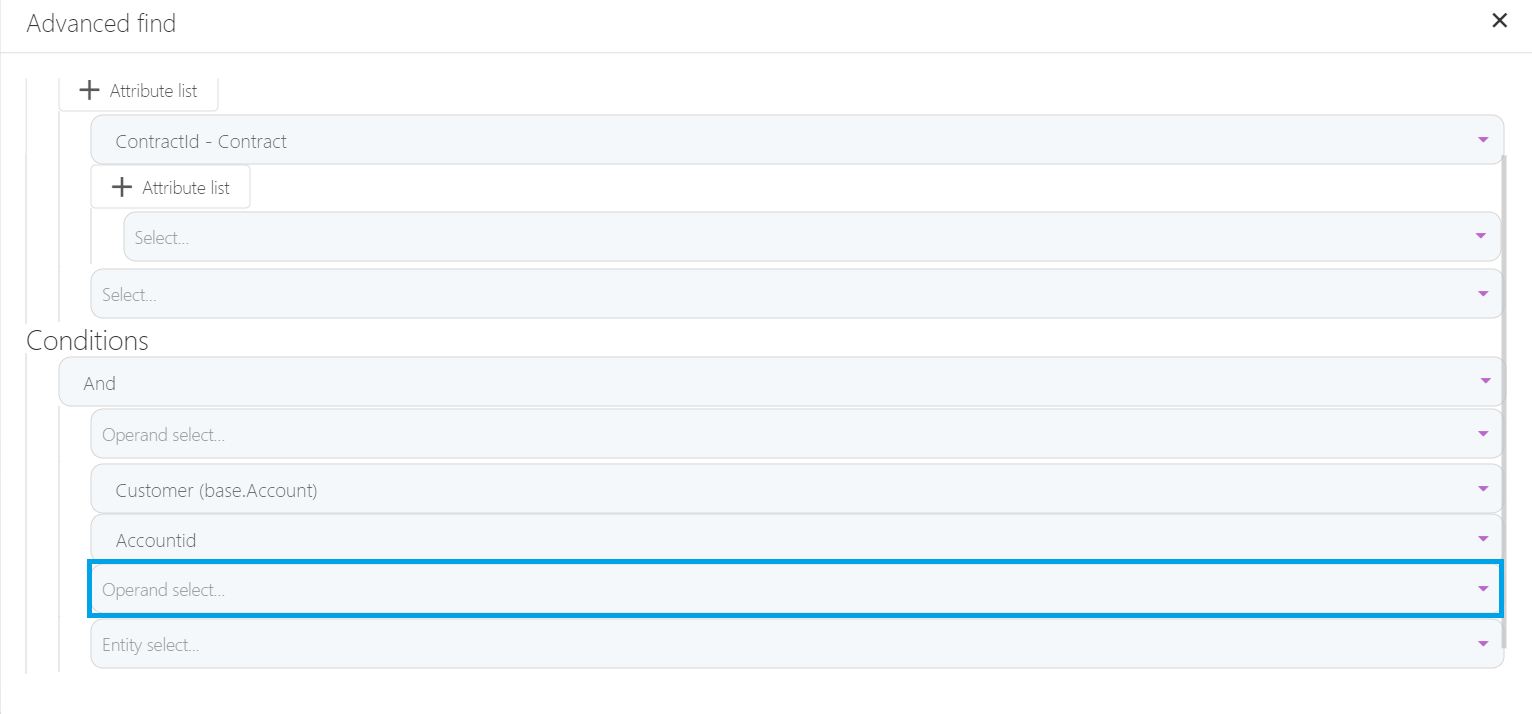
- Select an attribute existing on the entity previously selected. Below the selected attribute, the Select operand field will be displayed.
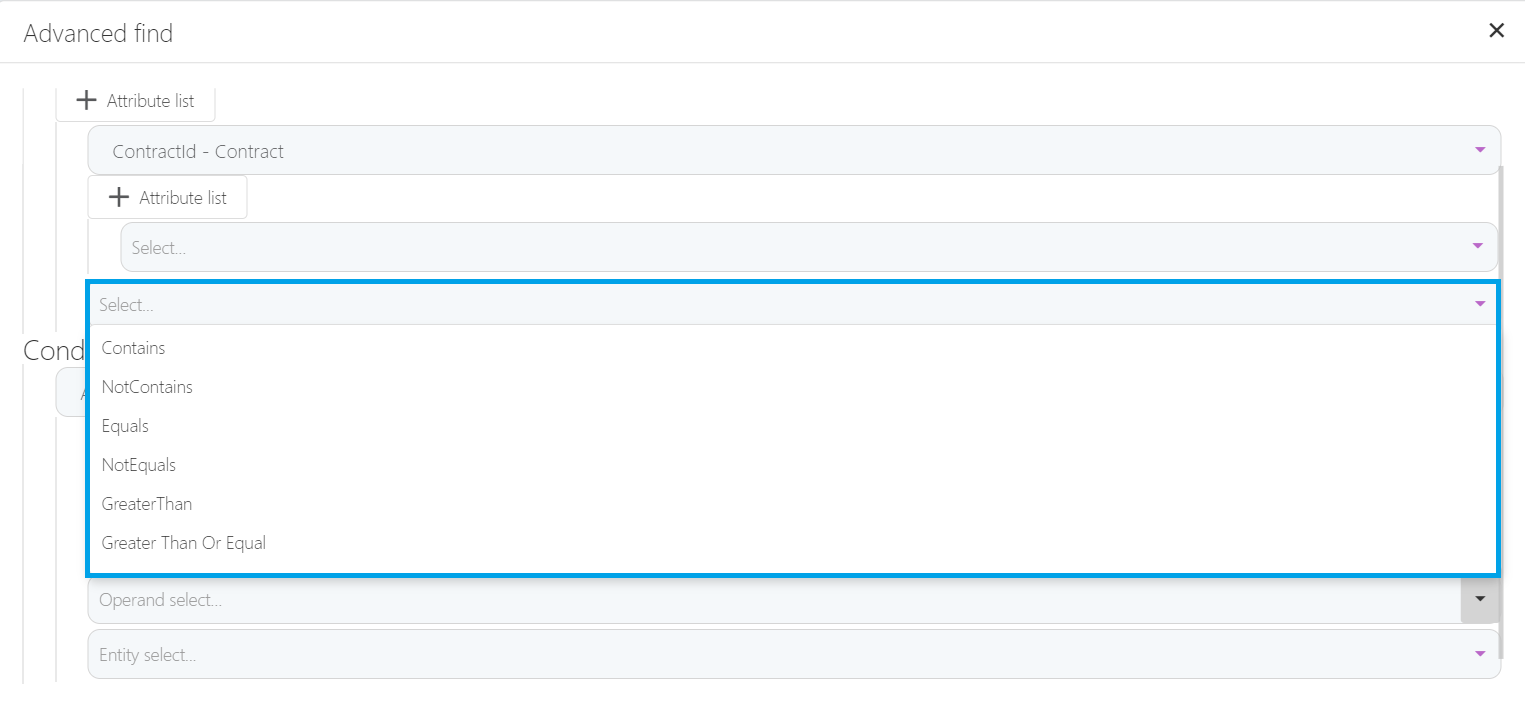
The table below describes the operands you can choose from.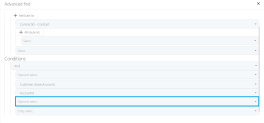
Operands Description Contains Records will be included into the data fetched from the database if the value of the selected attribute contains the value given in the field displayed below the selected operand field. NotContains Records will be included into the data fetched from the database if the value of the selected attribute does not contain the value given in the field displayed below the selected operand field. Equals Records will be included into the data fetched from the database if the value of the selected attribute equals the value given in the field displayed below the selected operand field. NotEquals Records will be included into the data fetched from the database if the value of the selected attribute is different than the value given in the field displayed below the selected operand field. Greater Than Records will be included into the data fetched from the database if the value of the selected attribute is greater than the value given in the field displayed below the selected operand field. Greater Than or Equal Records will be included into the data fetched from the database if the value of the selected attribute is greater than or equal to the value given in the field displayed below the selected operand field. Lower Than
Records will be included into the data fetched from the database if the value of the selected attribute is lower than the value given in the field displayed below the selected operand field.
Lower Than Equal
Records will be included into the data fetched from the database if the value of the selected attribute is lower than or equal to the value given in the field displayed below the selected operand field.
IsNotNull
Records will be included into the data fetched from the database if the value of the selected attribute does not contain a null value.
IsNull
Records will be included into the data fetched from the database if the value of the selected attribute has a null value.
Last X Days
Records from the last 'x' days will be included in the data fetched from database. Where x is the number of days specified in the field displayed below the operand.
Last X Months
Records from the last 'x' months will be included in the data fetched from database. Where x is the number of months specified in the field displayed below the operand.
Last X Years
Records from the last 'x' years will be included in the data fetched from database. Where x is the number of years specified in the field displayed below the operand.
Last X Weeks
Records from the last 'x' weeks will be included in the data fetched from database. Where x is the number of weeks specified in the field displayed below the operand.
Next X Days
Records which have the creation date greater than today but less than x days from today. Where x is the number of days specified in the field displayed below the operand.
Next X Months
Records which have the creation date greater than today but less than x months from today. Where x is the number of months specified in the field displayed below the operand.
Next X Years
Records which have the creation date greater than today but less than x years from today. Where x is the number of years specified in the field displayed below the operand.
- Click in the Select operand field. A drop-down list with all available operands will be displayed.

- Select an operand from the lists.
- If needed, in the text field below the operand field, enter the match value for the selected operand.


Before saving the fetch, we recommend you to preview the fetch and validate the fetch results.
Validate the Fetch Results
To validate the fetch results, preview them by clicking the Preview button at the bottom of the Advanced find page. The Preview page will be displayed. The figure below is a preview example of data fetched from the Account, Contract and Product entities.
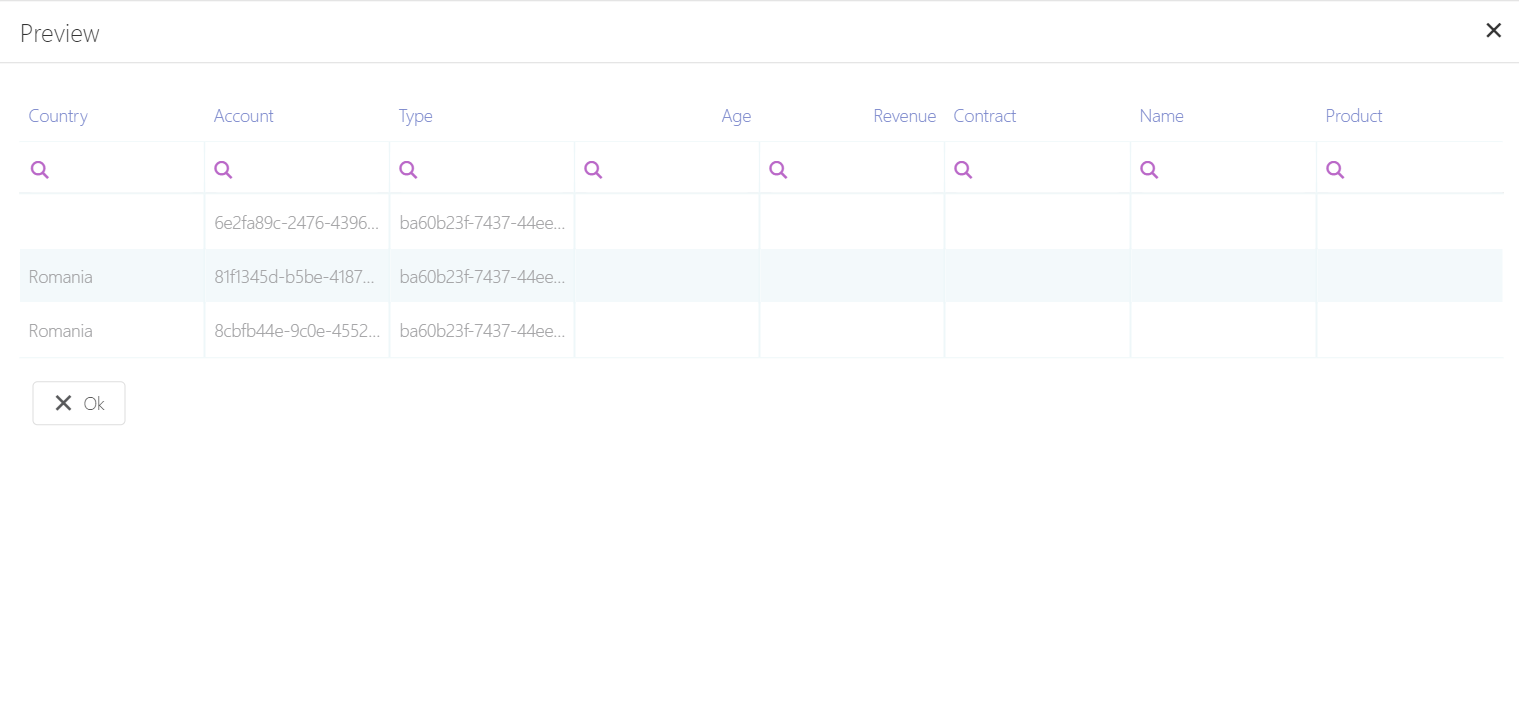
Validate the results, then click OK to close the page.
To filter the fetch, in the Advanced find page, click OK.
In the Fetch Object Expression field, provide the custom fetch expression, that is a JavaScript object. It might query and return attributes from various entities.
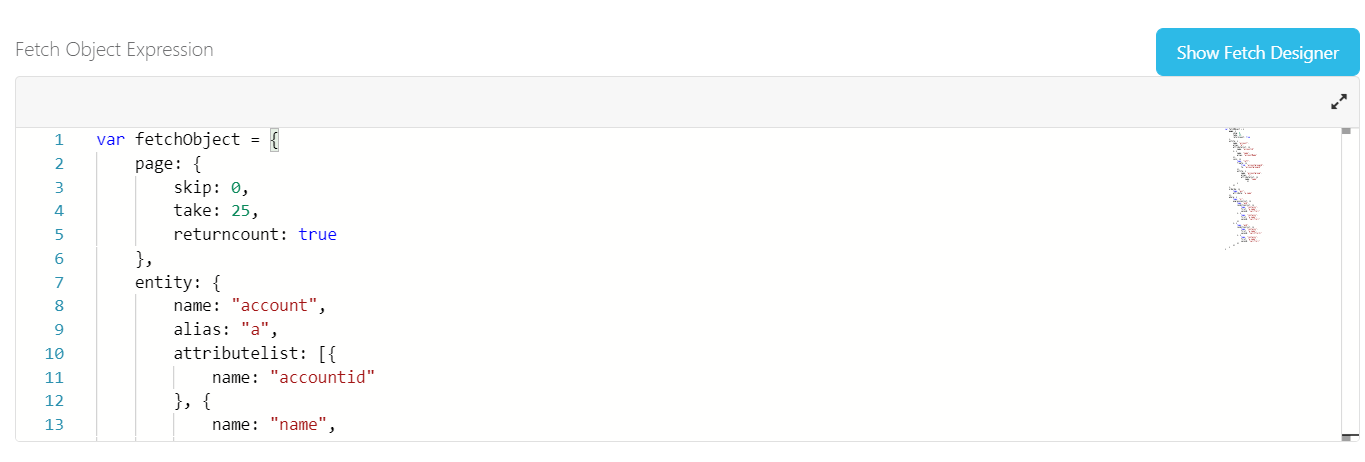
Make sure you always define aliases for fetched entities, otherwise the fetch will not work.
When joining several entities together using the Fetch Object Expression field, the first entity in the fetch expression should have the alias 'a'.
Below is an example on how the fetch expression should look like:
Joined entities alias
return {
"entity": {
"alias": "a",
"name": "AccountRelEmployer",
"attributelist": [
						{
"name": "AccountRelEmployerid"
						},
						{
"name": "Details",
						}
					],
"join": [
					{
"type": "left",
"entity": {
"alias": "entity1",
"name": "Account",
"attributelist": [
									{
"name": "Name",
"attributeType": 3
									}
				]
		},
"fromto": [
				{
"from": "ReferencedAccountId",
"to": "Accountid"
				}
		  	 ]
	},
	{
"type": "left",
"entity": {
"alias": "osi",
"name": "optionsetitem",
"attributelist": [
							{
"name": "name",
								Fintech OS - UI Designer
"attributeType": 3
							}
						]
			},
"fromto": [
				{
"from": "EmploymentTypeId",
"to": "optionsetitemid"
				}
			]
		},
	]
},
where:{}
}
To render the view on the related entity data form, add an empty 'where' condition:
Empty 'where' condition
return {
"entity": {
"alias": "lookup",
"name": "AccountRelEmployer",
"attributelist": [
						{
"name": "AccountRelEmployerid"
						},
						{
"name": "Details",
						}
					],
"join": [
					{
"type": "left",
"entity": {
"alias": "entity1",
"name": "Account",
"attributelist": [
									{
"name": "Name",
"attributeType": 3
									},
								]
					},
"fromto": [
					{
"from": "ReferencedAccountId",
"to": "Accountid"
					}
				]
			},
			{
"type": "left",
"entity": {
"alias": "osi",
"name": "optionsetitem",
"attributelist": [
									{
"name": "name",
"attributeType": 3
									}
								]
					},
"fromto": [
						{
"from": "EmploymentTypeId",
"to": "optionsetitemid"
						}
					]
			},
		]
	},
where:{}
} The Fetch Designer is a visual tool that allows you to populate the Fetch Object Expression field without having to code. When you define a fetch in the Fetch Designer, any existing content in the Fetch Object Expression field will be overwritten.
STEP 2. Define the View Columns
You have two options to define the view header (that is, the columns to be displayed on the view):
- In the Data field, list the name of the fields which will define the columns displayed by the view.
Make sure that you list the name of the fields separated by comma.

- In the Entity View Columns section, insert the desired view columns.

To define the view columns from the Entity View columns, click the Insert button at the top of the section. The Add Entity View Column page will be displayed. Provide the following view column details:
|
Property |
Description |
|---|---|
|
Entity View |
The field is automatically filled in with the name of the selected view. |
|
Width |
The column width. Enter a numeric value. |
|
Cell Template |
A custom HTML element which defines the cell layout on the entity view column. In this field you can add text, HTML or tokens. A token can be any attribute returned by the fetch expression. Attributes are referenced as tokens by their name prefixed by the alias of the fetch inside curly brackets (e.g., {base.Name}). Cell template example: Copy
For more information on how to use cell templates for views, see Create Views using Cell Template. |
|
Width Is Percentage |
If selected, it indicates that the value provided in the Width field is percentage. |
|
Attribute Name |
The name of the attribute whose values will be displayed in the column. You can overwrite the attribute when providing a cell template. |
|
Label |
The column name that will be displayed on the entity view in the user interface. |
|
Allow Editing |
If selected, the column view can be edited. |
At the upper-right corner of the page, click the Save and close icon. Add as many view columns as you need. They will be listed in the Entity View Columns section.

The view columns are displayed from left to right in the order of their index (OrderIdx). The first column has the OrderIdx set to 1.
To change the order in which the columns are displayed on the view, in the Entity View Columns list drag and drop rows.
You can also auto-populate the view columns. For more information, see Generate View Columns..
STEP 3. Set the default sorting of the view records
By default the view records are sorted ascending by the entity primary attribute.
To change the default view records sorting, in the Sort Expression field, enter the attribute name by which the records will be sorted, followed by an asterisk (*) symbol and the sorting direction: asc for ascendant and desc for descendant.

The figure below shows how a view looks like in the user interface.