
Defining Action Groups
FintechOS Studio allows you to create a custom group of actions that can be triggered on demand on data form driven flows, when a button is clicked.
This section walks you through the steps you need to follow to create an action group.
Prerequisite
- You need to have an on-demand automation script defined on the entity for which you create the form driven flow.
STEP 1. Add action group
On the configuration page of the form driven flow, click the Action Groups tab.
At the top of the Action Groups section, click the Insert button. The Add Action Group page appears. Provide the following properties:
| Property | Description |
|---|---|
| Name | The name of the action group. Make sure that you use the following naming convention: pascal case, no special characters and no blank spaces. |
| Display Name | The name of the action group that will displayed in the Digital Experience Portal. |
| Entity Form | Select the data form for which you define the action group. |
Click the Save and reload icon. The Add Action Group page is replaced by the Edit Action Group page and the Actions section becomes available.
STEP 2. Add endpoints
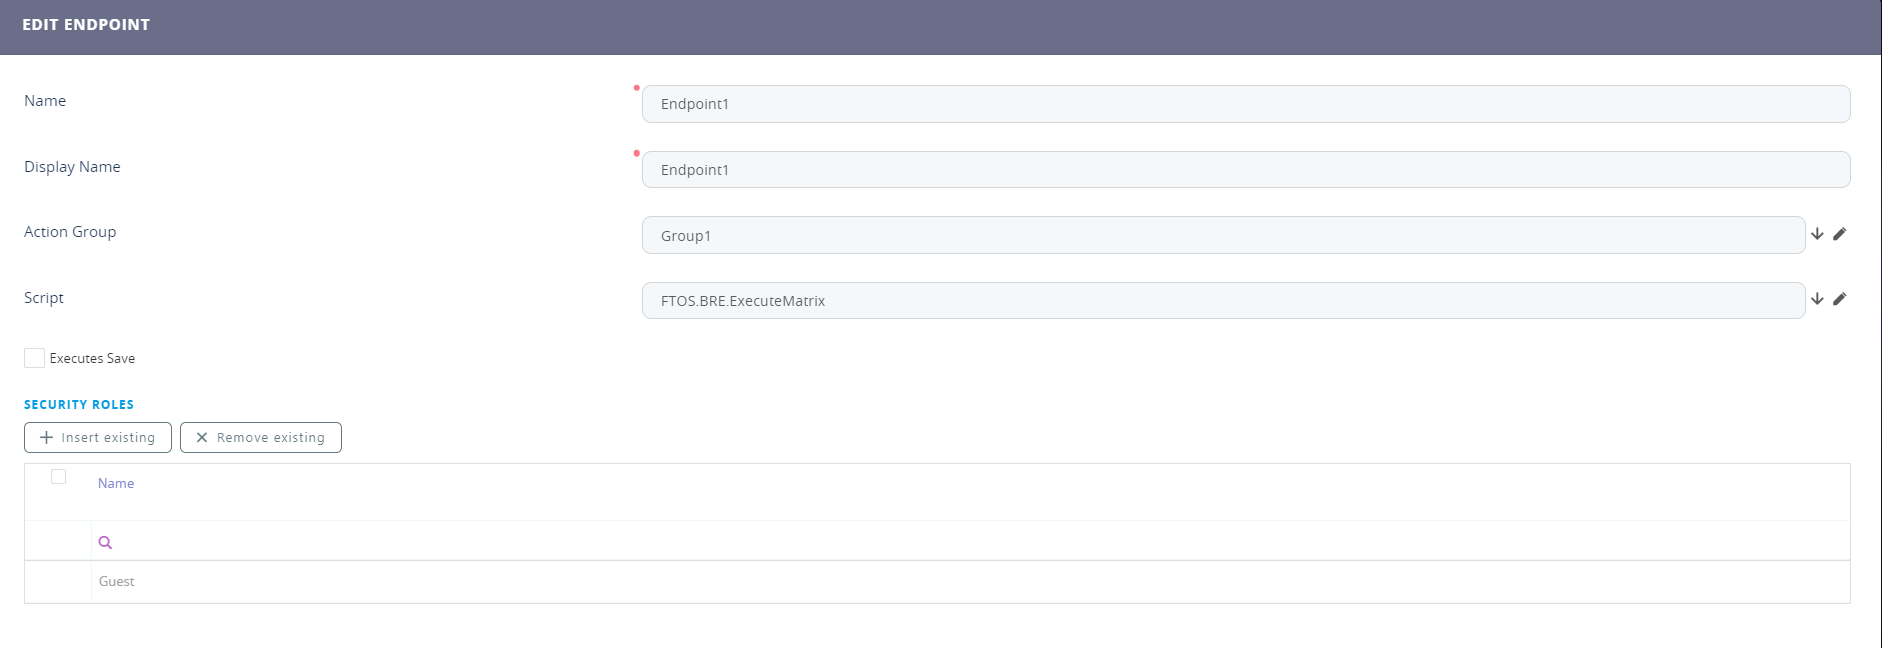
Add the endpoints on which actions defined in the selected on-demand automation scripts will be run on button click. To do so, from the Endpoints section, click the Insert button. The Add Endpoint page will be displayed. Provide the following action properties:
| Property | Description |
|---|---|
| Name | The name of the endpoint that is used by the system |
| Display Name | The name of the endpoint that will be displayed in the Portal UI. |
| Script | From the Script drop-down, select the on-demand automation script which will be run on button click. For more information on automation scripts, see Server Scripts. If you have no on demand scripts defined, you can add one by clicking the Script drop-down, clicking the Insert button in the page listing the available scripts and in the Add Scripts page providing the script properties. |
| Executes Save | Saves after the script execution. |
At the top-right corner of the page, click the Save and close icon.
You can add as many endpoints as you need. The endpoints are displayed in order of their index. To change their order index, drag and drop the desired action row.
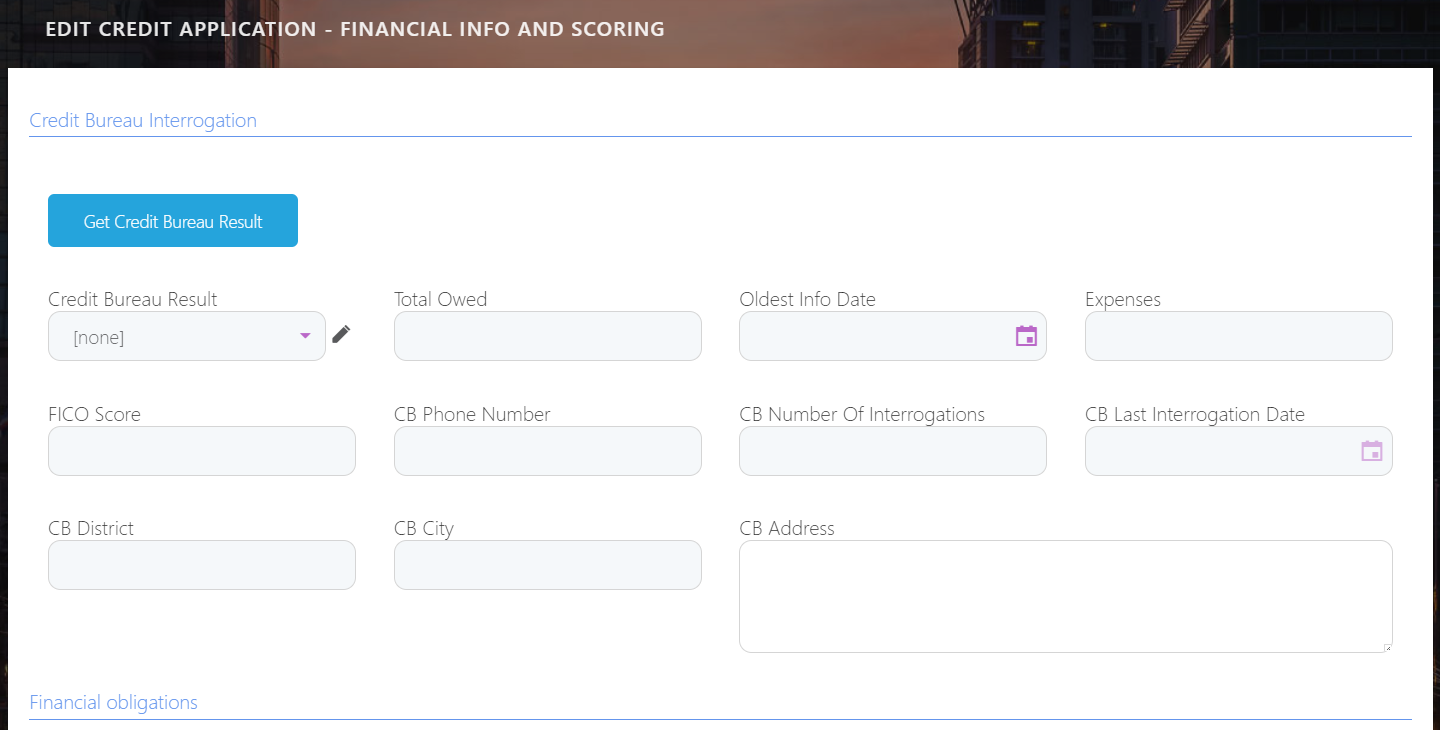
The figure below shows the actions defined in the Action Groups for the credit bureau interrogation in the user interface.
How to hide the action button
To hide the action button, click the Advanced tab, then click the After Events tab and in the field type the following JavaScript code:
$("div[data-action-group-name="<the name of the action group you want to hide>"]").hide();
At the top-right corner of the page, click one of the save icons to save the changes. The action button will be hidden.