Manage Payments
Billing & Collection allows you to add payments into the system, starting with v24.3.2. The bulk of payment processing is done automatically when you upload the statement files, for v24.3.0 and below. The solution can be used in conjunction with different types of incoming or outgoing payments - such as bank payment orders, direct debit payments, credit card payments, or payments made through online processors.
Follow the steps below to view and create new payments:
-
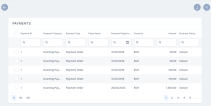
In FintechOS Portal, go to Main Menu > Billing & Collection > Payments. The Payments grid is displayed, offering you an overview of all the payments - incoming and outgoing, in their current business statuses Unallocated, Partially Allocated and Closed (for fully allocated payments).
-
Double-click a record to inspect it. If a payment record is in the Unallocated or Partially Allocated business status, the Unallocated Payments Form is displayed, where you can manually allocate, deallocate or return that payment. For step by step instructions, consult also the Unallocated Payments or Outgoing Payment Requests pages.
-
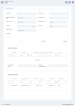
Click the Insert button at the top of the screen. The Insert Payment form opens.
-
Add the following:
-
Payment ID (mandatory)
-
Payer Name: the name of the customer making the payment. It is mandatory.
-
Payment Date
-
Amount (mandatory)
-
Currency (mandatory)
-
Payment Type: choose the type of payment.
Add a comment, if needed.
-
-
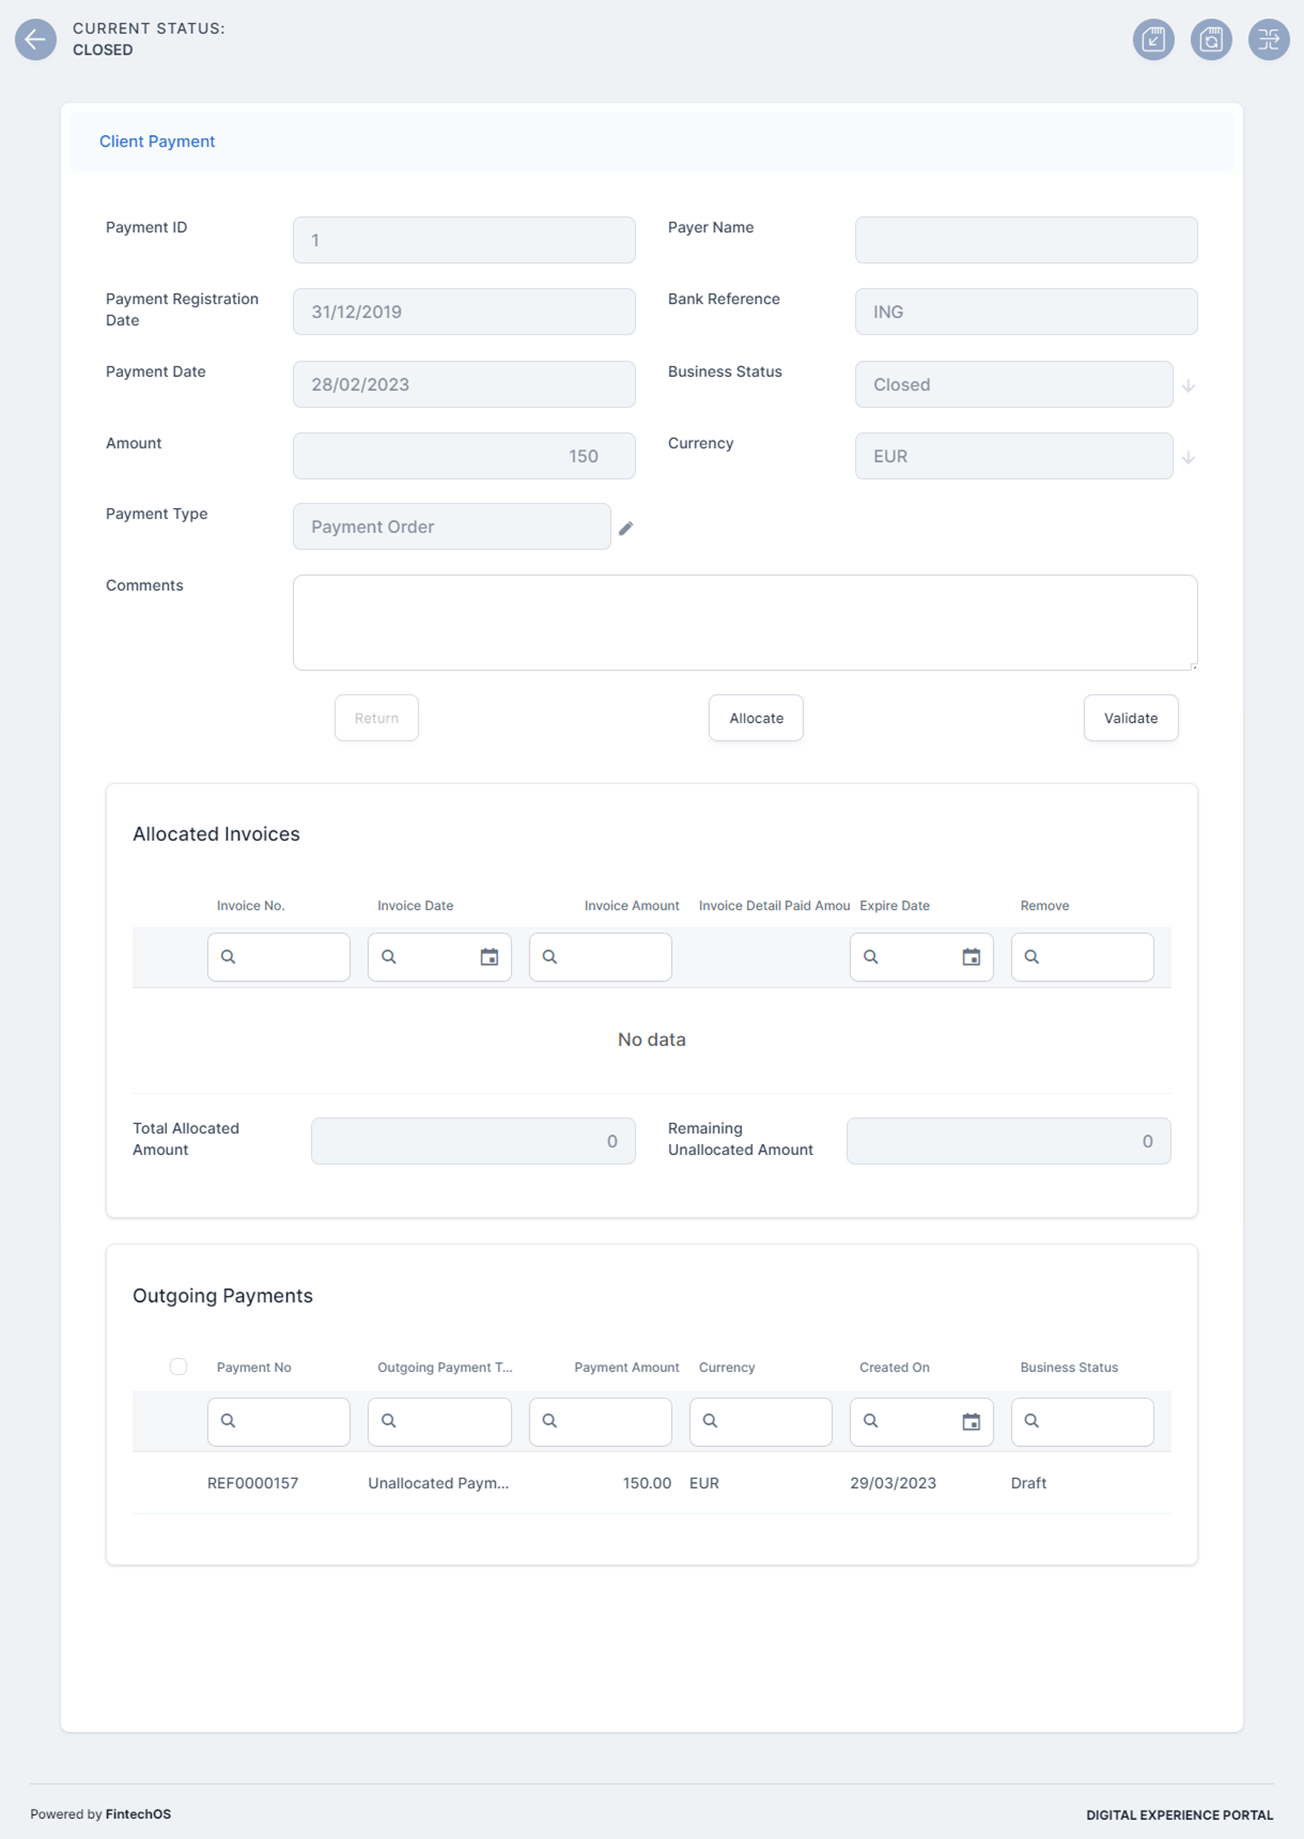
Click Save. The Client Payment form opens displaying the recently created payment, in the Unallocated business status.


Allocate Payments
-
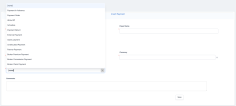
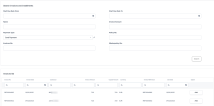
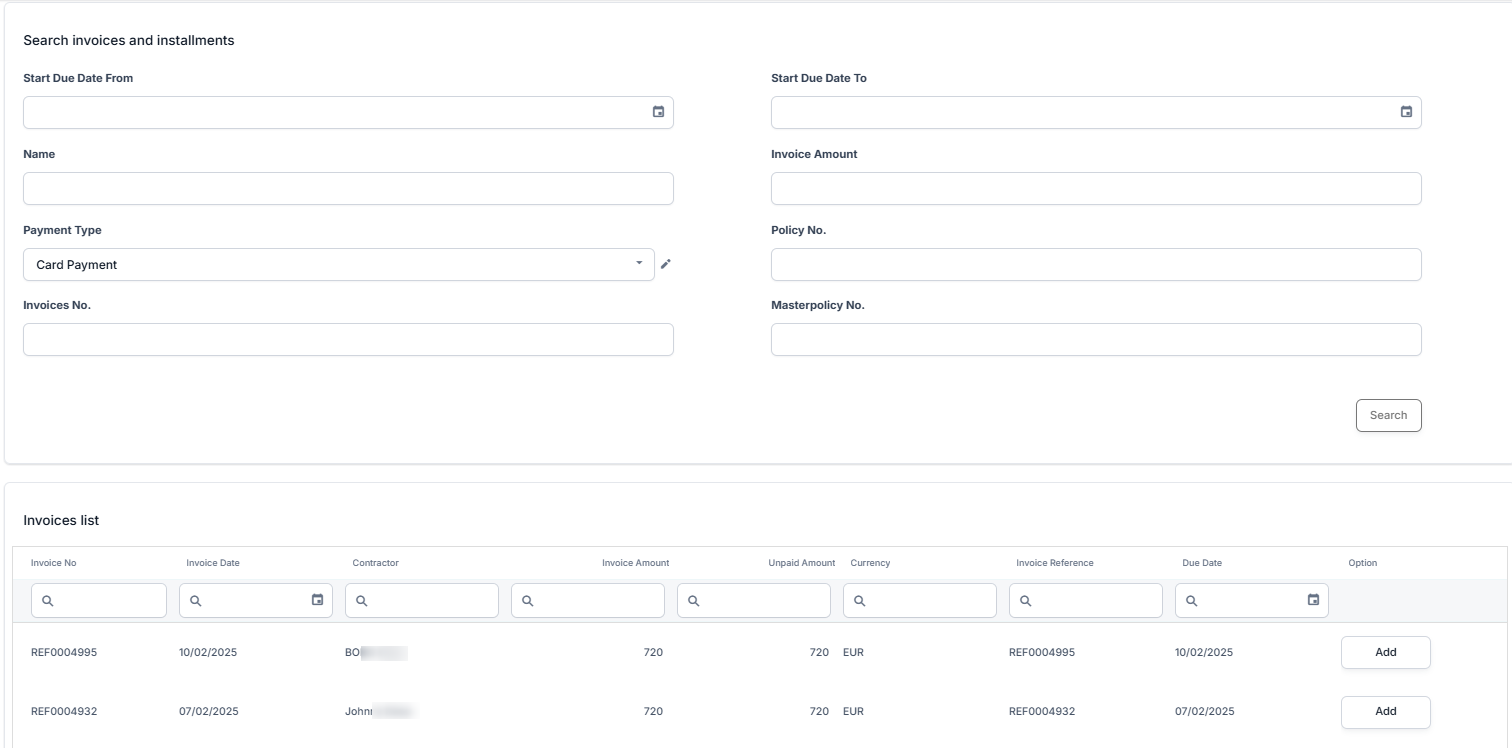
Click Allocate, and the Search invoices and installments section opens. This allows you to tie the current payment to the payment plan of a policy or masterpolicy.
-
Identify an invoice by using the filters, such as policy no., masterpolicy no, start due date, invoices no, etc. Click Search to pull up invoices that meet the criteria.
-
Click Add to the one that you want to attach the payment to. The Allocated Invoices section is displayed, showing the invoice np, invoice date, amount, expire date, total allocated amount, and remaining unallocated amount. To remove the payment, click Remove.
-
When done, click Validate. The form refreshes and the business status is changed to Allocated or Partially Allocated.
Refund Payments
You can refund payments made with a credit card by using the Refund button, which cancels a confirmed payment. This is available only for payments that are not in the Closed status. The refund operation is available only after configuring the payment processor through the Payment Hub.
Return Payments
There are cases when you need to return the payment back to the payer. For example, when you cannot allocate the amount because the payment details are missing, such as providing the correct unique identifier for the installment or the number of the policy. Another example is when you cannot allocate the whole amount of the incoming payment and need to return the rest. You can only return payments that are Unallocated or Partially Allocated status. You cannot return payments that are Closed. The return payments option is mostly used with payments imported and allocated through a bank statement, and it generates an outgoing payment. Find more details in the Return Payments section.