Product Admin Configuration
After creating an insurance product, go to the Product Admin Configuration form to set pricing rules, policy rules, claims, formula mapping, and payment types.
-
In Studio, click the main menu and navigate to the Product Admin Configuration. Click Add Product Configuration and select Insurance Product Admin.
-
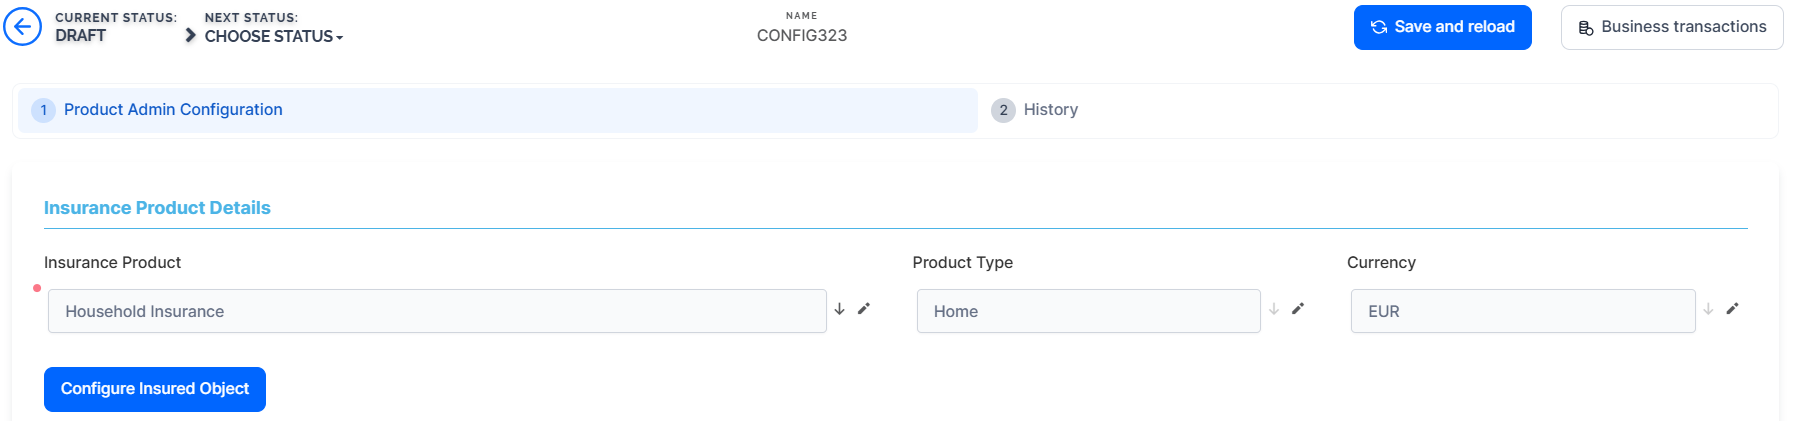
Click Save and Reload. The Product Admin Configuration form opens.
-
Under Insurance Products, select your product that you want to attach to this configuration.
-
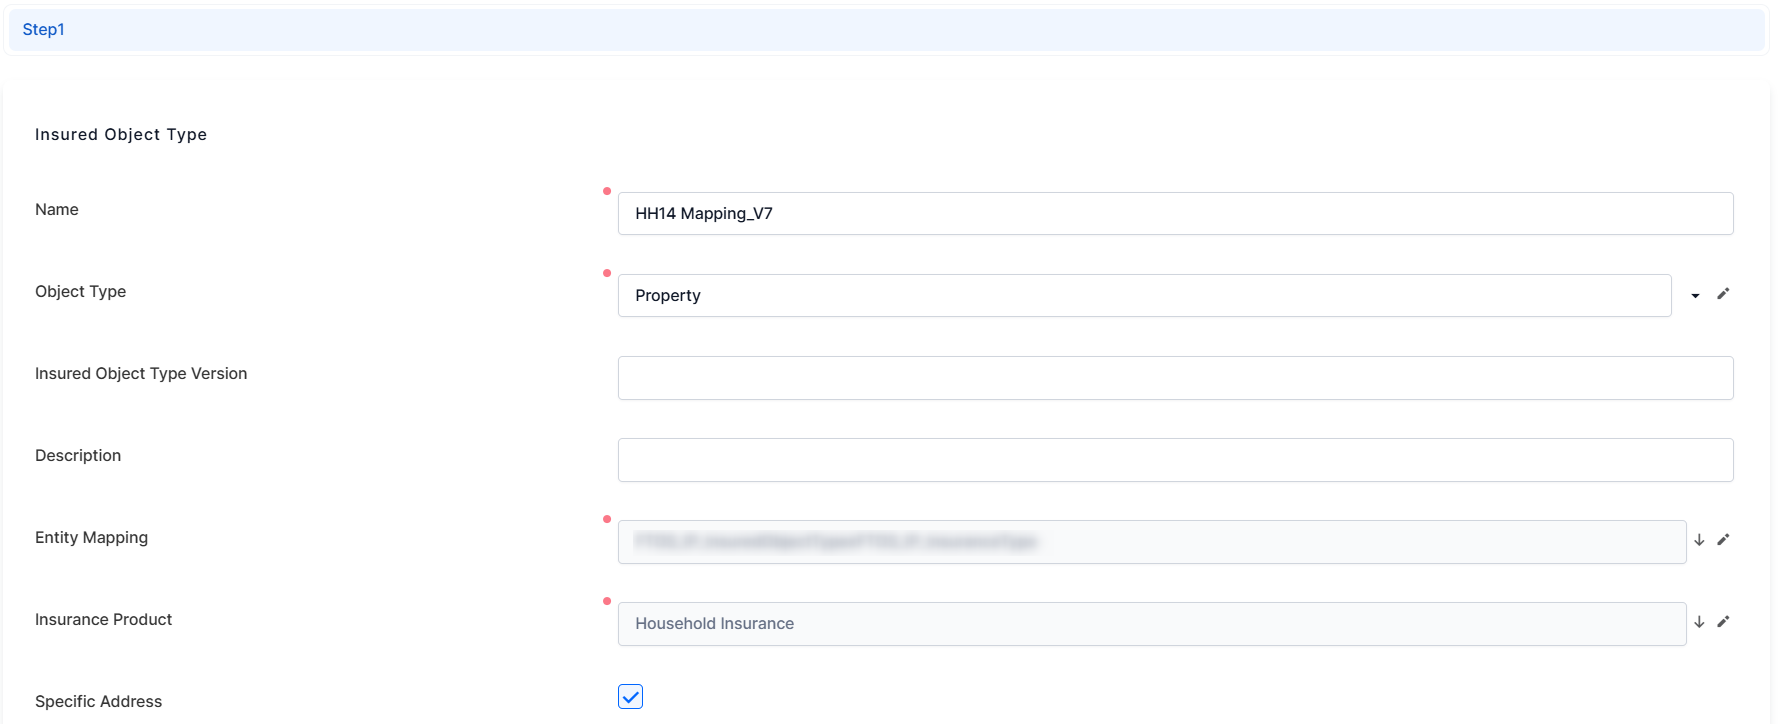
Click Configure Insured Object.
-
in the Entity Mapping field, add the entity built in the project as an extension of the Insured Object entity.
-
under Dimensions, map each attribute from the entity developed for this project.
-
-
Under the Pricing Rules category, tick the box under the MQ Individual Offer to allow only one quote under the Master Quote to be selected as a beneficiary. If left unchecked, all quotes under the MQ policy must be selected.
-
If you tick the box under MQ Issuance for Passed Quotes so that quotes that pass the underwriting (UW) rules are generated even if not all rules are satisfied. If left unchecked, if any rule fails, no quotes will be generated.
-
Under the Policy Rules category, tick the box under the Overlapping Policies to allow multiple policies on the same product for a customer.

-
Under the Claims category, in the Total Indemnity Limit, enter the maximum indemnity limit for the policy.
-
In the Claim Notification Period Limit field, define the maximum notification period limit (in hours) for claims submission.
-
In the Premium Calculation Formula Mapping category, click Insert to add the Insurance Product Item Formula defined for your product.
-
Click Save and reload.
Mapping Data for Different Scenarios
-
Map Quote Admin Data: Use this when mapping data for renewals with new offers.
-
Go to the Definition screen, select Master Entity, and add the project-developed entity extension.
-
On the Input screen, map the attributes required by the formula.
-
Map Policy Data: Required when configuring mid-term adjustments (MTAs).
-
Go to the Definition screen, select Master Entity, and add the project-developed entity extension.
-
On the Input screen, map the attributes needed for MTAs.
-
-
Map Quote & Bind Data: Use this for recalculating quotes in the origination journey.
-
On the Definition screen, select Master Entity and add the relevant entity extension.
-
On the Input screen, map the attributes as per the formula.
-
You need to define an audience segment in order to be able to map the attributes.
-
Under the Underwriting Formula Mapping category, click Insert to add the formula required for underwriting as defined in your project.
-
Click Save and reload.
Mapping Data for Underwriting Scenarios
- Map Quote Admin Data: Use this when mapping data for renewals with new offers.
-
Go to the Definition screen, select Master Entity, and add the project-developed entity extension.
-
On the Input screen, map the attributes required by the formula.
-
Map Policy Data: Required when configuring mid-term adjustments (MTAs).
-
Go to the Definition screen, select Master Entity, and add the project-developed entity extension.
-
On the Input screen, map the attributes needed for MTAs.
-
-
Map Quote & Bind Data: Use this for recalculating quotes in the origination journey.
-
On the Definition screen, select Master Entity and add the relevant entity extension.
-
On the Input screen, map the attributes as per the formula.
-
You need to define an audience segment in order to be able to map the attributes.