Manage Quotes
The Quote Admin solution enables you to securely store and efficiently manage a virtually unlimited number of digital quotes. In FintechOS Portal, you can view the list of all quotes stored in your environment.
Generate Quotes
Quotes are registered in the system once a new quotes are generated running the Quote Generation API or as part of the renewal offer process. Therefore, you can choose one of the options below to generate a quote:
-
Run the Quote Generation API.
-
Run the Renewal Offer Generate Quote API.
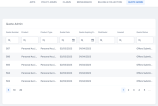
View Generated Quotes
There are two ways you can access the list of existing quotes in FintechOS Portal:
-
Click Quote Admin in the main dashboard, and the list is displayed;
-
Go to Main Menu > Quote Admin > Quotes.

-
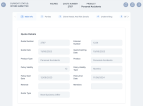
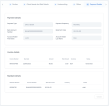
Double-click any quote record to view its components. The quote form opens, displaying the first tab, Main Info, with the following sections:
-
The Quote Details section. The details in this grid are read-only, provided in the Quote Generation API:
-
Quote Number: The unique identifier of the quote record;
-
External Number: The external reference of the quote;
-
Quote Date: The date when the quote takes effect;
-
Quote Expiring Date: The expiration date of the quote. When the current date is greater than the expiring date, the quote transitions to the Expired status;
-
Product Type: The insured product type;
-
Product: The insured product;
-
Policy Validity: The numeric value of the policy validity;
-
Policy Validity Type: The policy validity type: months, days etc;
-
Policy Start Date: The date when the policy takes effect;
-
Policy End Date: The date when the policy effect ends;
-
Renewal: The renewal type for the contract;
-
Mentions: Mentions regarding the quote;
-
Quote Type: The type of the quote.
-
-
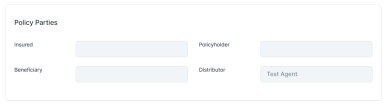
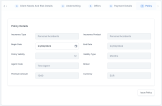
The Policy Parties section. The details in this grid are read-only, provided in the Quote Generation API.
-
Insured: The insured party of the quote;
-
Policyholder: The policyholder;
-
Beneficiary: The beneficiary of the insurance;
-
Distributor: The quote distributor.
-
-
-
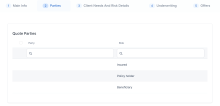
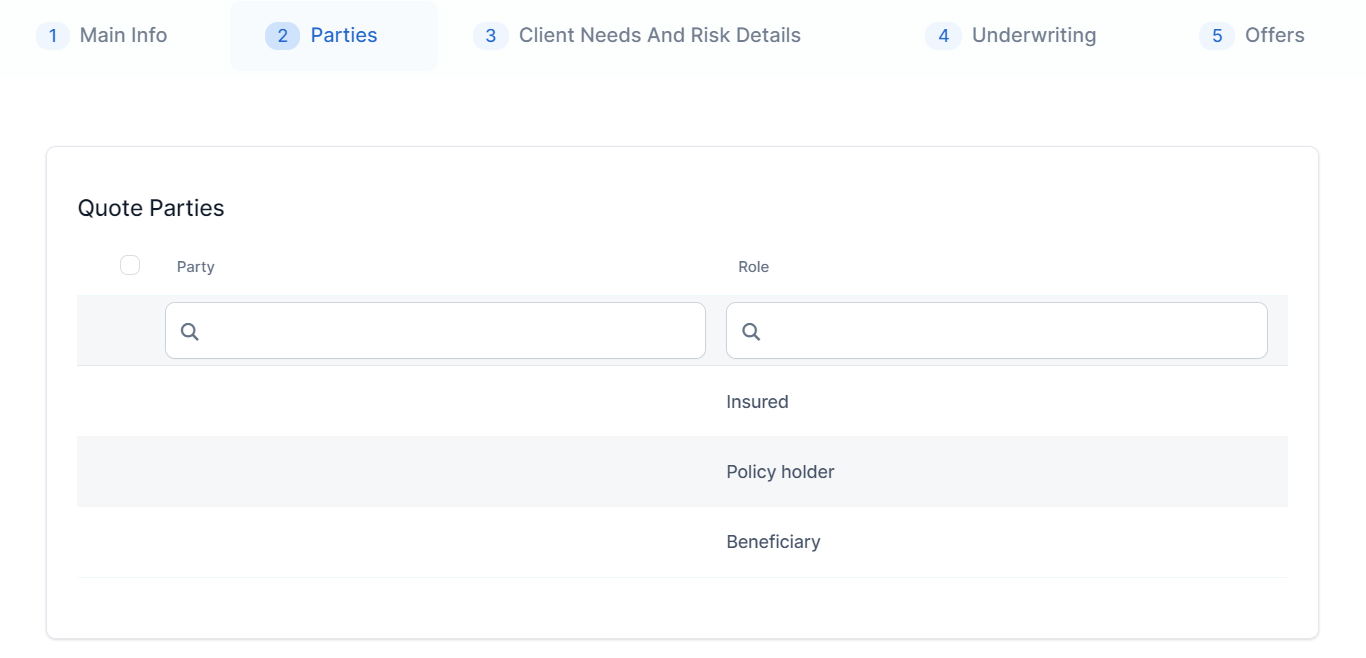
Click the second tab, Parties to display the list of all parties involved in the quoted policy.
-
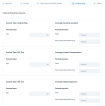
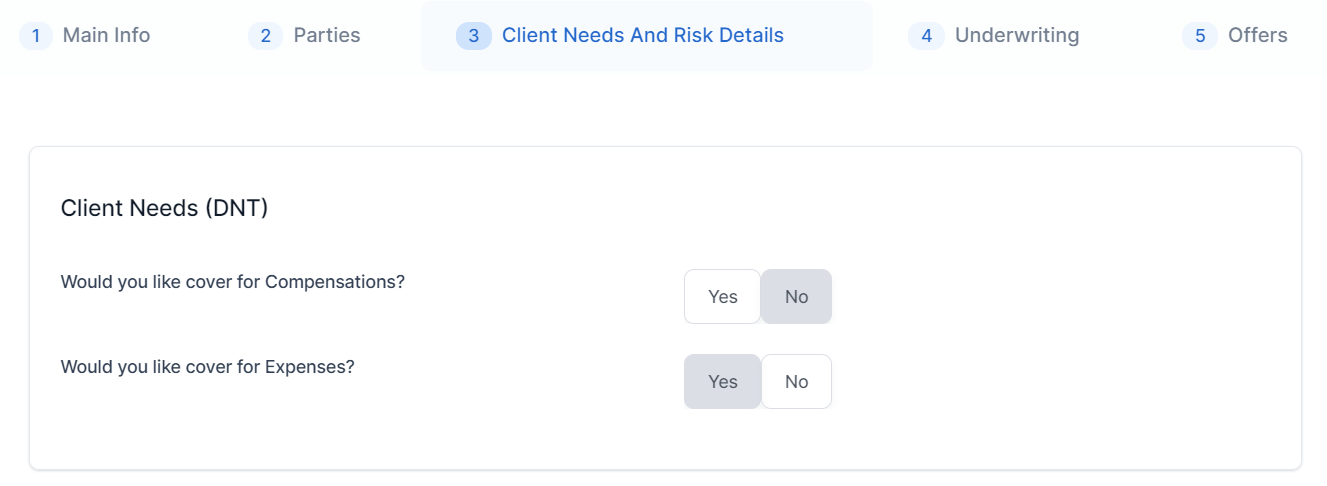
Click the third tab, Client Needs and Risk Details. The following sections are displayed:
-
The Client Needs (DNT) section contains the DNT questions and the answers provided by the customer;

-
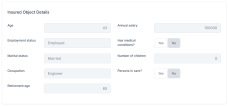
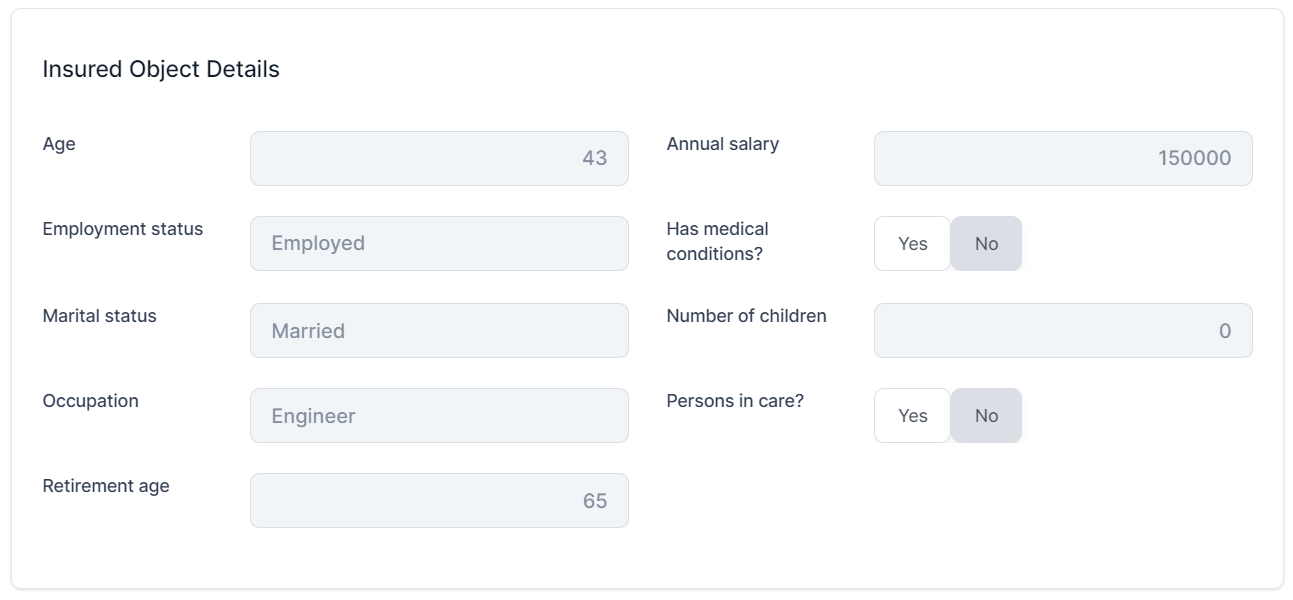
The Insured Object Details section lists data about the object that is insured.
-
-
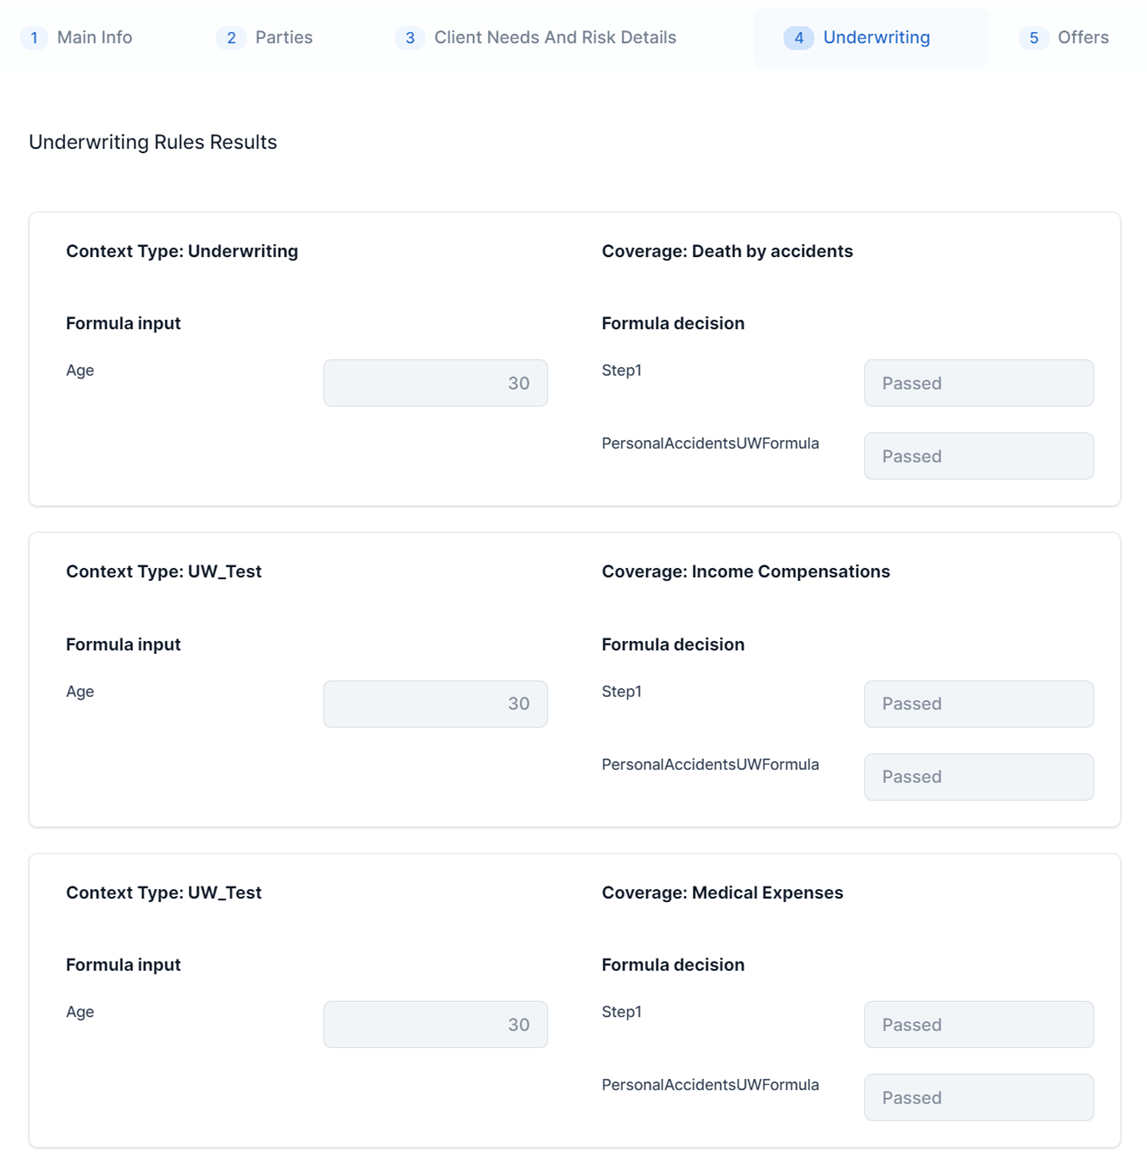
Click the fourth tab, Underwriting. This section presents the underwriting rules results for each chosen coverage, based on their formulas.
-
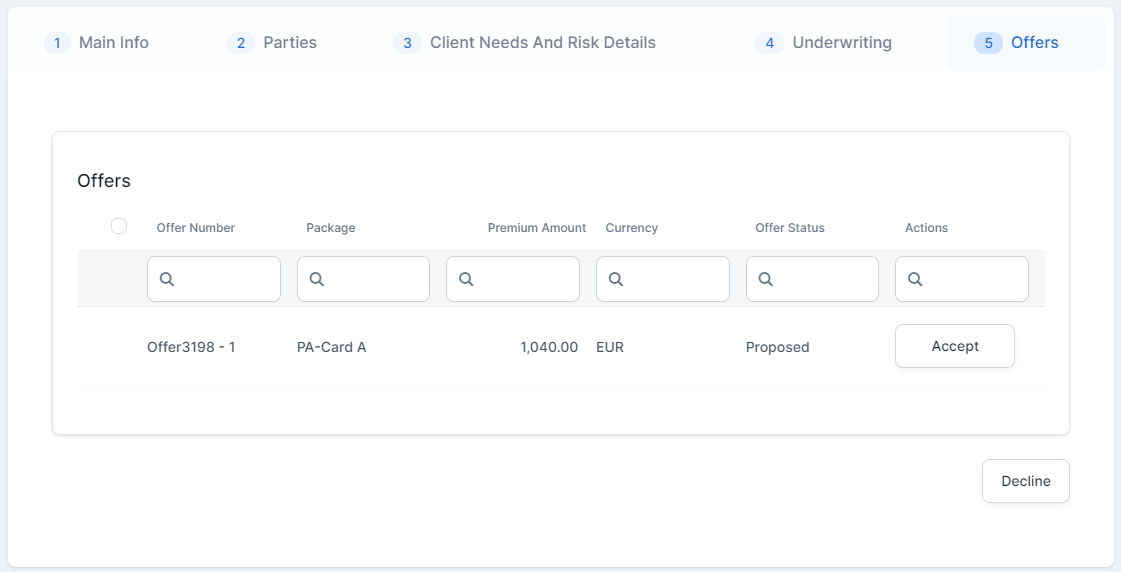
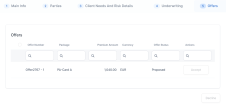
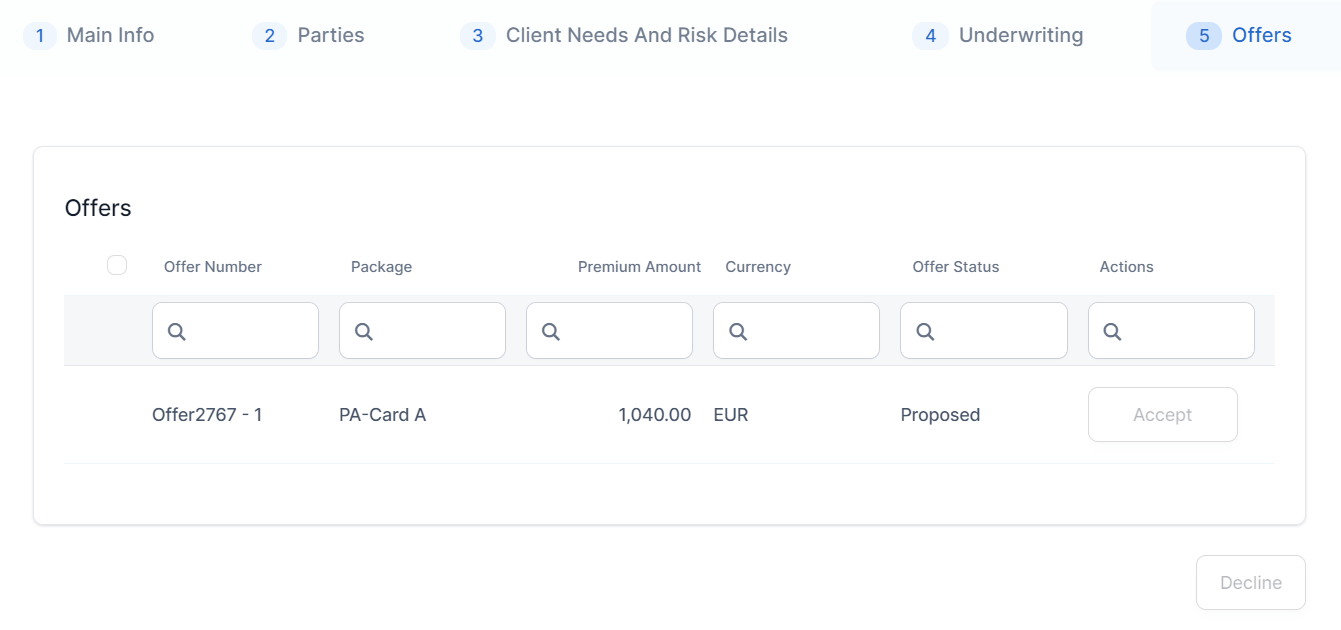
Click the fifth tab, Offers. This section contains the records of all the quote offers made for the beneficiary, and they can choose to either Accept or Decline them.


Accept a Quote Offer and Issue the Policy
There are two possibilities to accept a quote offer:
-
In case the
decisionTypeparameter of the Quote Generation API is set as automatic, then you need to accept the quote using the Client Decision API request; -
In case the
decisionTypeparameter of the Quote Generation API is set as manual, then follow the steps below to accept a quote offer:
-
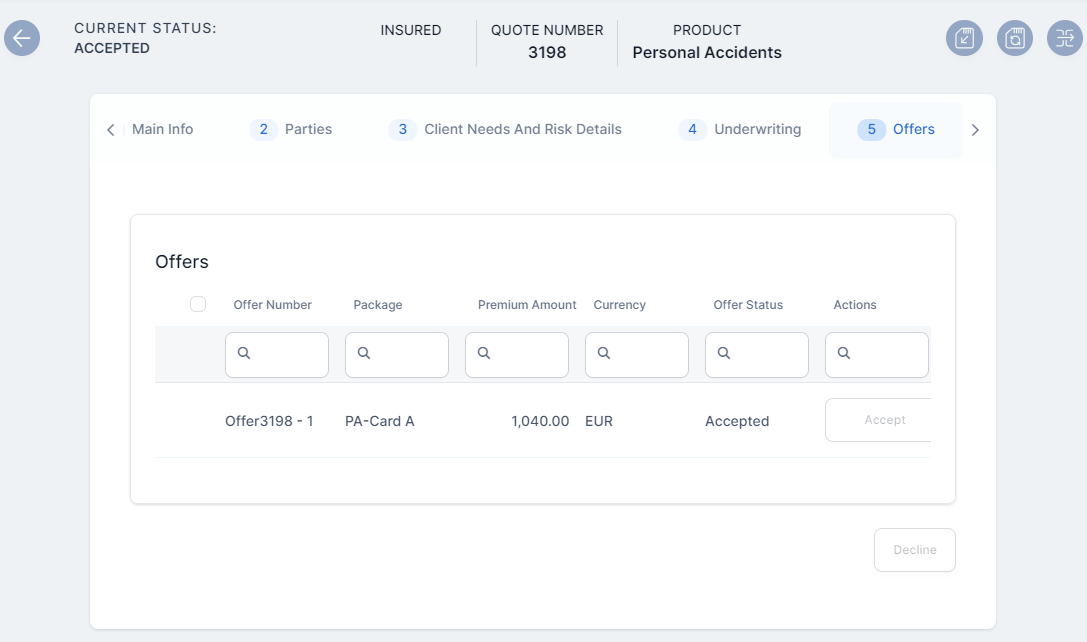
Go to the Offers tab of a quote record in Offer Submitted status, and click Accept on the quote offer record. The status of the quote transitions to Accepted.


-
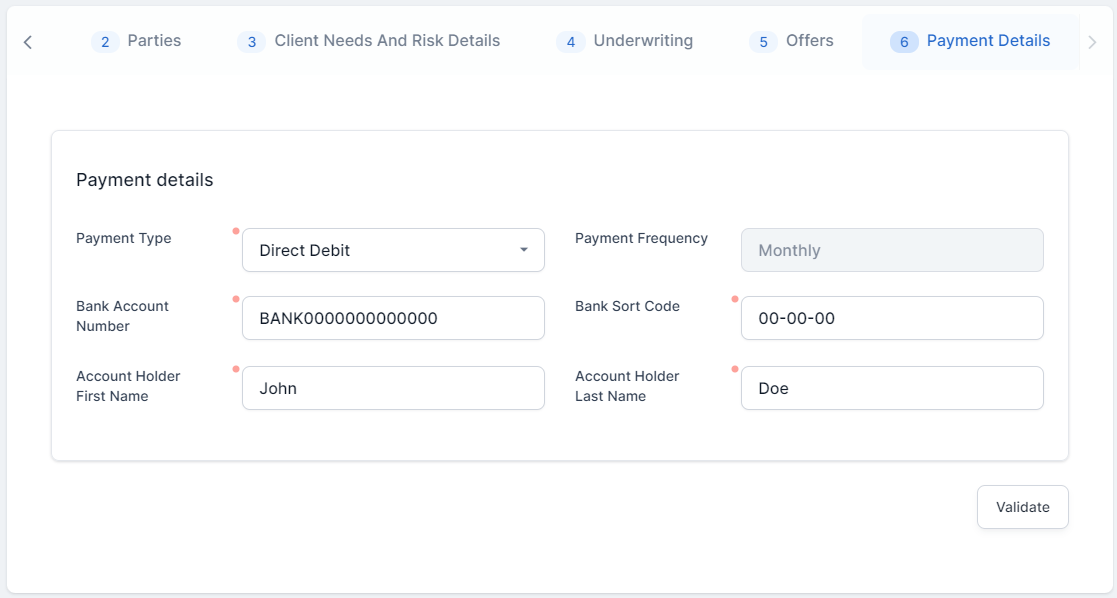
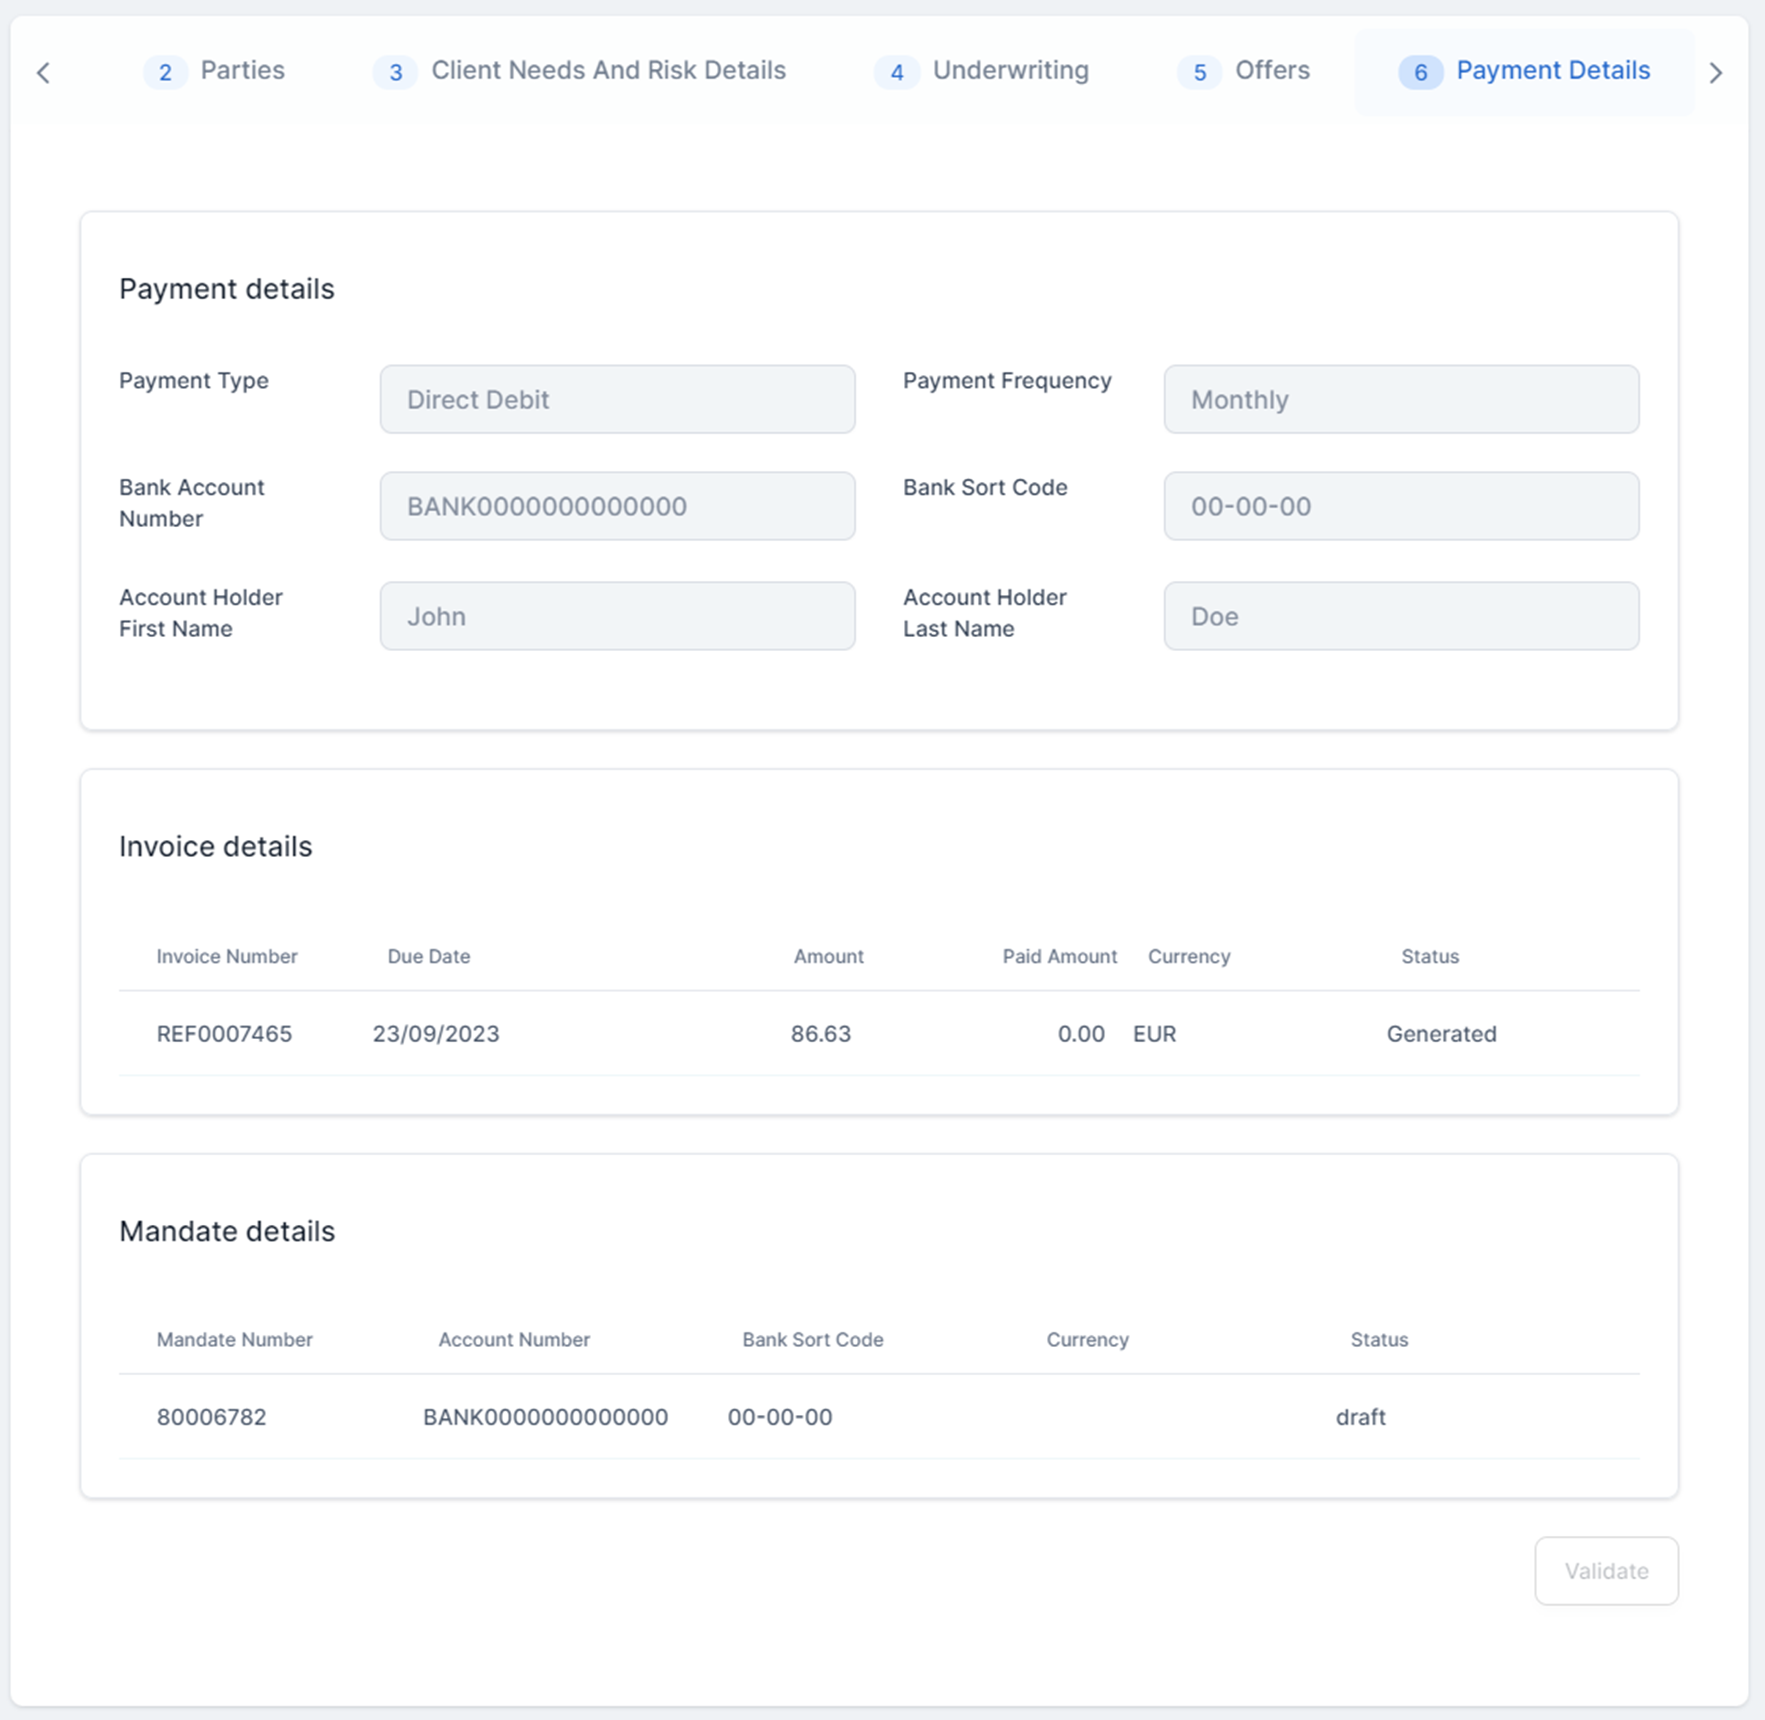
Go to the new tab, Payment Details. Choose the Payment Type and enter the necessary details.

-
Click Validate. The invoice and the mandate details are generated, and displayed in the newly unfolded Invoice details and Mandate details sections of the tab.
-
Go to tab 7, Policy. Inspect the basic details of the policy to be generated, choose a Begin Date for the it, and click Issue Policy. The quote transitions to the Policy Issued status.
-
Click Save and close.
-
Go to Main Menu > Policy Admin > Policies, and open the record of the newly issued policy, to inspect it.