Register Reinsurance Contracts
Follow the steps below to register a new record in your Reinsurance Admin database:
-
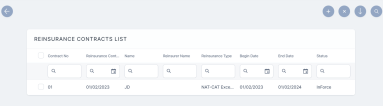
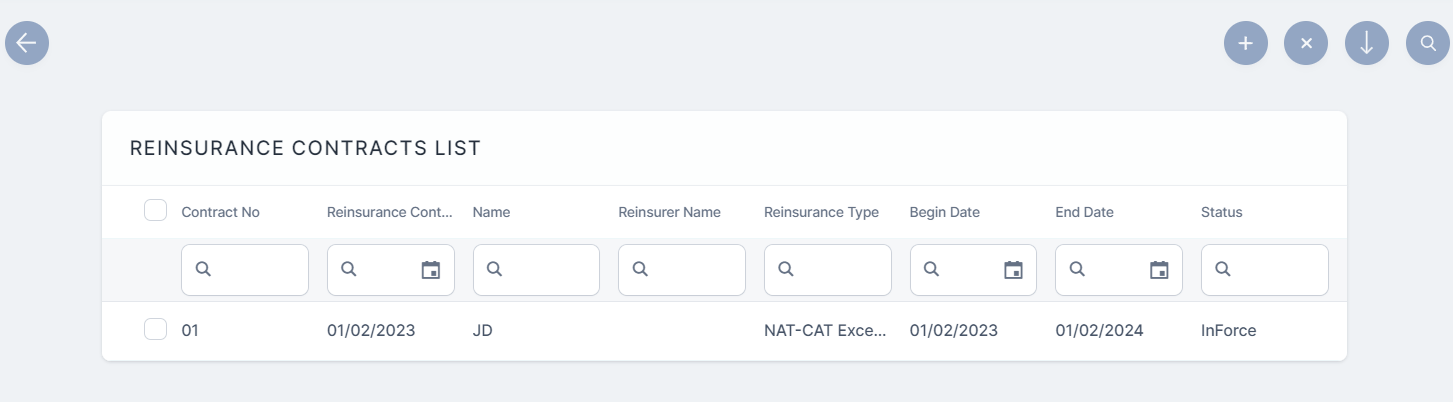
In FintechOS Portal, go to Main Menu > Reinsurance > Reinsurance Contracts. The list of all existing reinsurance records is displayed.
-
Click Insert to open the Reinsurance Contract registration form.
-
Fill in the details for the first grid, General Data:
-
Contract No: The number of the reinsurance contract;
-
Reinsurance Contract Date: The date of the reinsurance contract;
-
Name: A descriptive name for the reinsurance contract, e.g. "Motor QS";
-
Reinsurer Name: The name of the reinsurance company;
-
Begin Date: The date when the reinsurance coverage becomes active;
-
End Date: The end date for the reinsurance coverage. You cannot set this field as a date earlier than the Reinsurance Contract Date;
-
Reinsurance Type: Select one of the following options:
-
Quota Share (QS): for proportional reinsurance contracts;
-
NAT-CAT Excess of Loss (XL): for disproportional severity exposure (such as natural catastrophes) reinsurance contracts;
-
-
Comments: Input any contract related comments;
-
Documents: Insert documents that are part of or relevant to the current reinsurance contract.
-
-
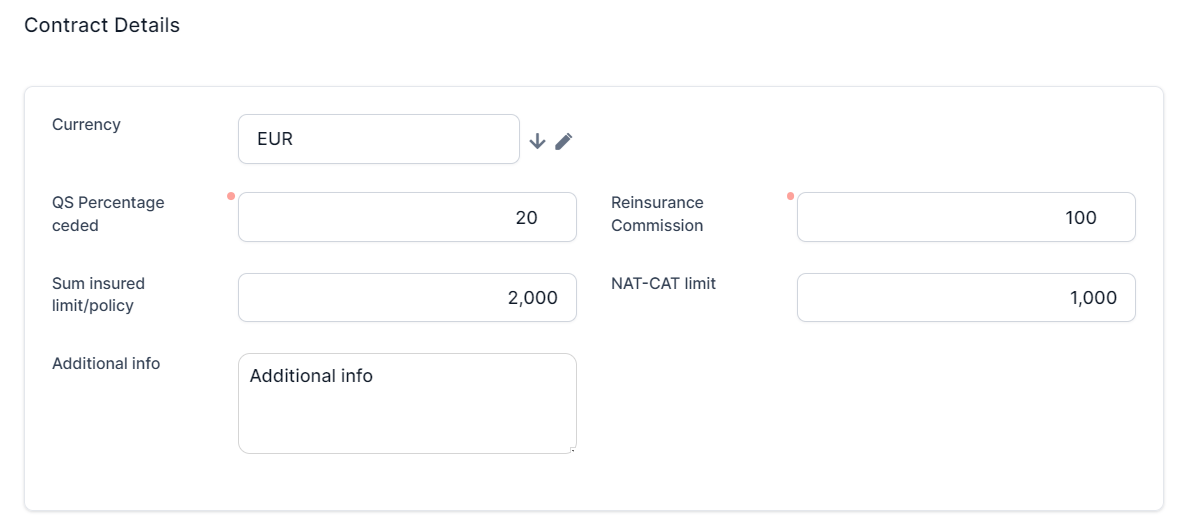
Fill in the details for the Contract Details grid. This grid has different fields, depending on the chosen Reinsurance Type:
-
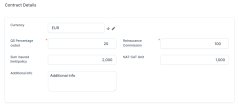
For the Quota Share (QS) reinsurance type:
-
Currency: From the list, select a currency for the contract and click Ok;
-
QS Percentage ceded: The ceded percentage, for the current contract;
-
Reinsurance Commission: The percentage of reinsurance commission, integer, up to 100.
Percentage sum of objects sum insured (e.g. Building + content); -
Sum insured limit/policy: The limit of the sum insured per policy;
-
NAT-CAT Limit: The maximum indemnity limit for NAT-CAT events;
-
Additional Info: General field for additional info.
-
-
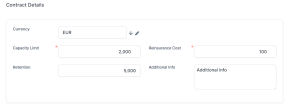
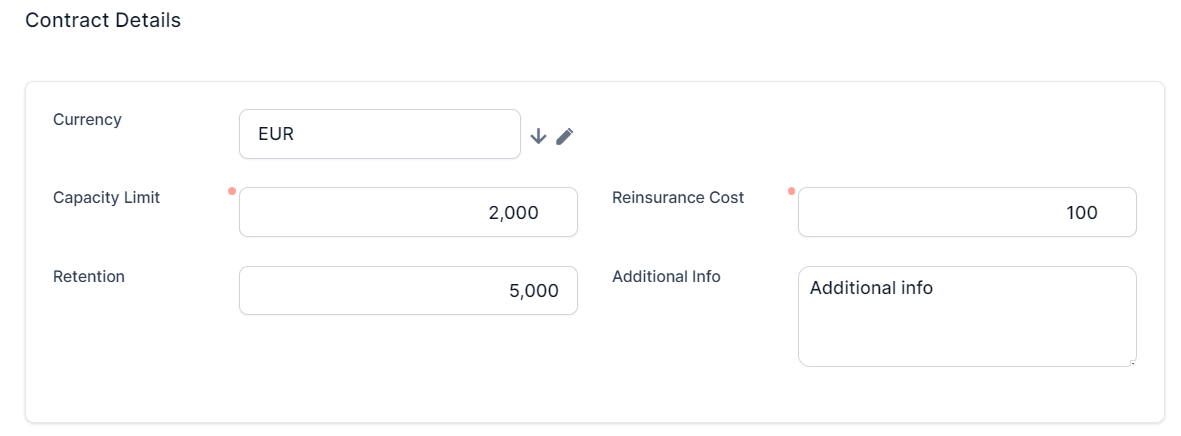
For Nat-Cat Excess of Loss (XL) reinsurance type:
-
Currency: From the list, select a currency for the contract and click Ok;
-
Capacity Limit: The value of the capacity limit for NAT-CAT Excess of Loss;
-
Reinsurance Cost: The cost for the NAT-CAT type of reinsurance. The sum of objects sum insured (e.g. Building + content).
-
Retention: The maximum indemnity limit for NAT-CAT events;
-
Additional Info: General field for additional info.
-
-
-
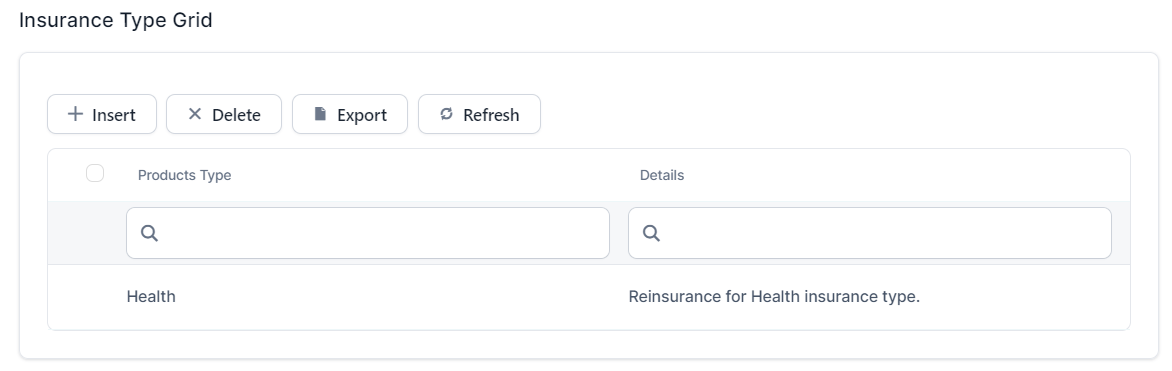
Click Save. The Insurance Type Grid section becomes available.
-
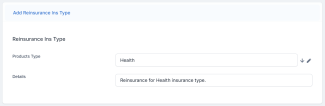
Click Insert inside the grid to attach one or more Insurance Types that are to be covered by the new reinsurance contract.
NOTEYou can allocate an Insurance Type to a new reinsurance contract only if it is free for coverage, namely the desired type is not already covered by another reinsurance contract which has a validity period that overlaps with that from the new reinsurance contract. Otherwise, a specific error message is displayed in the interface.
-
In the Add Reinsurance Ins Type window, select a Product Type from the drop-down, and input any Details, if necessary.
-
Click Save and reload, if you want to add a new Product Type, otherwise click Save and close.
-
The Insurance Types Grid is updated with the inserted records.

-
Click Save. The record is now registered, and the status changes from Draft to Registered.
-
Click Save and close. The Reinsurance Contracts List is updated with the newly inserted record.

There are cases when you might need to edit your record right away. For more details, check the page about editing your Reinsurance Admin records.